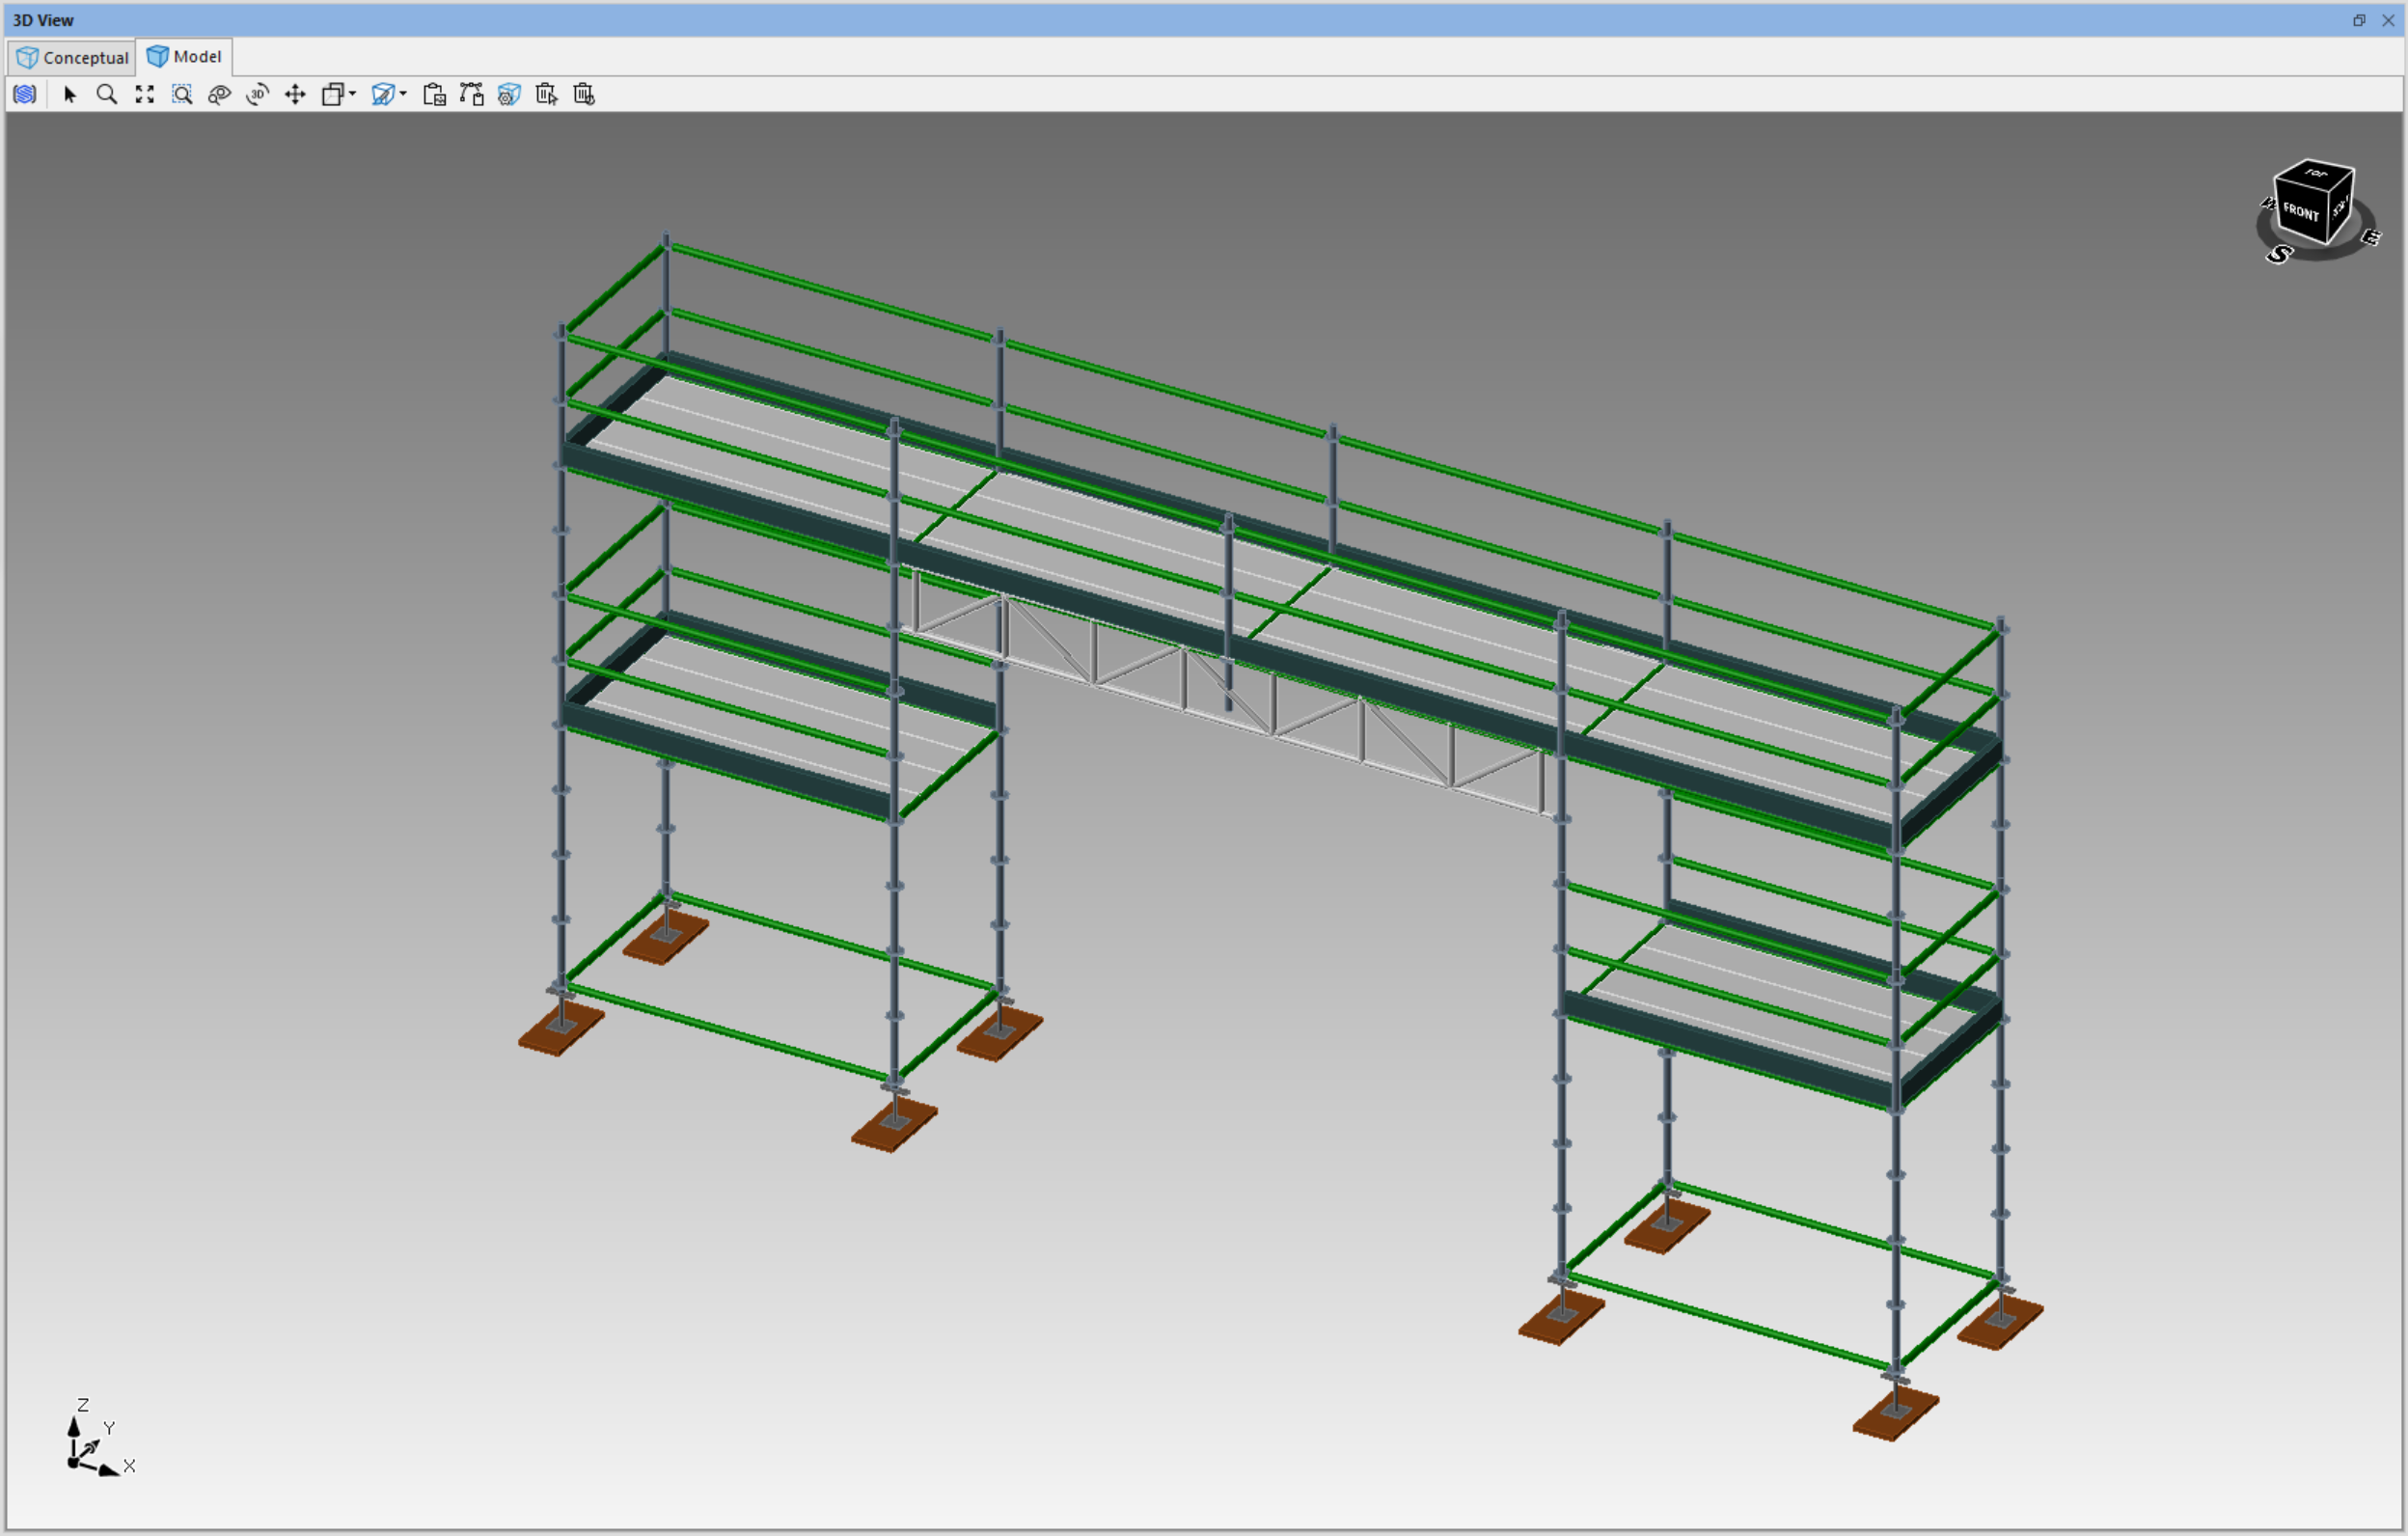
You can add a bridging beam to a drawing by modifying a Bay. Bridging Beams are similar to Ladder Beams, but a Bridging Beam will fill the space perfectly, while a Ladder beam will clamp on to the Scaffold.
To add a Bridging Beam:
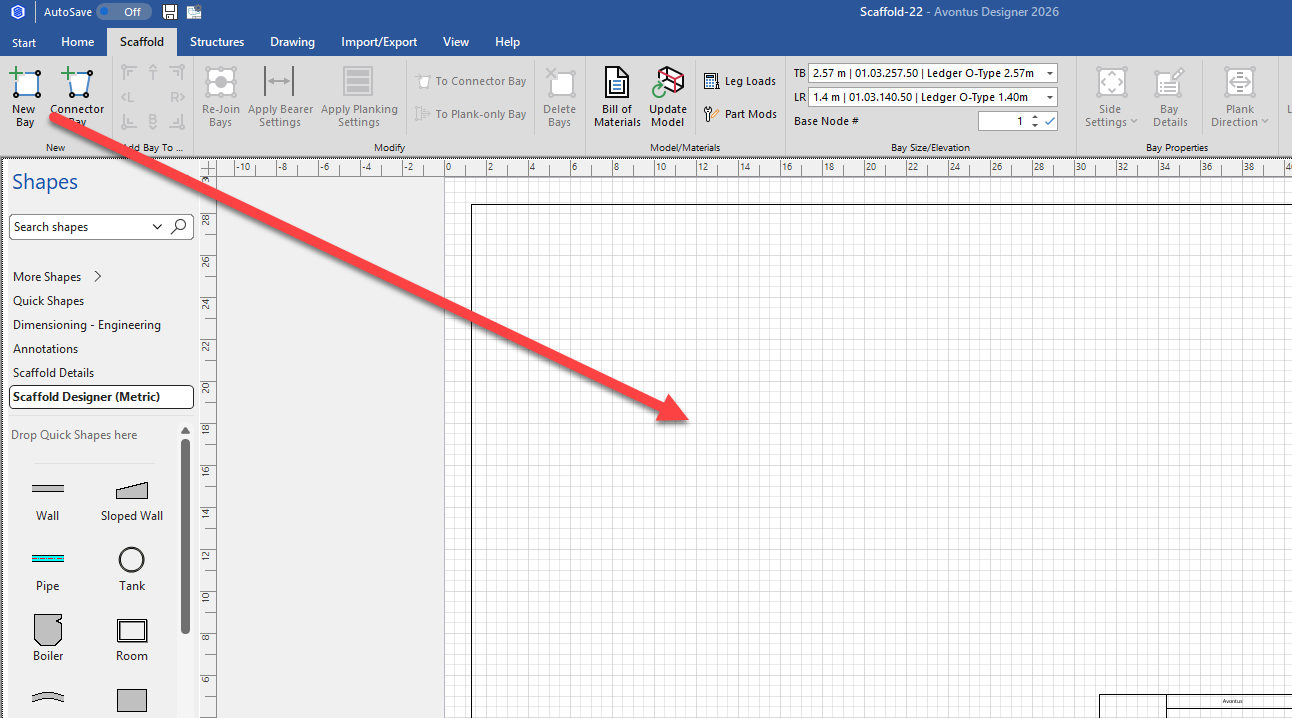
Drag in a Bay
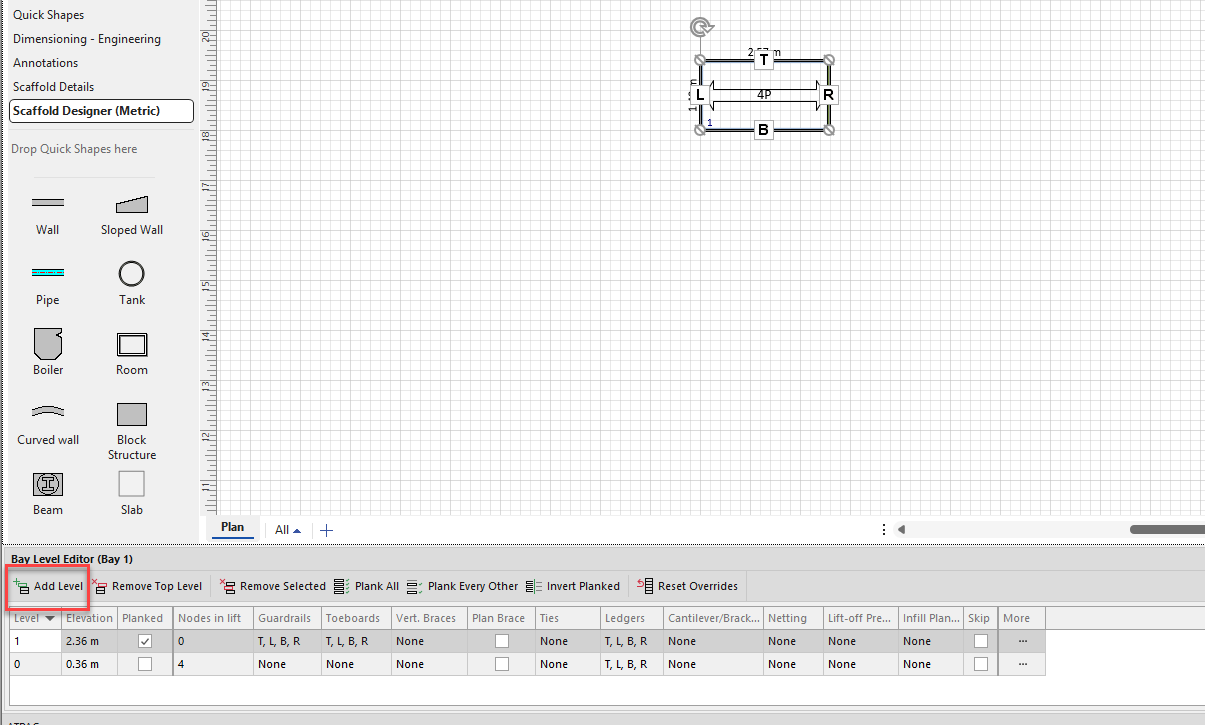
Select the Bay, and click Add Level.
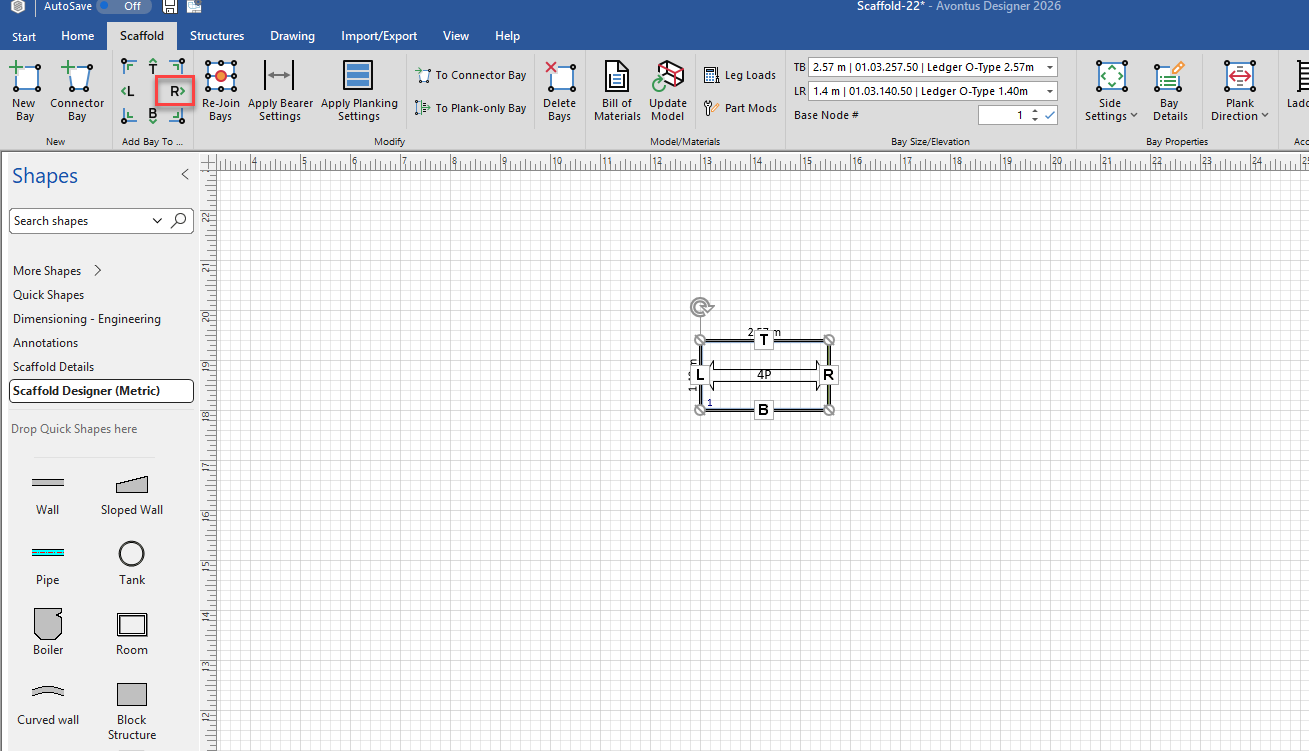
Click Add Bay To R side to add three more Bays.
We now have our Scaffold.
Select a Bay, and drag it out. This will be our deck, and we will modify this later.
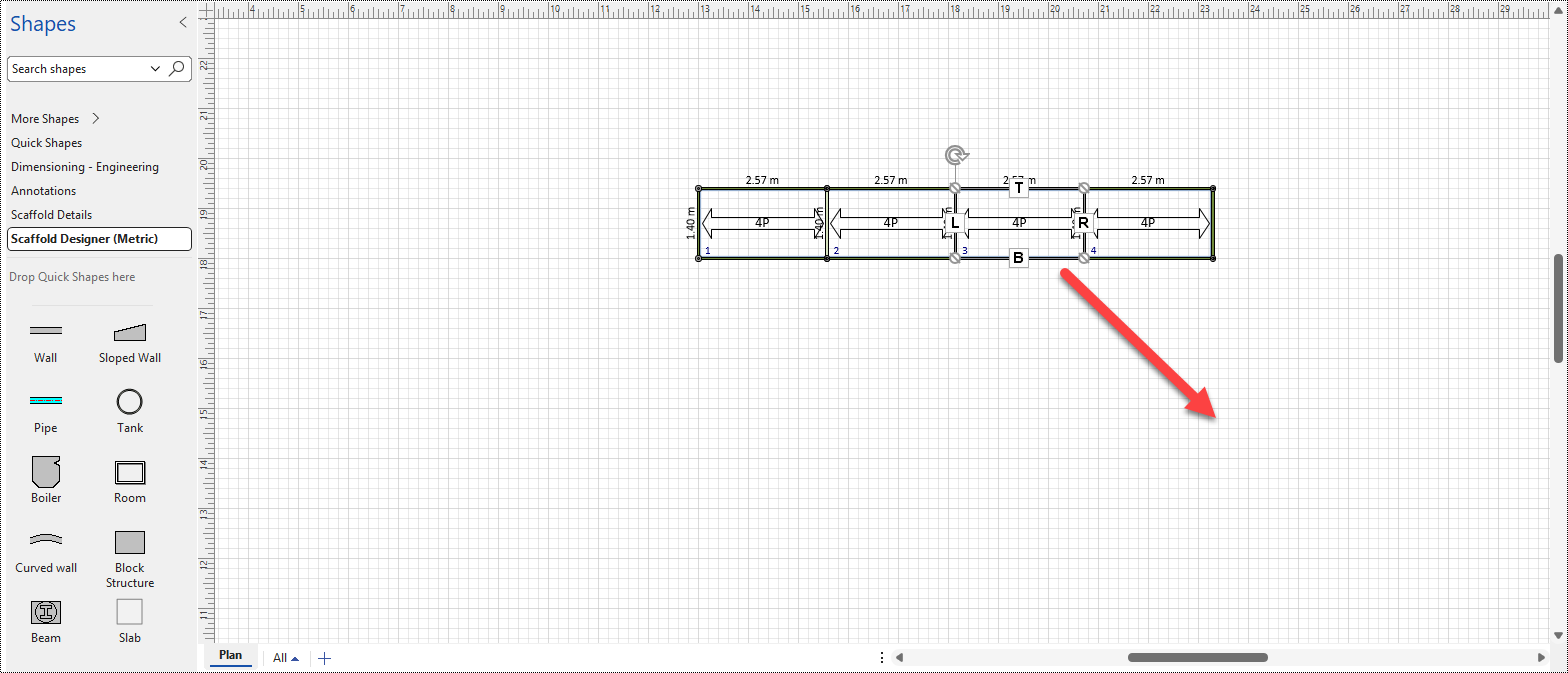
Select the second Bay.
Click the TB drop-down, and select the appropriate Bay size. This will be our Beam.
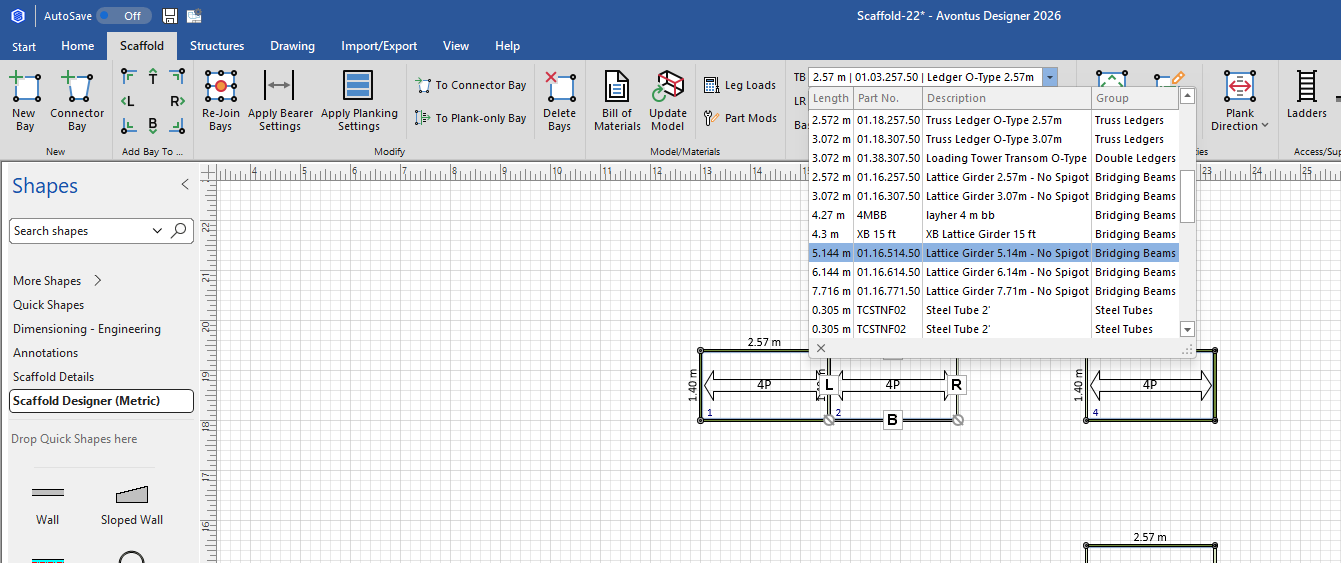
Select the beam, and in the Bay Level Editor unplank the top level
Skip the bottom two levels.
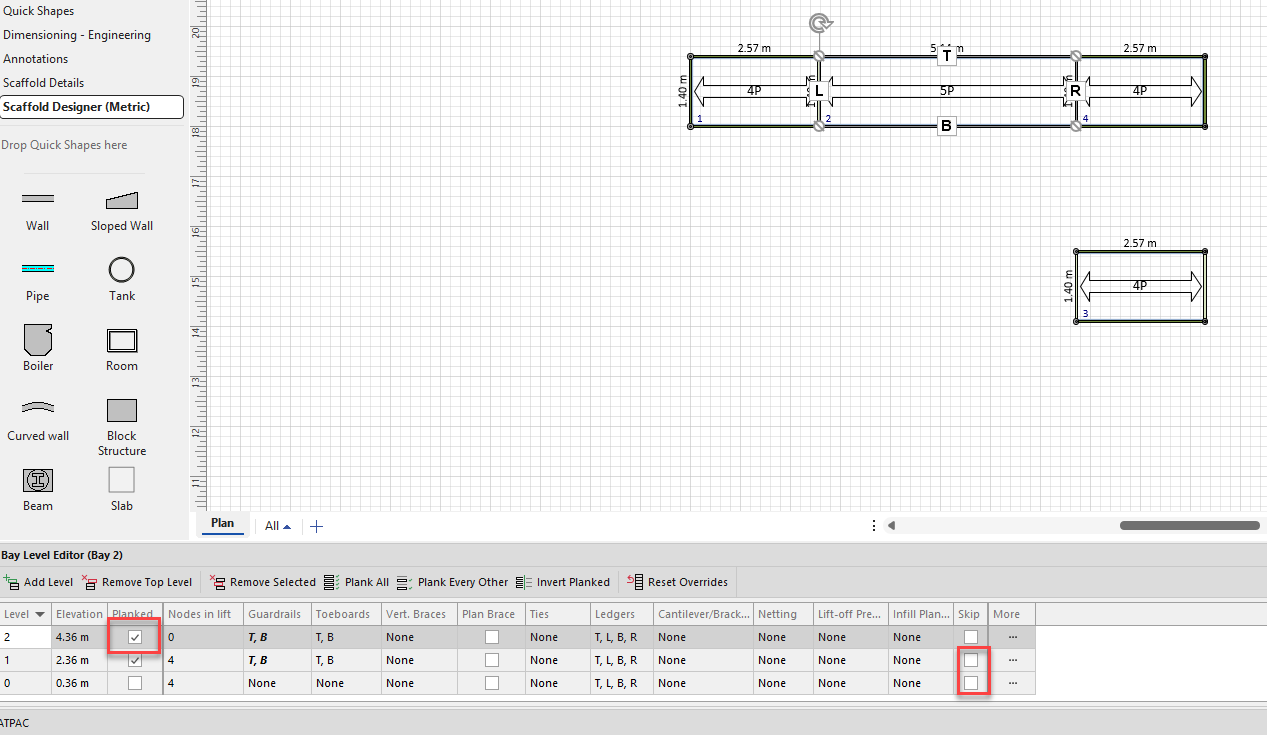
The Bay Level Editor should look like this:

We should now be left with the beam only.
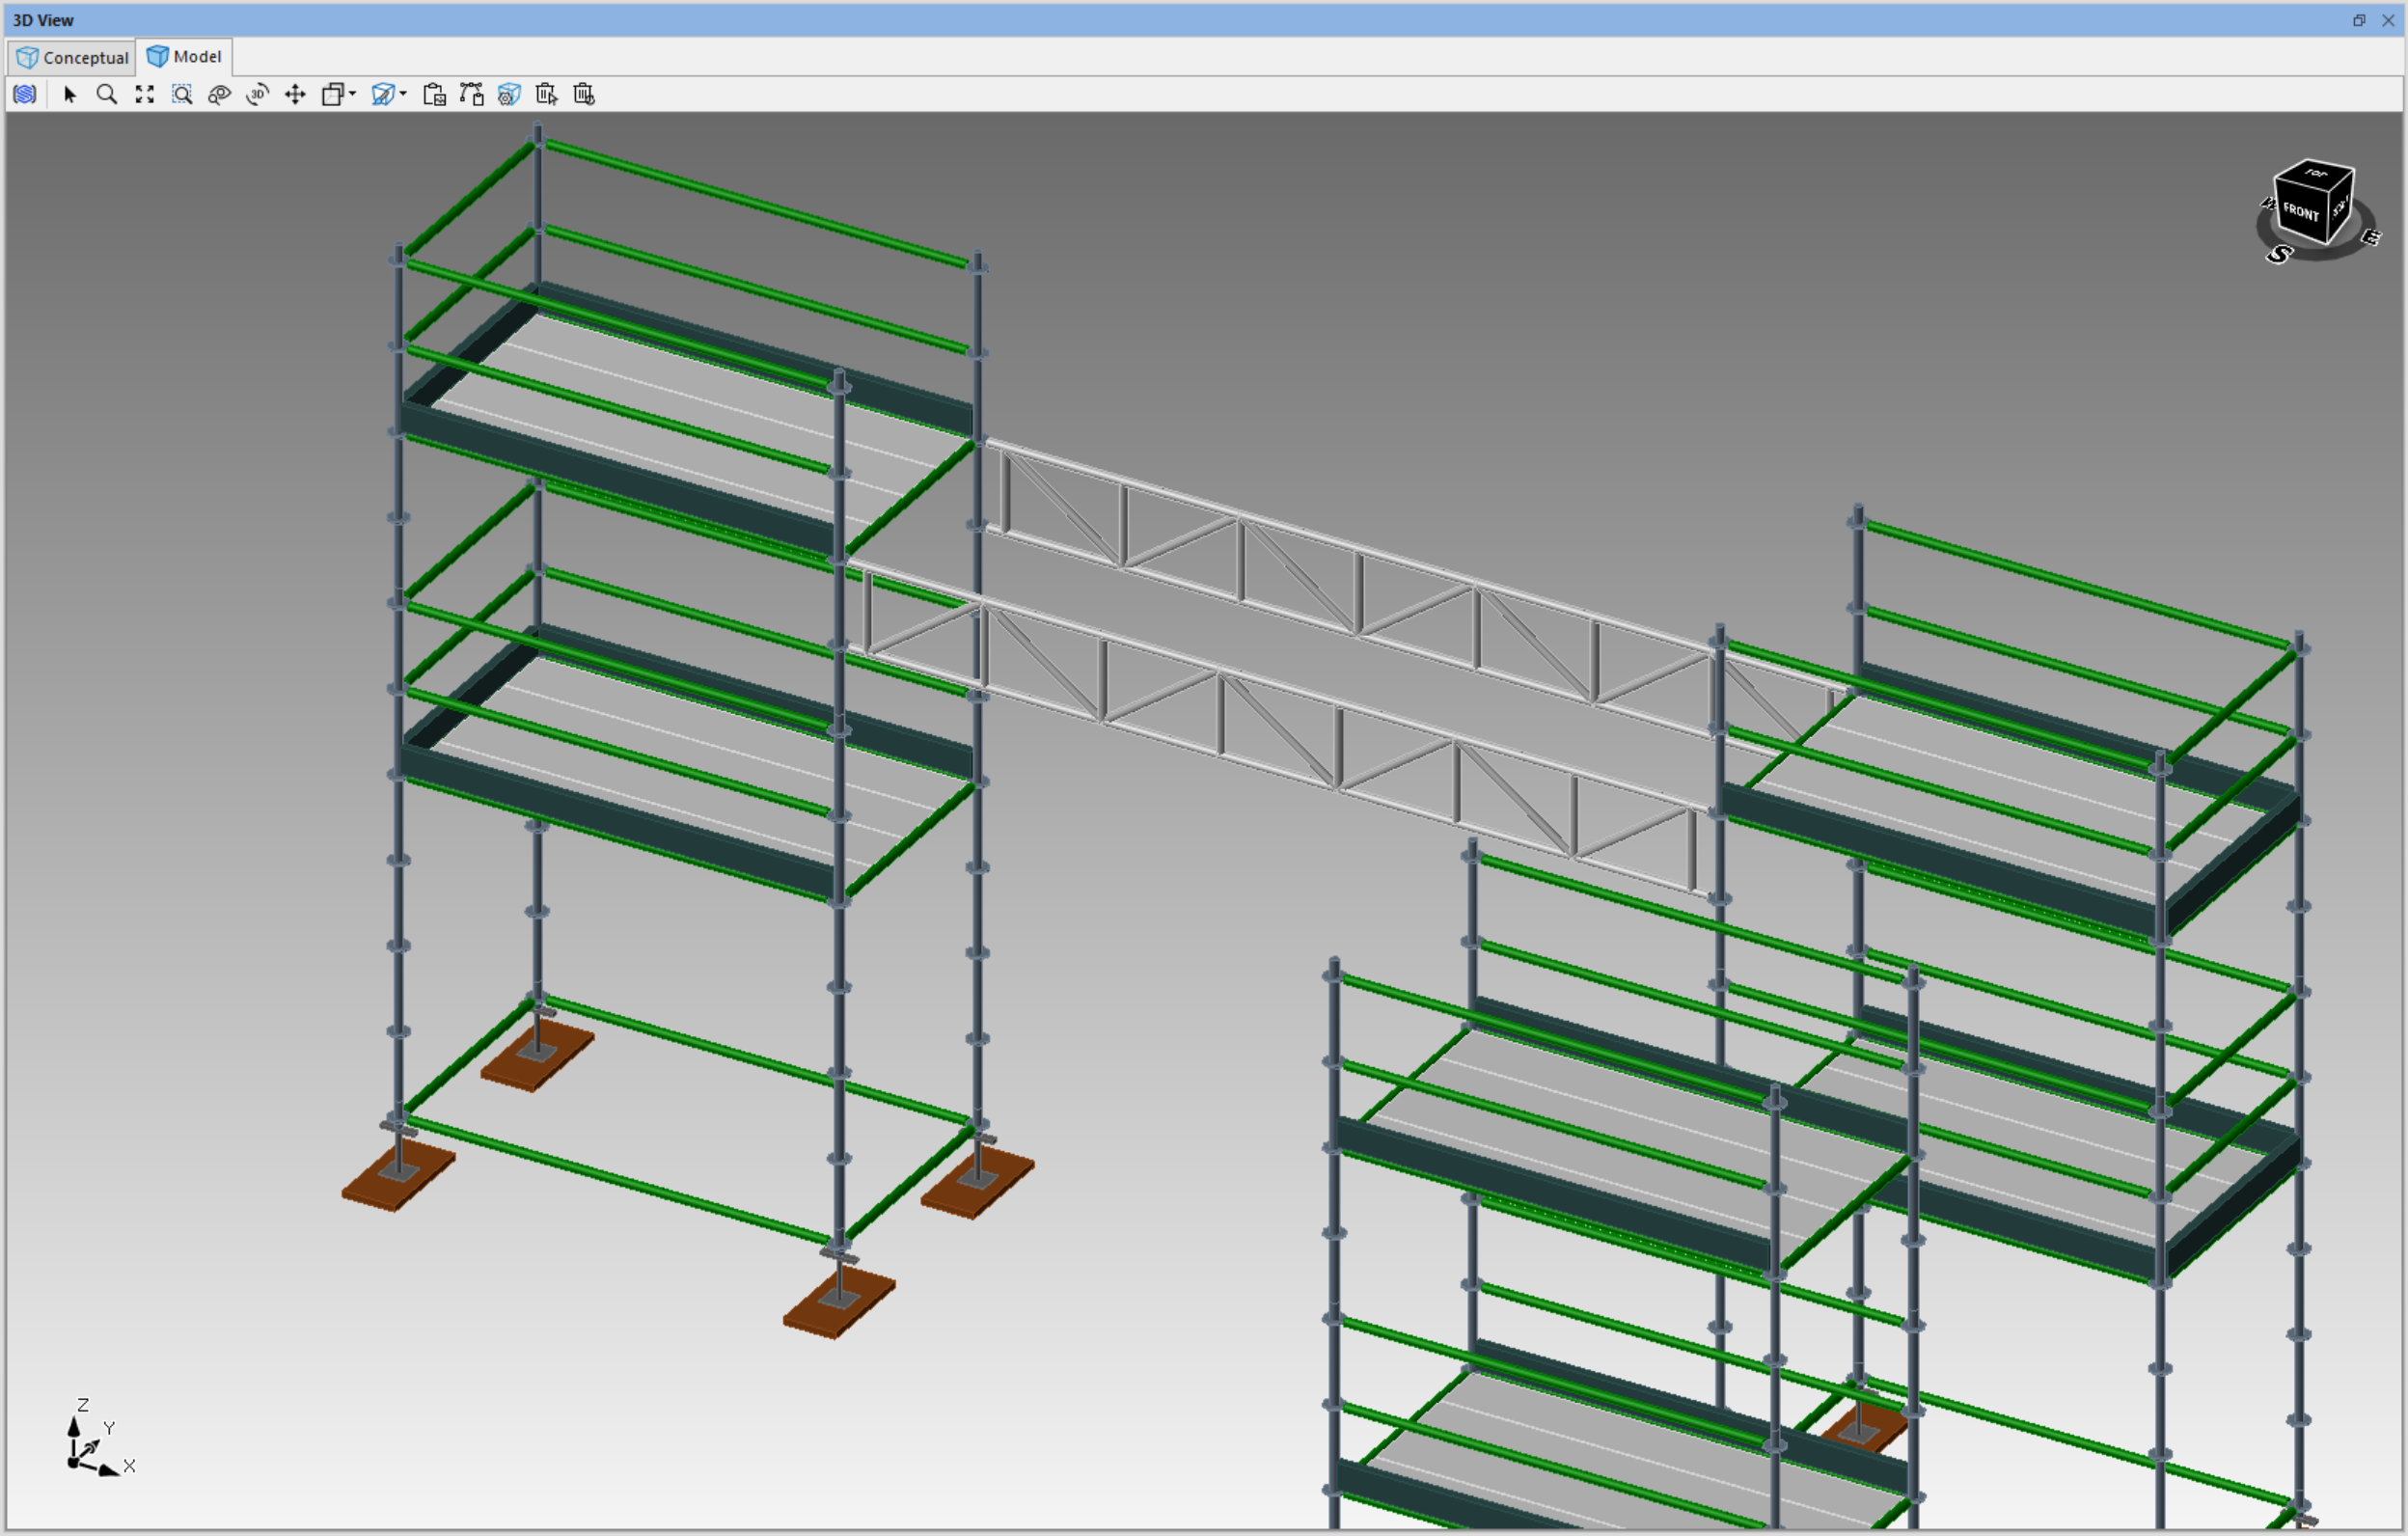
Next, select the Bay we dragged out earlier, and remove the bottom two levels in the Bay Level Editor.

With the Bay still selected, click Side Settings and remove the Screwjacks.
Click OK
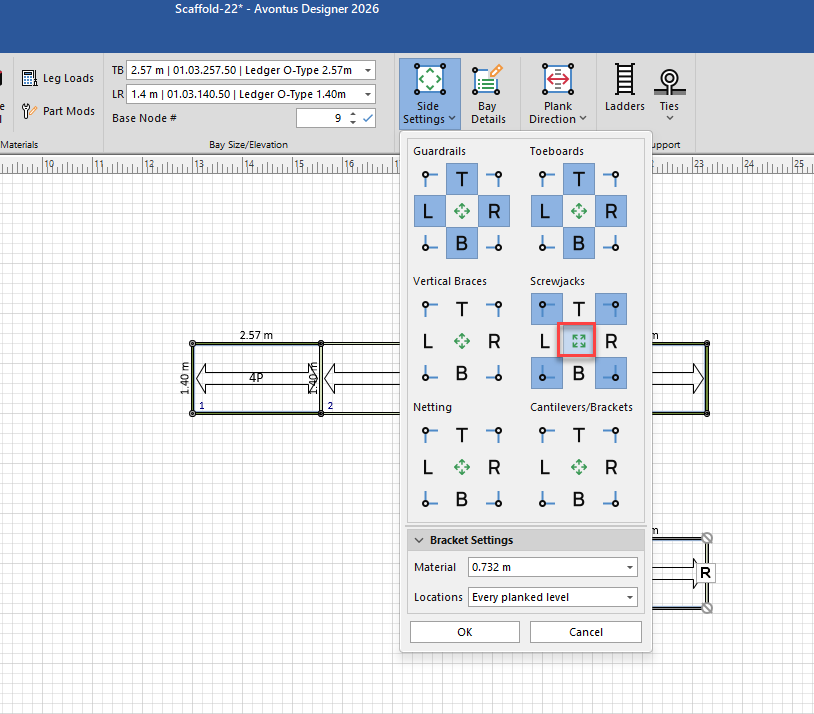
We will now have a single bay. The Bay will be our deck, allowing scaffold users to walk across the scaffold.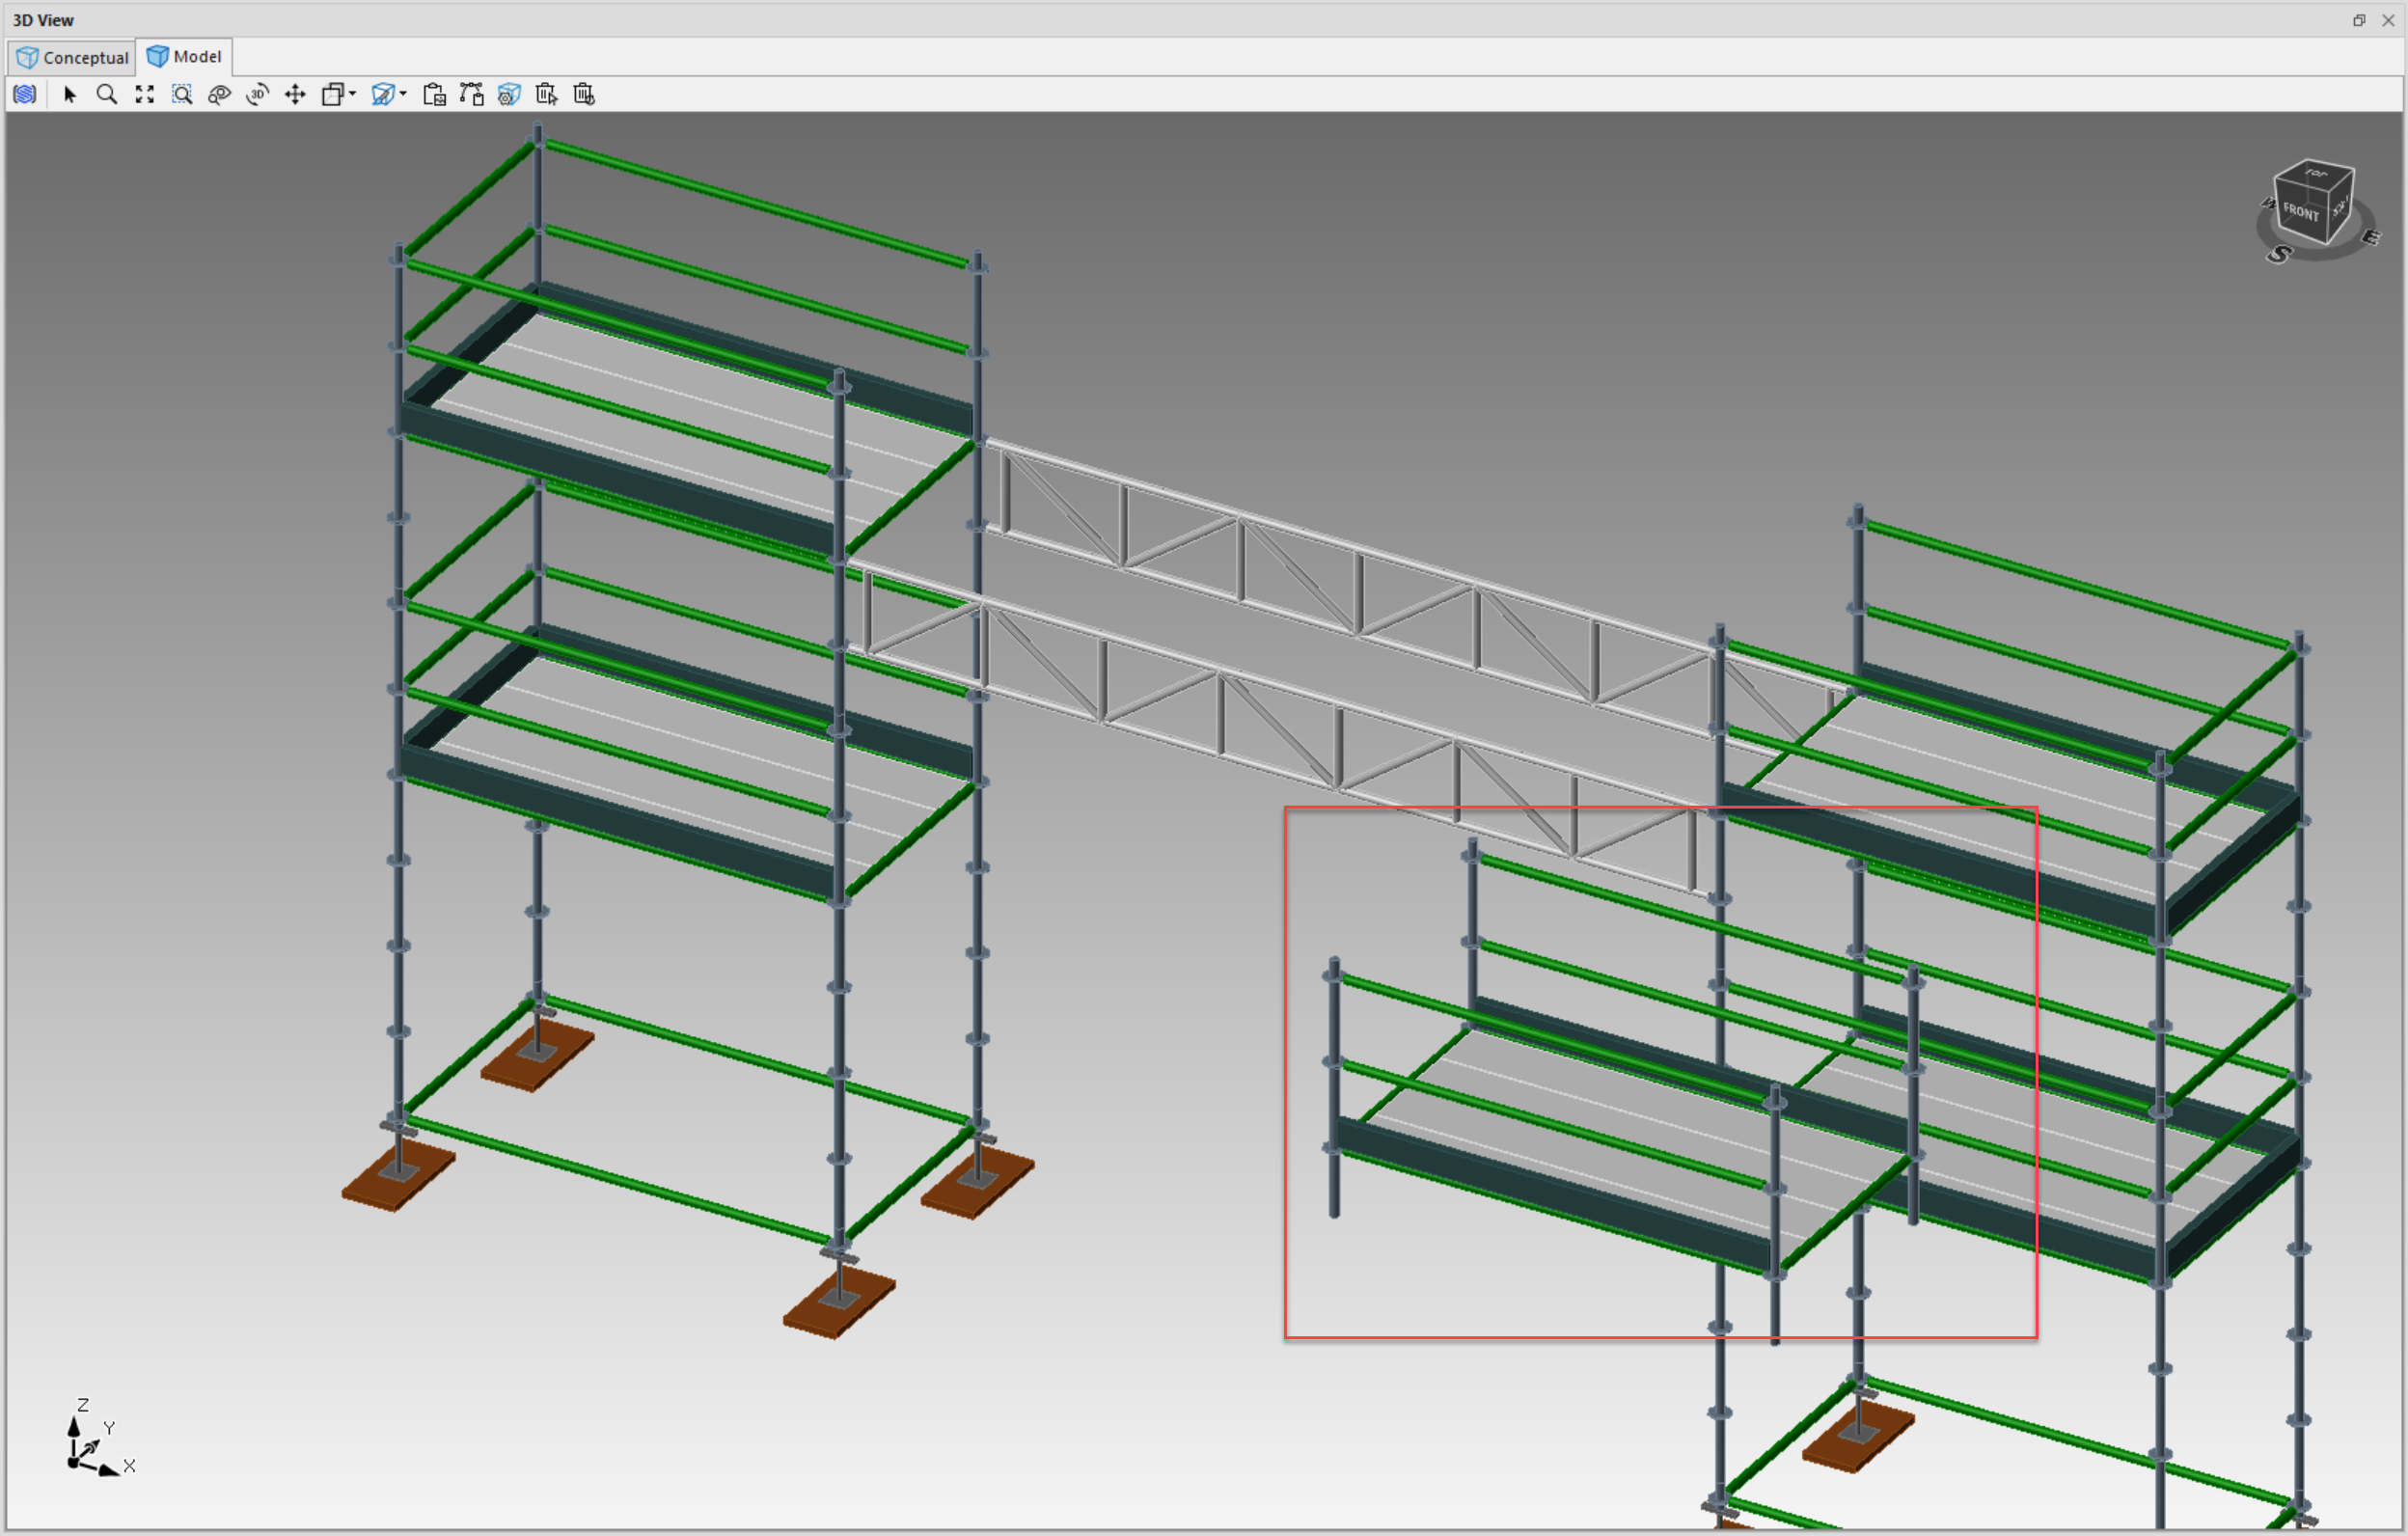
Click and drag the Bay/Deck to the Beam.
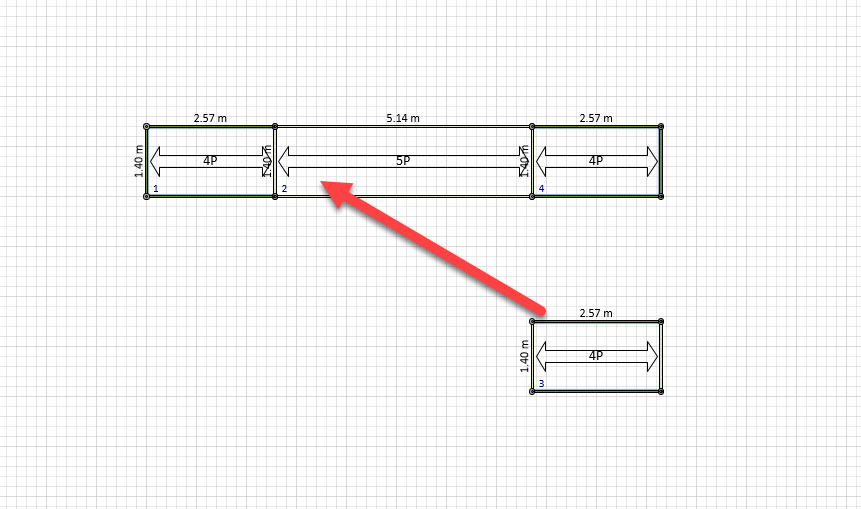
13. With the Bay/Beam selected, click to add a Bay to the right.
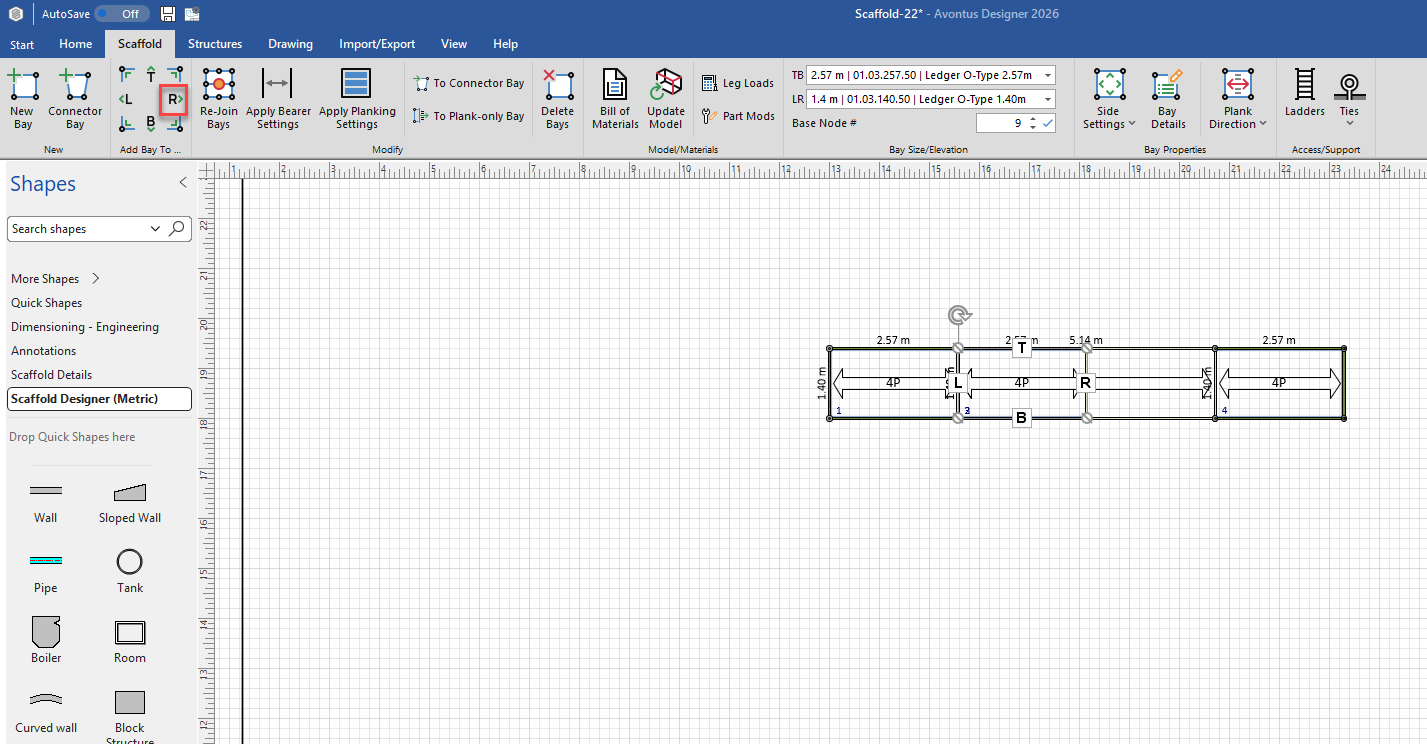
Your Bridging Beam will be complete.