Buttresses provide support against lateral (sideways) forces. Avontus Designer enables you to create a buttress by adding vertical bracing to the top level of adjacent Bays.
Besides the procedures for adding a buttress to a Scaffold, this page contains the following:
To add a buttress to a Scaffold:
Click the Scaffold tab.
Click the New Bay button and drag the new Bay onto the Drawing Page.
.gif)
Click the new Bay (to select it), then click the Add Level.
Unplank level 1
Click the Scaffold tab. Click the New Bay button, drag a second Bay onto the Drawing Page
Connect it to the first Bay.
The results look like this:
Click the new Bay to select it.
In the Bay Level Editor, click the Planked checkbox in the Level 1 row (to remove its check). This is optional.
(Avontus Designer removes guardrails and toeboards automatically ).In the Bay Level Editor, click More for the top level
Click the Sides tab.
Click the L and R Vertical Brace checkboxes to add vertical braces to the sides of the top level of the adjacent Bay
Click Apply
.gif)
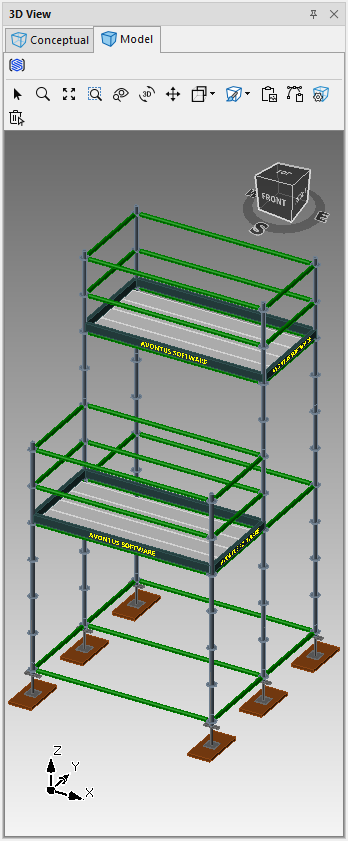
In the 3D view, click the Model tab to see the top vertical bracing.
Note: You may need to enable the 3D View on the View tab.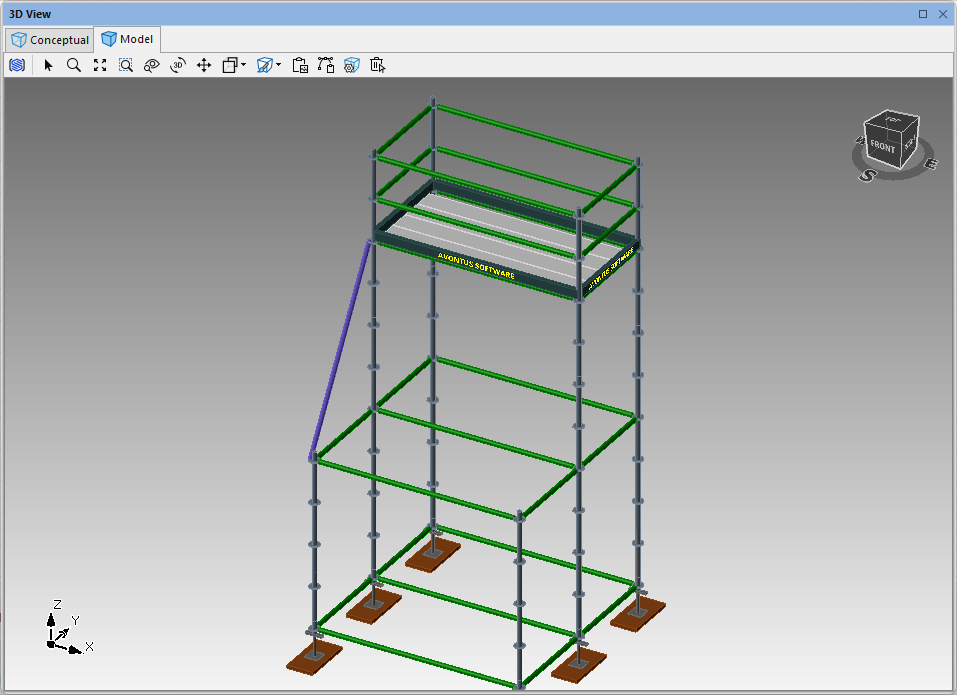
Notice that only one of the top vertical braces appears because the two sides of a bay use opposite bracing directions by default. To display the other brace, change the brace direction for that side of the bay.Click the bracing Bay to select it.
Click the Bay Details dropdown
Click the Sides tab.
Click the appropriate Brace Direction dropdown and select the Backwards (or Forwards, as appropriate).
Click Apply.
.gif)
The results look like this:
