SQL Server 2022 Express is a free application that you can download from Microsoft directly. If SQL Server 2022 Express is already installed, continue with installing Database Tools. If not, follow the procedures below.
Please note that the following guide is for installing MS SQL Express 2017. Your installation of SQL may vary depending on the version of MS SQL you have selected (there may be slight differences in screenshots). Please note that it is critical that MS SQL has the settings as detailed within the following instructions for Quantify to function as expected.
To install SQL Server 2022 Express:
Log in to the server or client-server as a user with Administrative privileges and download Microsoft SQL Server 2022 Express. Currently, only the 64-Bit version is available.
When the download has completed, Run or Open the file.
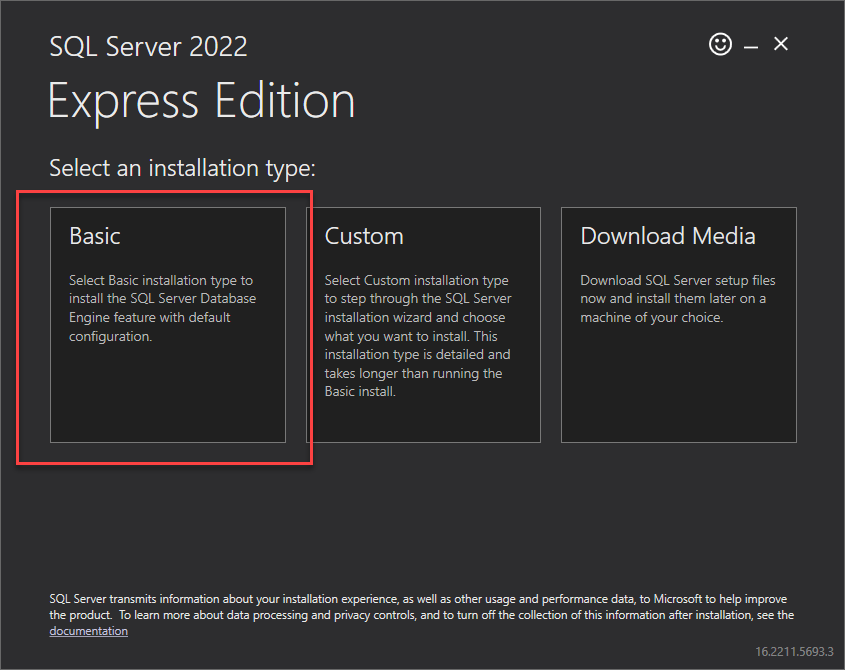
The SQL Server Installation Center Wizard appears.Select Basic
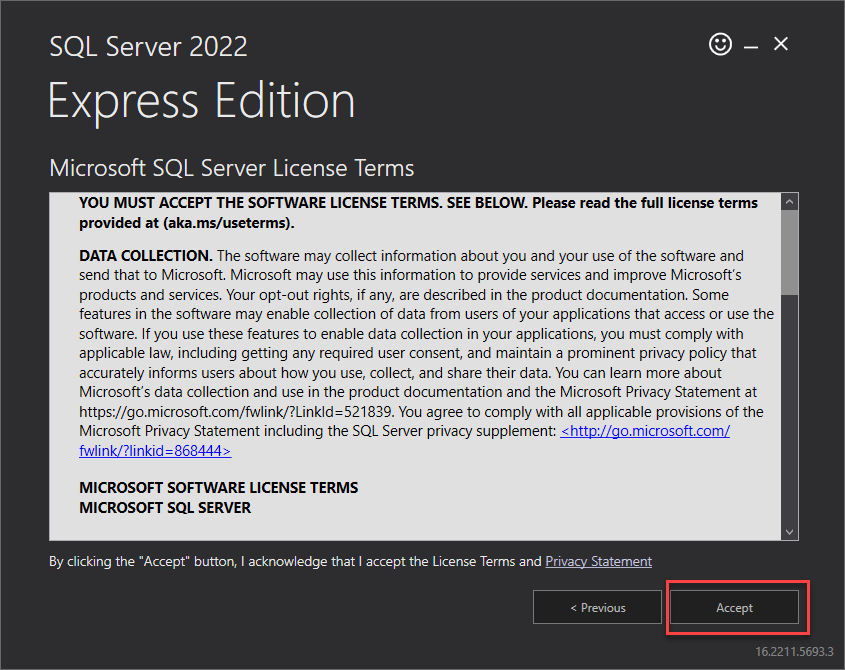
Click Accept
The download will begin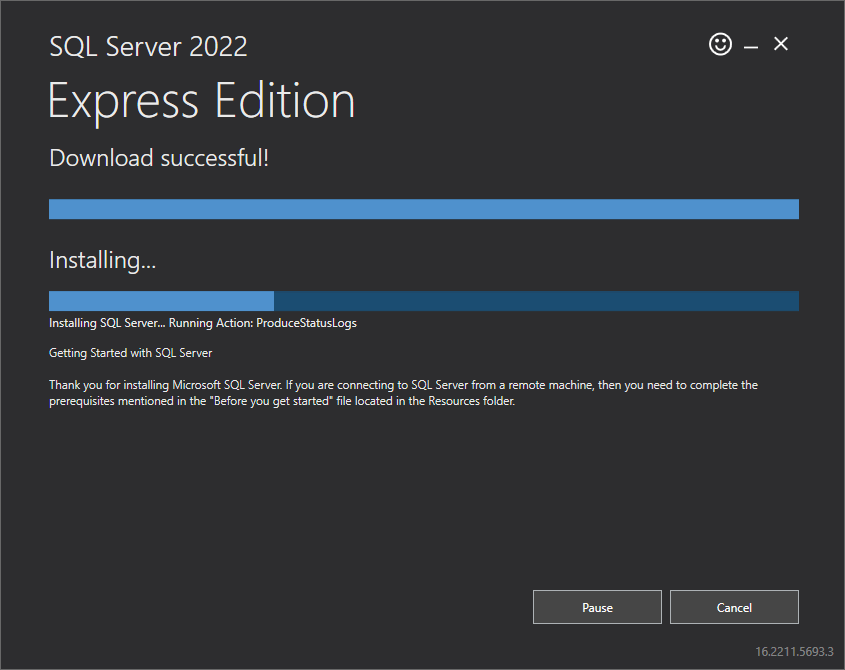
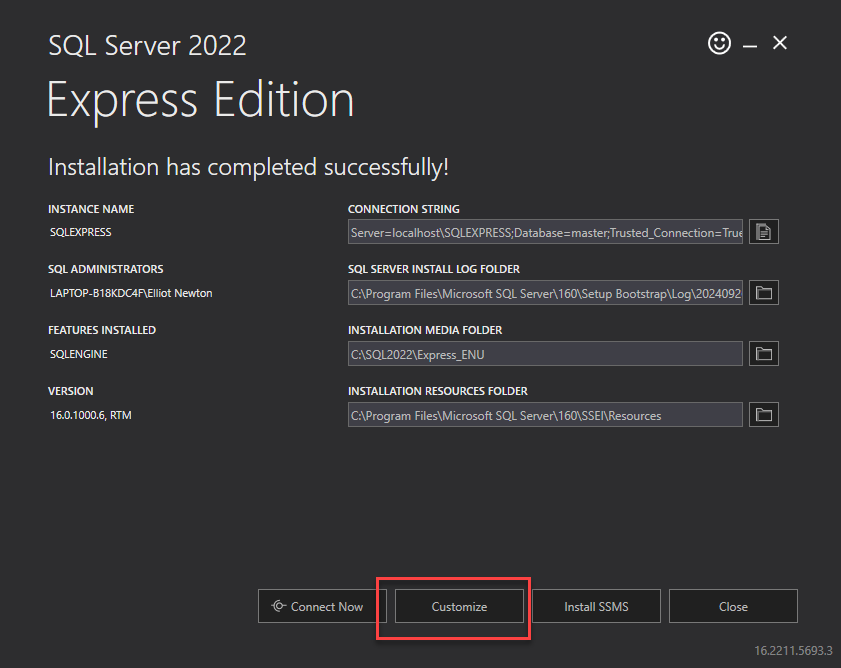
When the installation is complete, click Customize
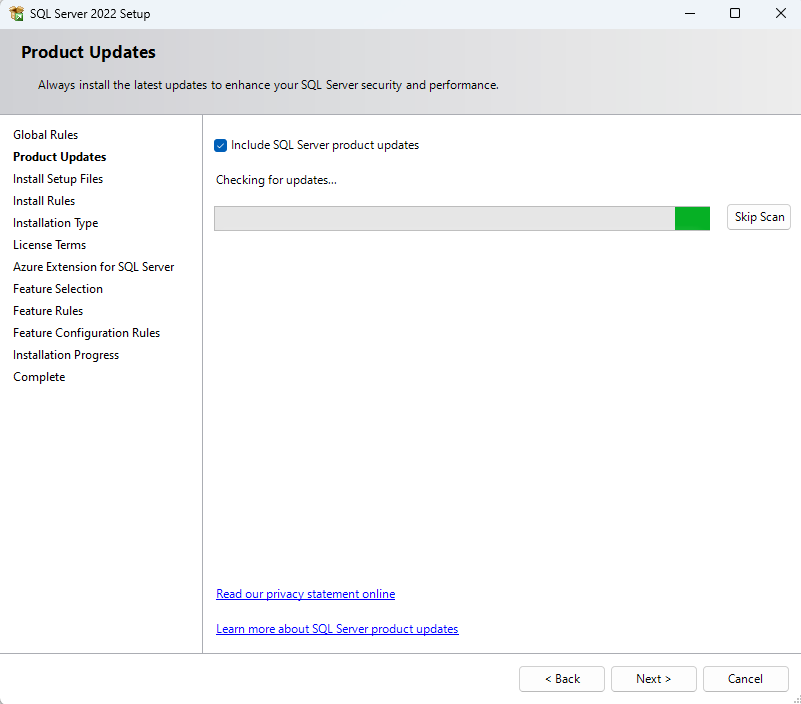
SQL will check for updates
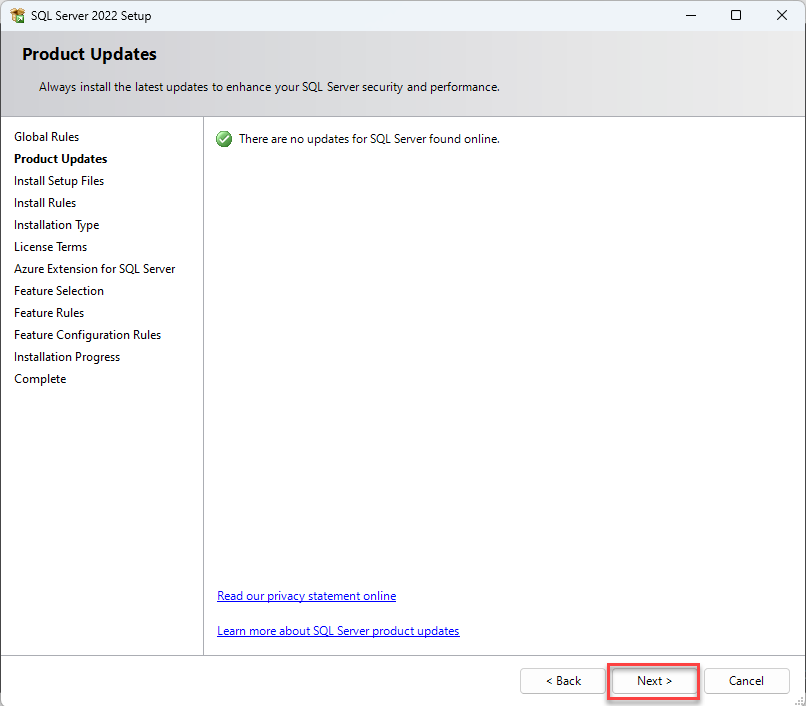
If there are no updates, click Next
Note: If the Install Rules page appears, with a Windows Firewall warning, make sure that port 1433 is open in your firewall, then click Next.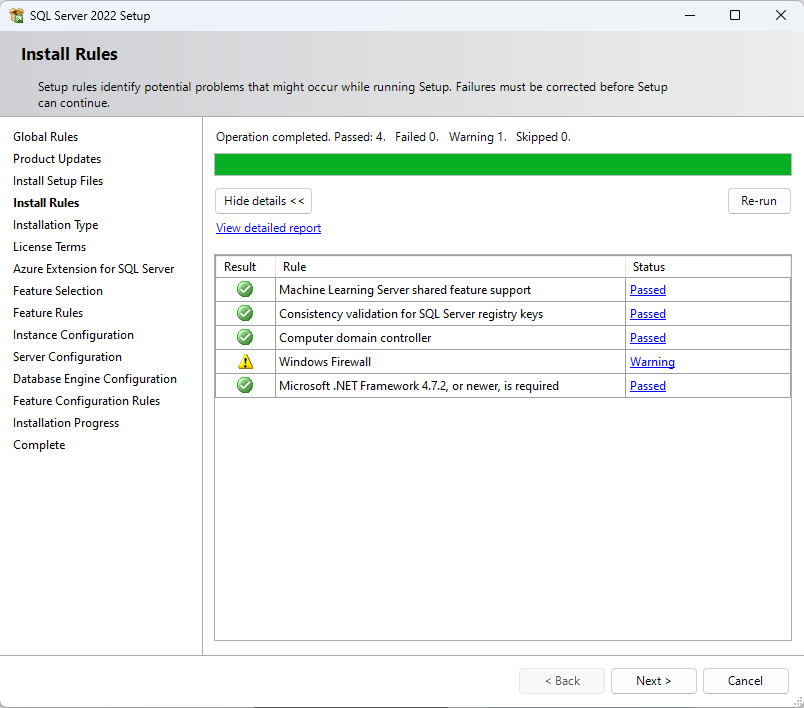
Click Installation and then click New SQL Server stand-alone installation or add features to an existing installation.
Click Next
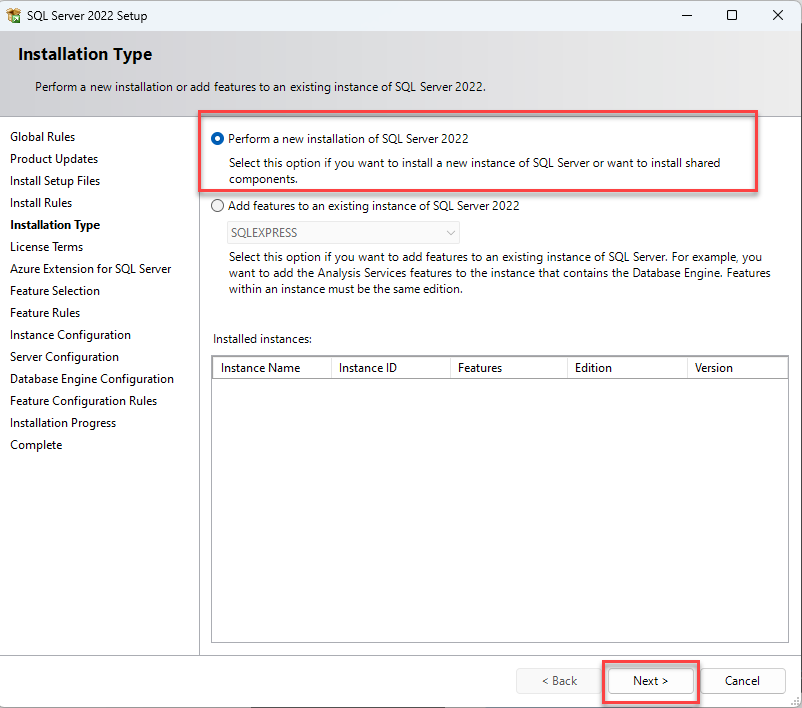
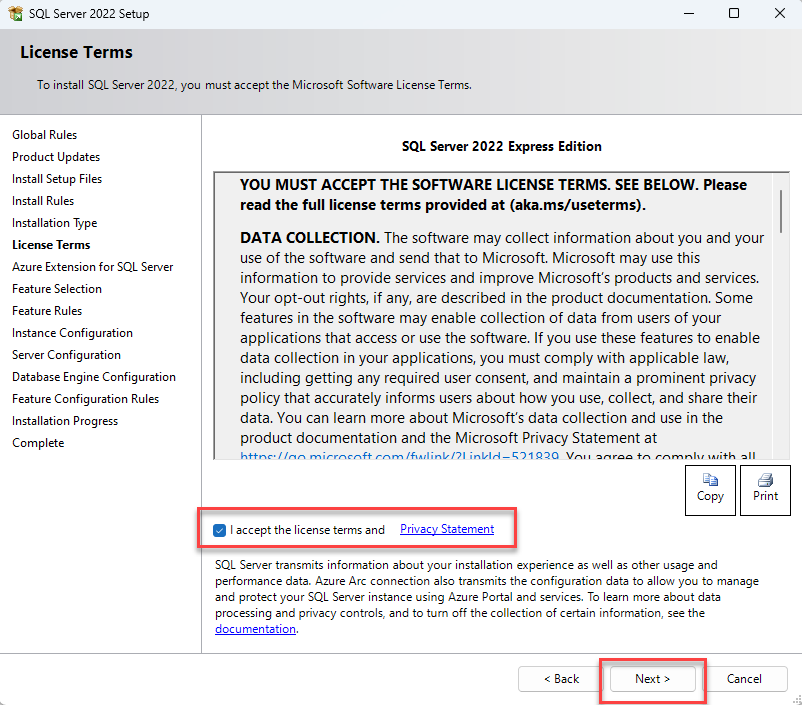
SQL will test to ensure SQL setup files can be installed, then the License Terms interface appears.Click the I Accept the License Terms and Privacy Statement checkbox and click Next.
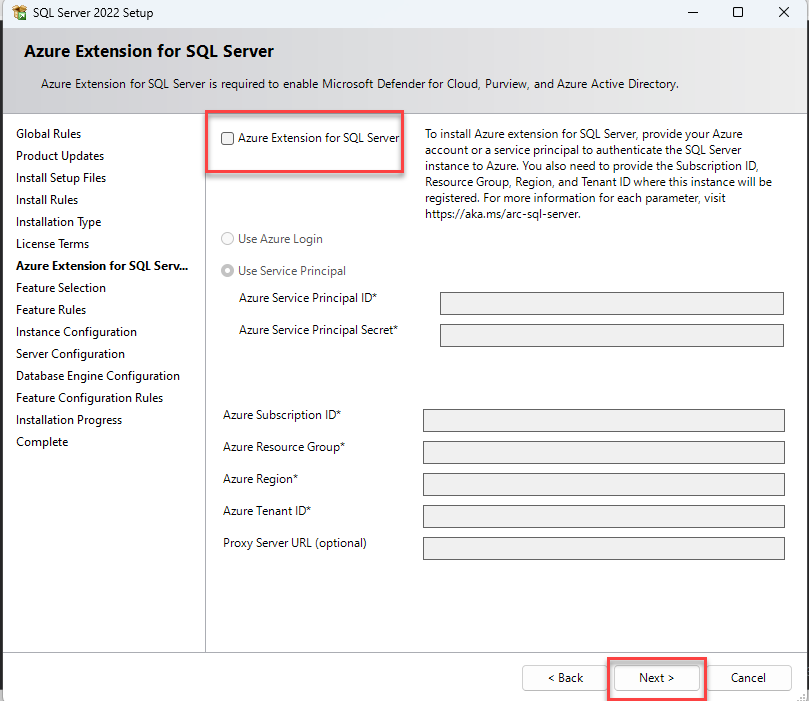
Disable Azure Extension for SQL Server (uncheck it), and click Next
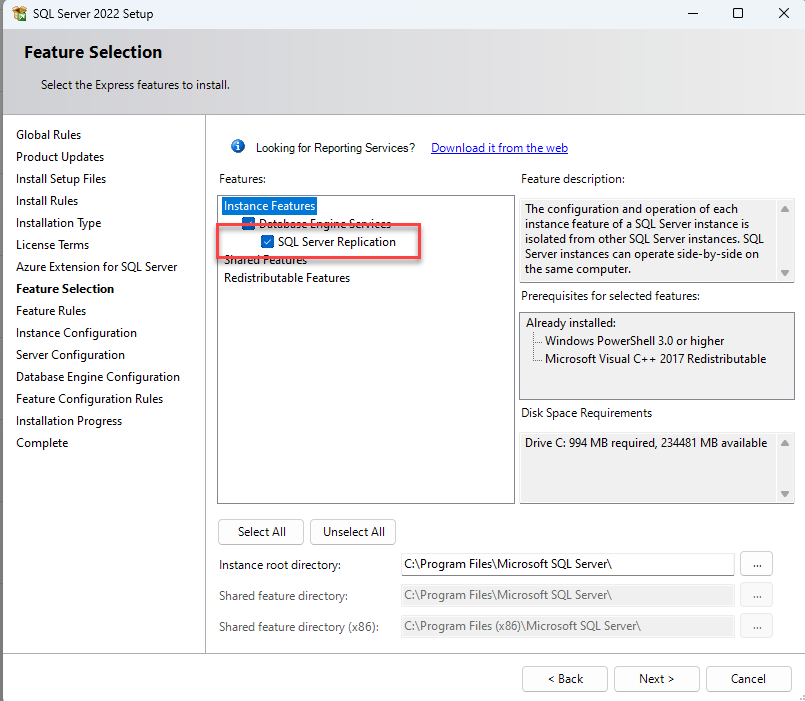
Select to disable SQL Server Replication
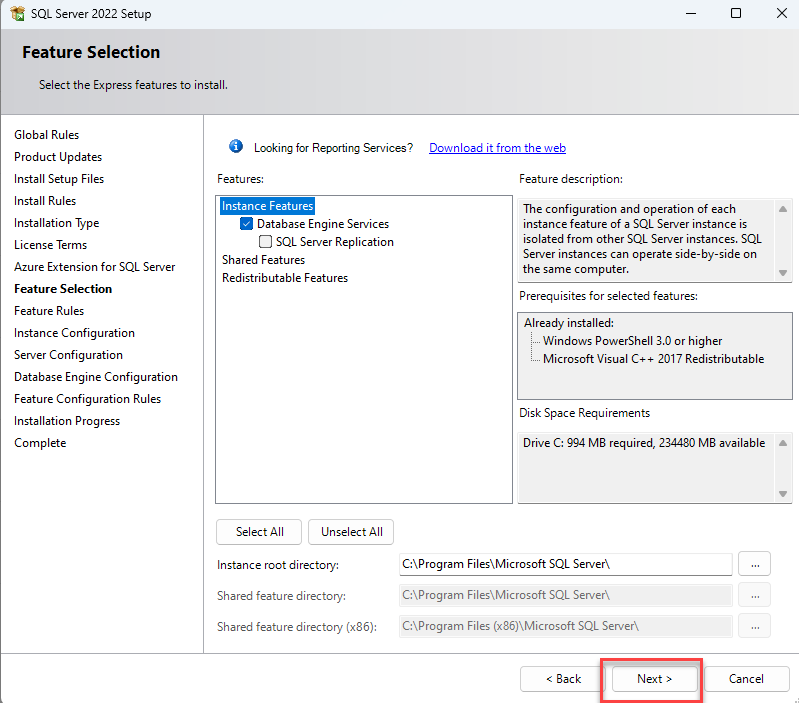
Select any additional features, as desired.Click Next.
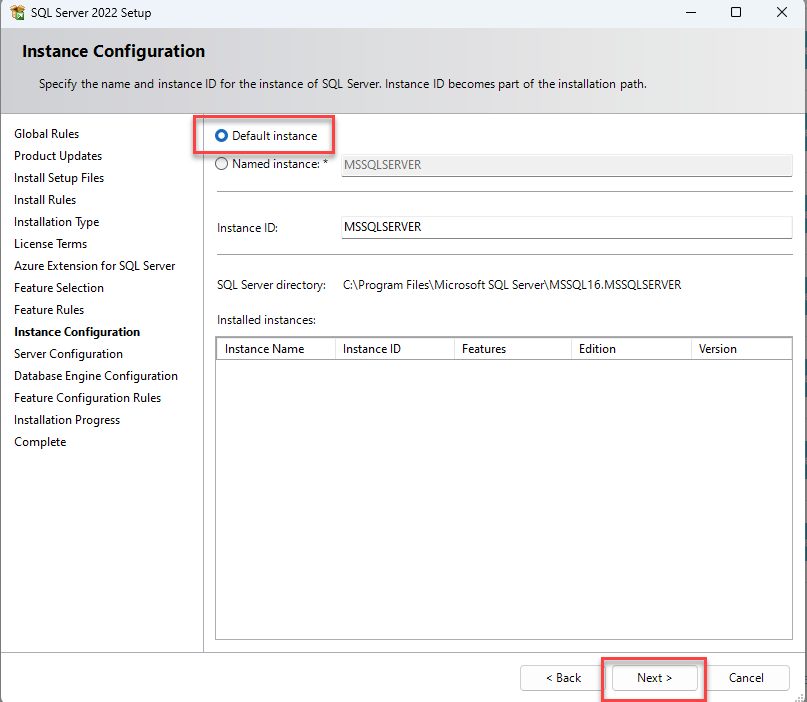
The Instance Configuration interface appears.Click the Default Instance radio button
Warning: Not using the default instance of SQL Server requires additional client setup and may result in user connection issues. Using a named instance of SQL Server will also prevent the installation of DB Tools and may result in additional IT requirements. USING THE DEFAULT INSTANCE IS HIGHLY RECOMMENDED.
The name MSSQLSERVER will automatically appear in the Instance ID text field.Click Next.
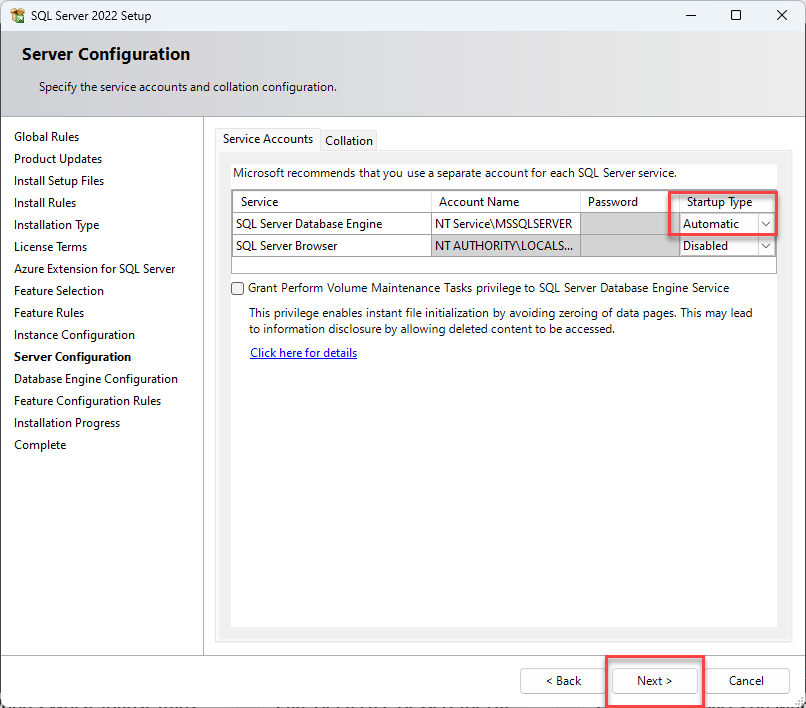
The wizard verifies the disk space requirements, then the Server Configuration interface appearsClick the Startup Type dropdown in the SQL Server Database Engine row and select Automatic from the dropdown that appear
Click Next.
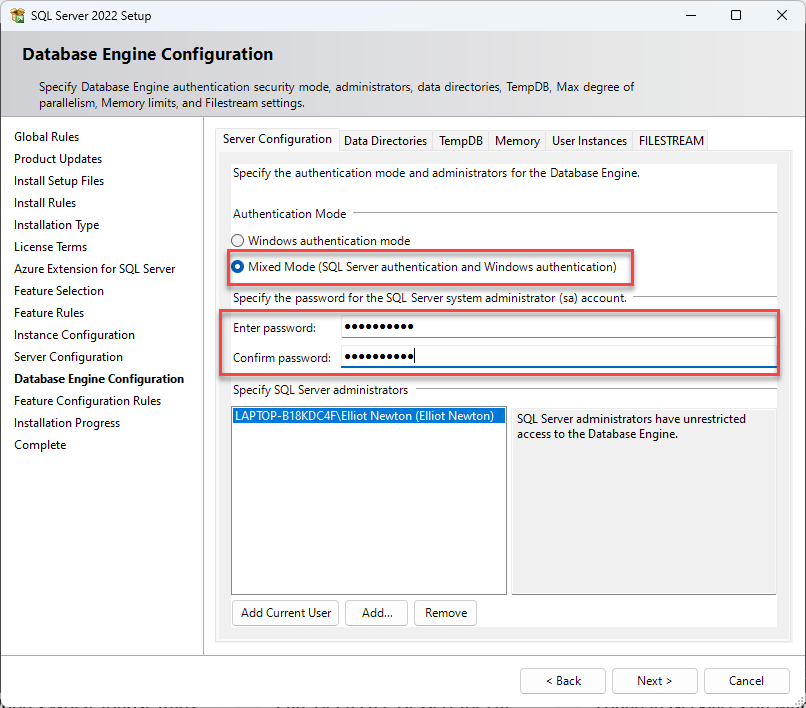
The Database Engine Configuration interface appears.Click the Mixed Mode radio button in the Authentication Mode area of the dialog.
Click in the Enter Password text field and enter your SQL Server password.
The password must meet SQL Server requirements. For more information, refer to the Strong Passwords article by Microsoft.Click in the Confirm Password text field and enter your SQL Server password again.
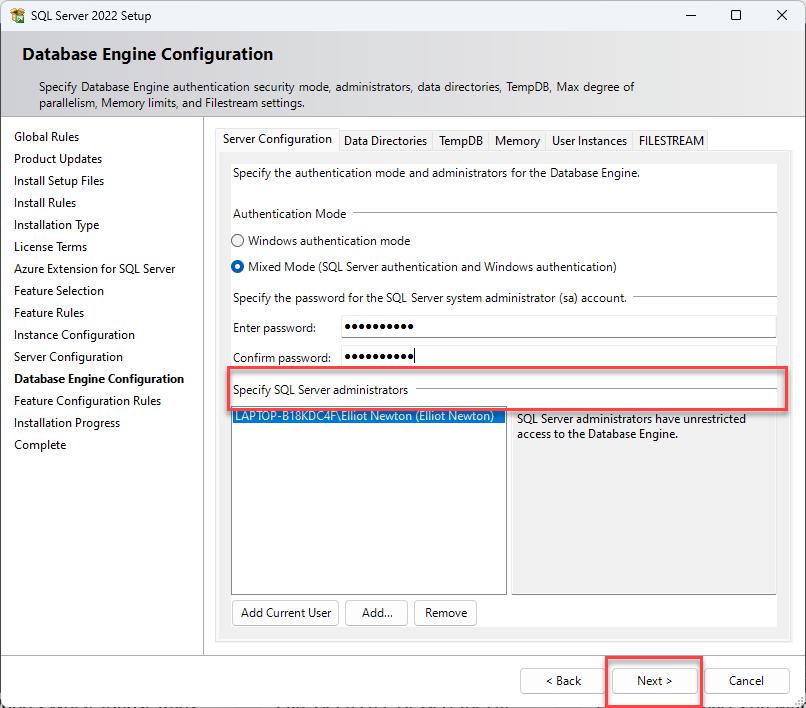
Specify any additional SQL Server Administrators, as appropriate.
The current user is added by default.Click Next.
Installation begins.
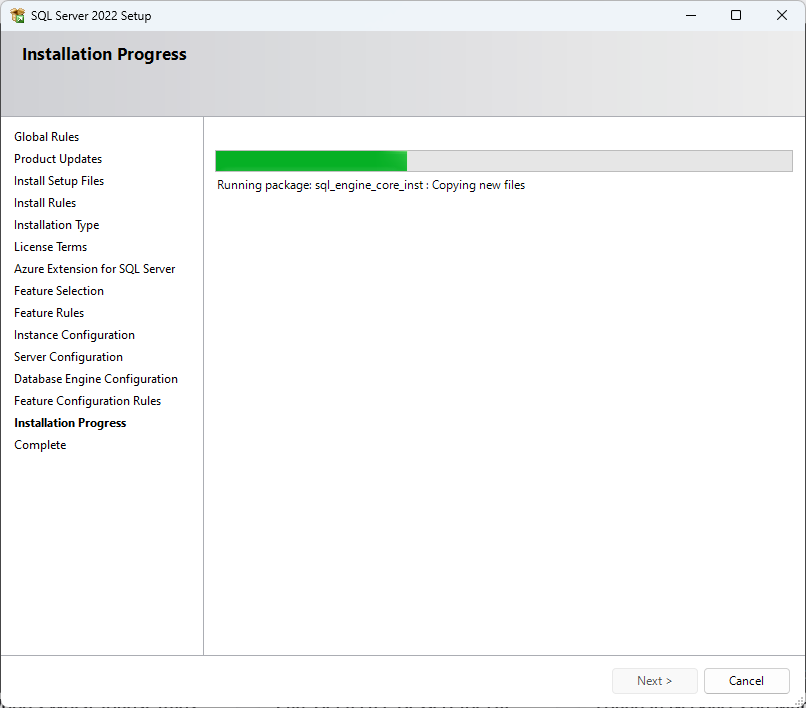
If any dialogs appear before installation finishes, click Next.
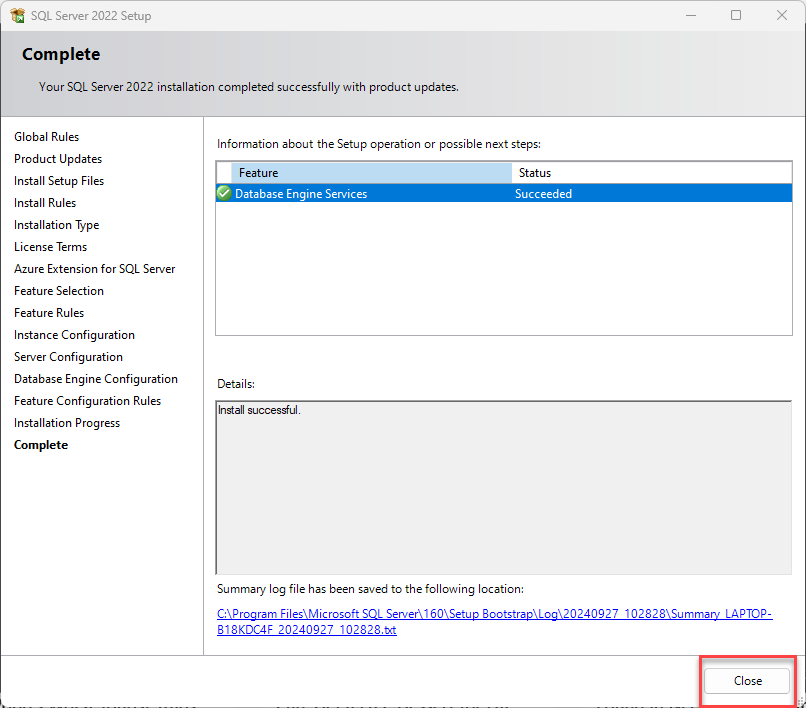
When installation is complete, the Complete interface appears.Note: If issues were detected, resolve issues and restart installation.
The Computer Restart Required dialog appears.
Click OK.
The Complete page appears.Click Close.
Restart the computer.