Layers enable you to group bays, pictures, and other objects onto the drawing page. Using layer controls, you can lock an item's position, hide items from view, etc. This section of the Avontus Designer help explain how to add items to a layer and how to manage layers and layer properties.
Adding a Layer
You can add a new layer to assign objects to it
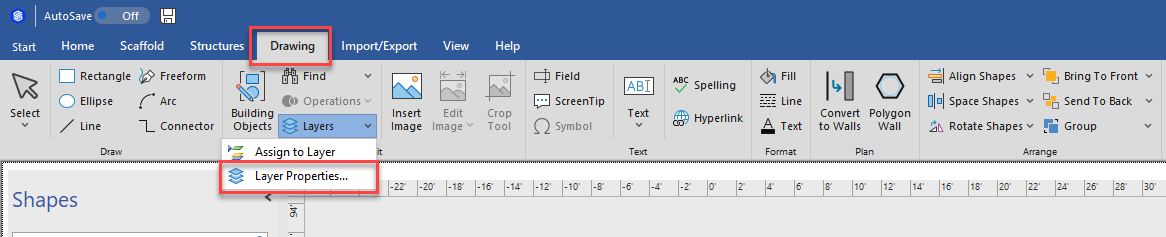
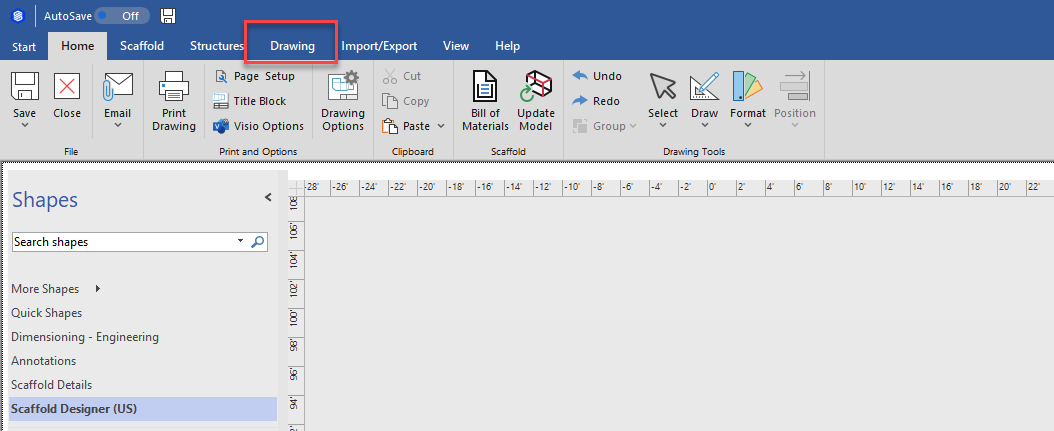
In the toolbar, select the Drawing tab.
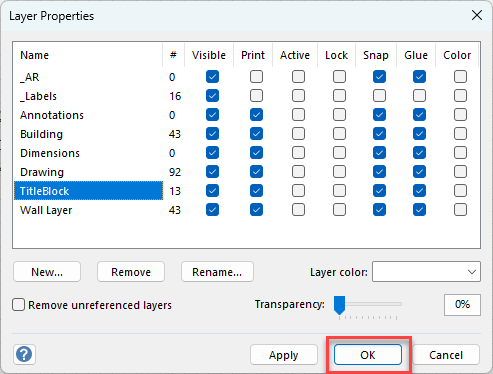
The Layer Properties dialog appears.In the Drawing tab, select Layer and click Layer Properties
.gif)
The Layer Properties dialog appears.In the Layer Properties dialog, select New

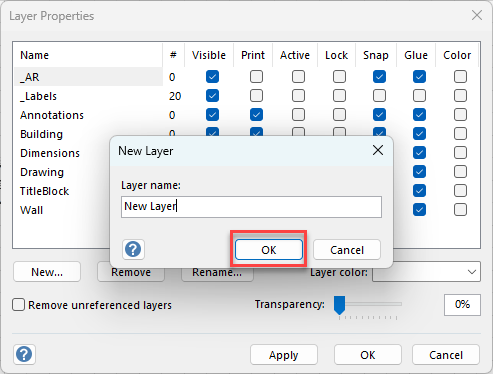
The New Layer dialog appears.Specify the name of the new layer and click OK
The new layer appears in the list of layers.

Adding Items to Layers
When you add an item to a layer, that item is visible if the layer is visible. For example. you could add Walls to the Wall later.
To add items to a layer:
Select the item(s) on the drawing page you would like to add to a layer. We will select the two walls.
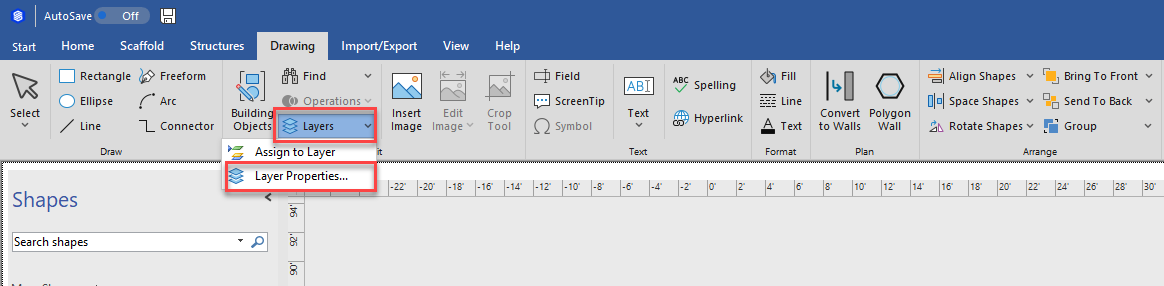
Click the Drawing tab, then click the Layers dropdown
Select Assign to Layer.
The Layer dialog appears.Click the checkbox(es) to the left of the appropriate layer name(s). In this example, we will select Walls
Note: You can also create a new layer by clicking NewClick OK
If you disable the Wall layer in the Layer Properties, the walls will be removed from the drawing
Assigning Layer Properties
Layer properties can affect the way a layer behaves. For example, you can lock a layer's drawing elements in place or disallow printing of some elements on a layer. Avontus Designer enables you to assign properties to many items on a layer in a drawing.
To assign layer properties:
Click the Drawing tab, then click the Layers dropdown and select Layer Properties.
The Layer dialog appears.To enable/disable options, click the appropriate checkbox(es).
Common options include:
Visible
When enabled, items assigned to this layer will be visible on the drawing page. When disabled, items will be hidden from the drawing page but may still be included in calculations, selections, and other actions.
Print
When disabled, items assigned to this layer will not be included in printed copies of the drawing.
Active
Automatically assigns shapes to active layers when the shapes are added to the diagram.
Lock
When enabled, items assigned to this layer will be locked in their current state. Locked items cannot be moved, selected, or edited.
Snap
Turns the snap function on or off for that layer.
Glue
Turns the glue function on or off for that layer.
Color
Shows or hides the layer color.
Remove Unreferenced Layers
When selected, layers that have no assigned items will be removed from the list, leaving just the layers in use.
For example, we can disable the Visble checkbox of the Wall layer
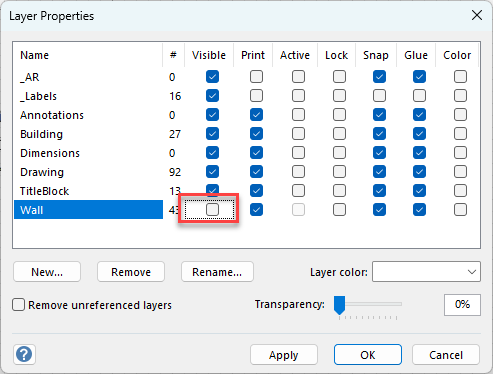
Click OK and any items assigned to the wall will be visible.

Renaming a Layer
You can rename a layer at any time to suit your needs.
To rename a layer:
In the toolbar, select the Drawing tab
The Layer Properties dialog appears.In the Drawing tab, select Layer and click Layer Properties
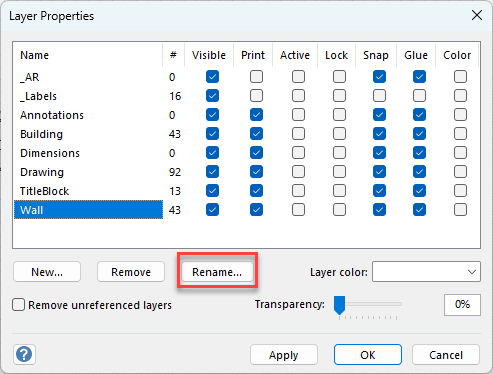
The Rename Layer dialog appears.Click the appropriate layer to select it, then click Rename.
Click in the text field and enter the name of the new layer.
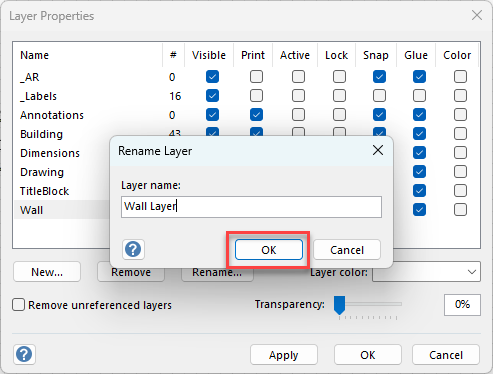
The Layer Properties dialog returns.Click OK.
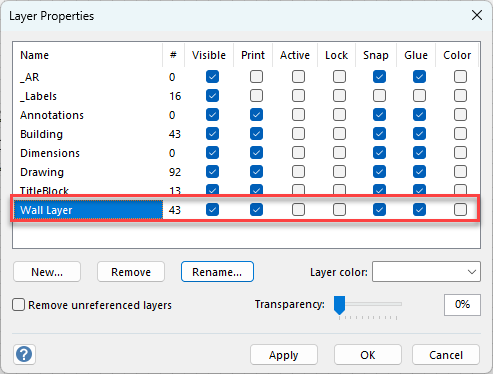
The Layer Properties dialog returns.
The layer name will be changed
Removing a Layer
You can remove any layer at any time.
To remove a layer:
Click the Drawing tab, then click the Layers dropdown and select Layer Properties.
The Layer dialog appears.In the Drawing tab, select Layer and click Layer Properties
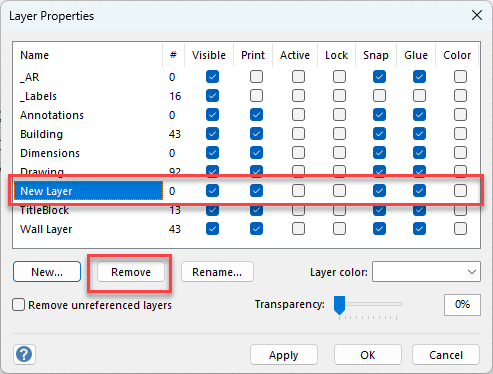
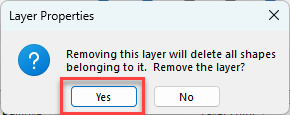
Click the appropriate layer to select it, then click Remove.
Click Yes to confirm the removal of the layer.
The layer will be removedClick OK