The Notifications screen is where a user can see any changes made to a Scaffold or Request that they have selected to “watch”. It is a vital tool in tracking what changes have been made to the Scaffolds or Requests on your job site.
Users also have the ability to "watch" Scaffolds or Requests so that they receive a notification in ScaffoldIQ whenever there is a change to the Request or Scaffold. The Notifications screen provides an overview of these watched Requests or Scaffolds.
For more information on "watching" Scaffolds, please visit the Watching a Request/Scaffold or Activity guide.

Note: You can double-click on the notification in the table to view the Activity, Scaffold, or Request details where you can complete the required task or view the change that was made.
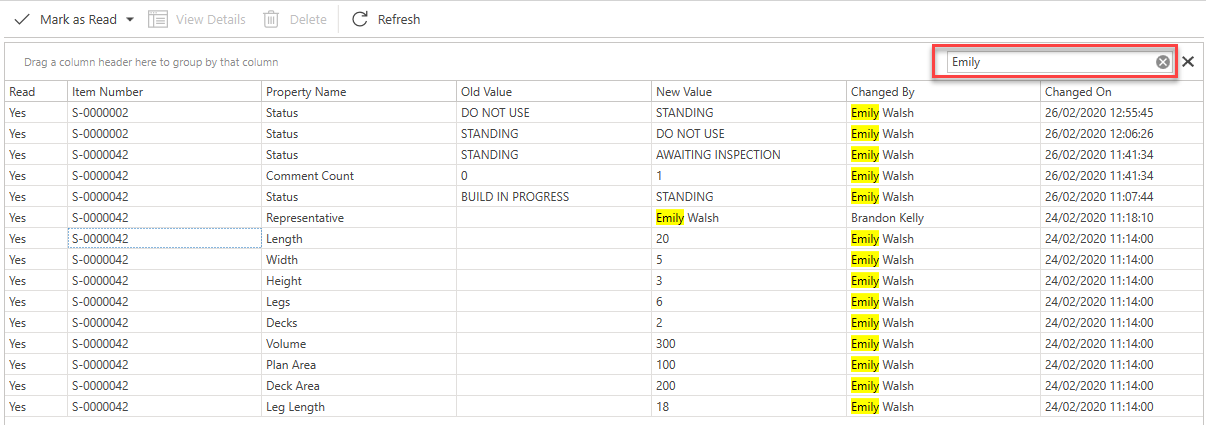
The Notification grid contains the following columns:
Column | Purpose |
Read | Indicates whether this notification has been read or unread. |
Item Number | The scaffold or request the change was made on. |
Property Name | What was changed such as an approver moving the status of a request from initial approval to secondary approval. |
Old Value | The original value. |
New Value | The new value. |
Changed On | When the date the user made the change. |
Changed By | Who made the change. |
Toolbar
![]()
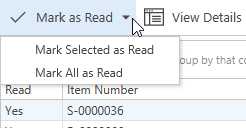
Mark as Read
The Mark as Read option changes the Read status of the entry from No to Yes. You are given the option to read the selected notification or all notifications. You can also mark multiple notifications as read by holding shift or ctrl and selecting the notifications. Selecting Mark All as Read will change all unread notifications to read notifications.
View Details
Double-click on a notification to open the details for that scaffold or request.
Note: Alternatively, you can select the View Details button.
![]()
Delete
To delete a notification, click once on a notification and click the Delete button.
![]()
You can delete multiple Notifications, by holding down Ctrl and selecting the notifications you wish to delete.
Refresh
Reload the data within the table.
![]()
Column Filtering
On each column heading is a key icon that allows you to filter on that particular column.
![]()
For more information on filters, visit the Working with Filters guide.
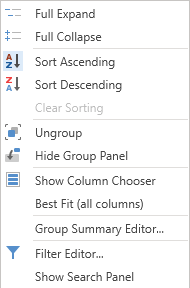
Left-click on a column to switch between ascending and descending order of that column. Right-click on the column to reveal more options, including:
Group by column
Hide/show group column
Show column Chooser
Best Fit
Best Fit (all columns)
Filter Editor.
Note: You can find more information on these options in the Grouping section.
Searching
To search for specific content, select the magnifying glass at the top right of the table.
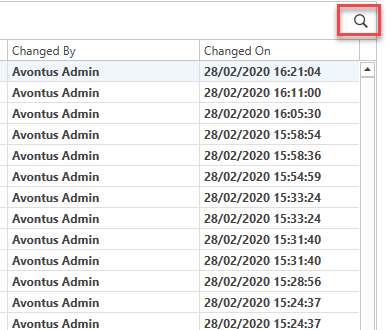
Then type the content you wish to find. You can search any column in the table.
Note: You can search for content from all columns.