Rooms are, basically, four Wall shapes permanently joined and that act as a single object on the page. Each Wall of a room has the same properties for width, length, thickness, height and bottom elevation. You cannot adjust or move them independently.
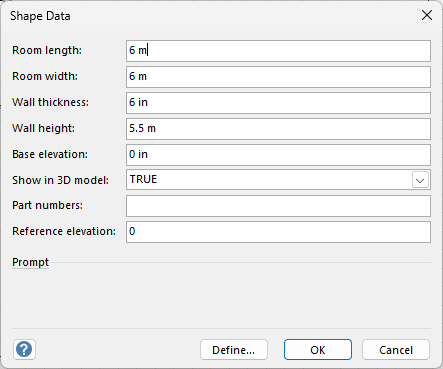
You can modify the Wall's size in the Shape Data dialog
Tip: If you create Scaffolding inside a Room, the solidity of the Room's Walls will prevent you from seeing all sides of the Scaffolding. Use Visio's Format Shape feature to increase the transparency of the Walls and change their color to the one that best suits the situation.
Adding Scaffolding to a Room
Once you add a Room structure to the Drawing Page, Avontus Designer automates the creation of interior or exterior Scaffolding, based on parameters you define.
To add Scaffolding to a Room:
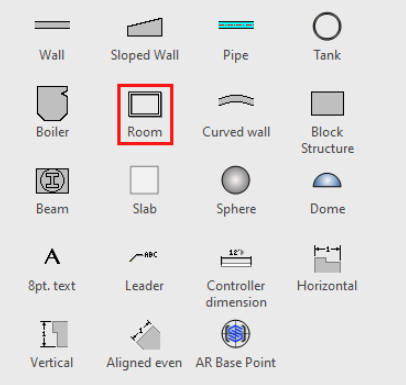
Drag in a Room from the left.
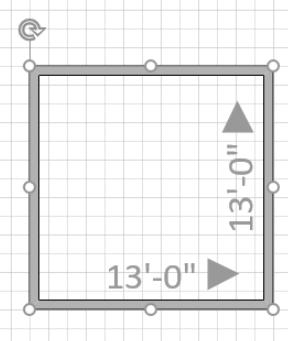
Click the Room to highlight it.
Click the Structures tab and click Wall Scaffold.
.gif)
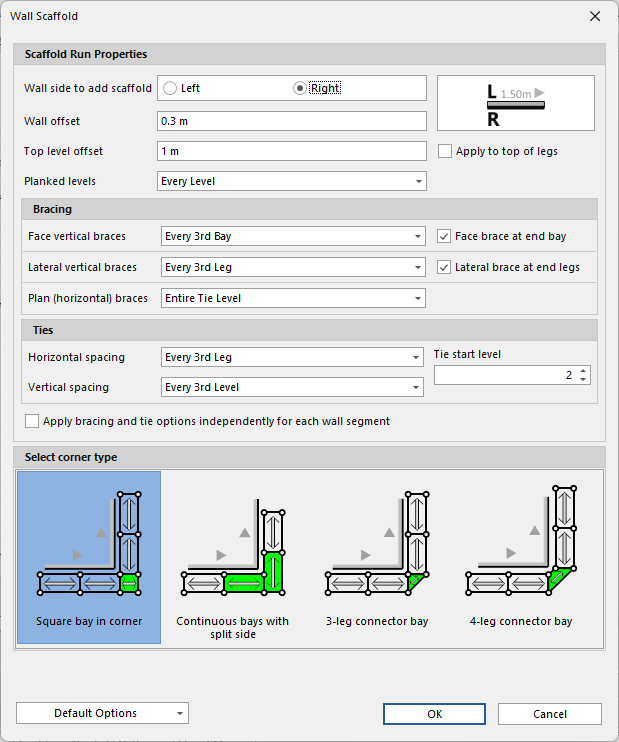
The Wall Scaffold dialog appears.Configure the Scaffolding as appropriate. For more information about the features in this dialog, refer to Working with Wall Scaffolds.
Note: By default, Avontus Designer places the reference line on the inside of Rooms. Therefore, if you click the Left radio button, Avontus Designer places Scaffolding on the inside of the Room. If you click the Right radio button, Avontus Designer places the Scaffolding on the outside.
Click OK.
Avontus Designer adds the scaffolding to the Room.
Viewing Scaffolding Inside Rooms
By default, Rooms are not transparent. So, when you add Scaffolding to the interior of a Room, you cannot see its external sides. To help with this, use Visio's Format Shape tool to make that Wall transparent.
To view Scaffolding inside a Room:
Add a Room to the Drawing Page and add Scaffolding to the Room.
Please ensure the scaffold is on the inside by selecting Left on the Wall side to add scaffolding.

Right-click the Room and select Format Shape from the menu that appears.
Click the Bucket icon and click Fill.
The Format Shape popup refreshes, displaying the tools for defining the fill of the Room's Walls.Click in the Transparency text field, highlight the existing number, enter 50 and press the Tab key on your keyboard. This increases the transparency from the default of zero to 50%.
Click OK.
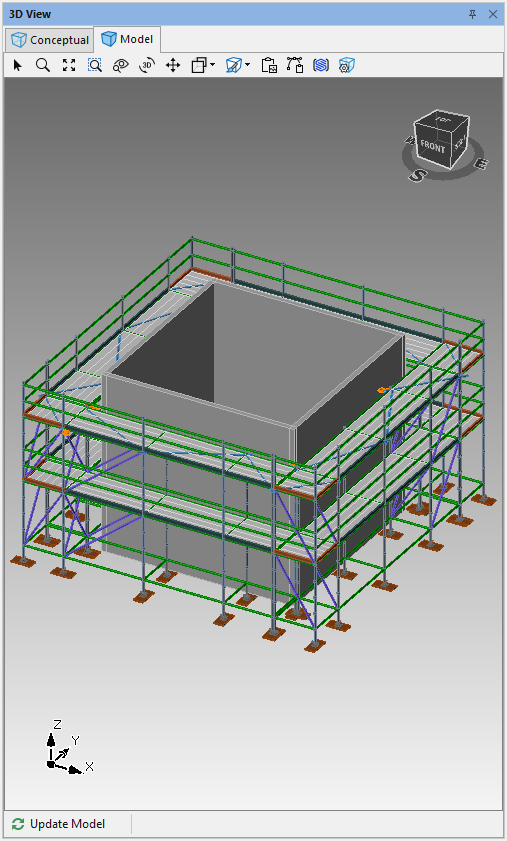
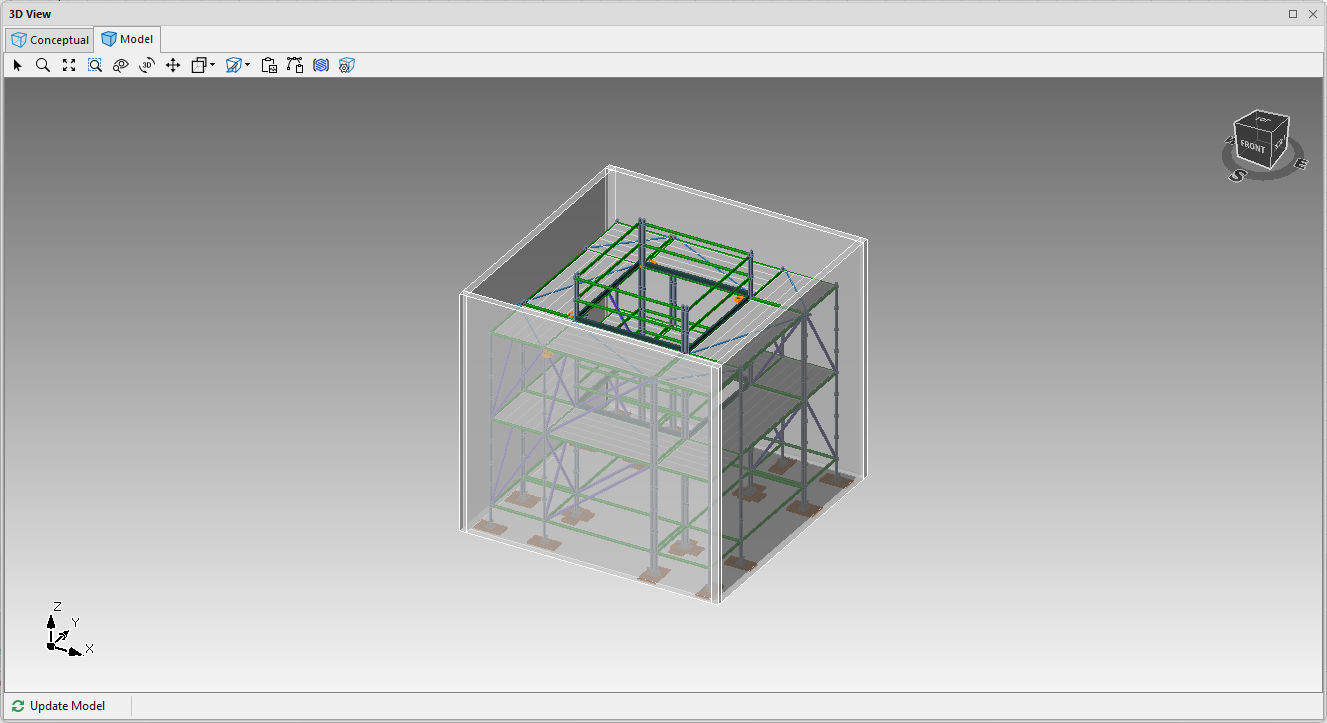
Click the Model tab in the 3D View pane.
You can see the exterior sides of the Scaffolding through the Walls.
If the transparency is too much or not enough, do steps 4. and 5. until you have adjusted the transparency to suit your needs.