The article provides most of the information you need to work with Scaffold Units. The rest of the information is contained in the following sub-pages: Available Unit Types and Applicable Parameters and Saving Custom Units for Use in Other Drawings.
Adding and Deleting Scaffold Units
Avontus Designer will not allow you to edit the Scaffold Units in the default list; therefore you must delete the original unit(s) and create a new custom unit(s). For example, to change the Total Volume calculation from Top Guardrail to Top Deck, you have to delete the Total Volume calculation (Top Guardrail) and add the Total Volume calculation (Top Deck).
To change a parameter in the default list:
Click the Home tab and then click Bill of Materials.
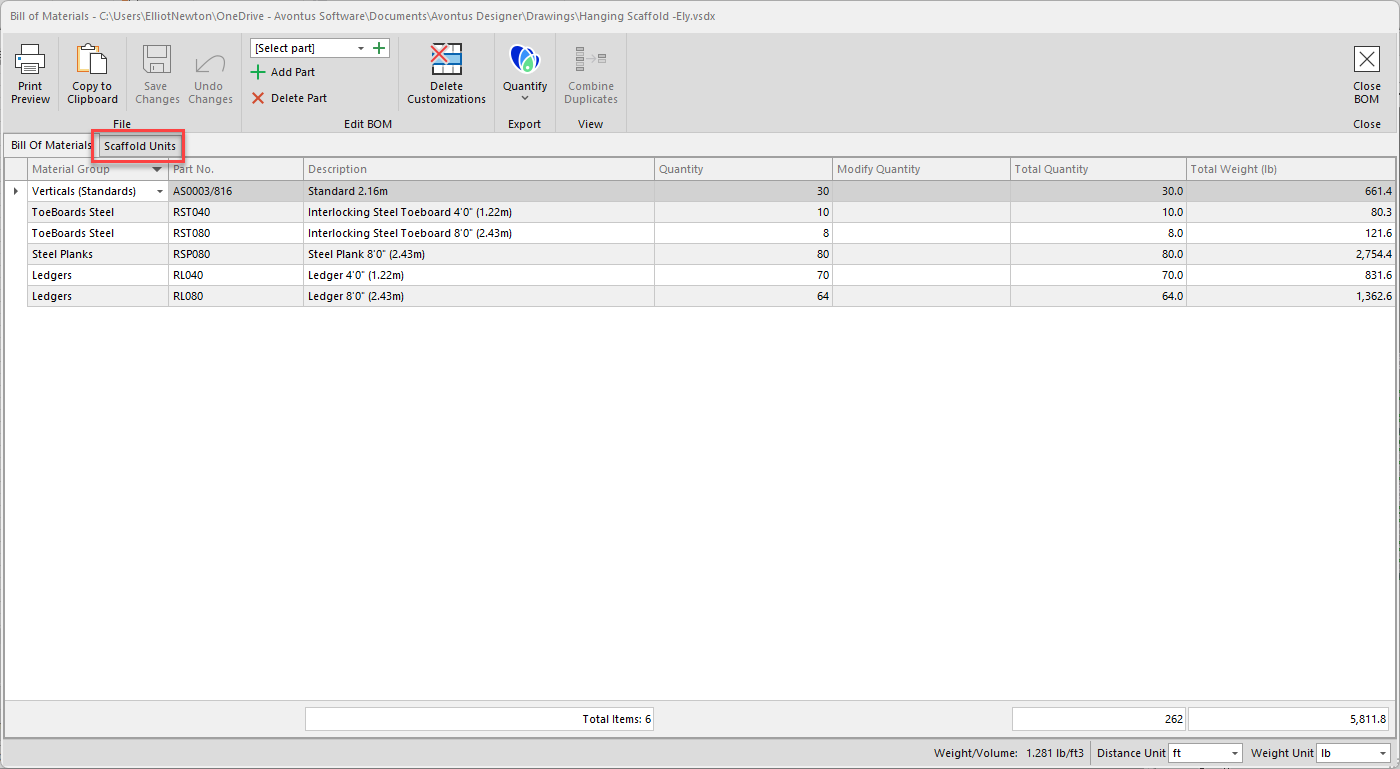
The Bill of Materials dialog appears.Click the Scaffold Units tab.

Locate and click the Scaffold Unit you want to delete, then click Delete Unit.
Avontus Designer deletes the Scaffold Unit.
Adding a Scaffold Unit
Click the Select Unit dropdown and select the appropriate unit from the menu that appear
Then click Add Unit
Note: You can also click the green + icon.

The Scaffold Unit appears at the bottom of the list of units.
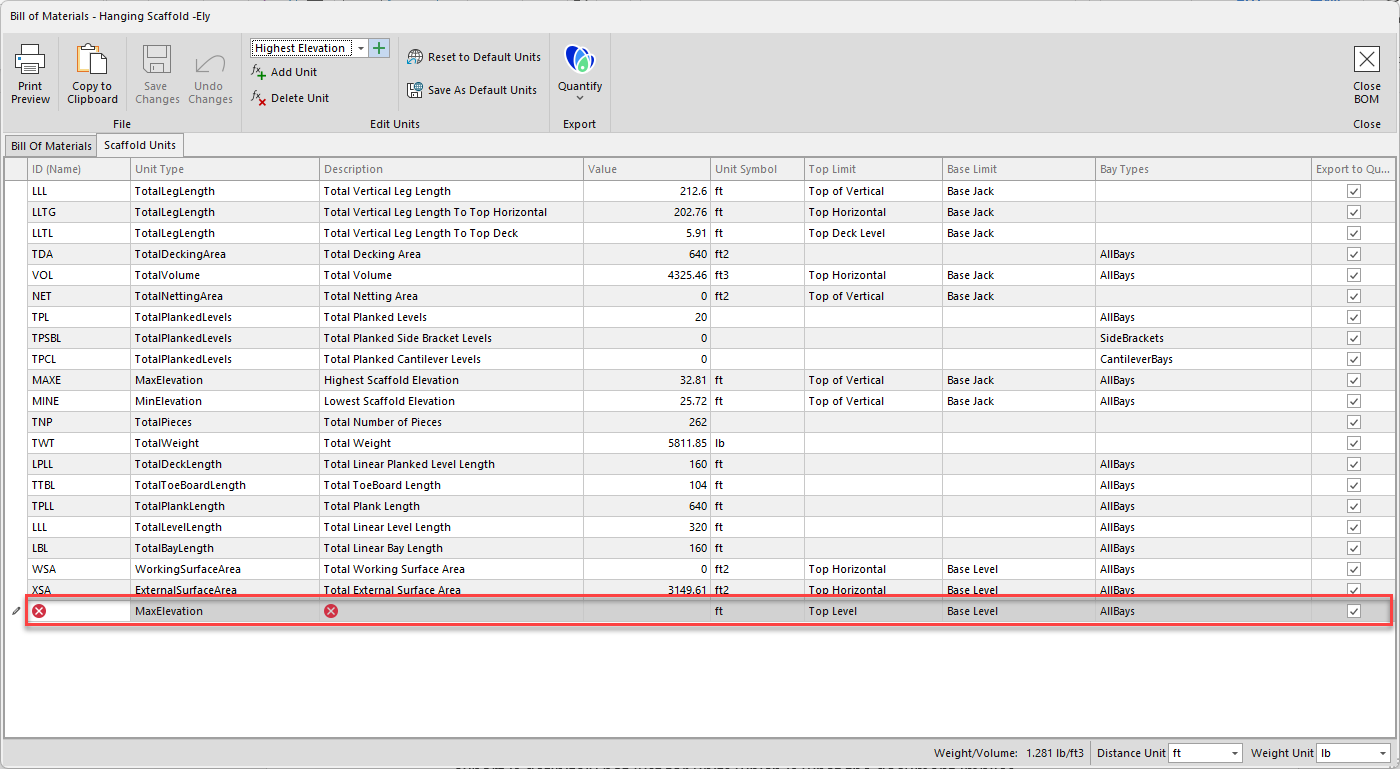
Configure the new Scaffold Unit.
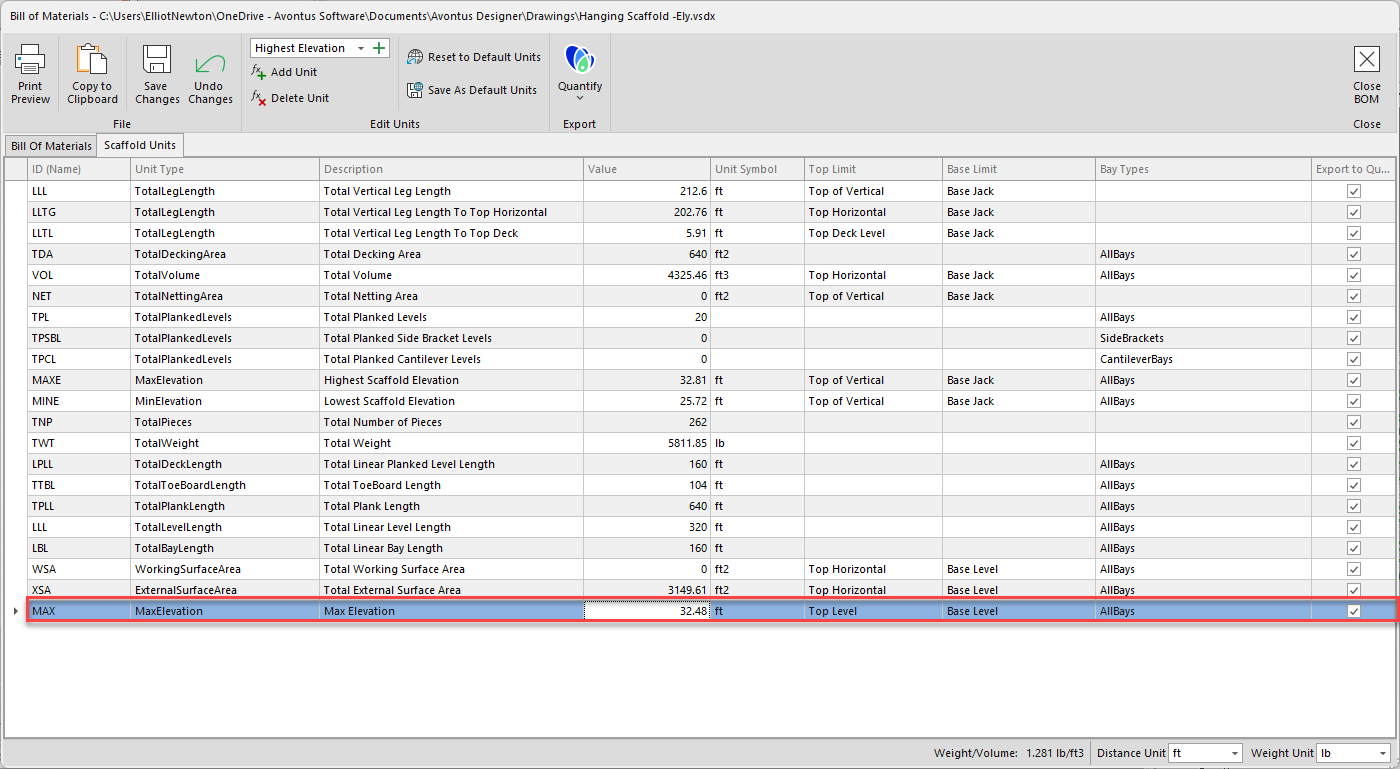
Click in the unit's cell in the ID column and enter the identifier for the new unit. This has to be unique.
Click in the unit's cell in the Description column and enter a description of the new unit.
Click in the unit's cell in the Top Limit column and select the top limit for the new unit.
Click in the unit's cell in the Base Limit column and select the base limit for the new unit.
Click in the unit's cell in the Bay Types column and select the types of bays the new unit will apply to.
Click in the unit's checkbox in the Export to Quantify column to include the new unit exports to Quantify.
Exporting Scaffold Units
Avontus Designer enables you to export the list of Scaffold Units in the following formats:
Excel
PDF
Web File
Text File
Image File
Quantify
To Export Scaffold Units:
Click the Home tab and then click Bill of Materials.
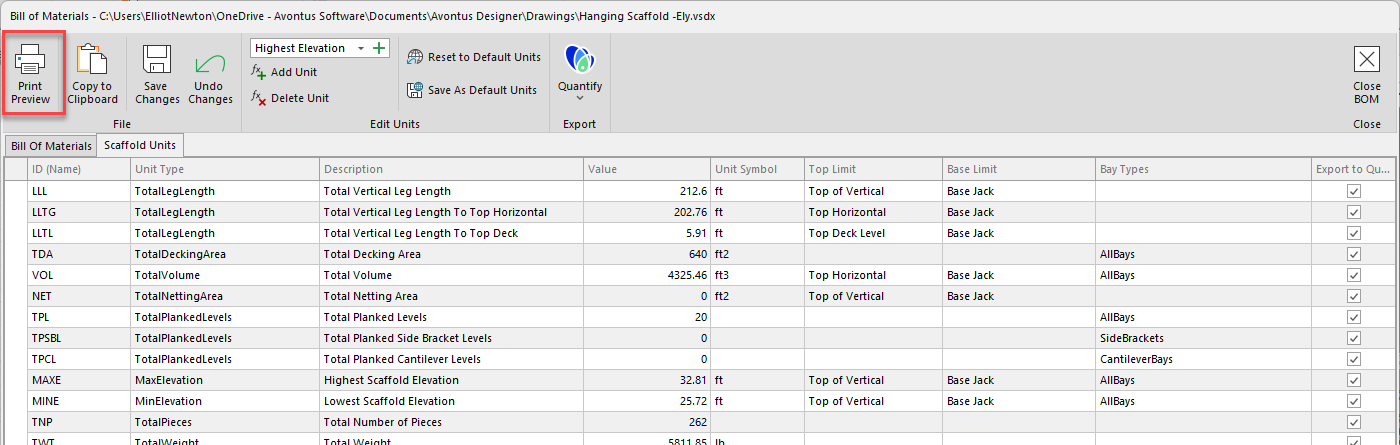
The Bill of Materials dialog appears.Click the Scaffold Units tab
Click Print Preview.
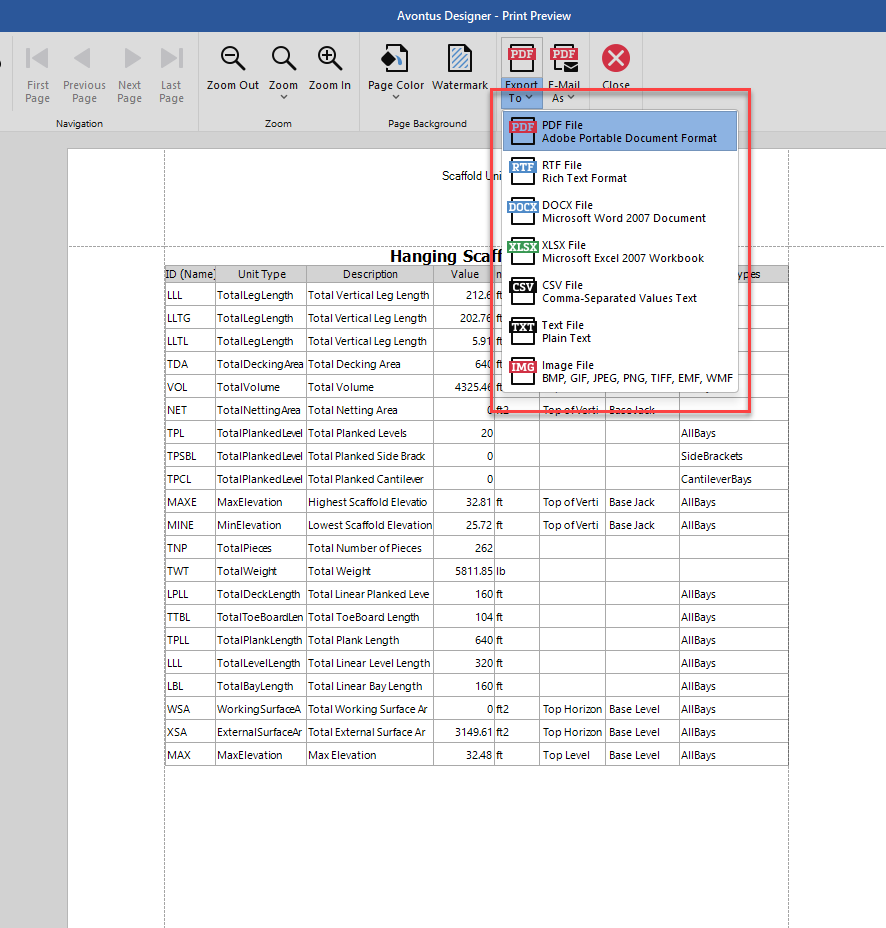
The Print Preview dialog appears.
Click the Export menu and select the desired format from the Export To sub-menu.
Exporting BOM with Scaffold Units to a Quantify File
Avontus Designer enables you to export the BOM with Scaffold Units in a format that Quantify users can share. Avontus Designer will only export Scaffold Units with Export to Quantify checked (this applies only to Export to Quantify - all Scaffold Units will be exported to other formats regardless of this check box).
To export Scaffold Units to a Quantify file:
Click the Home tab and then click Bill of Materials.

The Bill of Materials dialog appears.Click the Scaffold Units tab,
Click the Export to Quantify checkbox for each unit you want to export.

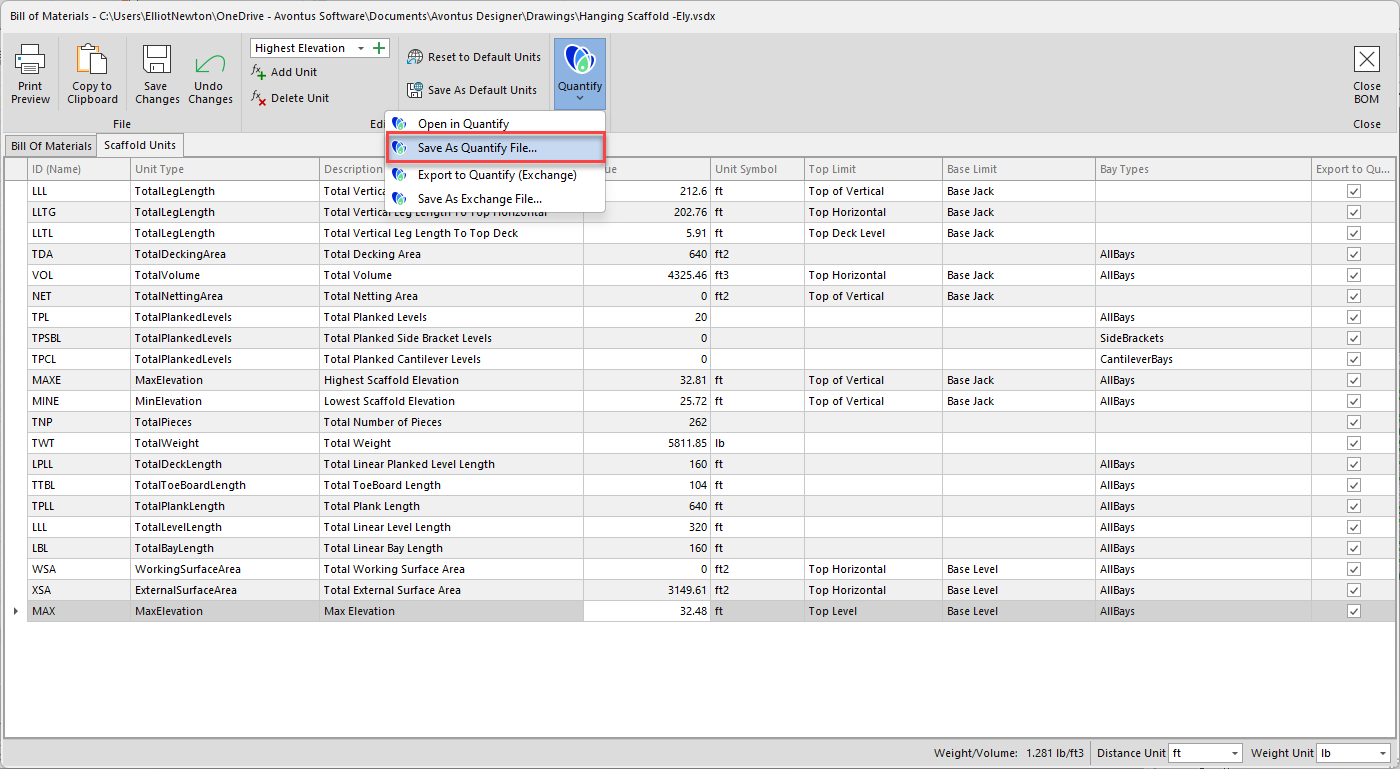
Click the Quantify menu and select Save As Quantify File.
The Quantify Import File dialog appears.
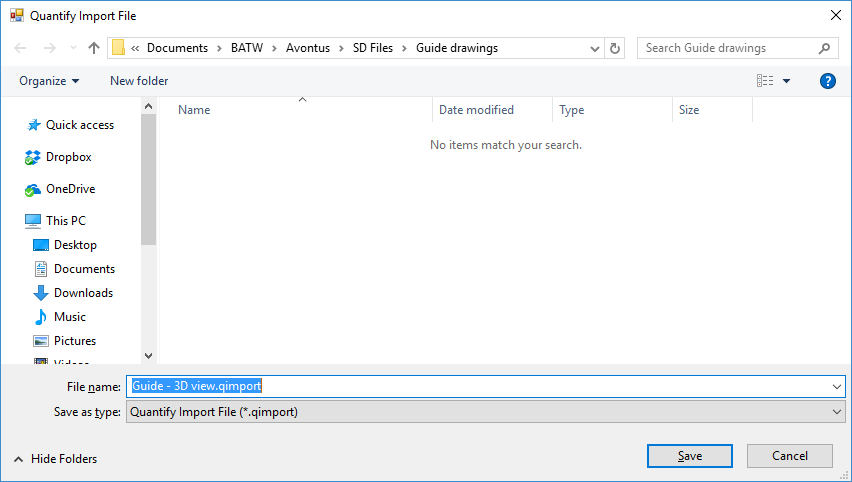
Navigate to the folder into which you want to save the file, then click Save.
Avontus Designer saves the file into the selected folder.
Opening the List of Scaffold Units in Quantify
Avontus Designer enables you to either open the list of Scaffold Units directly in Quantify, or to export it to share with Quantify users. Only Scaffold Units with Export to Quantify checked will be exported (this applies only to Open in Quantify - all Scaffold Units will be exported to other formats, regardless of this check box).
To open the list of Scaffold Units in Quantify:
Click the Home tab and then click Bill of Materials.
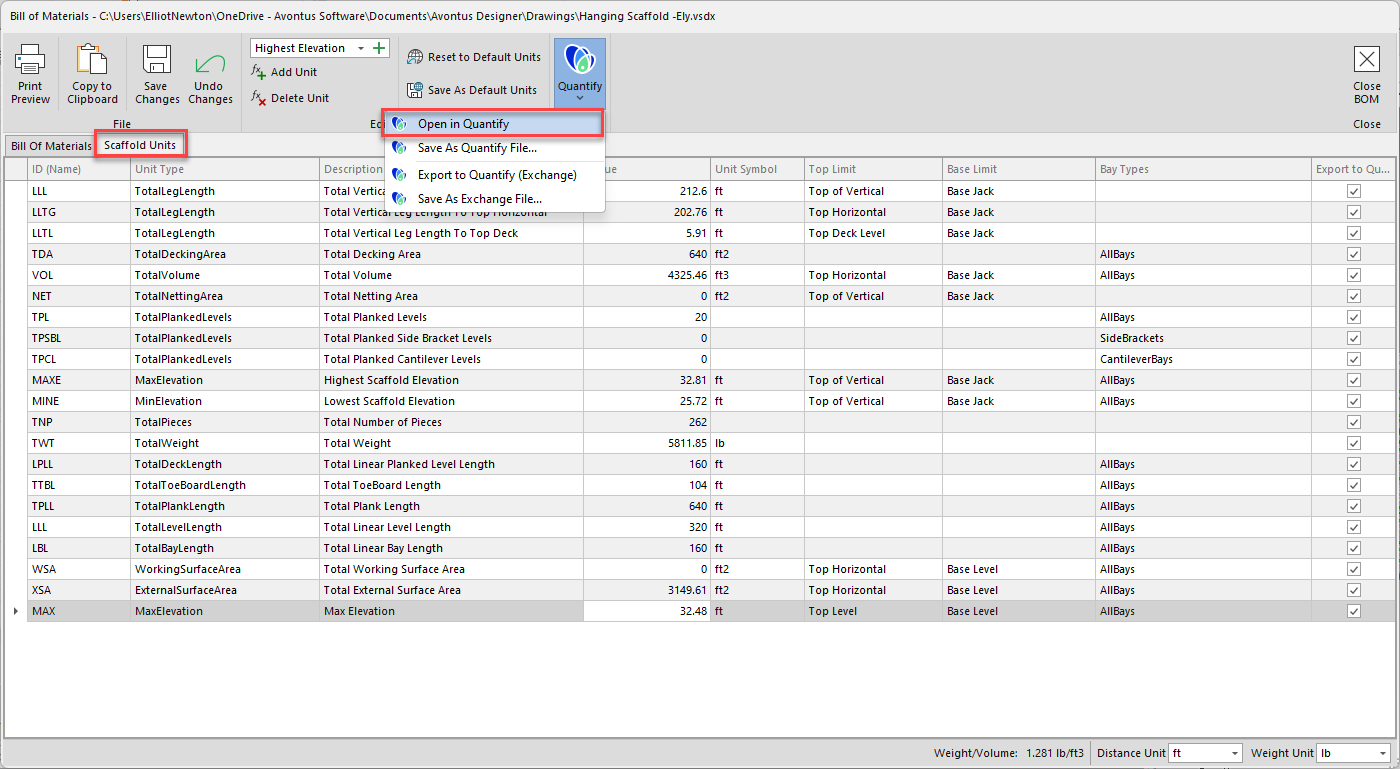
The Bill of Materials dialog appears.Click the Scaffold Units tab, then click the Quantify menu and select Open in Quantify.
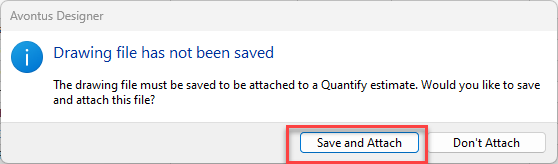
Save and Attach the drawing file
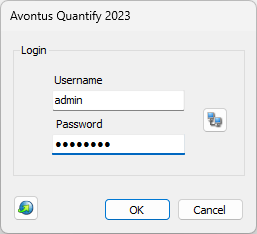
Log in to Quantify
Export as Quantify Exchange file
Click the Home tab and then click Bill of Materials.
The Bill of Materials dialog appears.Click the Scaffold Units tab,
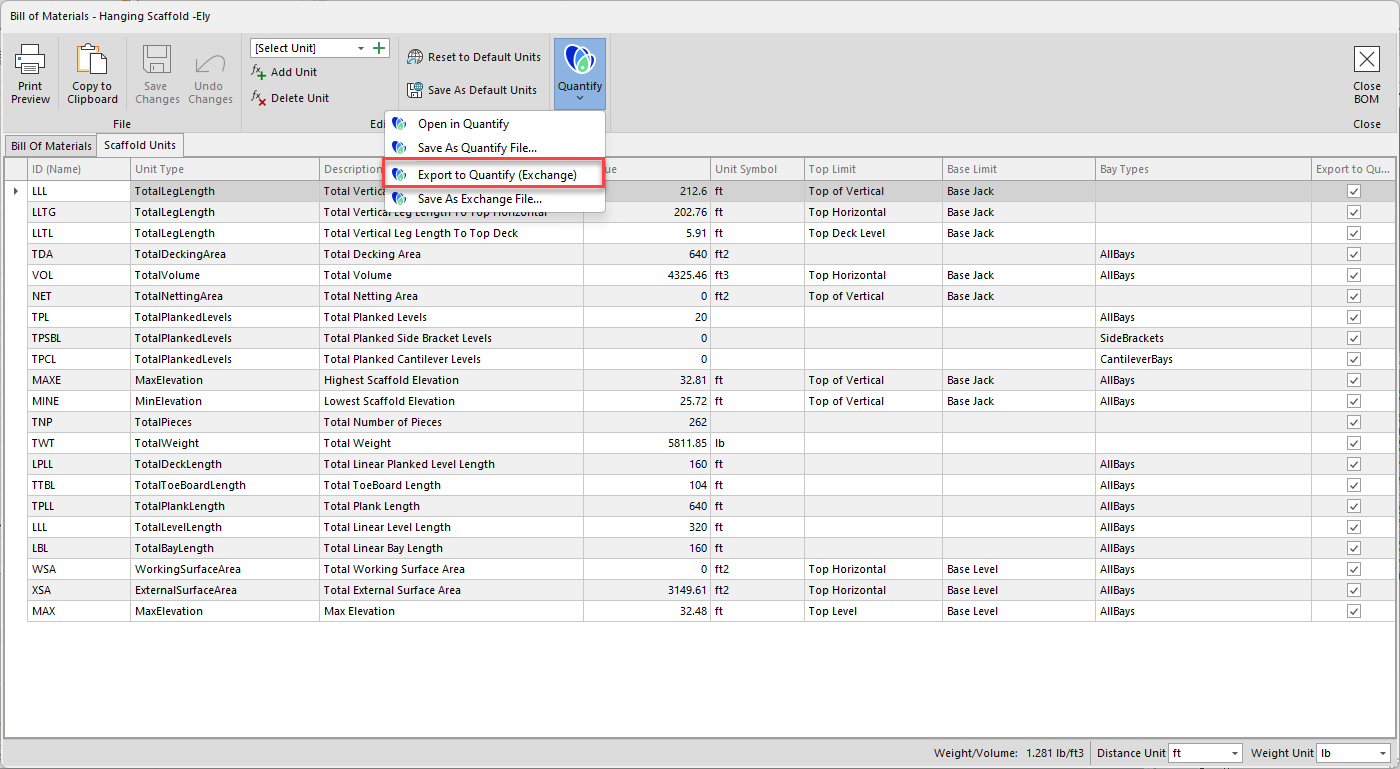
Click the Export to Quantify checkbox for each unit you want to export.
Click the Quantify menu and select Export to Quantify (Exchange)
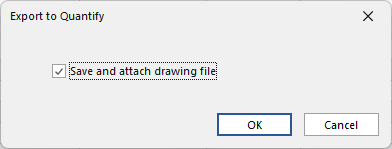
Select to save and attach the drawing file and click OK
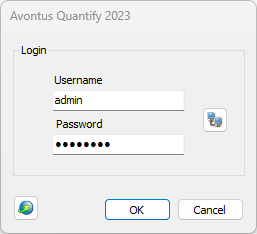
Log into Quantify
Save as Quantify Exchange file
Click the Home tab and then click Bill of Materials.
The Bill of Materials dialog appears.Click the Scaffold Units tab,
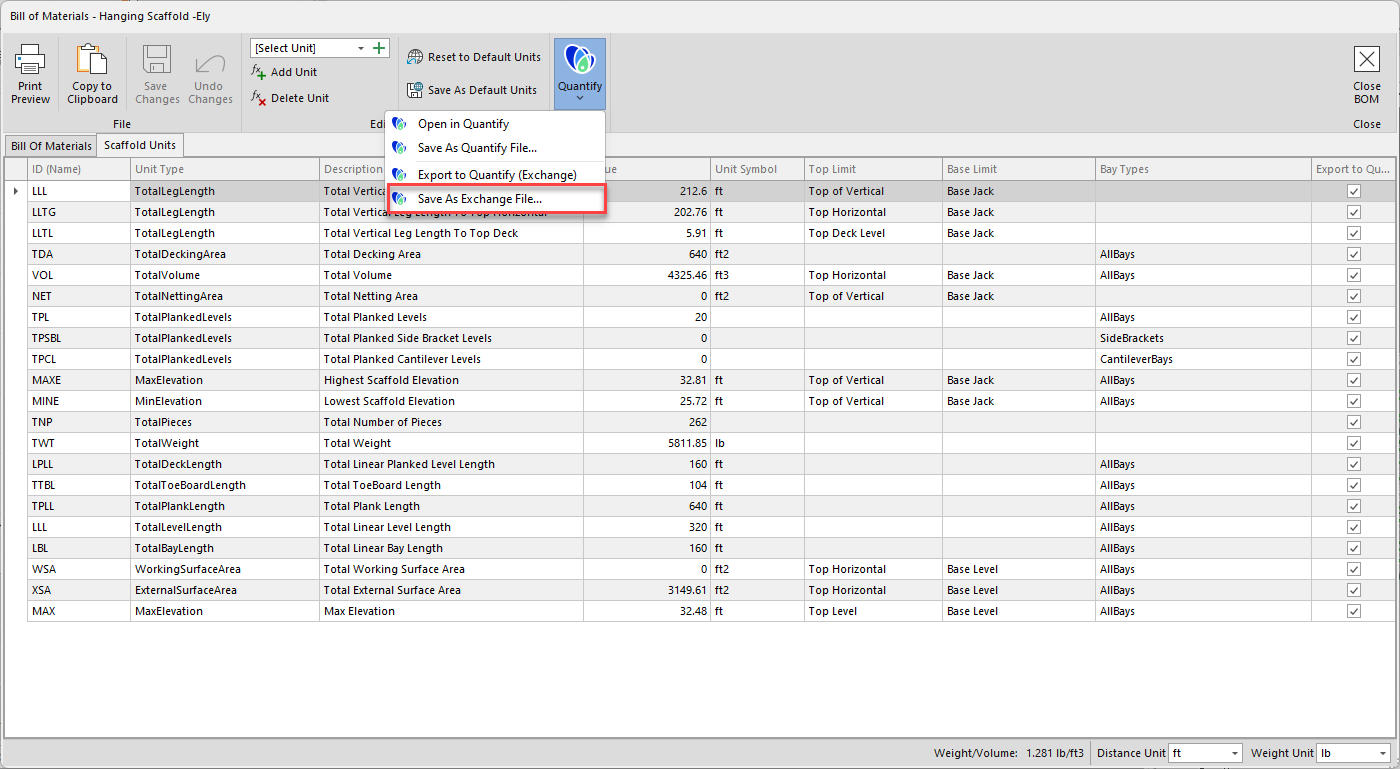
Click the Export to Quantify checkbox for each unit you want to export.
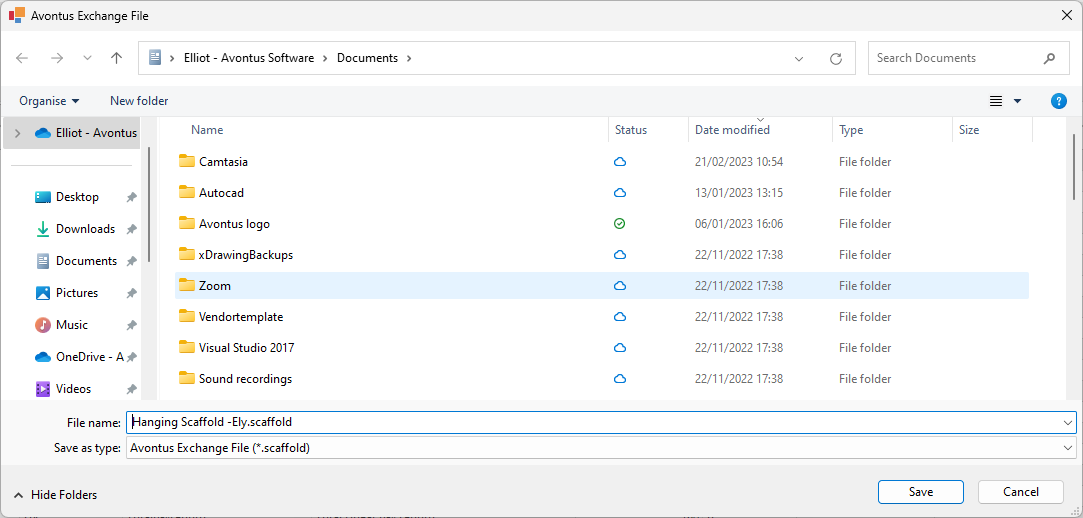
Click the Quantify menu and select Save As Exchange File
Save the file
Select to save and attach the drawing file and click OK
Next, import the file into Quantify. Please see Integrating with Quantify for more information.