Quantify enables you to add an image to a Scaffold Register. Once added, that image will be the main image in the Quantify Web Map tab.
Requirements:
- The images must be in the PNG or JPG format and the file suffix must be .jpg, .png or .jpeg.
- The file name of the image must contain the word googlepicture and must not have any spaces. For example:
TAG1-GOOGLEPICTURE.png
tagabcgooglepicturejan052017.jpeg
Adding an Image Through the Quantify Interface
You can add an image to the Attachments sub-tab of the Scaffold Register tab.
To add an image through the Quantify interface:
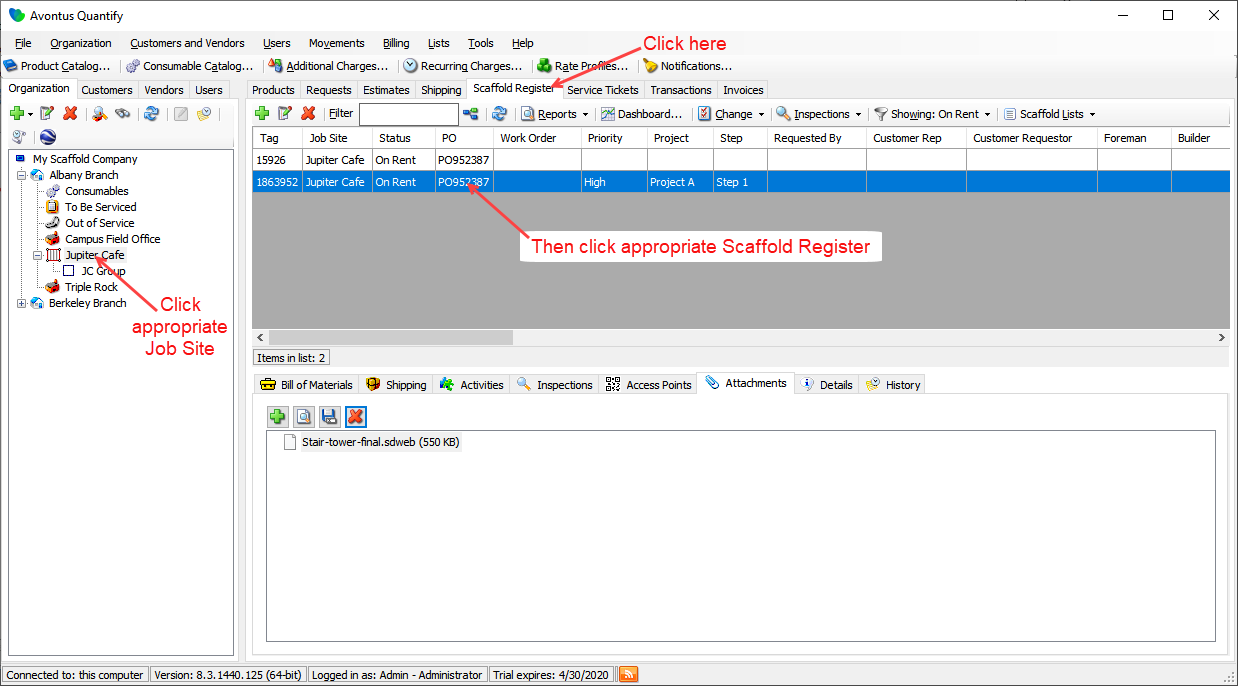
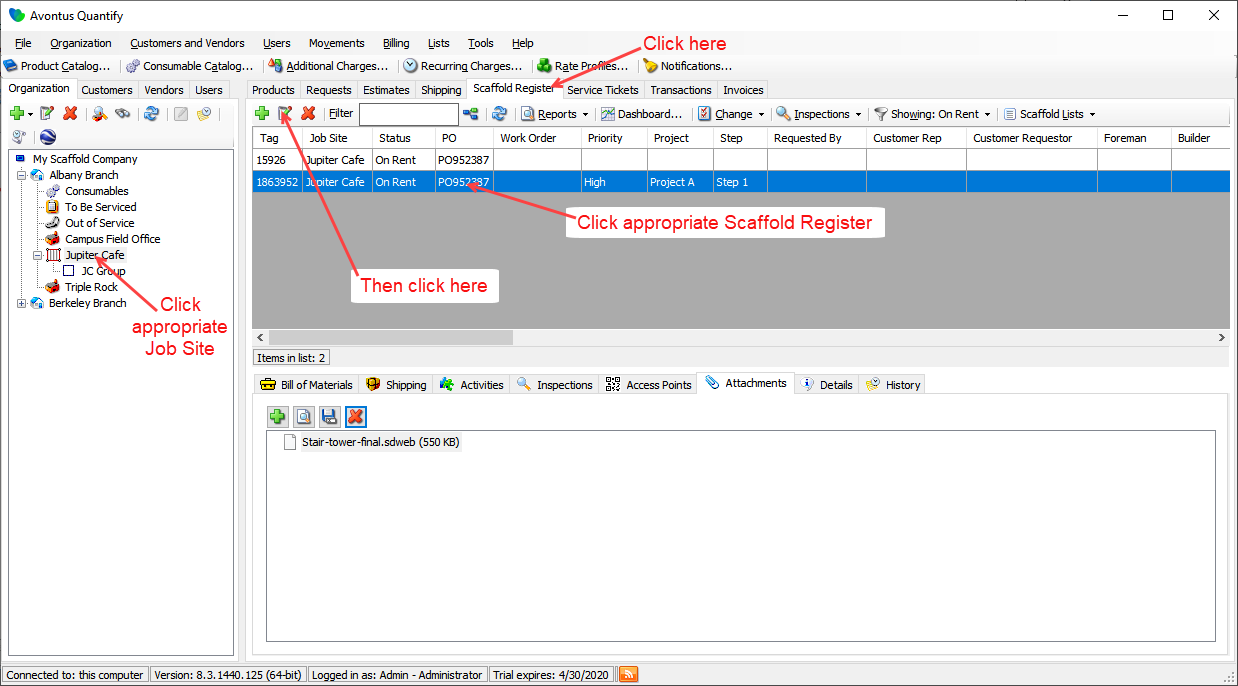
- Click the appropriate Job Site, then click the Scaffold Register tab and select the appropriate Scaffold Register.
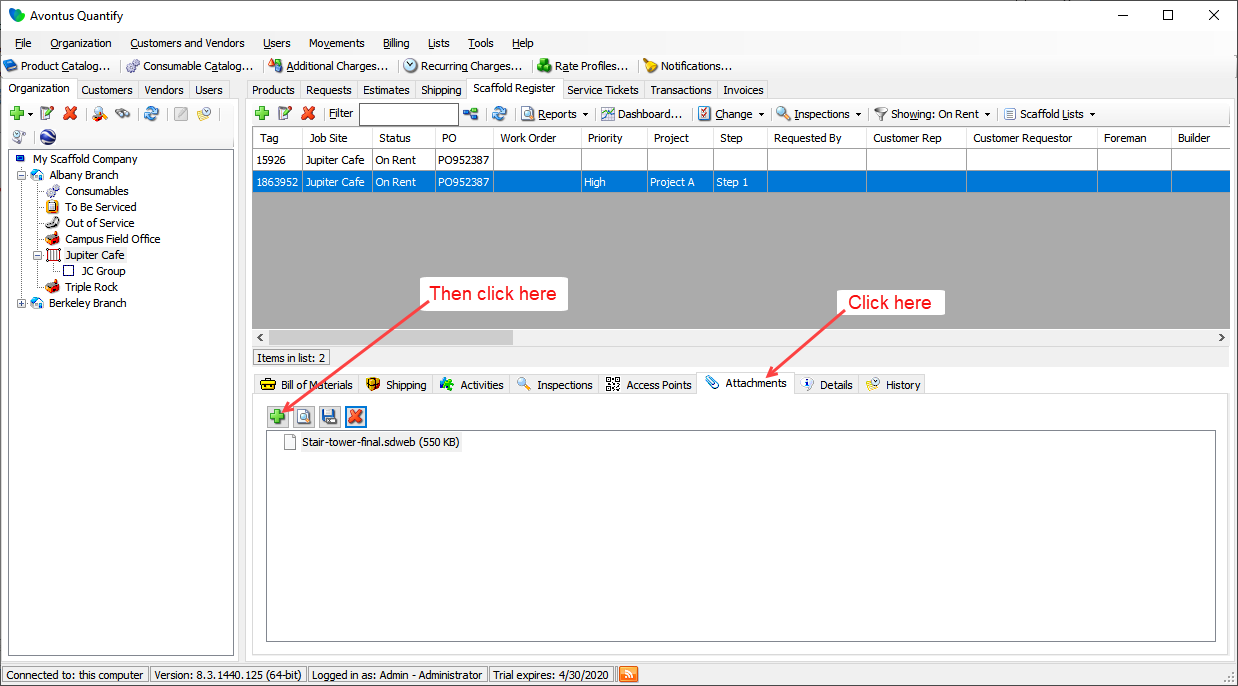
- Click the Attachments sub-tab and click the Add Attachment button (
 ).
). 
The Add Attachment dialog appears.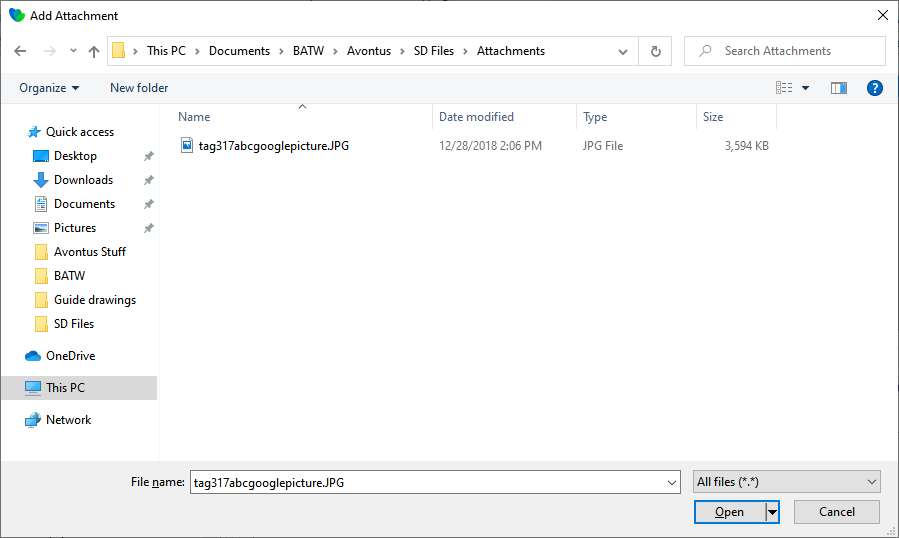
- Locate the image you want to add, select it and click Open.
The Quantify interface returns, with the added attachment.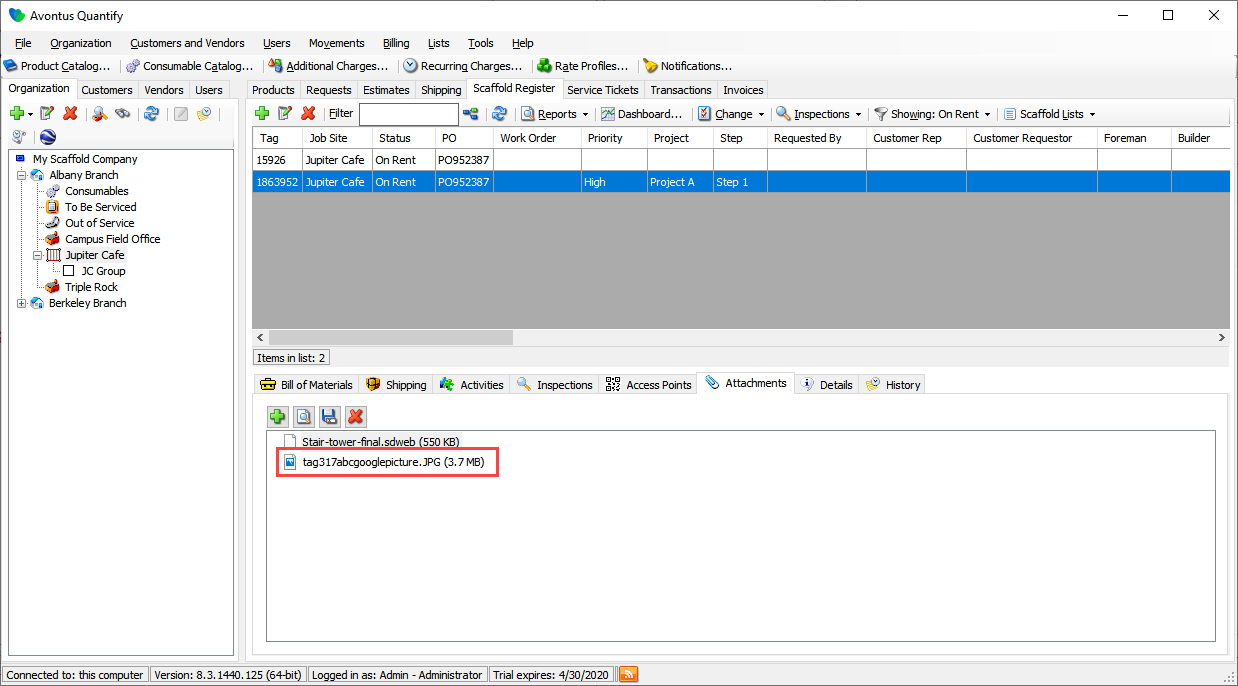
Adding an Image Through the Scaffold Dialog
You can add an image to the Attachments sub-tab of the Scaffold dialog.
To add an image through the Scaffold dialog:
- Click the appropriate Job Site, click the Scaffold Register tab.
- Select the appropriate Scaffold Register and click the Edit Scaffold button(
 ).
).
The Scaffold dialog appears. - Click the Attachments tab and click the Add Attachment button ().
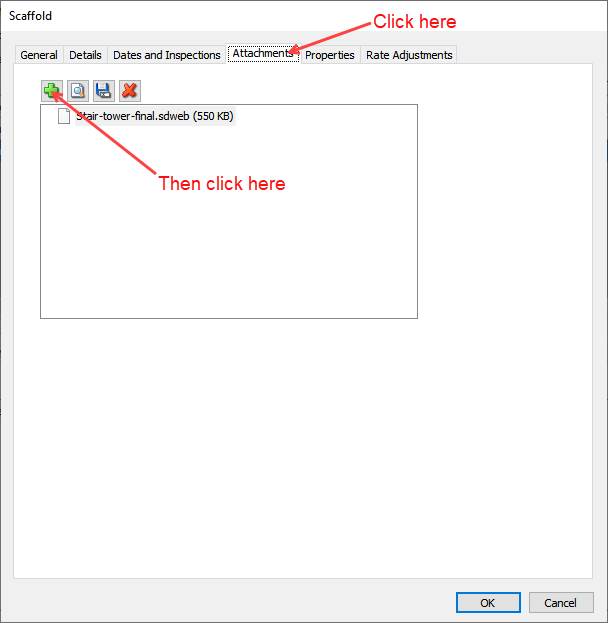
The Add Attachment dialog appears. - Locate the image you want to add, select it and click Open.
The Scaffold dialog returns, with the added attachment.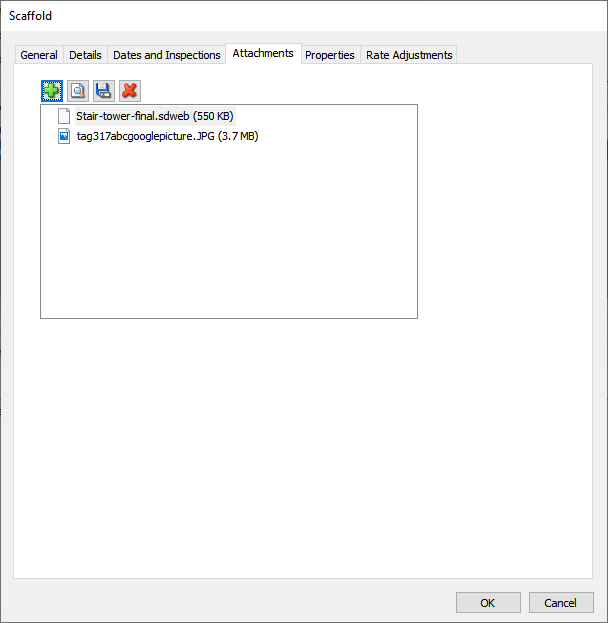
- Click OK.