You can apply side settings to a single Bay or multiple Bays at the same time. When you use Side Settings to make changes to Bays, Avontus Designer overrides any previous customizations made to the same settings for the selected Bay(s) and will apply them to all levels of the selected Bay(s).
| The following settings are located in Side Settings: - Guardrails - Set which sides of the Bay will have guardrails - Toeboards - Set which sides of the Bay will have Toeboards - Face Braces - Set which sides of the Bay will have Face Braces - Screwjacks - Set which sides of the Bay will have Screwjacks - Netting - Set which sides of the Bay will have Netting - Cantlievers/Brackets - Set which sides of the Bay will have Cantlievers/Brackets - Bracket Settings - Select the size and location of Brackets when using Side Settings to apply Brackets or Cantilevers to selected Bays. You can also select the locations to apply the Side Settings, which include: Only at top level, Top 2 Planked Levels, Top 3 Planked Levels, Every Planked Level, Every 2nd planked level, every 3rd planked level |
.png "image(9).png")
| Guardrails Click the desired side to add a guardrail to the selected Bay. Click the corner location to add guardrails to the adjacent sides. Click |
| Toeboards Click the desired side to add a toeboards to the selected Bay. Click the corner location to add toeboards to the adjacent sides. Click |
| Vertical Braces A sub-control of Side Settings. Click the desired side to add Face Braces. Click the corner location to add Face Braces to the adjacent sides. Click |
| Screwjacks Click the desired side to add screwjacks to the selected Bay. Click the corner location to add screwjacks to the adjacent sides. Click |
| Netting A sub-control of Side Settings. Click the desired side to add Netting. Click the corner location to add Netting to the adjacent sides. Click |
| Cantilevers/Brackets Click the desired side to add cantilevers and brackets to the selected Bay. Click the corner location to add cantilevers and brackets to the adjacent sides. Click |
| Bracket Settings Select the size and location of Brackets when using Side Settings to apply Brackets or Cantilevers to selected Bays. You can also select the locations to apply the Side Settings, which include: Only at top level, Top 2 Planked Levels, Top 3 Planked Levels, Every Planked Level, Every 2nd planked level, every 3rd planked level |
.png "image(12).png")
 (All) to add guardrails to all sides of the selected Bay. By default, Avontus Designer will add the guardrails to all planked levels within the Bay. To further edit guardrail locations, you can make adjustments in the Bay Level Editor. For information about editing the Guardrail Type, refer to
 .png "image(15).png")
.png "image(16).png")
.png "image(17).png")
.png "image(18).png")
.png "image(19).png")
.png "image(8).png")
To edit Bays using Side Settings:
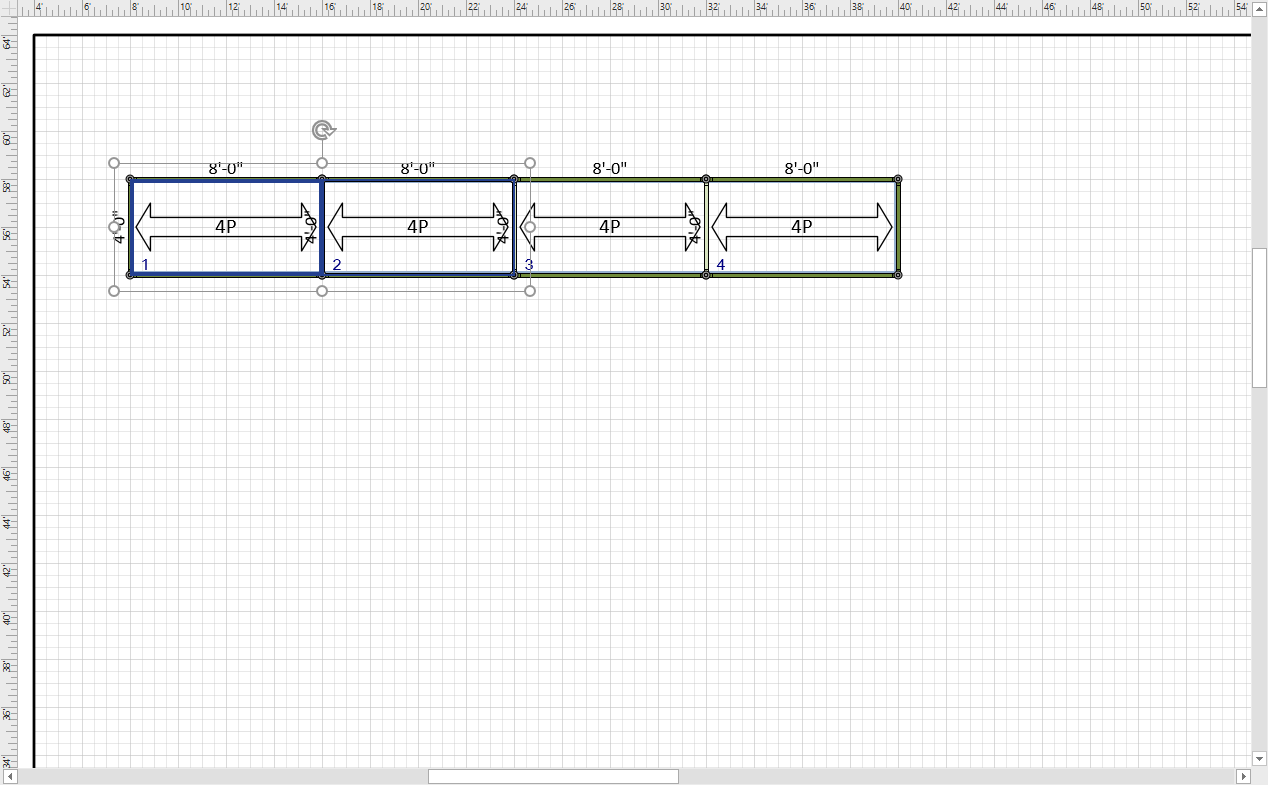
Click the desired Bay or Bays in the Drawing Page.
Note: To select multiple Bays, click and drag the mouse to create a selection area or press and hold CTRL while clicking the desired Bays on the drawing page.
Avontus Designer outlines the selected Bays as shown below for Bays 1 and 2.
Click the Scaffold Ribbon and click Side Settings

Locate the item you want to add or delete from the side of the Bay(s) and click the appropriate side.
For example, to add Face Braces to the left side of all levels of the selected Bays, click the L button

Repeat the above step as many times as necessary.
Click OK when you are done.

Note: Avontus Designer will only apply the changes you make with these controls. Also Avontus Designer will ignore all other settings and will not remove existing settings from Bays.
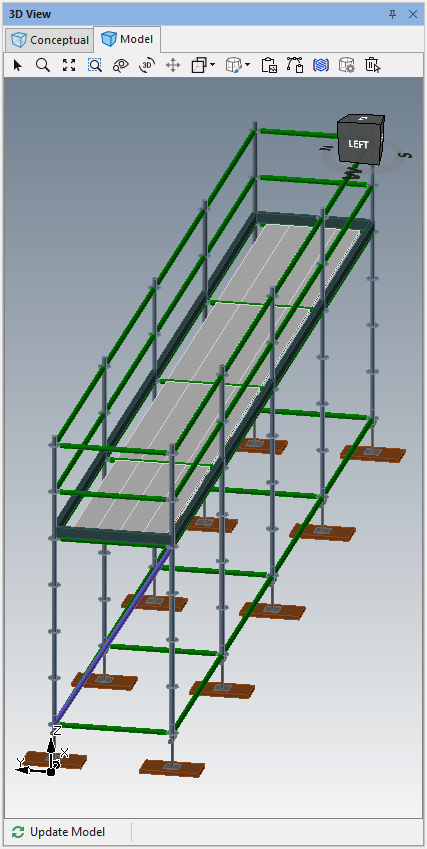
The Face Brace will be added to the Bay.