The Consumables Catalog is the central registry for all consumables available to you. It contains information about all available Consumables except amounts. (You enter or set Consumable inventory amounts for locations using Inventory Adjustments or Shipments.) The Consumable Catalog has similar functionality as the Products Catalog. Initially it is empty.
Notes: You cannot delete a Consumable part from the Consumable Catalog if it is stocked at any location. Unused Consumable parts may be moved to the Inactive Consumable Catalog.
To help you organize your inventory, you can create consumable categories and assign consumables to them. You can enter and (in most cases) edit the following information for each item in the Consumables Catalog:
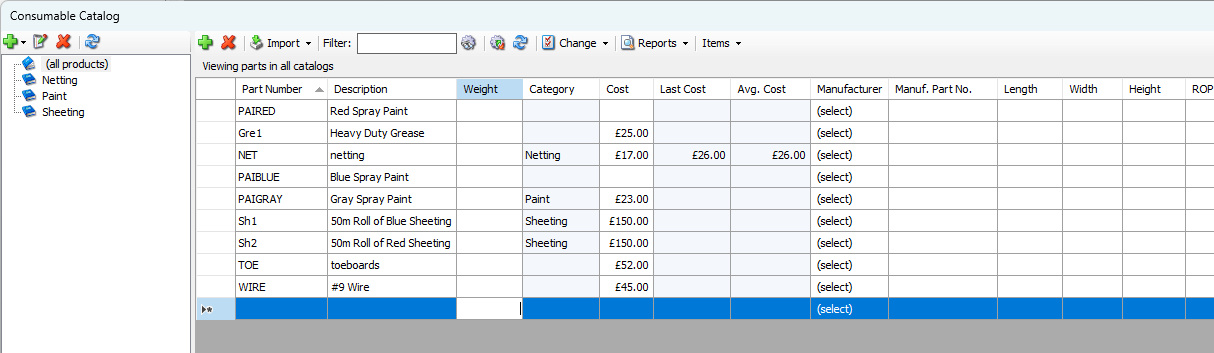
Part Number | The part number assigned to each item. |
Description | A description of each item. |
Weight | The weight of each item. |
Category | The category to which each item belongs (as seen in the left side of the Consumables Catalog). |
Cost | The cost of each item. |
Last Cost | The cost of the item the last time it was purchased. |
Average Cost | The average cost from Purchase Transactions. |
Manufacturer | The name of each item's manufacturer. |
Manufacturer Part Number | The part number that each item's manufacturer assigned. |
ROP | ReOrder Point: The number of units of this consumable that, if the stock falls under the specified amount, Quantify will send a notification alerting the user the number of stock has fallen below the specified amount. |
ROQ | ReOrder Quantity: The number of units that must be ordered when ROP is met. Quantify will send a notification. |
Using Consumables with a Single Rate Database
When the Quantify database is configured to invoice using Single Rate, the Consumable Catalog includes a Sell Rate column. Values entered in the Sell Rate column will be copied into new Shipments as the part's default Sell Rate.

The option to use a single rate versus multiple rates is on the Billing tab of Global Options dialog.
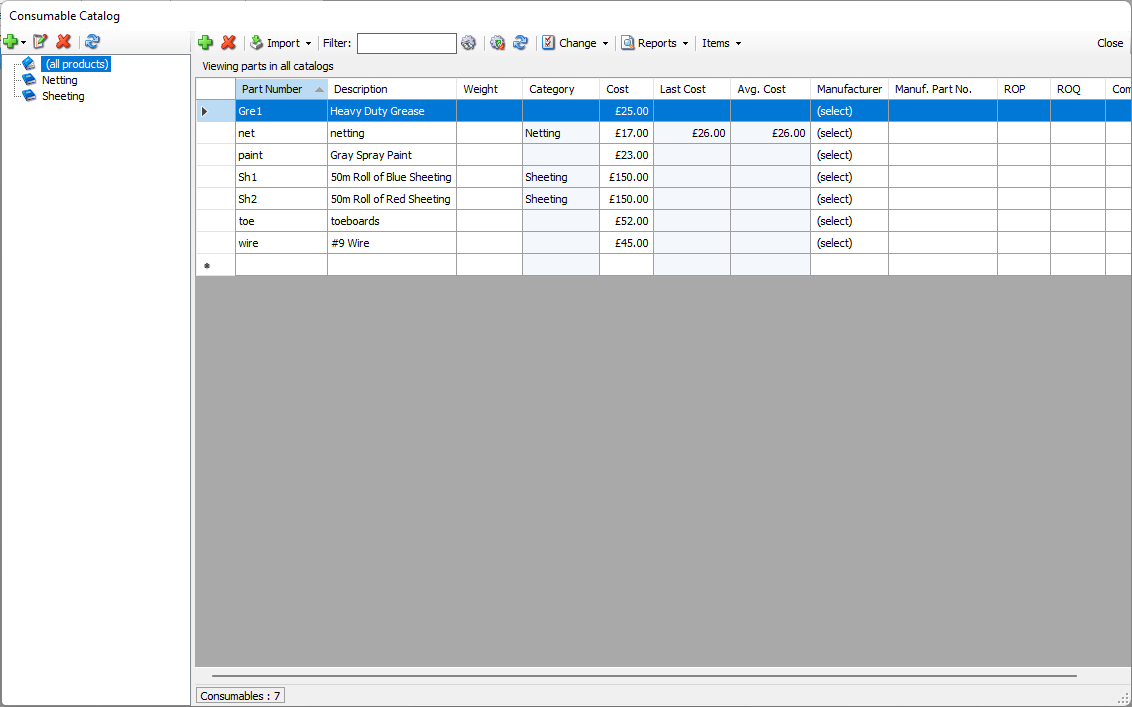
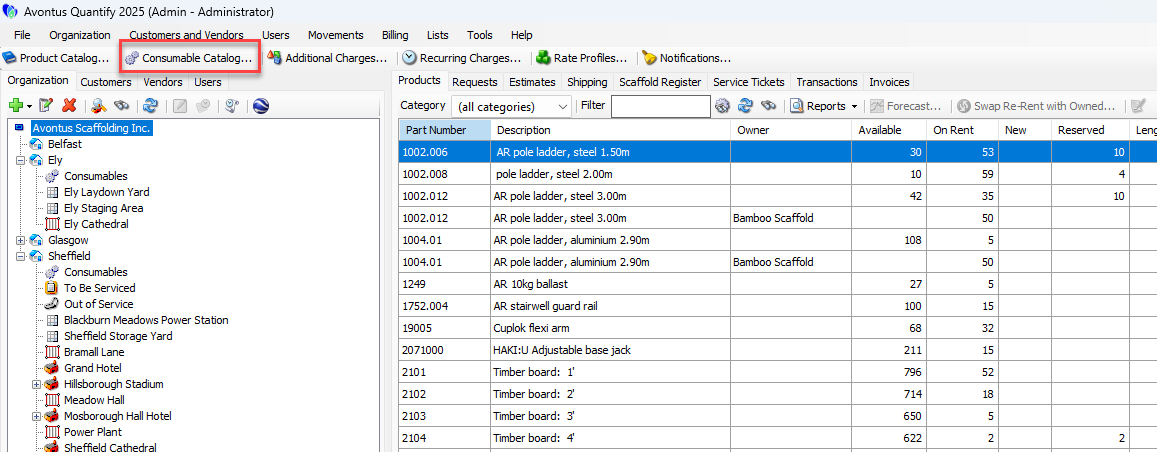
Viewing the Consumable Catalog
Quantify enables you to quickly access and view the Consumable Catalog.
To view the Consumable Catalog:
Click Consumable Catalog.

The Consumable Catalog appears.
Adding a Consumable Category
You can organize Consumables into two kinds of Consumable Category, the parent or the child of the selected Category. If you create a parent Category and later want to make it a child Category, simply reorganize the Category tree by dragging the desired child onto a parent level.
Important: The procedures below only use the default required fields for a Consumable Category. Some accounting software packages require more information for successful integration. For example, some require that each Consumable Category have Rent GL codes, Sales GL codes and a Description assigned. If your company uses such a package, be sure to enter that information into the Additional Charge dialog.
To add a Consumable Category:
Click Consumable Catalog.

The Consumable Catalog appears.In the upper left of the Consumable Catalog, click the Add button (
 )
)Select either Parent Category or Child on selected category from the menu that appears
The Category dialog appears.Click in the Name text field and enter the name of the new Consumable Category.
Enter any other information as necessary.
Click the OK when you are ready and the Category will be added.
Assigning One or More Consumables to a Consumable Category
You can add items to existing Categories one at a time or many at a time. For information about creating Categories, refer to Adding a Consumable Category above.
To assign a Consumable item to a Consumable Category:
Click Consumable Catalog.

The Consumable Catalog appears.Highlight the Item(s) you want to assign.
Click the Change menu and select the appropriate Category from the Change Category to sub-menu.
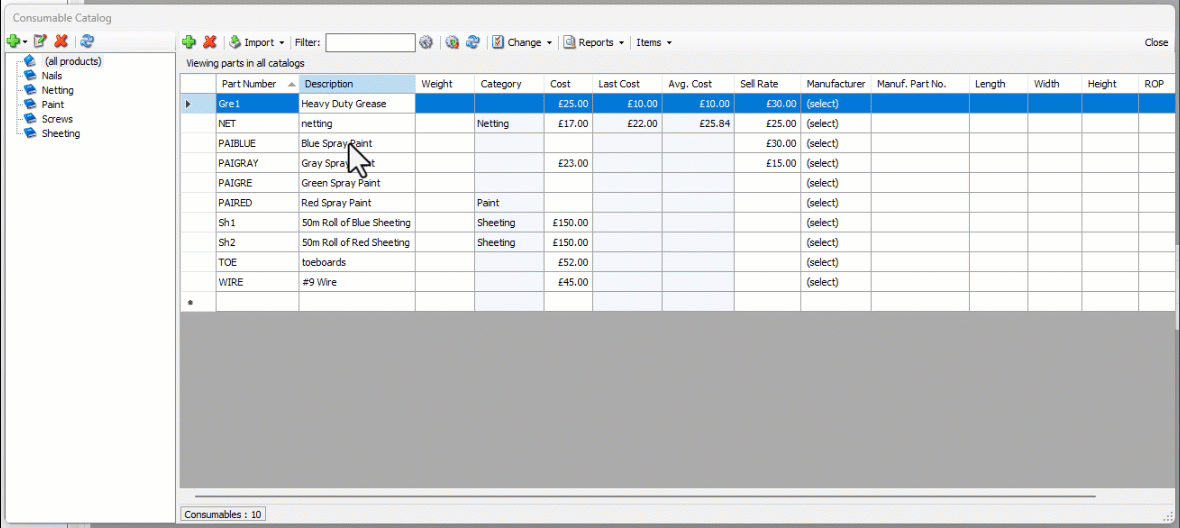
Quantify updates the entries in the Category column of the selected Products to show the new Category.
Manually Adding an Item to the Consumable Catalog
Quantify makes it easy for you to manually add individual items to the Consumable Catalog.
To manually add an item to the Consumable Catalog:
Click Consumable Catalog.

The Consumable Catalog appears.Click the Add button.
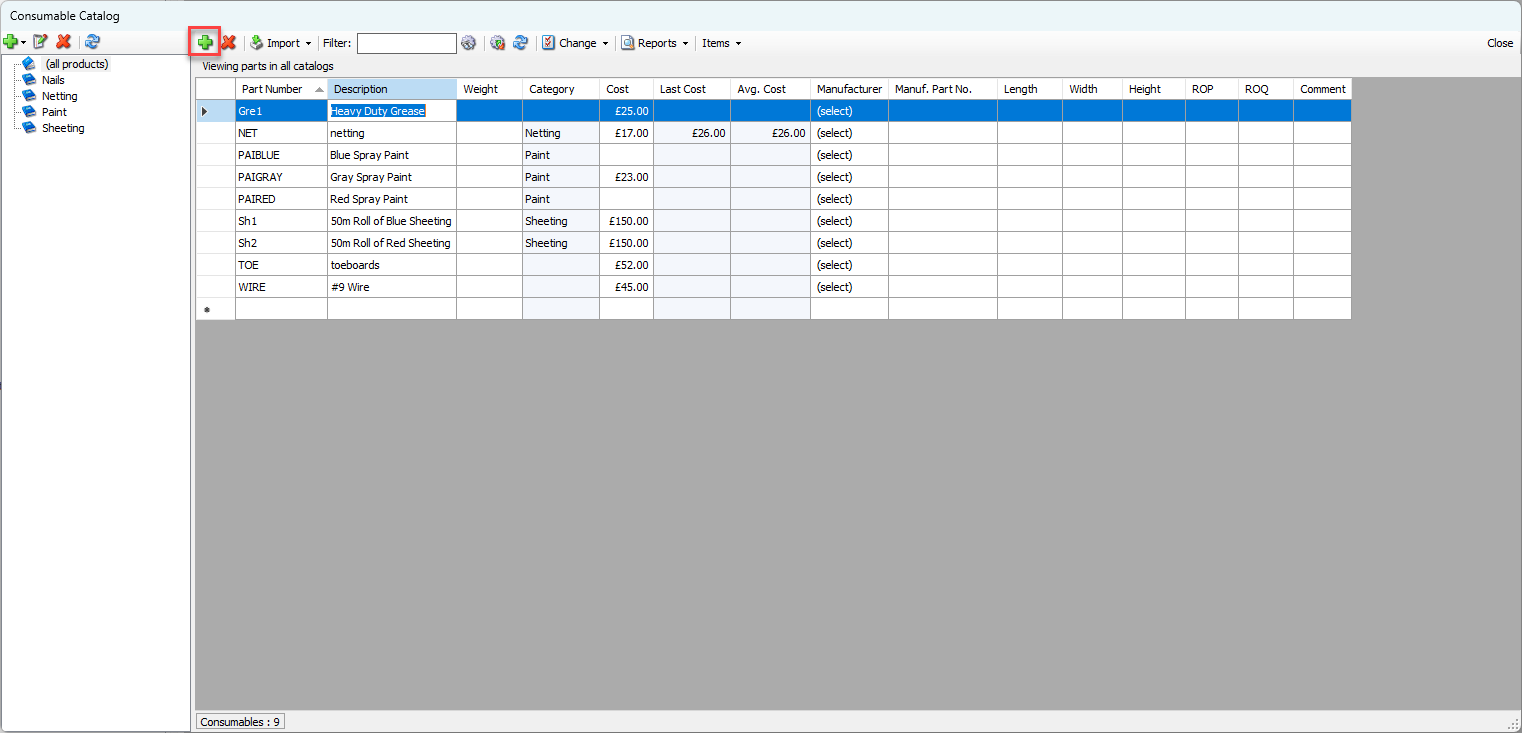
A new, empty Consumable row appears.Click in the Part Number text field and enter the part number for the new item.
Click in the Description text field and enter a description for the new item.
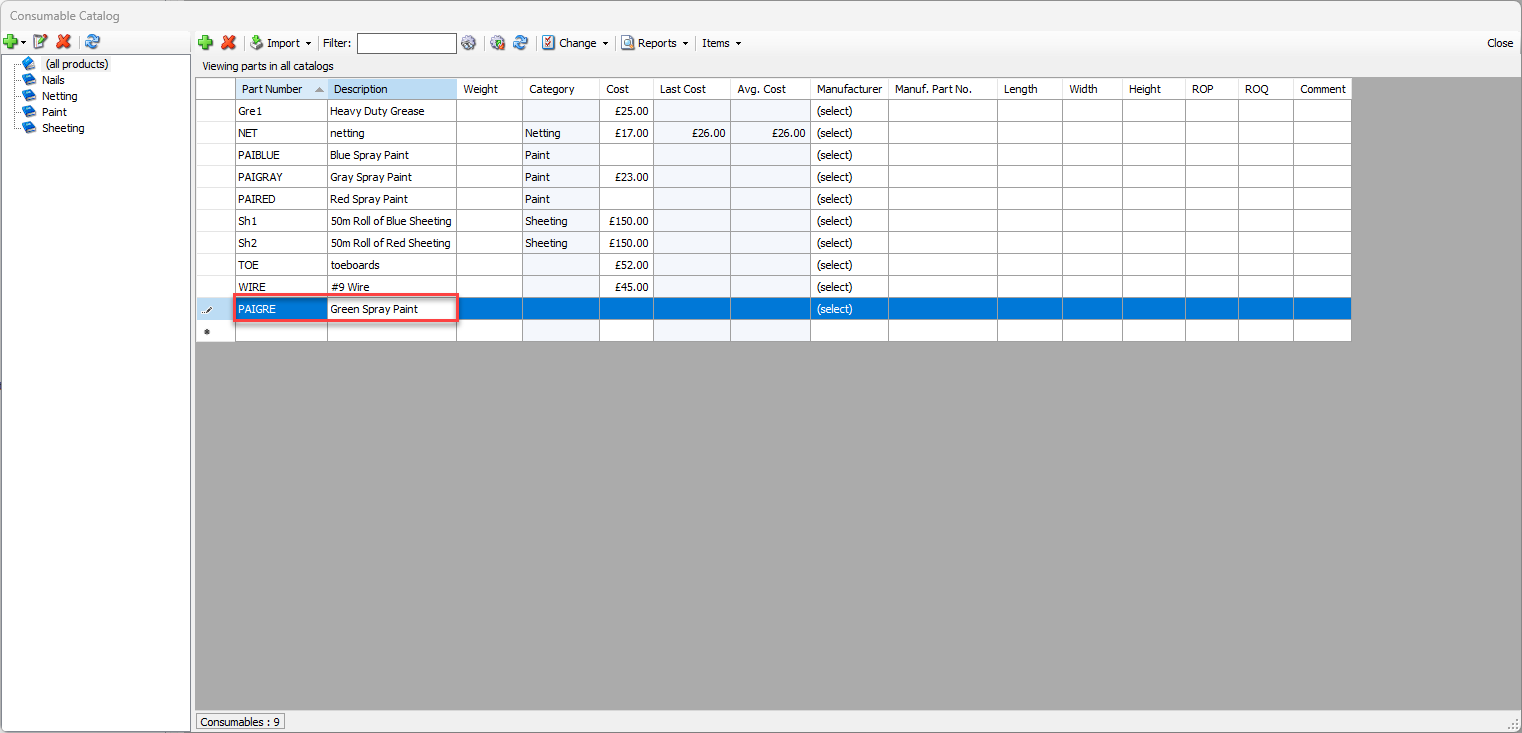
Enter any other information as necessary.
For more information about the fields and buttons in the Consumable Catalog, refer to Working with the Consumables Catalog above.
Filtering the List of Consumables
To filter the contents of the Consumable Catalog, you first configure which column(s) you want to filter, how you want to filter those columns, then enter the characters you want to filter with.
To filter the list of Consumables:
Click Consumable Catalog.
The Consumable Catalog appears.Click the Filter Options button (
 ).
).
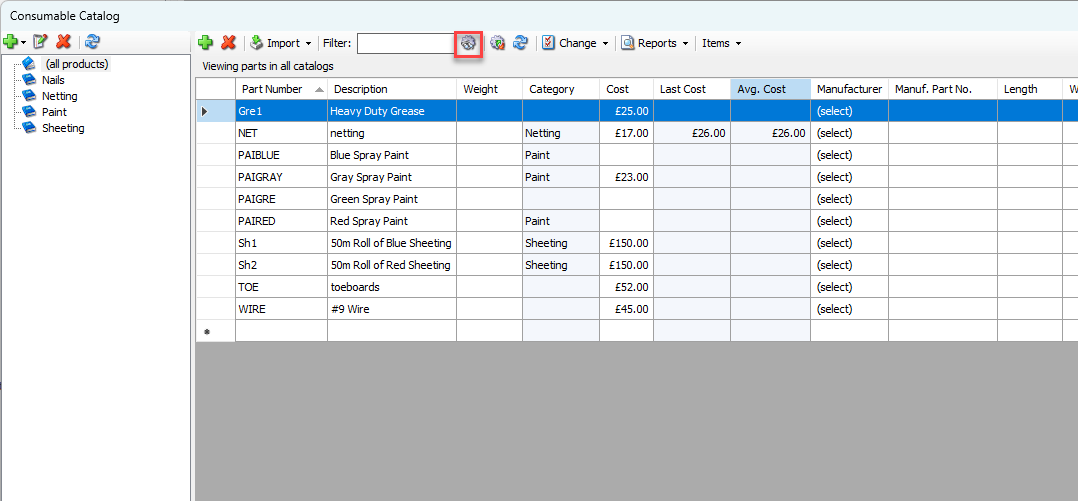
The Filter Options dialog appears.To filter by items in the Part Number column, click the Part Number checkbox.
To filter by items in the Description column, click the Description checkbox.
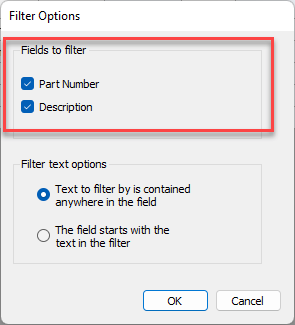
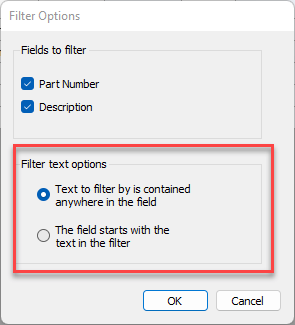
Click the appropriate radio button:
Text to filter is contained anywhere in the field
Quantify will filter by any text in the fields in the selected column(s).The field starts with the text in the filter
Quantify will filter by text in the beginning of of the fields in the selected column(s).
Click OK.
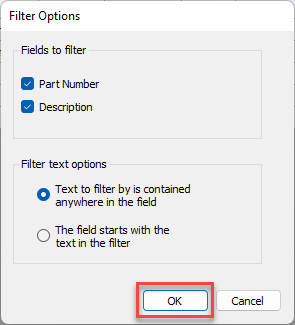
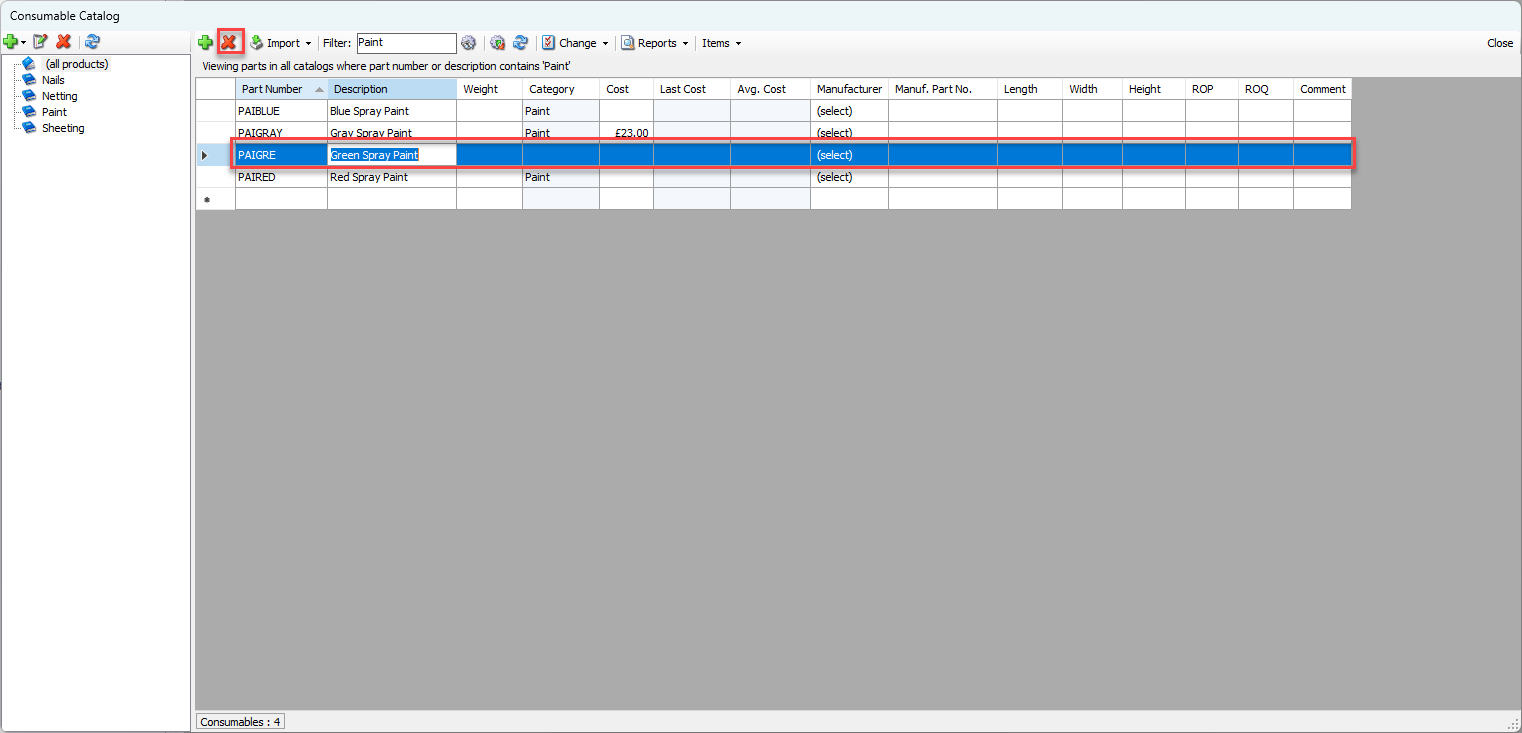
The Consumable Catalog returns.Click in the Filter text field and enter the text you want to filter with.

Quantify filters the items in the list based you what you enter and the configuration of the Filter Options dialog.
Deleting an Item from the Consumable Catalog
Note: You can only delete a Consumable item if it has no quantities stocked at any location. Alternatively, you can move Consumables that will no longer be used to the Inactive Consumable Catalog. To learn more, refer to Moving a Product to the Inactive Catalog.
To delete an item from the Consumable Catalog:
Click Consumable Catalog.
The Consumable Catalog appears.Click the item(s) you want to delete and click the Delete selected product(s) button (
 ).
).
A confirmation dialog appears.
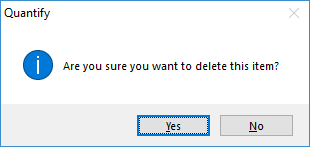
Click Yes.
Quantify deletes the item(s).