Baselines enable you to define up to four Dimensions from a baseline using one shape. You can show measurements between areas of the drawing not otherwise displayed using the other Dimension types. The following procedure explains how to add a Vertical Baseline with four Dimensions between overlapping Walls.
To add a Vertical Baseline:
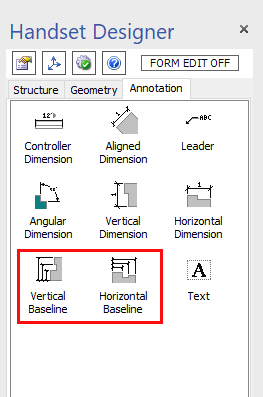
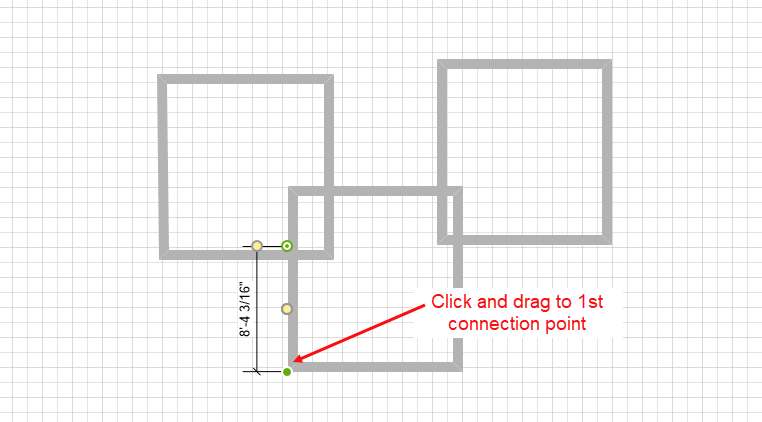
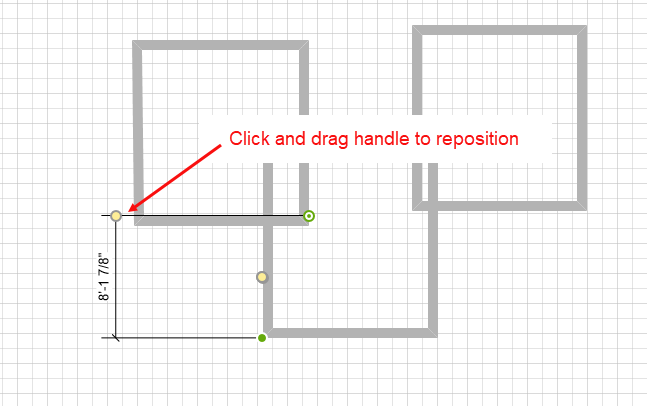
- Click and drag the Vertical Baseline shape onto the Drawing Page and connect it to the first connection point; in this example, the left outside corner of the Wall:
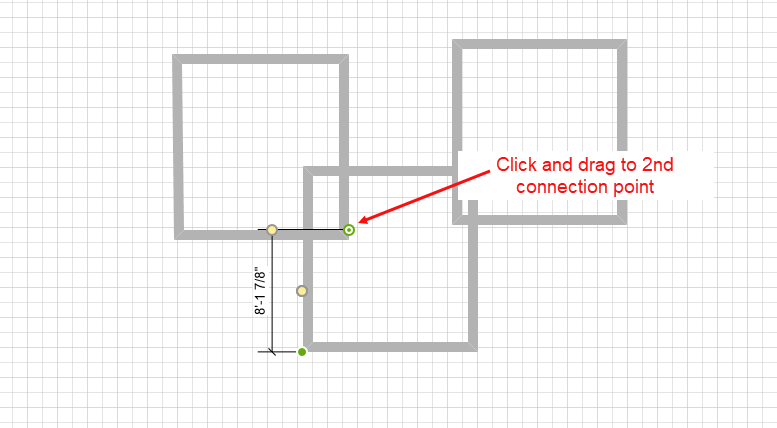
- Click and drag the second connection point to the outside corner of the second Wall shape.
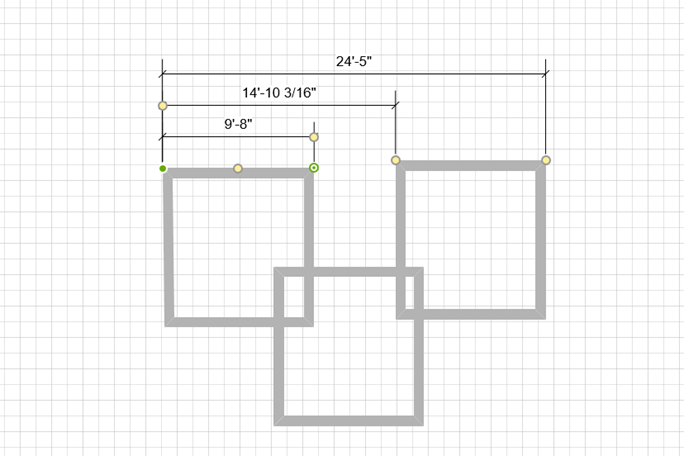
The Dimension displays the measurement between the outside Walls of the two squares. - Click and drag the upper yellow shape handle to reposition the text and extend the Dimension lines.
- Click and drag the middle yellow shape handle to draw out the second Dimension line and glue to to the connection point on the outside corner of the Wall, as shown.
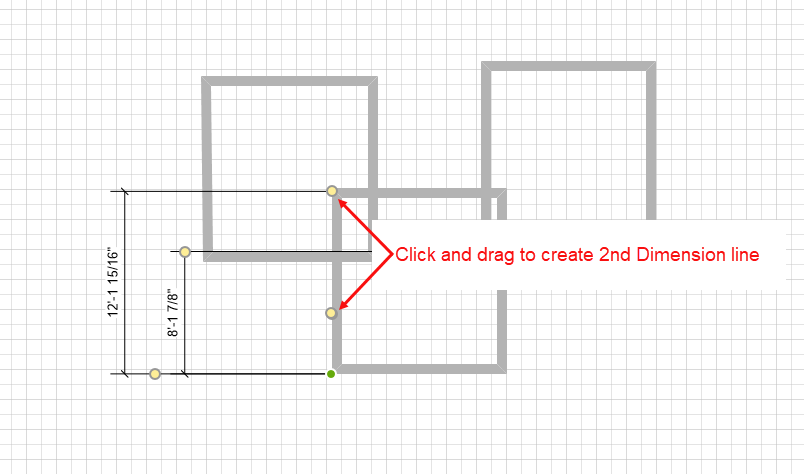
- Repeat Step 4 until all four Dimensions appear.
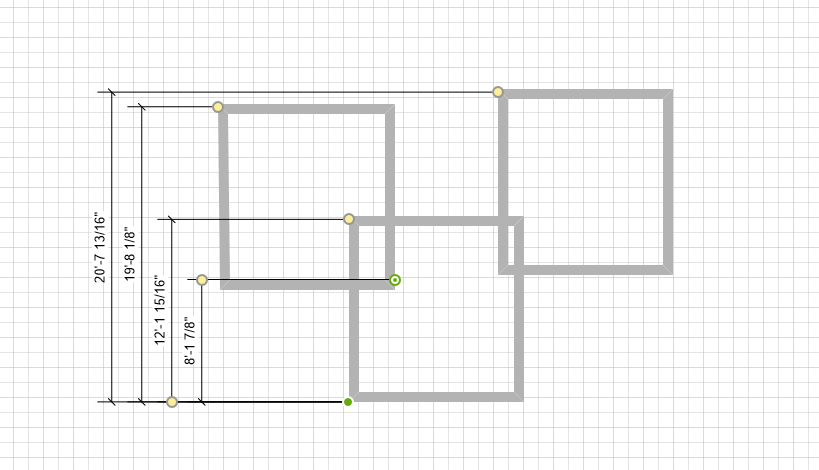
To add a Horizontal Baseline, follow the same steps as above, using the Horizontal Baseline shape instead.