To prevent the accidental moving or editing of a drawing or plan in Avontus Designer, you can lock it by assigning it to a layer.
Assigning an Image to a Layer
Avontus Designer enables you to assign a layer to a drawing layer, which groups with other elements on that layer. Once assigned, the image can only be changed if that layer is active. If it is not, the image cannot be moved or edited.
To assign an image or drawing to a layer:
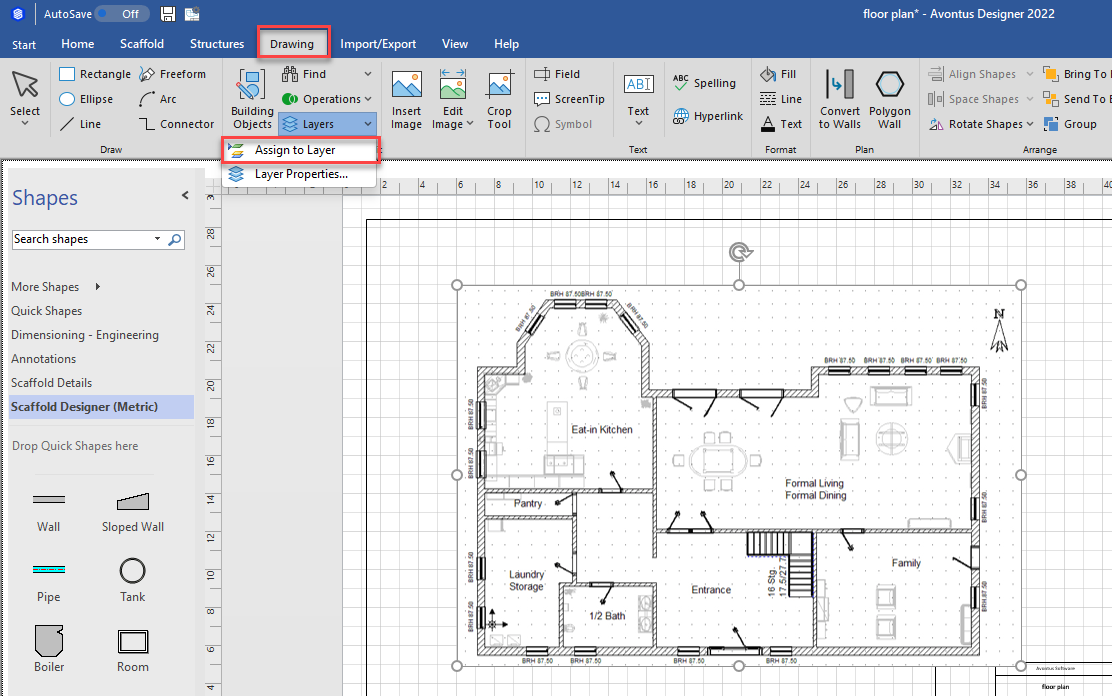
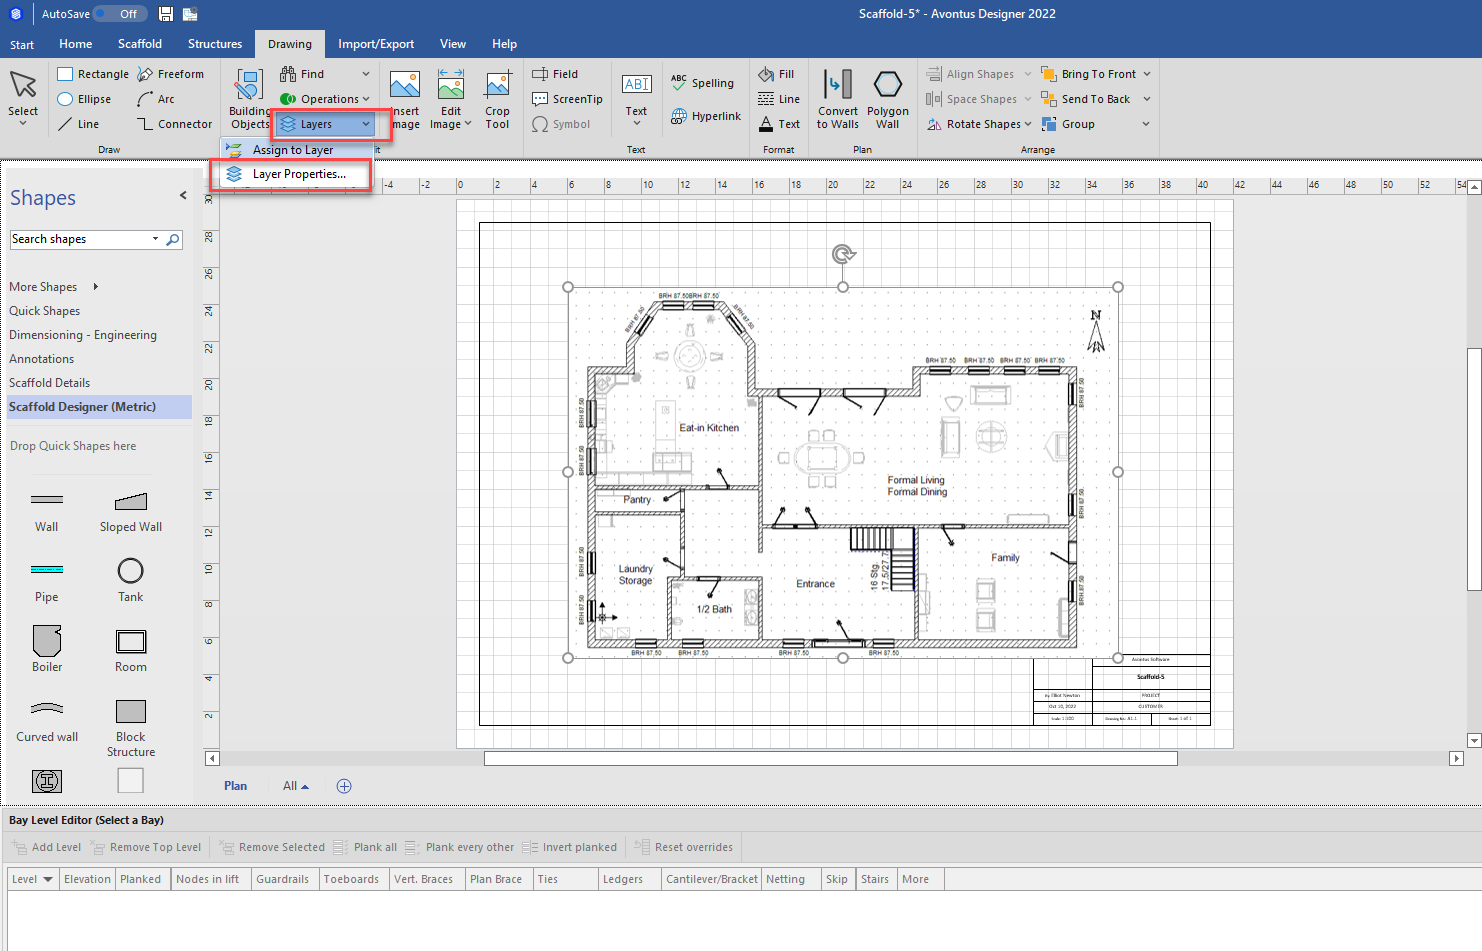
- Click the Drawing tab and then click Layers and select Assign to Layer from the menu that appears.
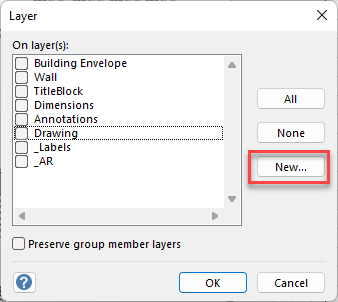
The Layer Properties dialog appears. - Click New.
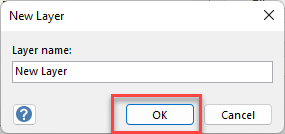
The New Layer dialog appears. - Click in the Layer Name text field, enter the name of the layer.
- Click OK
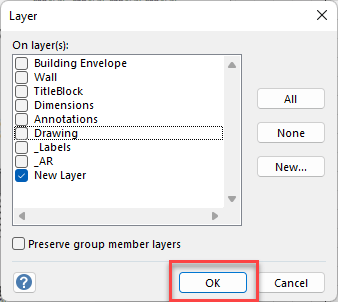
The new layer appears in the list of layers in the Layer Properties dialog, with the new layer automatically selected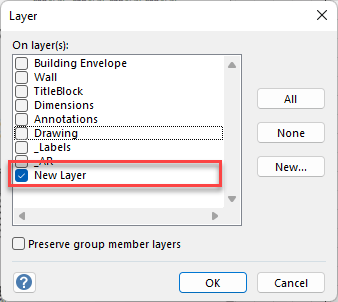
- Click OK.
Locking an Image into Place
With the image or drawing assigned to the appropriate Layer, you can now go back into Layer Properties dialog and lock the layer.
To lock a drawing or plan into place:
- Click the Layers dropdown and select Layer Properties.
The Layer Properties dialog appears. - To enable/disable options, click the Lock checkbox in the Drawing row.
- Click OK.
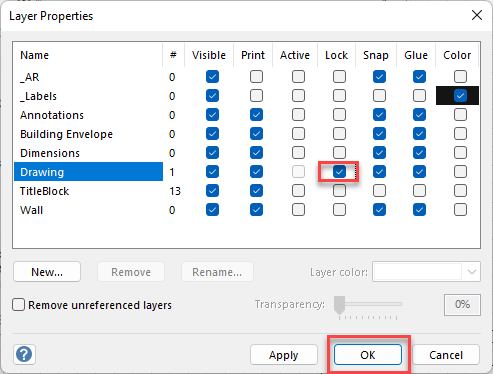
All of the images/drawing assigned to the layer are now locked and cannot be edited. If the image must be edited after this, the Lock checkbox must be unchecked in the Layer Properties dialog.
Re-Scaling an Image
Occasionally, you will need to re-scale an image to work with a drawing. Avontus Designer makes that process quick and easy.
To re-scale an image:
- Click the image to select it, then click the Drawing tab.
- Click the Edit Image dropdown and select Edit Image.
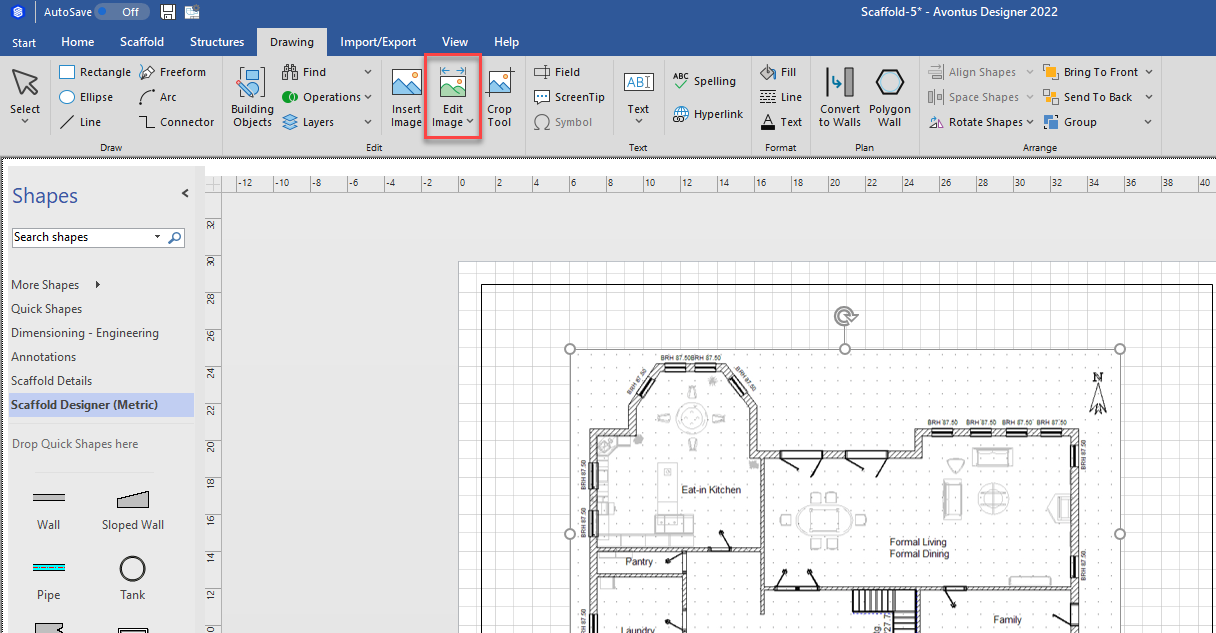
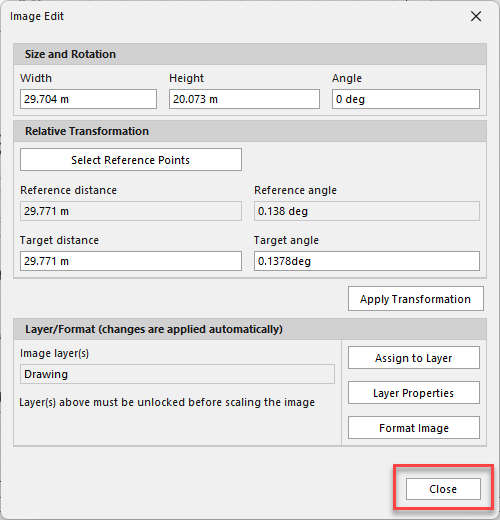
The Image Edit dialog appears. - Click Select Reference Points.
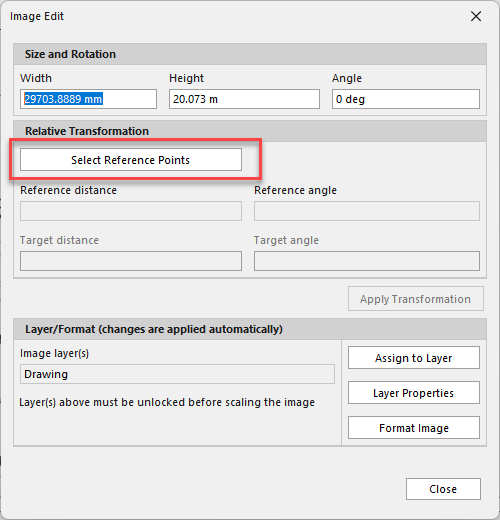
Avontus Designer hides the Image Edit dialog and exposes the image, enabling you to draw a line. - Select a line or a wall on the drawing with a known dimension, click one end of the line and drag the tool all the way to the end of that line.
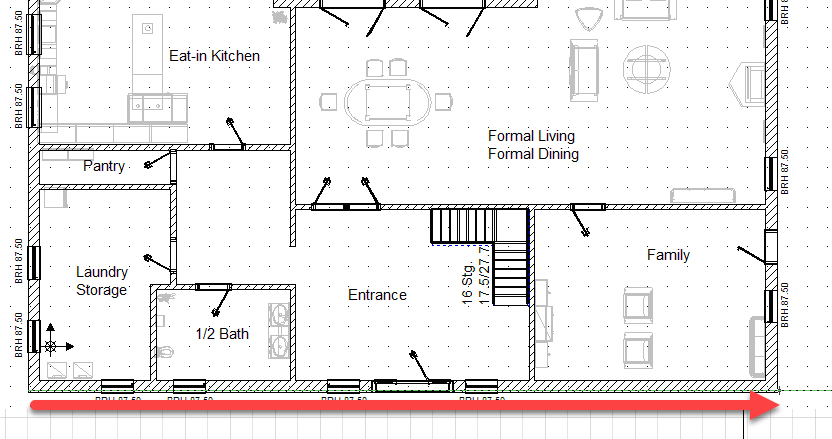
When you release the mouse button the Image Edit dialog returns.
The length of the line you drew appears under the Reference Distance text field. - Click in the Target Distance and enter the length you want that line to be,
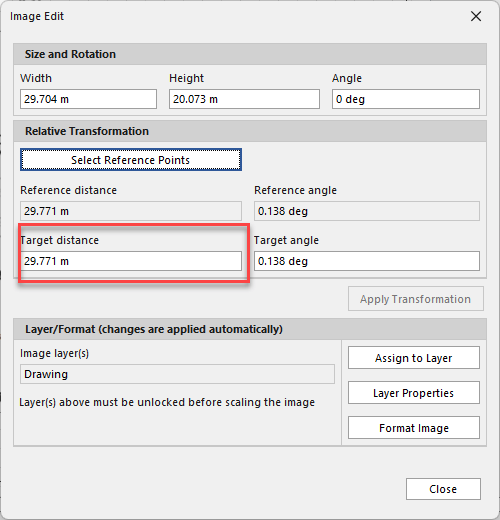
- Click Apply Transformation
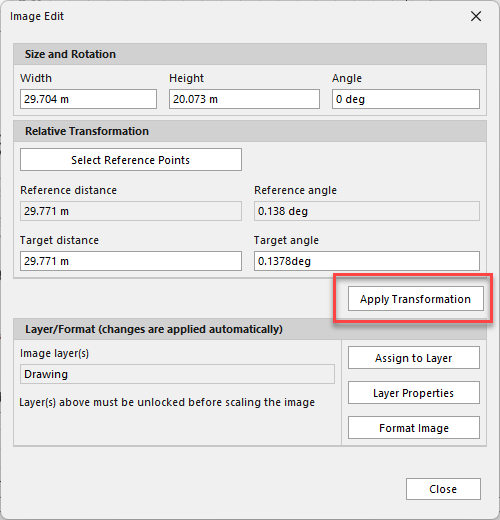
Avontus Designer re-scales the whole image based on the information you entered. - Click Close when ready.