You can modify a Scaffold Bay leaving behind only the braces.
To create a brace-only Bay:
Add a Bay
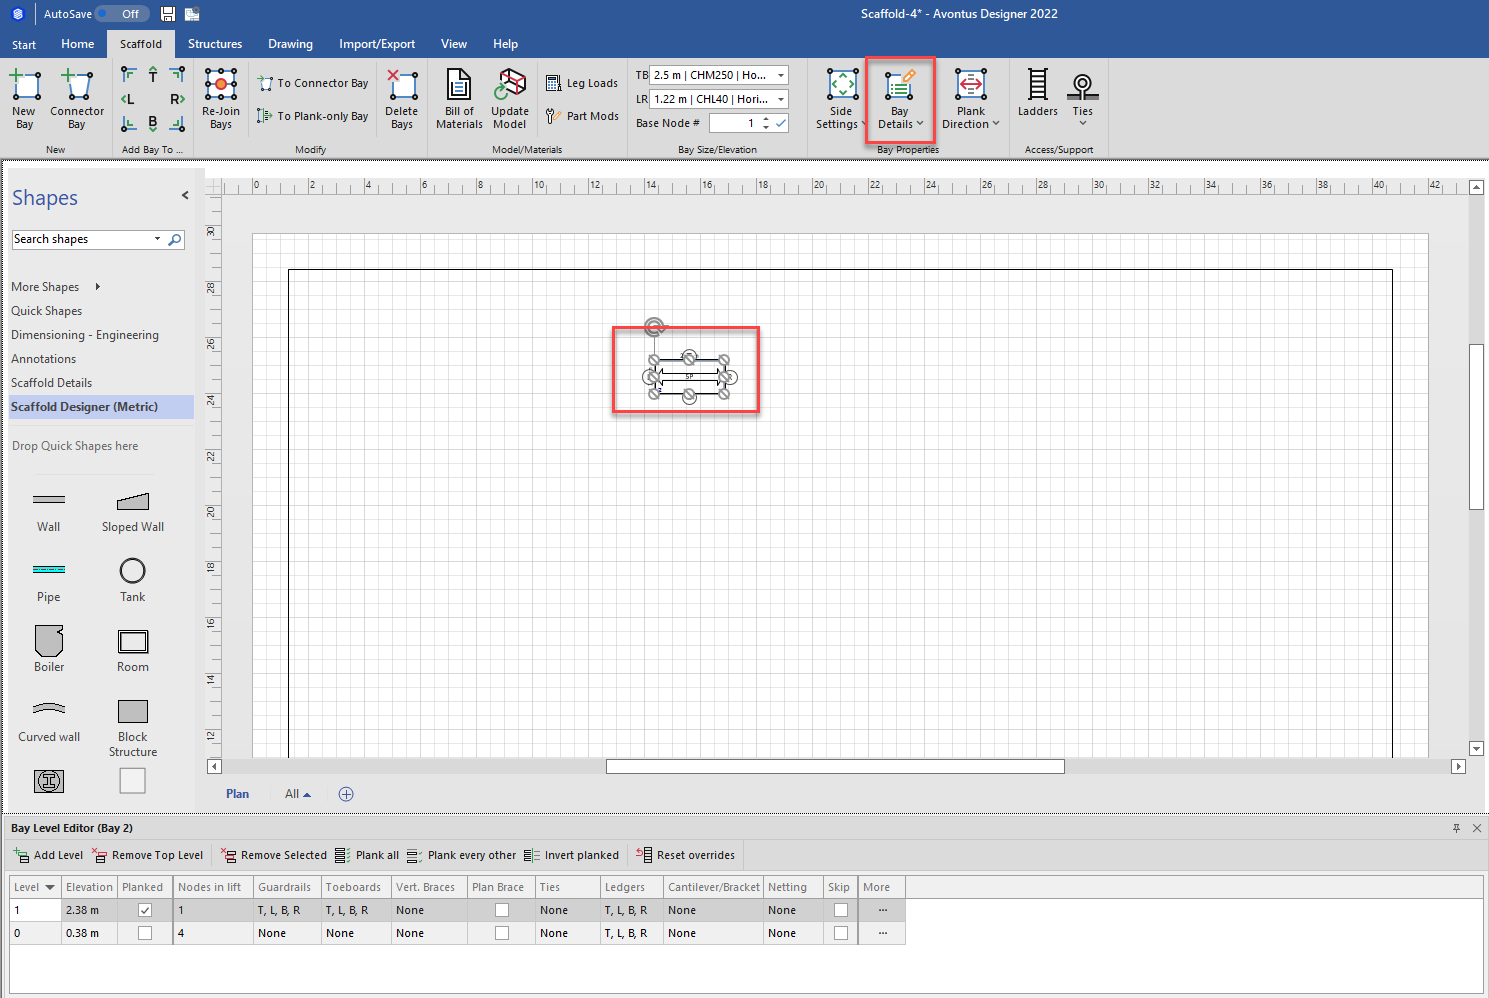
Click the new Bay (to select it), then click the Bay Details dropdown.
Click the Verticals tab,
Click the All checkbox in the Skip Vertical row
Click the Sides tab,
Click two appropriate Skip Side checkboxes (to put a check in them).
In this case, T and B are checked.Click the appropriate Brace Direction dropdown, select Backwards,
Note: For the two unchecked sides, the Brace Direction should be backwards for one side and forwards for the other.
Click Apply
Your bay should look something like this
With the Bay selected, Click the top Planked checkbox, to remove its check
Click in the Nodes in Lift text field, enter the appropriate number of nodes and click the check to the right of the text field.
Click the bottom Ledgers dropdown
Click the center button (to de-select all ledgers)
Click the tick icon.
Repeat for the upper level
Click the bottom more button
Click the Sides tab of the popup that appears.
Click the L and R checkboxes in the Vertical Braces row (to put a check in them) and click Close.

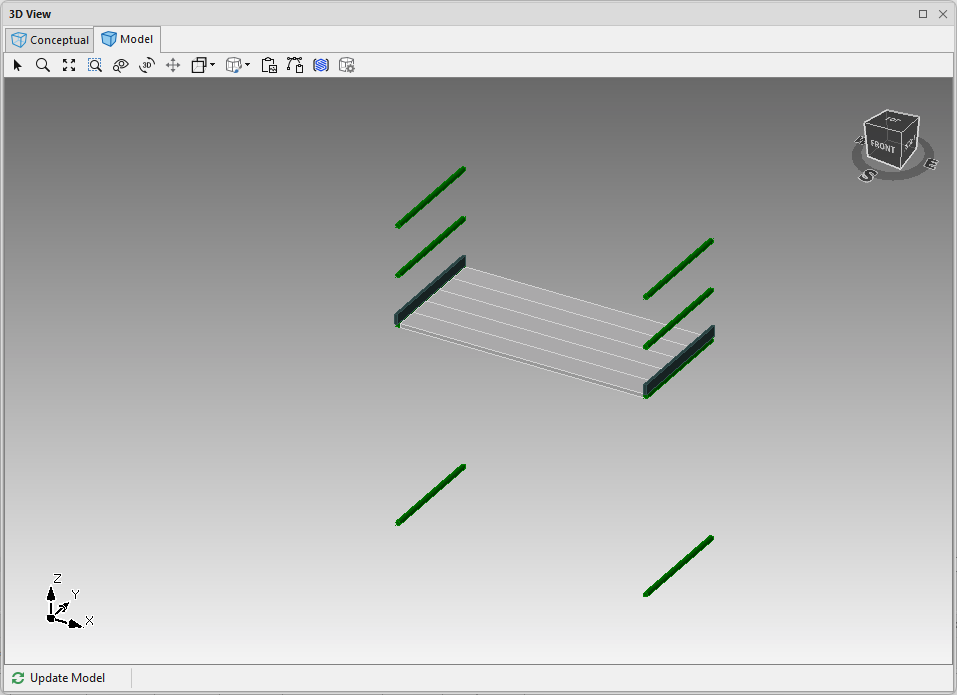
The result should look something like this:
