You can use the Pilaster's nine connection points to connect to Walls, Dimensions, guides or to other Pilasters. This procedure shows you how to connect a Pilaster to a set of guides.
To connect a Pilaster to a set of guides:
- Click the top ruler and drag a guide, then place it on the Drawing Page along the X axis. (For more on guides, refer to Key Concepts.)
- Click the side ruler and drag a guide, then place it on the Drawing Page along the Y axis. (For more on guides, refer to Key Concepts.)
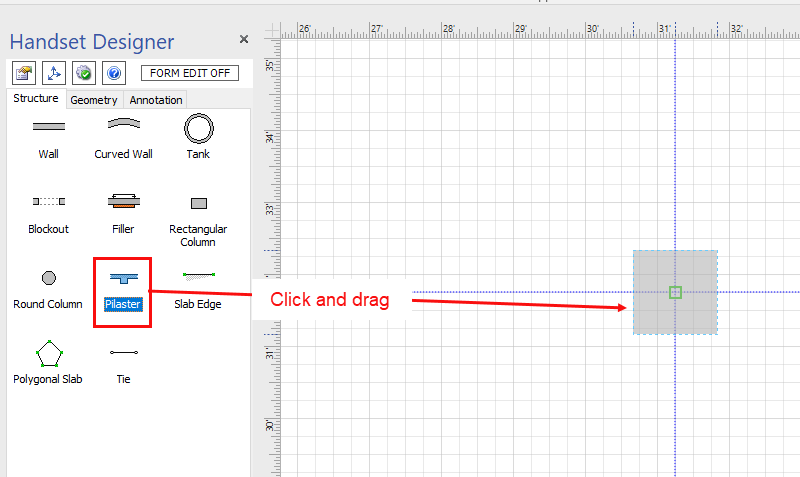
- Click and drag a Pilaster shape from the Stencil pane onto the Drawing Page and connect it to the guides, using the green square connections as anchor points.
You can connect the Pilaster to the guides along any edge or through the middle to the center point. When you release the mouse, the connection points change to green circles.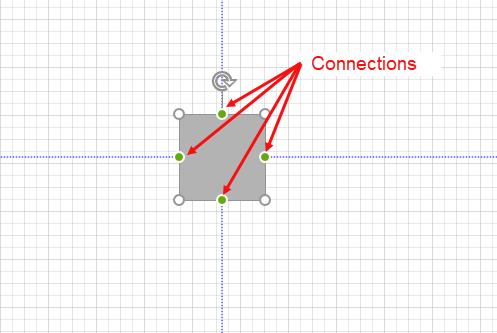
Once connected, you can click and drag the guides and the Pilaster shape will stay glued to the guides and move along with them.