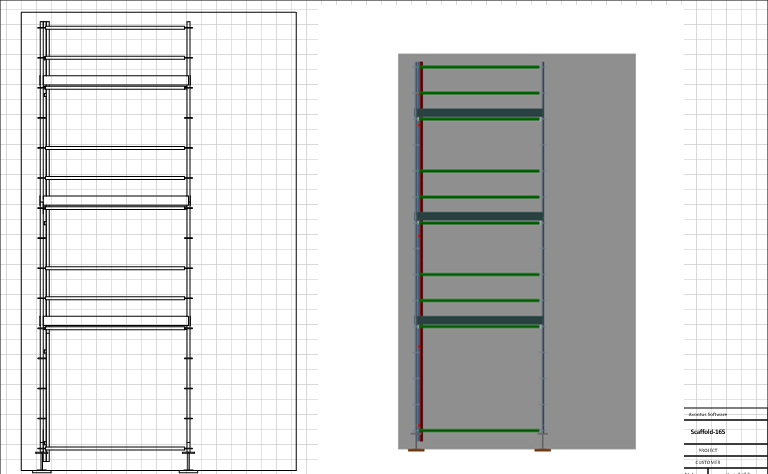
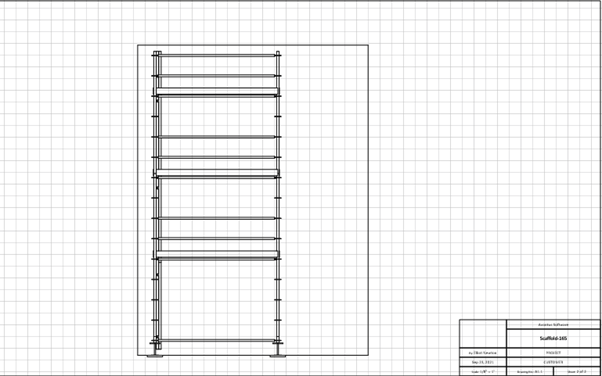
You can copy a Vector or Raster to the design page which allows you to see your scaffold model from multiple elevation views, such as from the Front, Top, Bottom or Side. Below is an example of an elevation as a Vector (left) and Raster (right).
To do this
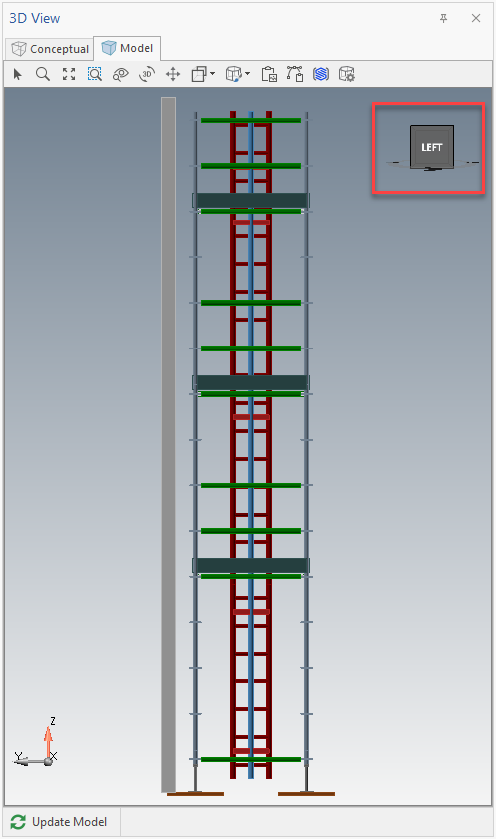
On the 3D model, select Front.
Select either Copy as Vector or Copy as Raster.
In this example, we will select Copy as Vector ( ). A Vector is a black and white see through wireframe, and Raster is a coloured, solid wireframe.
Paste the vector to the design page (you can also press Ctrl + V to paste the vector).
Resize the vector to the desired size by clicking the side of the image and dragging the mouse to increase or decrease its size or, for more accurate results, clicking on the drawing and selecting the Drawing tab.
Click Edit Image.
.gif)
In the Edit Image dialog, select Choose Reference Points.
Zoom in, click and drag the cursor and release the left mouse button to define the distance between the two known reference points.
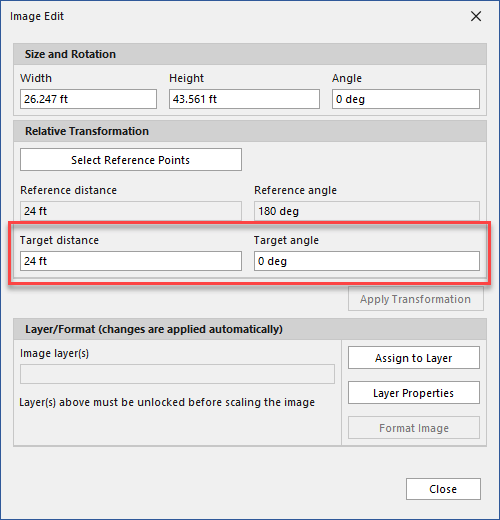
This will relaunch the Image dialog, with the Target Distance and Target Angle updated and editable.Update Target Distance to the known dimensions.
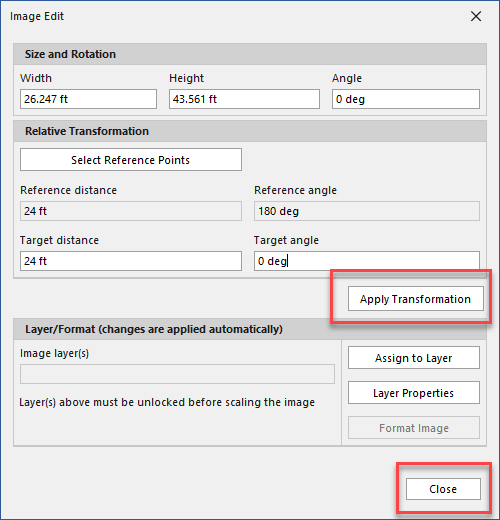
Click Apply Transformation
Click Close.
The Vector will be updated with the correct measurements.
You can view the vector in the side-elevation view by following the same steps, but selecting Left instead of front.