You create and manage Customer Users through the Customers tab.
To set up a Customer User:
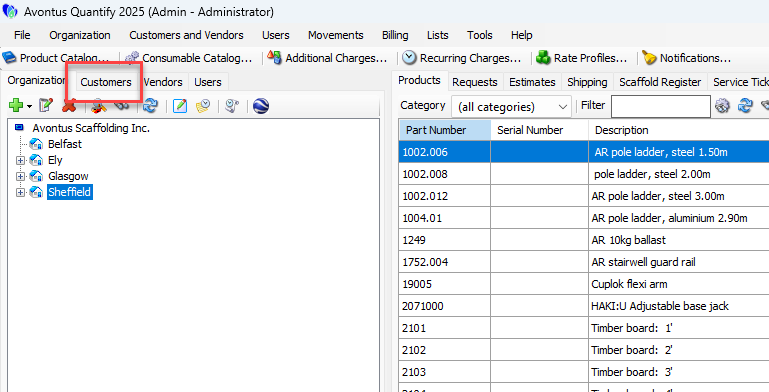
Click the Customer tab.
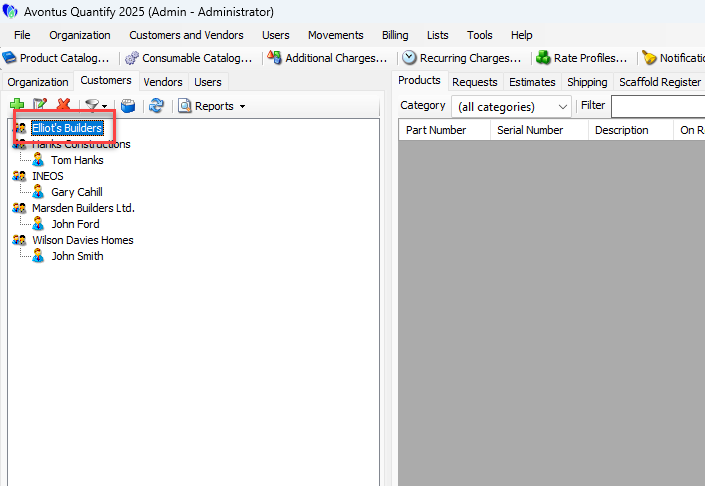
Click the appropriate Customer, then click the Edit button (
 ).
).Note: You can also double-click the customer
The Customer dialog appears.Click the top Add button (
 ).
).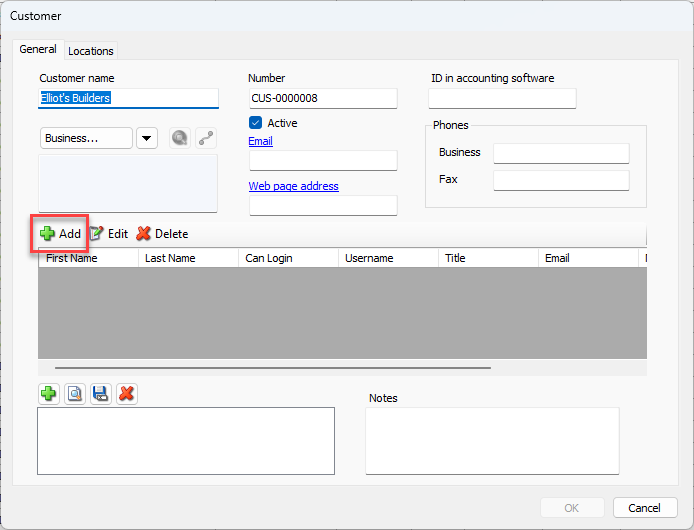
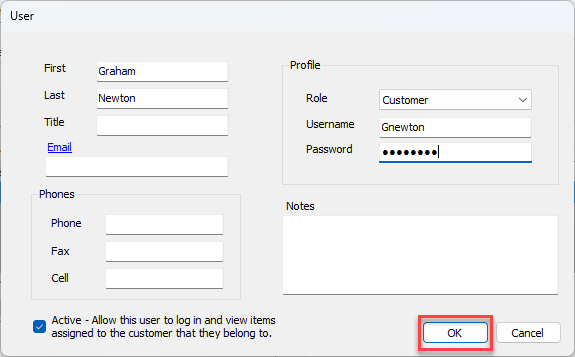
The User dialog appears. Use it to enter customer contact information.
Required fields for Customer Contact include: First, Last, Username and Password. Other fields are optional.Note: The Role dropdown defaults to Customer and is the only role available for customer contacts.
Note: The Active – Allow this user to log in and view items assigned to the customer that they belong to checkbox is checked by default. This checkbox must be checked in order for the customer to log in to Quantify.Click in the First text field and enter the customer's first name.
Click in the Last text field and enter the customer's last name.
Click in the Username text field and enter the customer's user name.
Click in the Password text field and enter the customer's password.
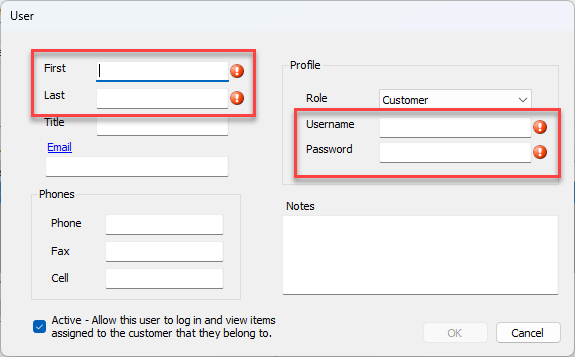
Click OK when you are done.
The Customer dialog returns.
As necessary, repeat the above steps.
When the Customer dialog returns, click OK.
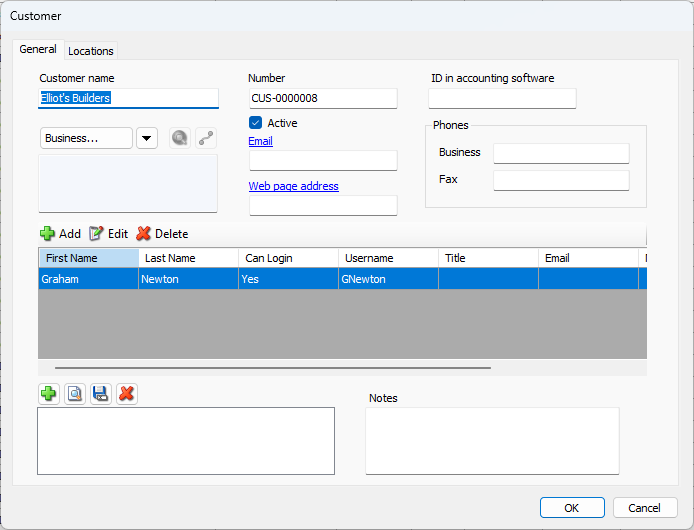
Quantify adds the Customer User to the Customer entry.