You create a return Shipment in the same way that you set up a delivery Shipment. However, instead of having it go from the Branch or Sub-Branch to the Job Site, you route from the Job Site to the Branch or Sub-Branch.
To create a return Shipment:
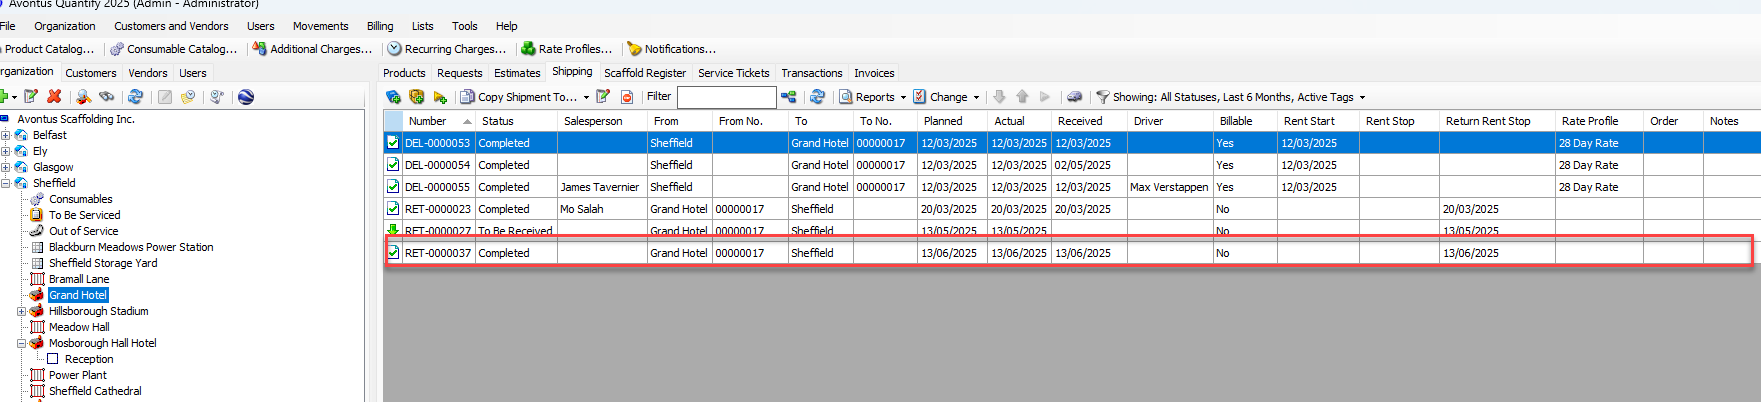
Locate and click the Job Site from which you want to ship equipment from,
Click the Shipping tab and click the Ship Items to a Location button (
 ). The New Direct Ship dialog appears, set up for a return.
Click the Rent Stop calendar icon (
 ).
).
The calendar appears.
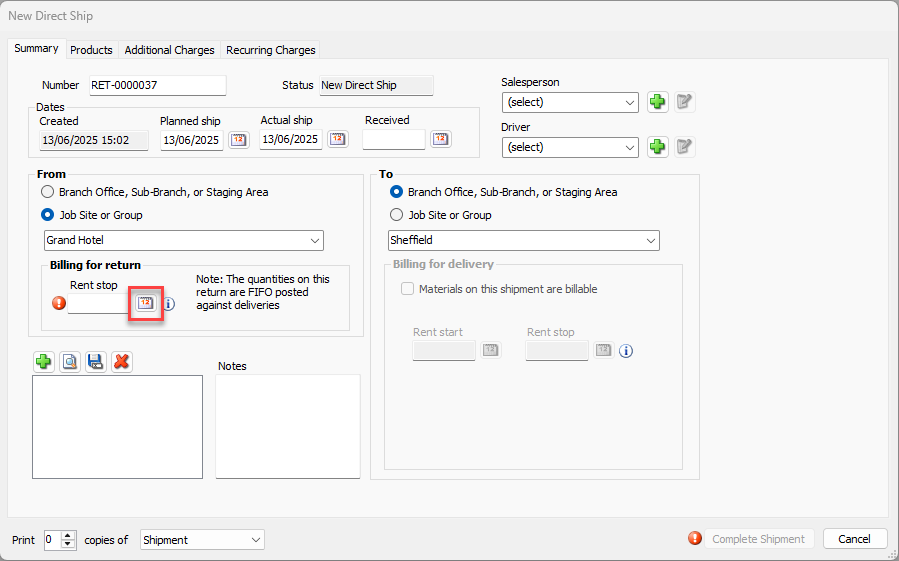
Locate and click the correct planned date of shipment
Note: Entering a date into the Rent Stop date field that is past the stop rent date on the Job Site/Scaffold will NOT result in additional rental charges past the stop rent date.
Note: If you enter a date into the Rent Stop date field that occurs in a previous billing cycle, any credits related to the return will be added to the next invoice created.
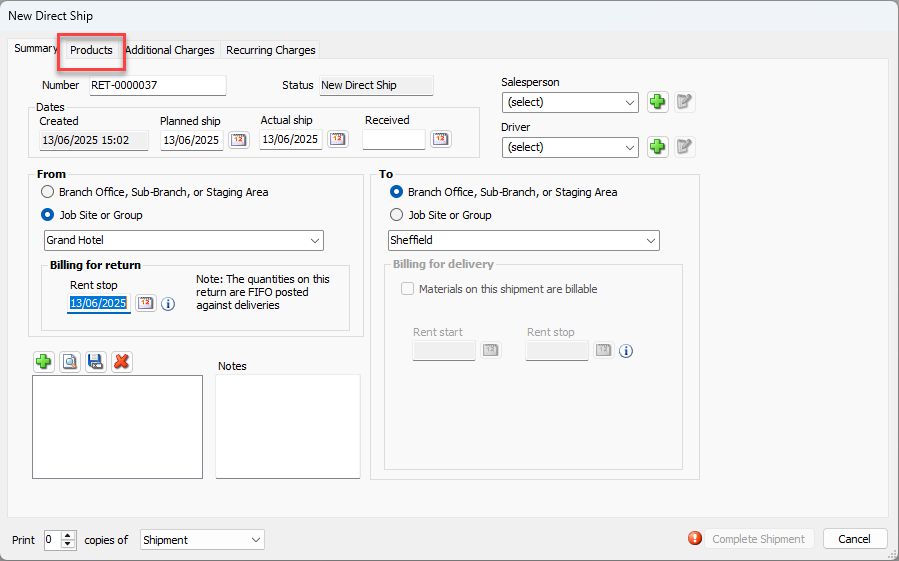
Note: When the Branch Office is set to count items, Quantify cannot process discrepancies and out of service items on the same return. Refer to Working with Out of Service Items for additional details.When you completed the Summary tab, go to the Products tab
Enter the Products to return in the To Ship column.
Note: When the Branch Office is set to count items, Quantify cannot process discrepancies and out of service items on the same return. Refer to Working with Out of Service Items for additional details.
Note: You can click auto-fill button to add all items into the To Ship column.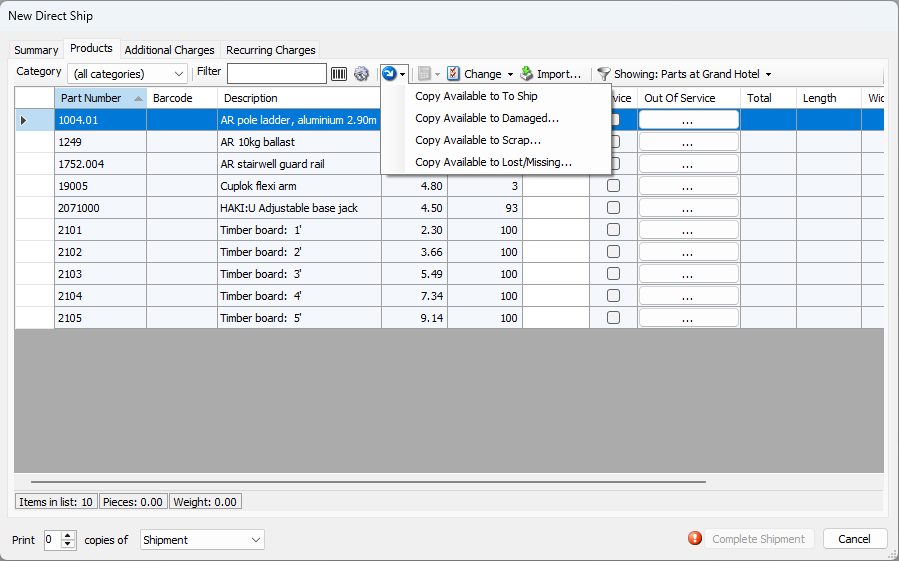
Click Complete Shipment
Optionally, you can complete the Additional Charges and Recurring Charges tabs.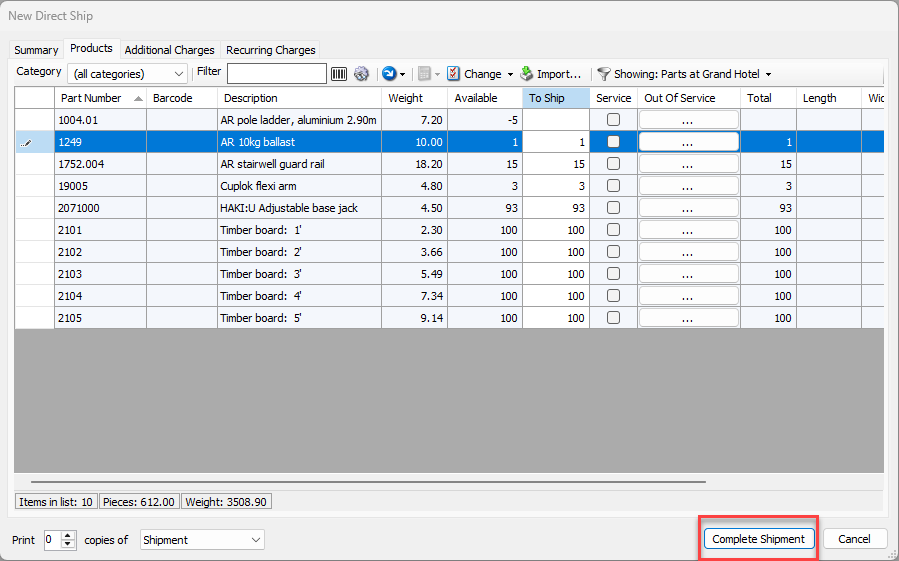
The Shipment will be created as a Return.