A Transfer occurs when a Shipment is sent from Branch Office to Branch Office or from Job Site to Job Site. Setting up a transfer is similar to setting up a standard Job Site.
Note: The procedures below are for creating a Job Site to Job Site Transfer.
To create a Transfer:
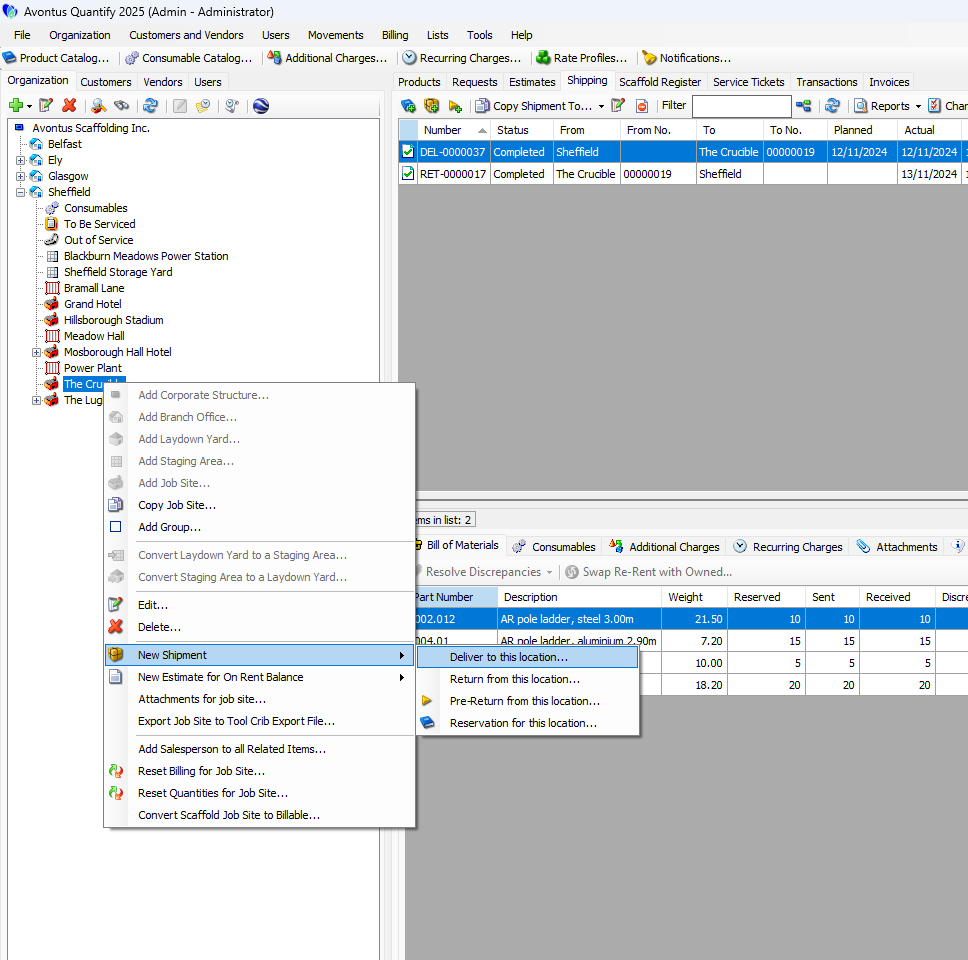
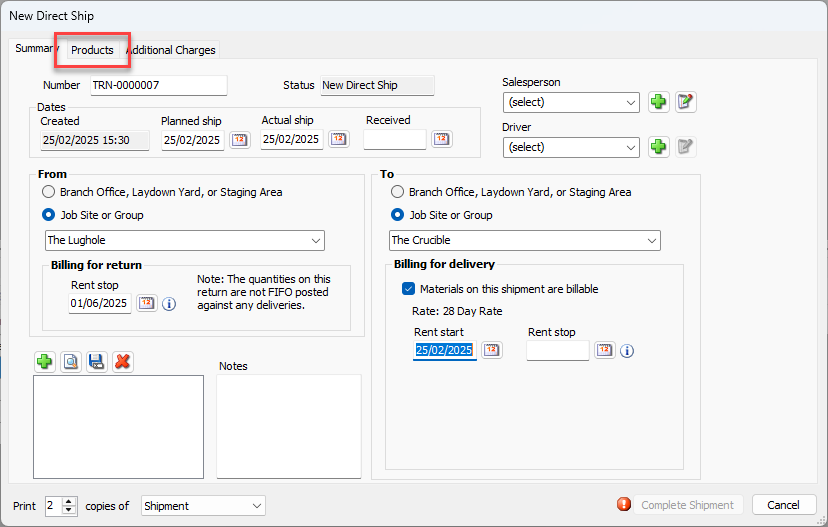
Create a new shipment. You can select to either Deliver to a location, return from a location, or reservation for this location as we will make changes to change this Shipment to a Transfer.
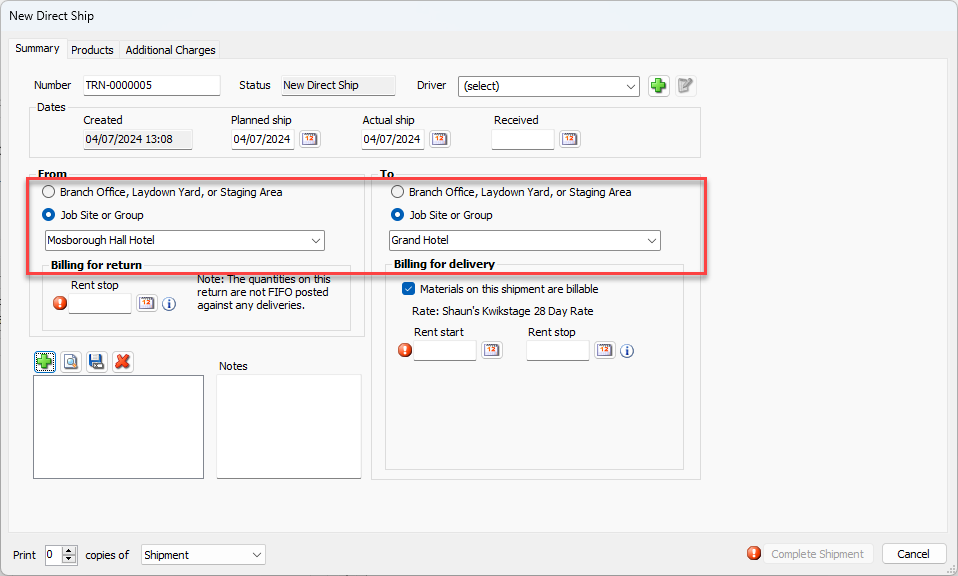
Click the Job Site or Group radio button in the From area of the dialog and select a job site.
Note: If you are creating a Branch Office to Branch Office Transfer, click the Branch Office radio button.
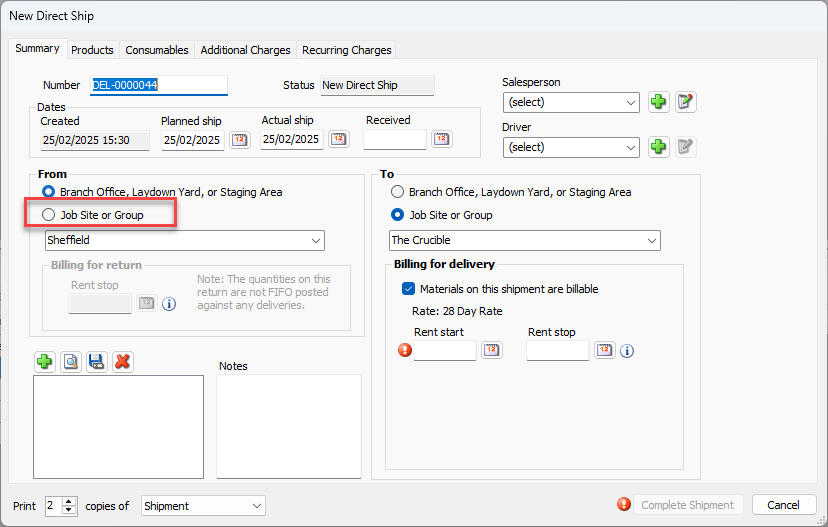
Select a Job site from the drop-down
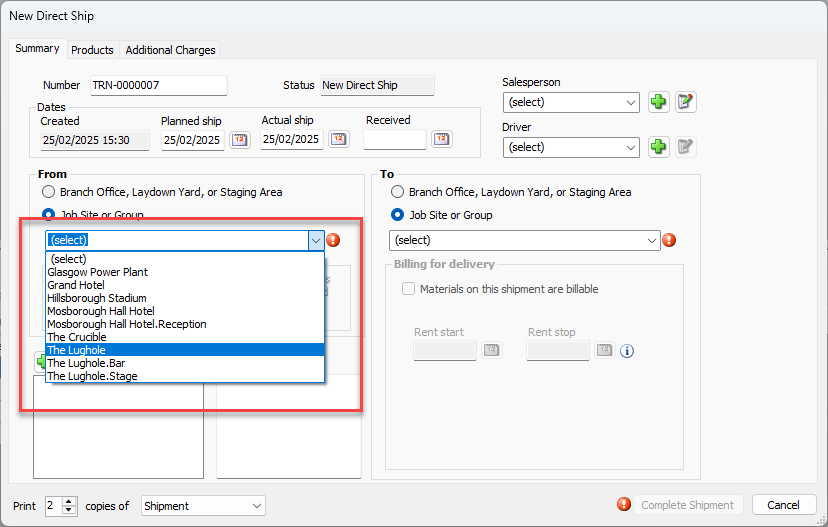
Repeat for the other Job Site
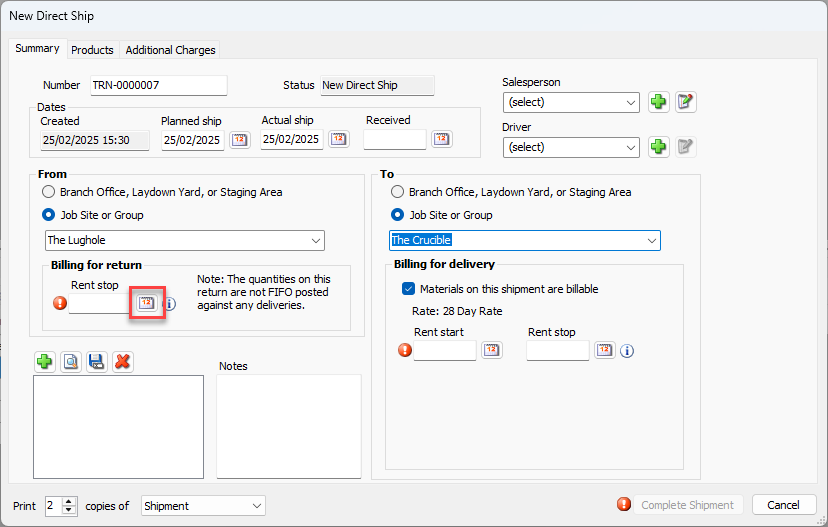
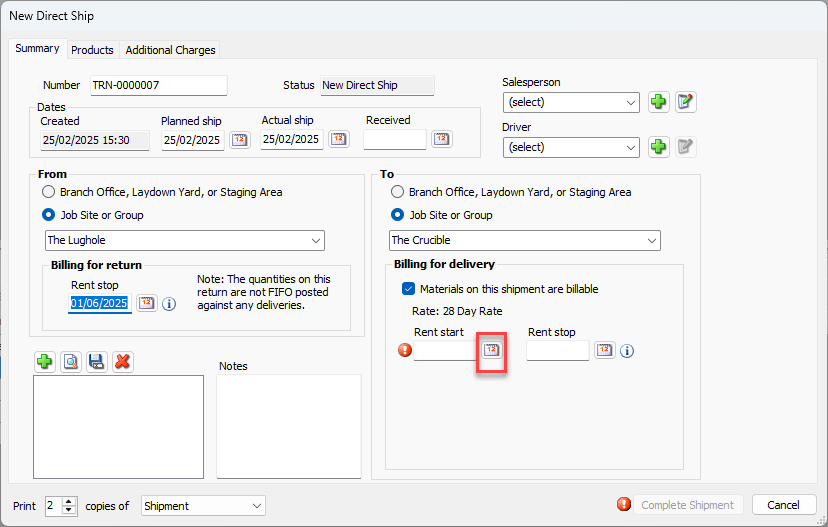
Click the Rent stop calendar icon (
 ).
).
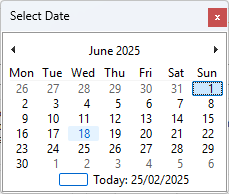
The calendar appears.
Locate and click the appropriate rent stop date.
Enter the Rent start date
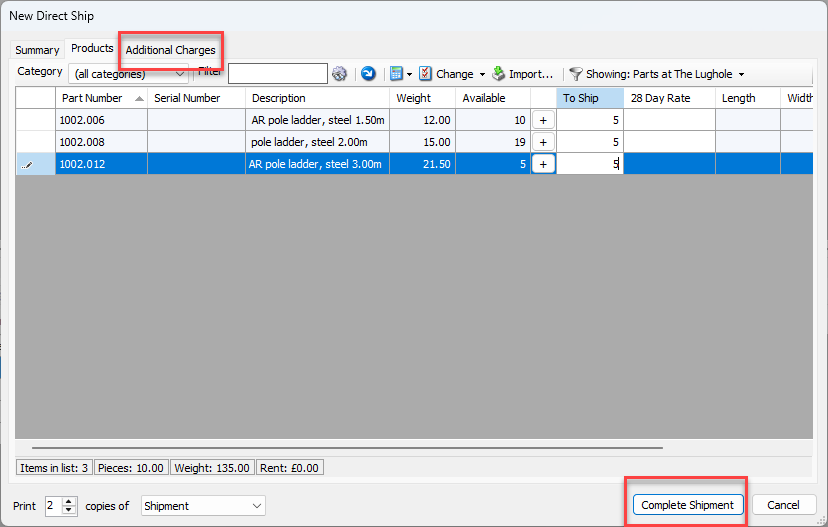
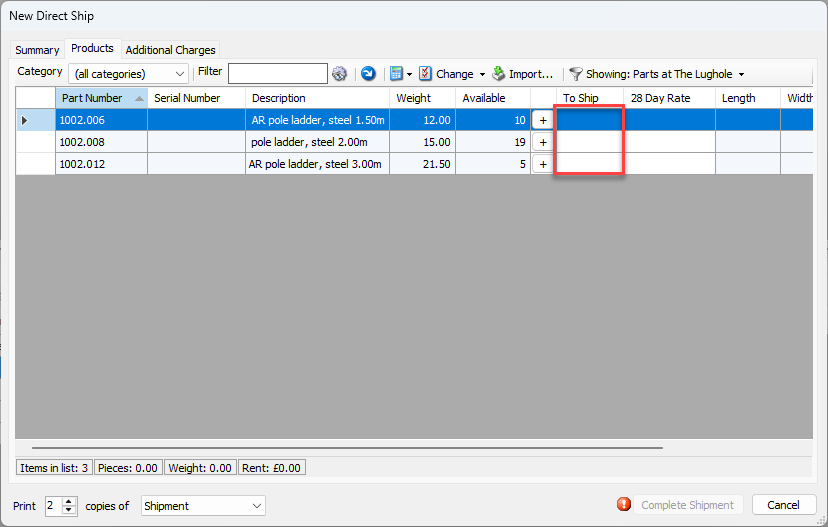
Click the Products tab
Enter the parts to ship
Select Complete Shipment or add additional charges in the Additional Charges tab