Quantify enables you to directly transfer a Scaffold from a Scaffold Tracking Job Site to a Scaffold Register you select in the Scaffold Register tab.
NOTE: The features mentioned in this article are only available in the Industrial Edition of Quantify.
To create a transfer from a selected Scaffold Tracking Job Site:
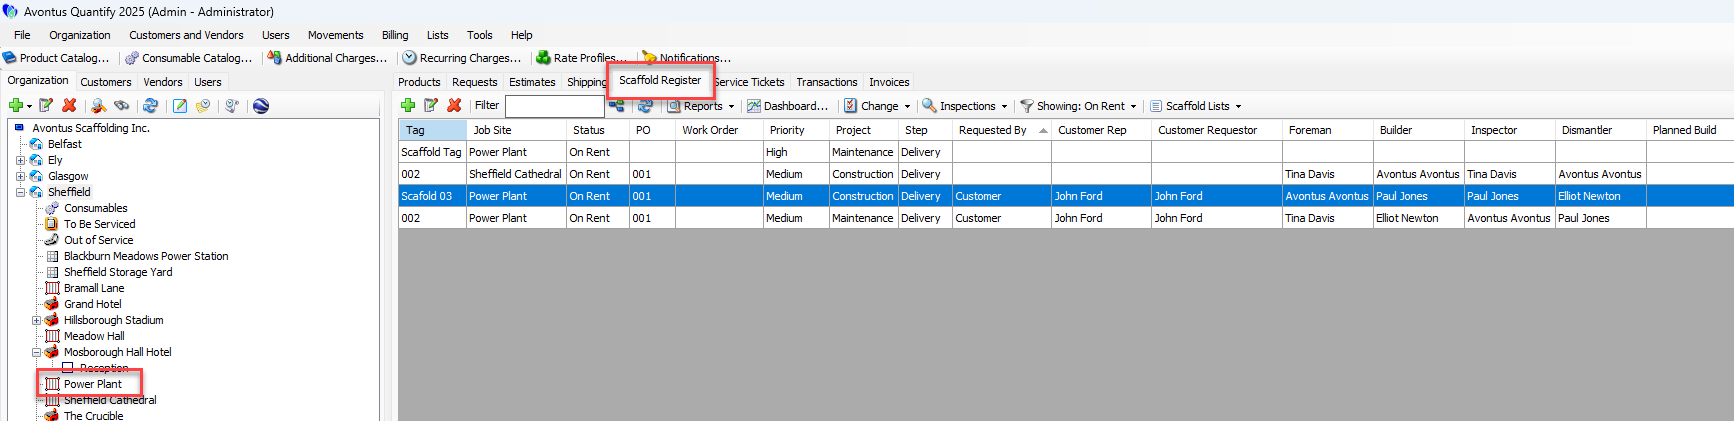
Locate and click the appropriate location.
Click the Scaffold Register tab, then click the appropriate Scaffold.
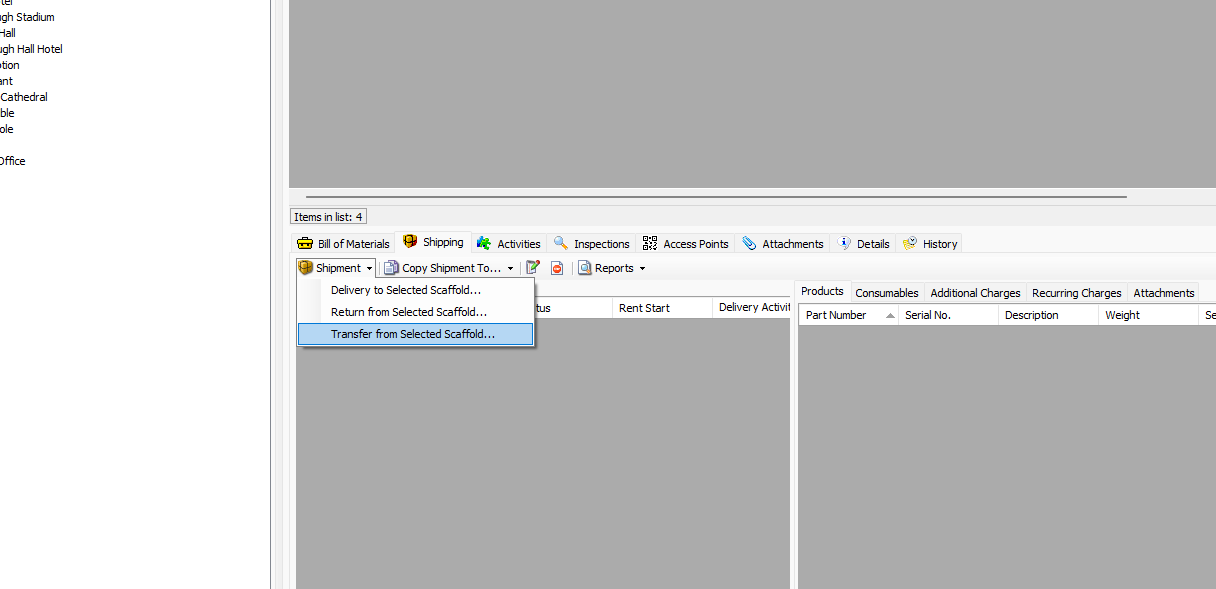
Click the Shipping tab.
Click the Shipment dropdown and select Transfer from Selected Scaffold.
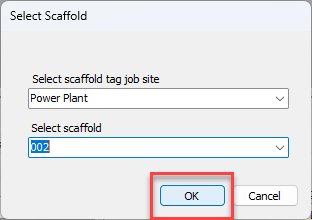
The Select Scaffold dialog appears.Click the Select scaffold tag job site dropdown and select the Job Site from which you want to transfer a Scaffold.
Click the Select scaffold dropdown and select the Scaffold you want to transfer.

Click OK.
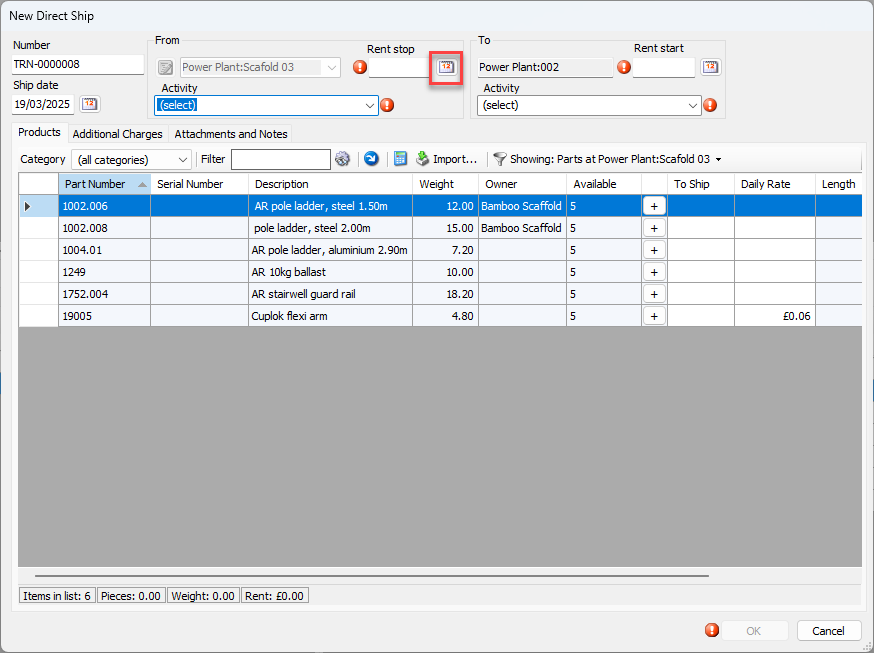
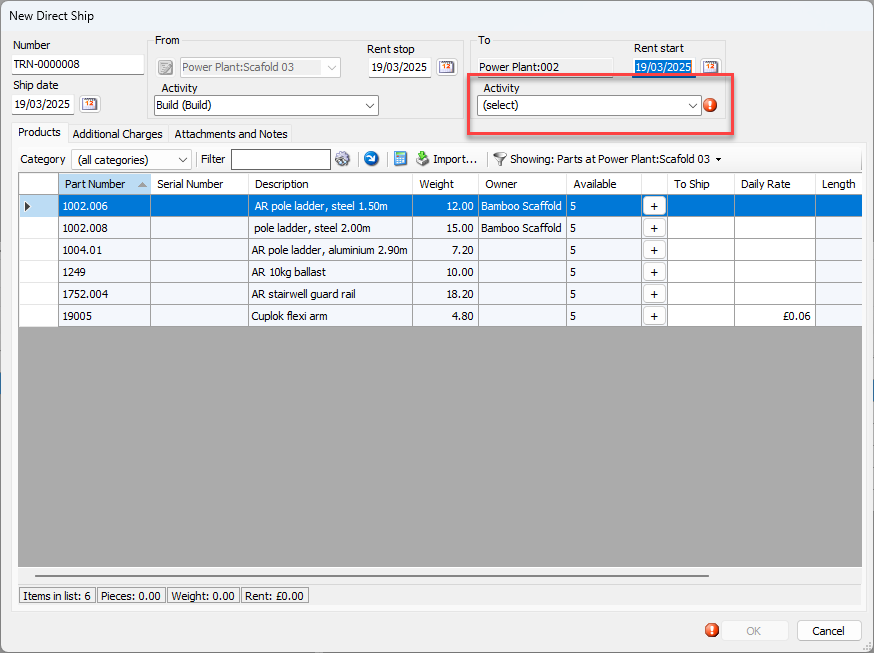
The New Direct Ship dialog appears.
Click the From Rent Stop calendar icon (
 ).
).
The calendar appears.
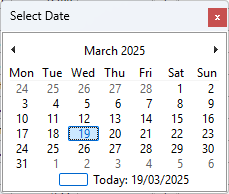
Locate and click the rent stop date.
Click the From Activity dropdown and select the appropriate Activity.
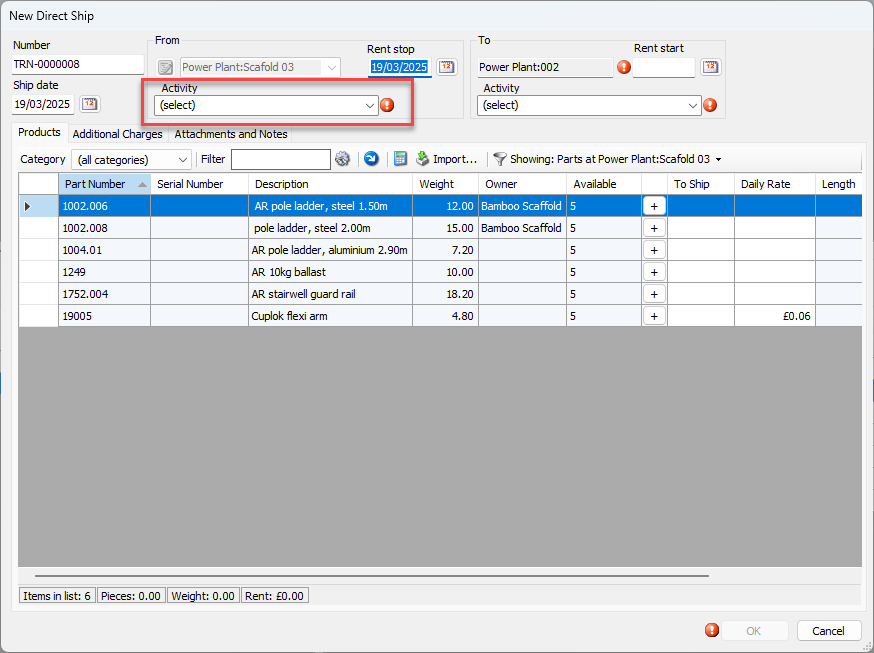
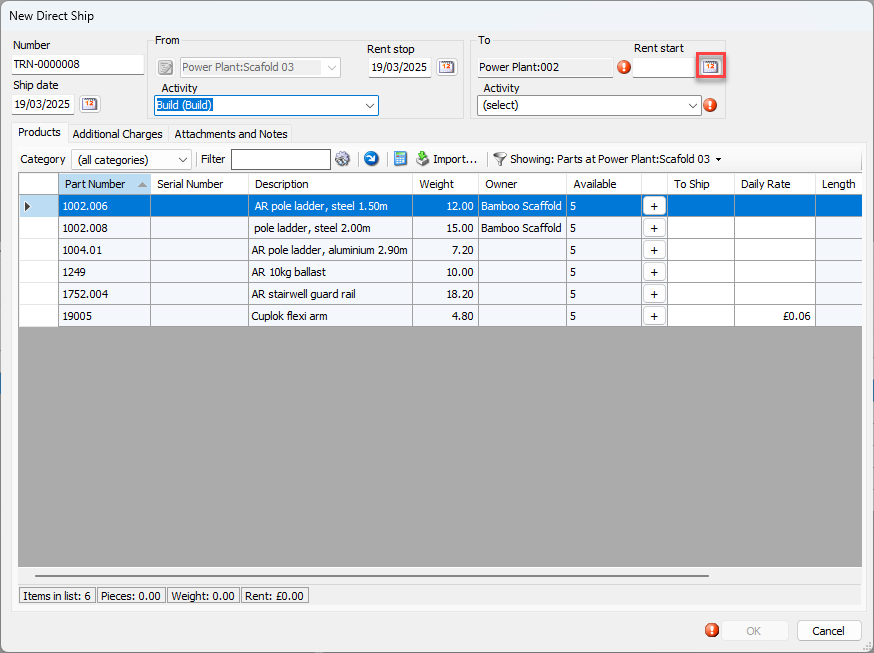
Click the To Rent Start calendar icon (
).
The calendar appears.Locate and click the rent start date.
Click the To Activity dropdown and select the appropriate activity.
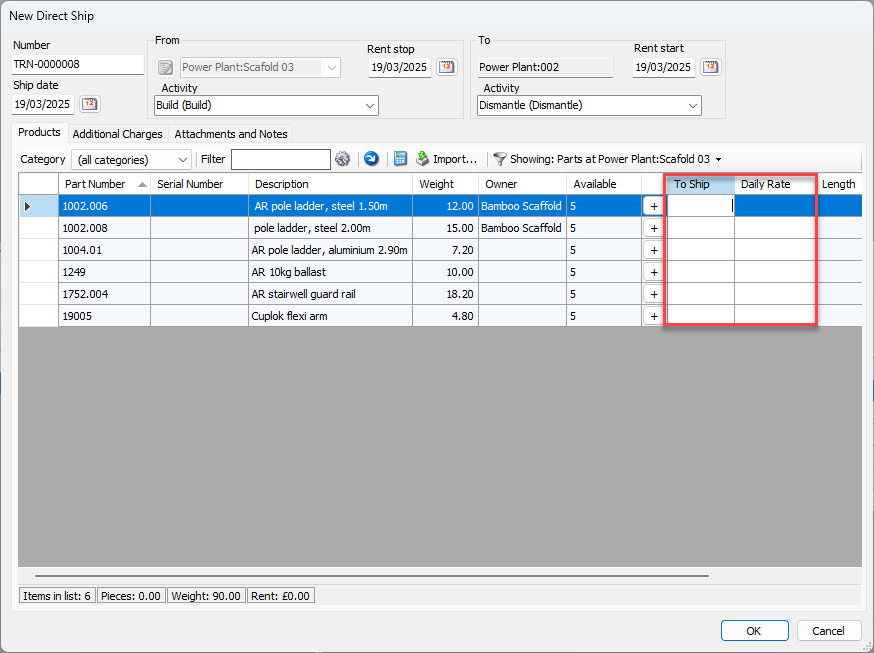
As necessary:Locate and double-click the appropriate cell in the To Ship column and enter the number of units to include in the Shipment.
Note: The Available column shows the current stock of each part.
Alternatively, you can click the Plus (
 ) button once for each unit you want to ship. You can also click
  to return all items.
Provide the number of parts to Ship and the Daily Rate.
Repeat the above steps as many times as necessary.
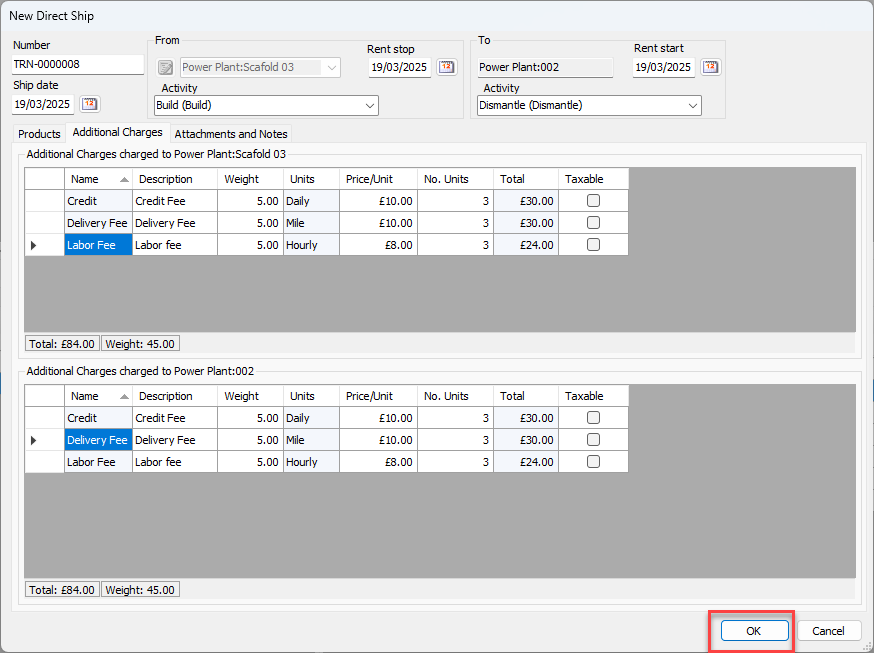
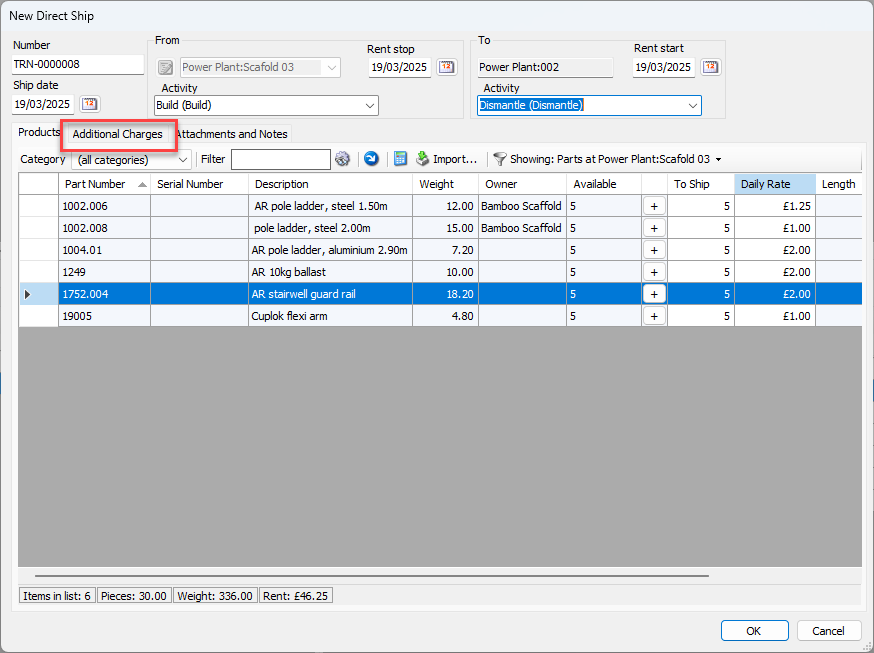
Click the Additional Charges tab.
Locate and double-click the appropriate upper cell in the Weight column and enter the appropriate weight.
Locate and double-click the appropriate upper cell in the Price/Unit column and enter the unit price.
Locate and double-click the appropriate upper cell in the No. Units column and enter the number of units the charges apply to.
Locate and click the appropriate upper Taxable checkbox.
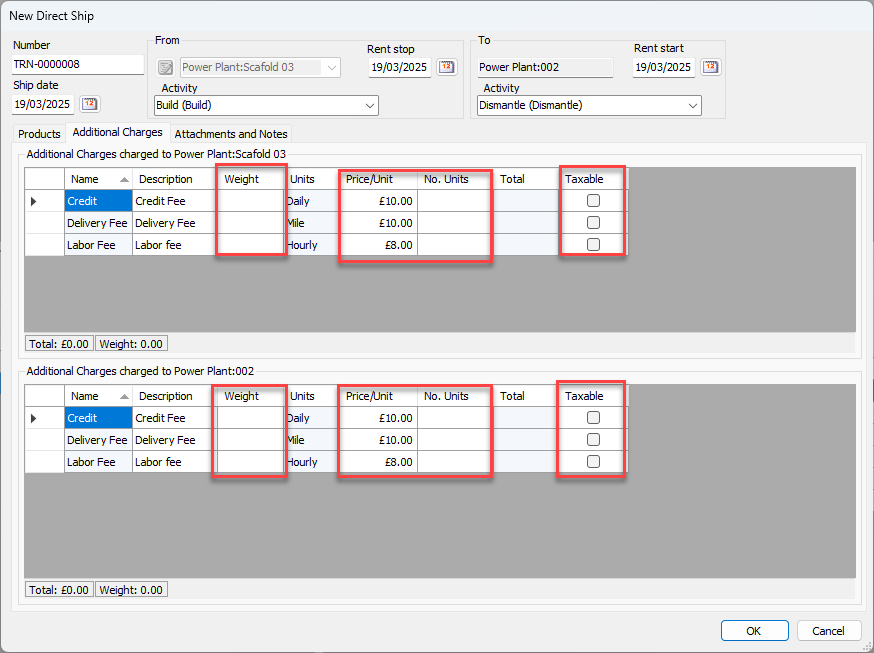
Repeat the above steps for any remaining Additional Charges.
Click OK.