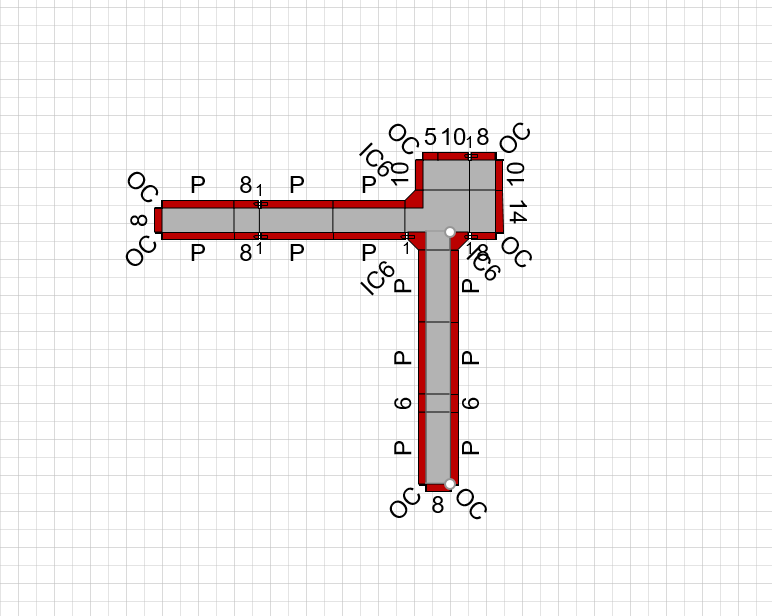
You can create an outside corner Pilaster using any corner of a Pilaster. The procedures below show you how to create an outside corner Pilaster using the bottom left-hand corner of the Pilaster. Keep in mind that the size of the Pilaster, the connection points of the Walls inside the Pilaster, as well as the Wall direction may all affect the Formwork. A poorly formed corner will produce Formwork drawing warnings. So it is helpful to draw the Formwork after you have created the Pilaster corner to check that you have created a well-formed connection. (Refer to Correcting Formwork Drawing Warnings for more on this subject.)
To create an outside corner Pilaster:
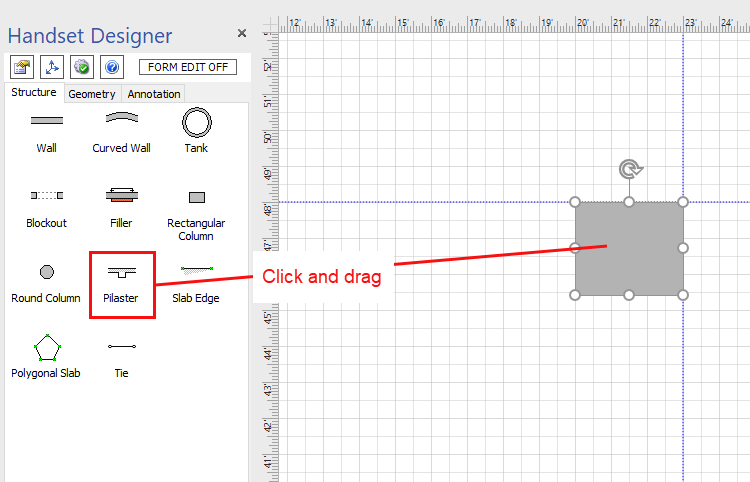
- Click and drag a Pilaster shape onto the Drawing page.
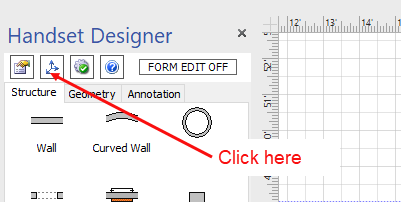
- As necessary, click the Size & Position button in the Handset Designer toolbar.
The Size & Position popup appears.
Note: You can also use the Pilaster shape handles to adjust the size of the Pilaster. - Configure the Pilaster.
As necessary:- Click in the X text field and enter the X Axis position corresponding to the center point of the Pilaster.
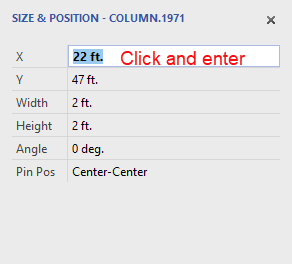
- Click in the Y text field and enter the Y Axis position corresponding to the center point of the Pilaster.
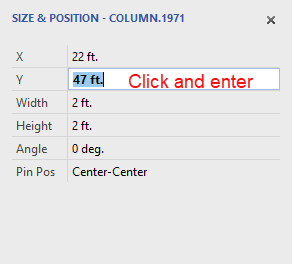
- Click in the Width text field and enter the Pilaster width.
- Click in the Height text field and enter the Pilaster height.
- Click in the Angle text field and enter the angle.
- Click the Pin Position dropdown menu and select the Pilaster pin position.
(For more information, refer to Customizing Shape Properties in Handset Designer and Setting a Column's Pin Position.)
- Click in the X text field and enter the X Axis position corresponding to the center point of the Pilaster.
- Click and drag a Wall shape onto the Drawing Page.
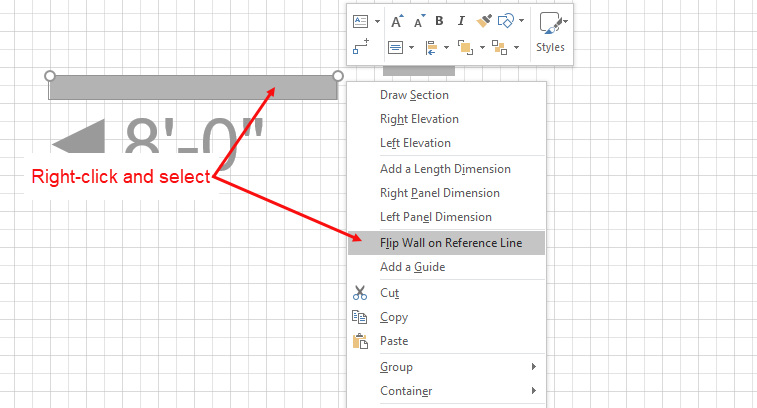
- Right-click the Wall and select Flip Wall on Reference Line from the menu that appears.
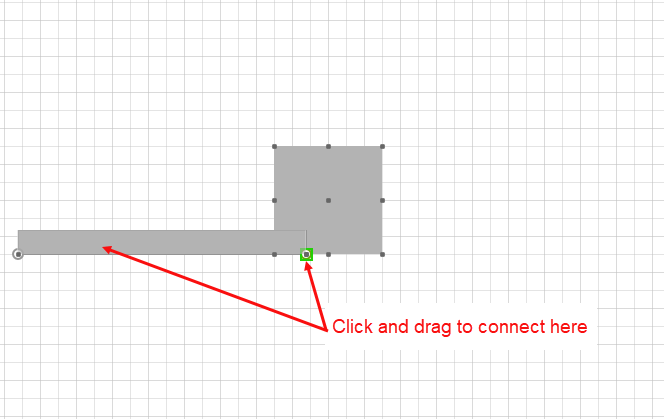
- Click and drag the Wall to connect it to the inside corner of the Pilaster, just to the width of the Wall, as shown.
- Click and drag a second Wall shape onto your drawing.
- Right-click the second Wall and select Flip Wall on Reference Line to reverse the direction of the Wall.
- Use the shape handle to rotate the Wall so that it is perpendicular to the first Wall.
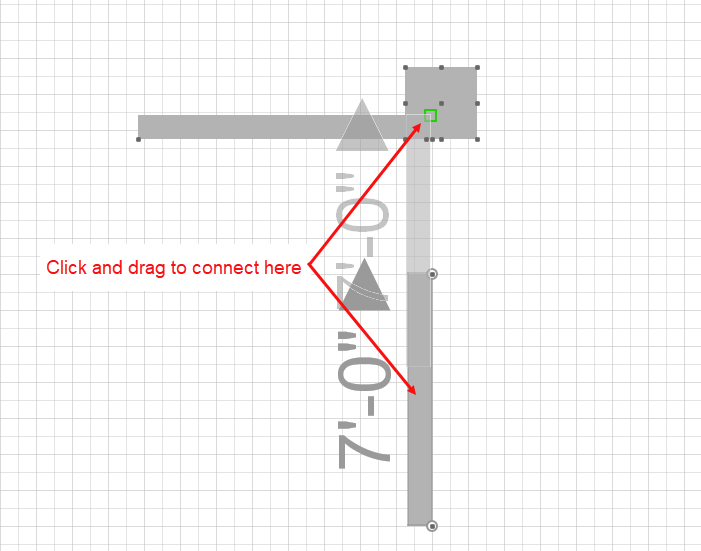
- Click and drag the Wall and connect it to both the Pilaster and to the first Wall where the corners of the Walls meet, as shown by the green connection point.
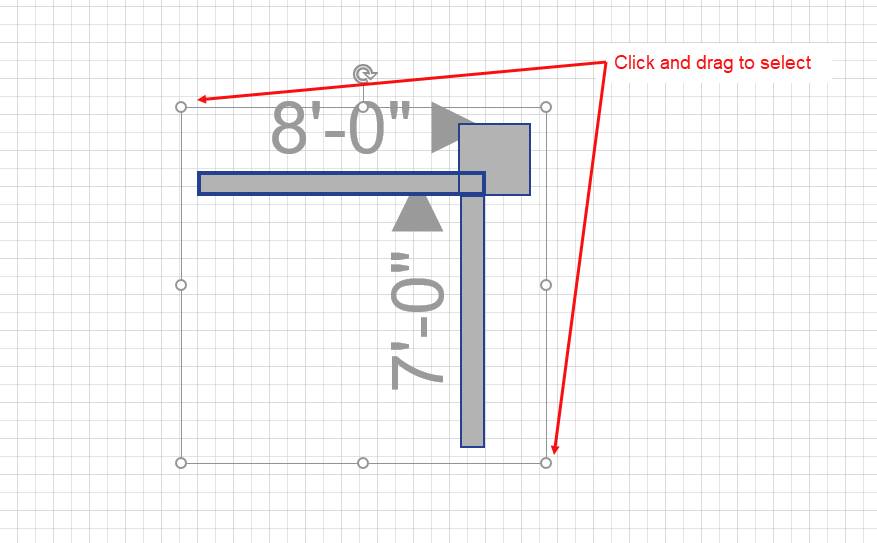
- Click and drag to select the new shape and to clearly see your connections.
- Click the Handset Designer tab and click Draw Formwork.
 Handset Designer draws the Formwork, revealing no Drawing Warnings.