You create Invoices through the Invoices tab. Quantify enables you to create Invoices for a single Job Site, multiple Job Sites, all jobs under selected Branch Office(s), by Customer or for the entire company.
Note: When creating Invoices for Scaffold Tracking Job Sites, only a single job can be selected.
To generate Invoice(s) for the company:
Click the Invoices tab and click the Create Rental Invoices button (
 ).
).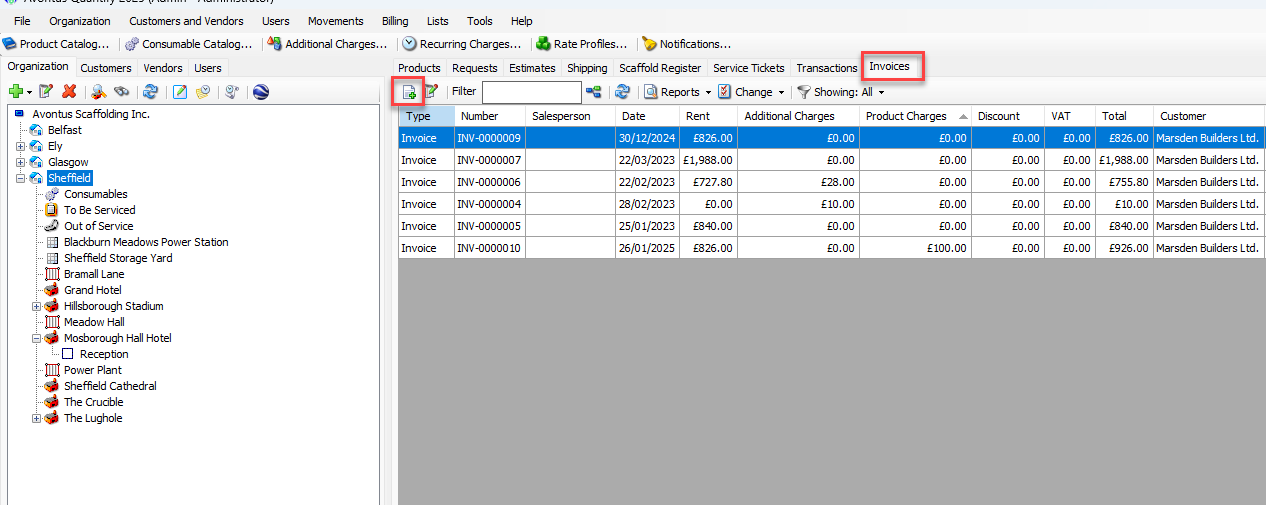
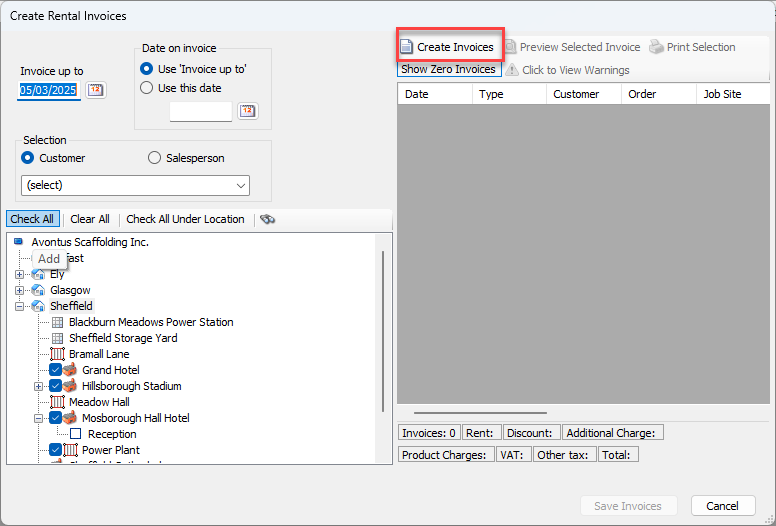
The Create Rental Invoices dialog appears.
As necessary, click the Invoice Up To calendar button (
 ).
).
If a Job Site was not selected in the Organization Tree, today's date appears here by default. Quantify uses the Invoice up to date to analyze what invoicing is due for the selected jobs.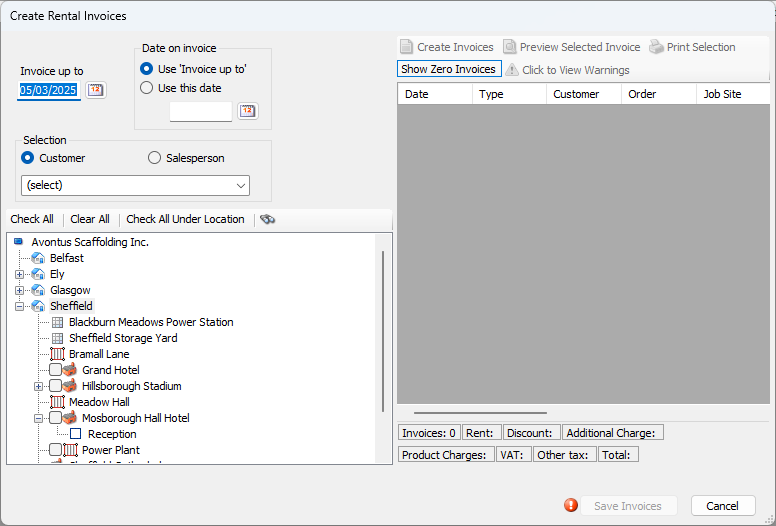
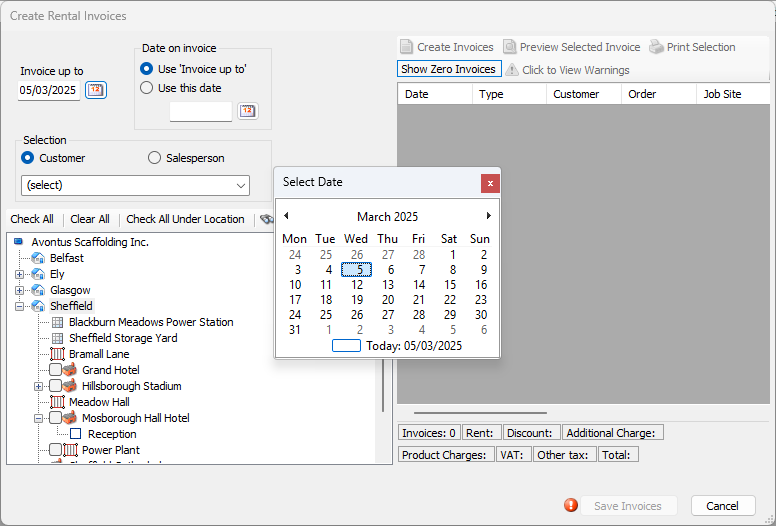
A calendar appears.
Locate and click the appropriate date.
Click Check All.
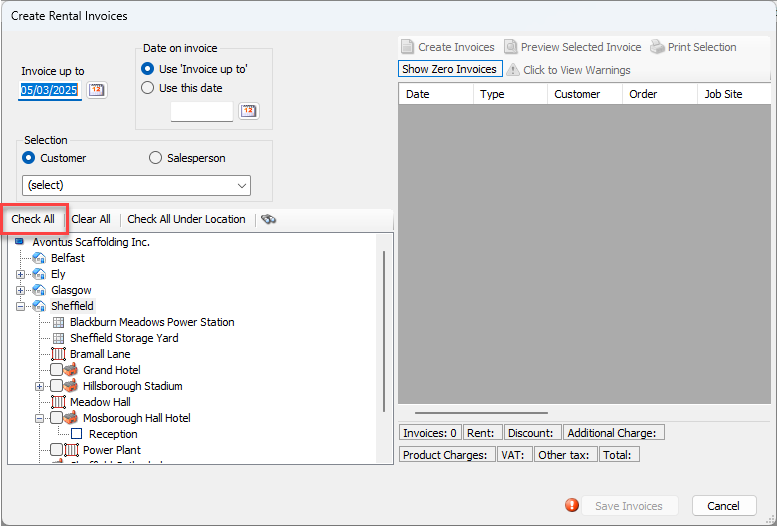
Quantify selects all Job Sites in the Organization Tree.
Note: If Scaffold Tracking Job Sites were included in the selection (as shown above) you must remove the check from those Job Sites before Quantify can generate invoices. A Scaffold Tracking Job Site will have this icon

Click Create Invoices.
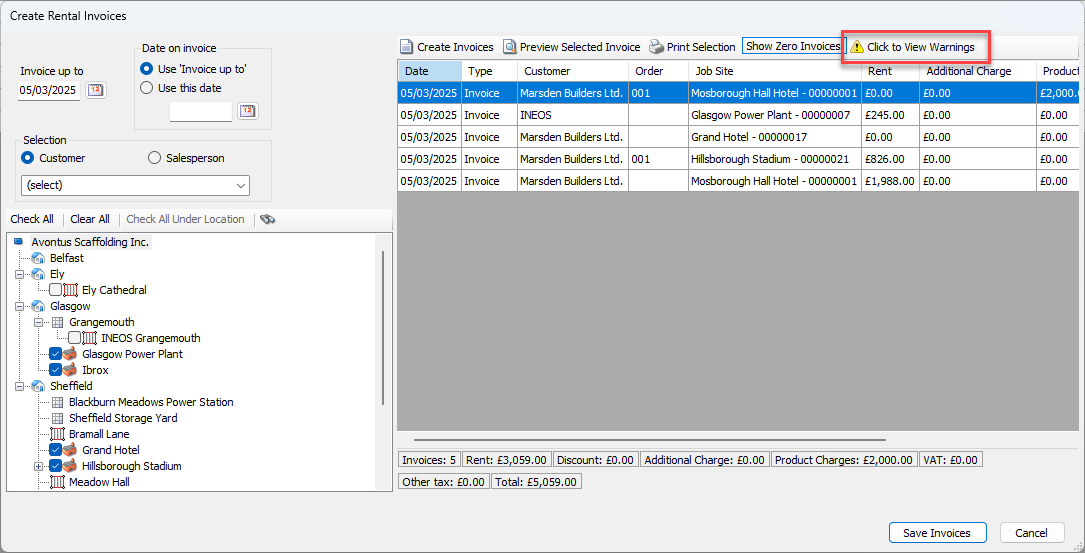
Quantify generates the Invoices that are due for the selected Job Sites based on the Invoice Up To date.
Quantify displays summary information in the status bar.
Note: Quantify may display informational messages regarding the Shipments included in the generated Invoices.
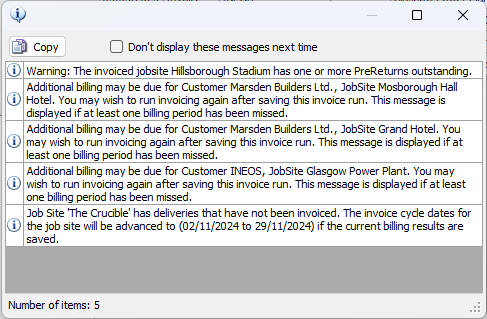
To re-display these warnings, click Click to View Warnings.
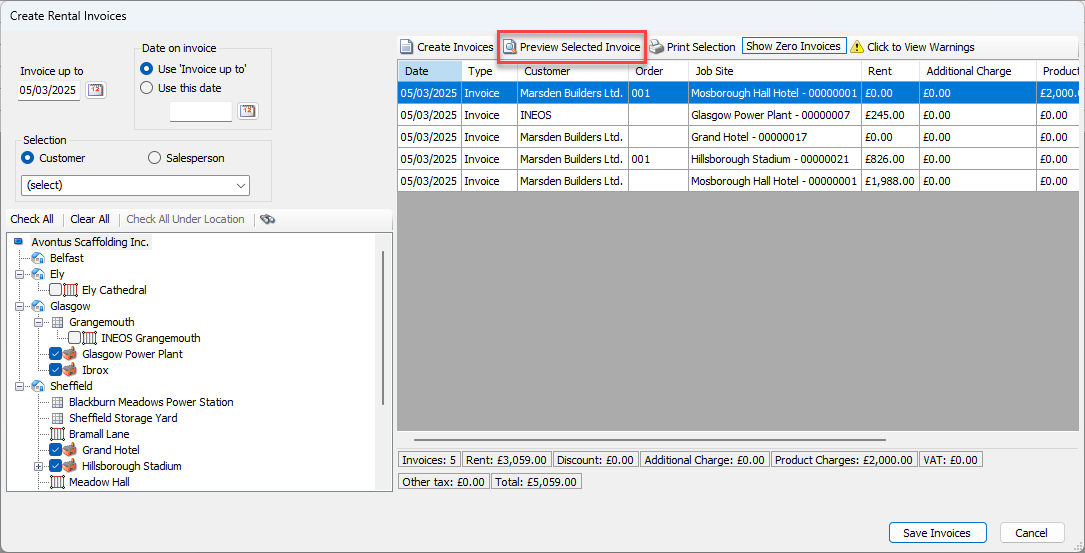
Note: For review, you can preview and print draft Invoices.
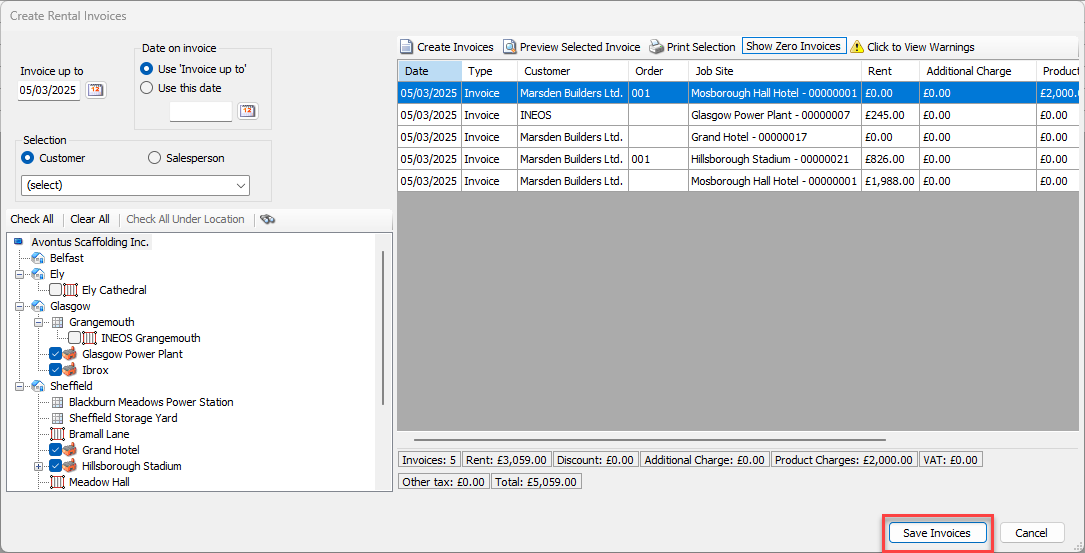
To save the generated Invoice(s), click Save Invoices.
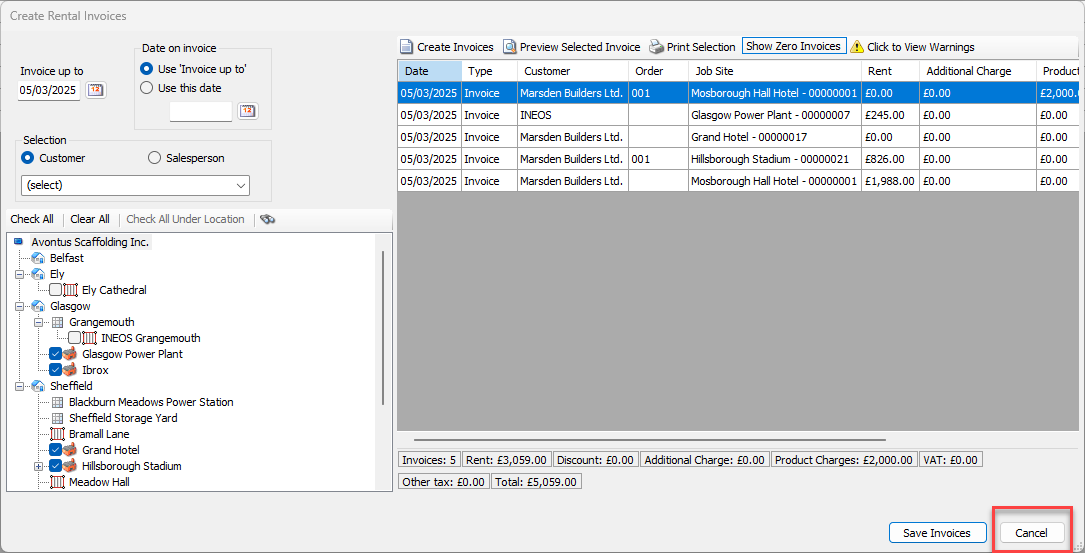
Note: Click Cancel to dismiss the Create Rental Invoices dialog and not save the invoices.
Quantify saves the invoice(s).