New to Avontus Designer? Here are a few articles that will help you get familiar with the program quickly.
Key Concepts
There are several key concepts that will simplify your use of Avontus Designer and enable you to create complex structures easily. You should know how these features work and how they interact with the different structural elements.
Grid
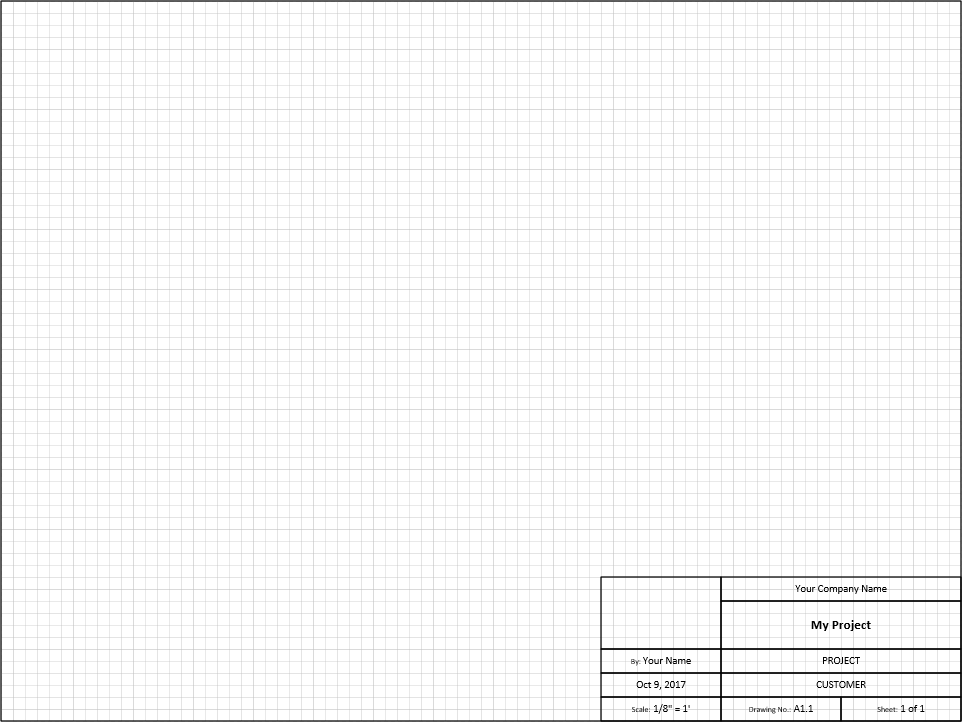
The grid is the non-printing, gray horizontal and vertical dashed lines that appear at regular intervals on the page. Grid lines crisscross each drawing page like those on traditional graph paper. A grid helps you position shapes on a drawing page. The grid does not print automatically, but you can specify that you want it to print with the Drawing Page in the Print Setup tab in the Page Setup dialog box. To learn more about page and print setup, refer to Working with the Drawing Page.
Snap
Snap behavior positions and aligns shapes exactly. Snapping pulls shapes to one another or to ruler subdivisions, grid lines, guides or guide points, so you can precisely control placement and alignment.
You can control the types of objects to which shapes snap and the snap strength, which is the amount of pull that an object exerts. By default, shapes snap to both ruler subdivisions and to grid lines. You may not always want to snap shapes. For example, by turning off snapping, you may find it easier to draw a smooth, free-form curve (a shape with curved segments, also called a spline). To adjust what areas of your drawing objects snap to, or to adjust snap strength, use the Microsoft Visio View tab.
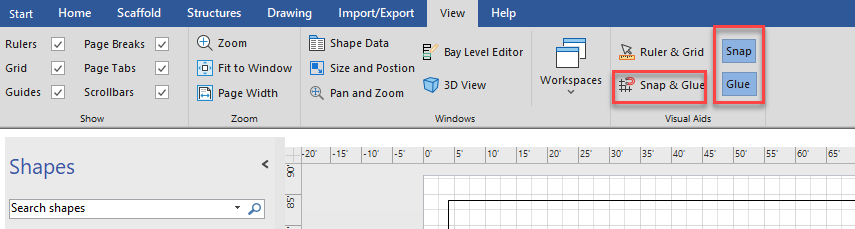
To learn more about the Visio snap function, visit the Microsoft Office support article here.
Glue and Connections
Glue is a property of shapes that causes them to stay connected even when one of the shapes is moved. When you attach two shapes, you typically glue them together.
.gif)
Shapes move independently even after they are glued. To move a set of glued shapes as one, hold down your keyboard's Shift key while clicking on each of your glued shapes to select them. Continue to hold the Shift key as you move the object. You can also move the glued object by holding your left mouse button down and dragging across the object to select all the glued shapes. Once you release your mouse button, the object gains shape handles, including a rotation handle, which you can then use to manipulate it.

Visio connectors stay glued when you move the shapes they are attached to. For example, when you move a wall shape that is connected to another wall, the connector adjusts to keep the two walls connected. The type of connector you use and the type of connection, or glue, you use determines how the connection behaves.
Guides
A guide is a reference line you can drag onto the Drawing Page to position shapes precisely. You drag guides from the rulers and the guide point in the upper-left corner of the drawing window.
Use guides to define locations on your drawing similar to column lines. You can snap and glue other shapes to guides as well as intersections of guides. By having multiple guides on the page, you can confidently draw shapes, knowing they will have the correct sizes. Some shapes (such as walls and slabs) have a right-click menu item that enables you to add a guide directly related to the shape's position.
To delete the horizontal or vertical guides, select a guide and press Delete.
Nudging
Nudging enables you to move a shape in a small increment to the next snap point without having to drag and move the object with your mouse. To nudge a shape, highlight it and press one of the arrow keys on your keyboard.

If there is no position to which the shape can snap, pressing an arrow key moves the shape a single tick on the ruler. The distance that the shape moves is determined by your zoom scale. If you are zoomed far out on the drawing, you can nudge a shape up to a foot or more. By zooming in very close you can nudge a shape in 1/8", 1/16" or smaller increments.
Keyboard Shortcuts
Here are a few helpful keyboard shortcuts for users who prefer to leave the mouse alone.
3D View
Rotate | Arrow Keys |
Pan | Ctrl + Arrow Keys |
Zoom In | Ctrl + '+' |
Zoom Out | Ctrl + '-' |
Drawing Page
Cut | Ctrl + X |
Copy | Ctrl + C |
Paste | Ctrl + V |
Save | Ctrl + S |
Copy Conceptual Image | Ctrl + Shift + C |
Copy Conceptual Vector Image | Ctrl + Shift + V |
Zoom out | Ctrl + Shift + Right Mouse click |
Zoom In | Ctrl + Shift + Left Mouse click |
Zoom in to selected area | Ctrl + Shift + Left Mouse click and drag to make a box |
Pan | Ctrl + Shift + Right Mouse click and drag |