Quantify enables you to import counts of parts into a new Direct Shipment from a template. For this purpose, you can use any tab delimited file with two columns (Part Number and Quantity).
To import quantities into a New Direct Shipment
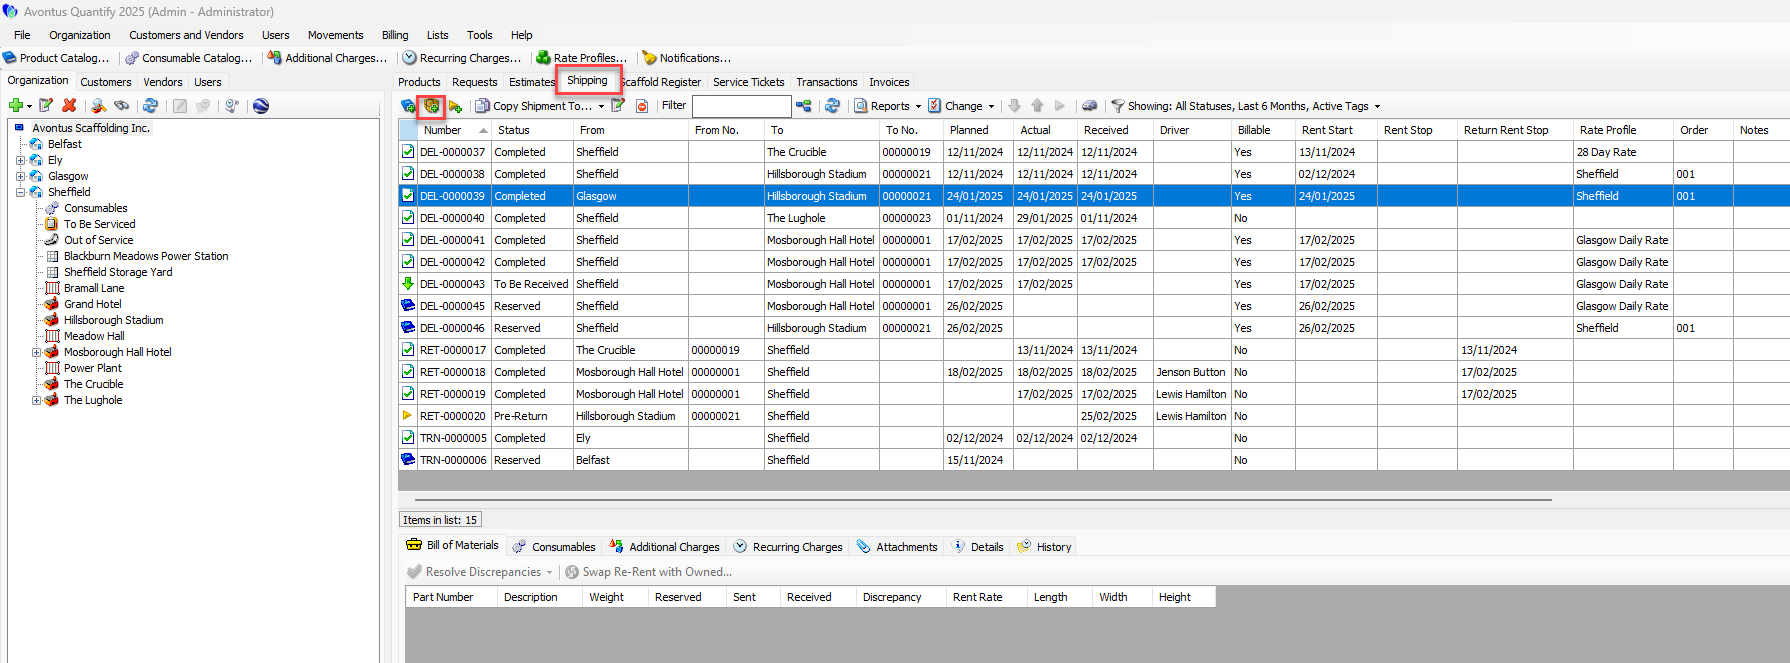
Click the Shipping tab, then click the Ship Items to a Location button (
 ).
). 
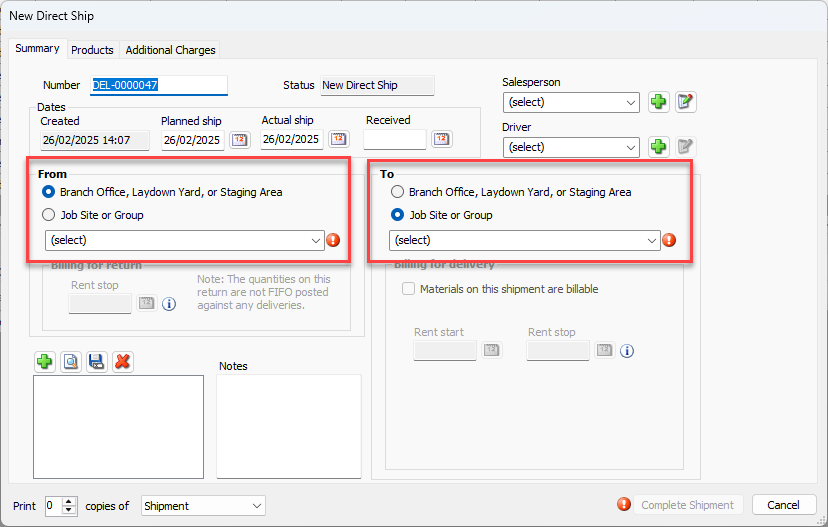
The New Direct Ship dialog appears.Click the appropriate From radio button: Branch Office, Sub-Branch, or Staging Area or Job Site or Group.
Click the From dropdown list and select the specific location.
Click the appropriate To radio button: Branch Office, Sub-Branch, or Staging Area or Job Site or Group.
Click the To dropdown list and select the specific location.
Click the Rent Start calendar icon.
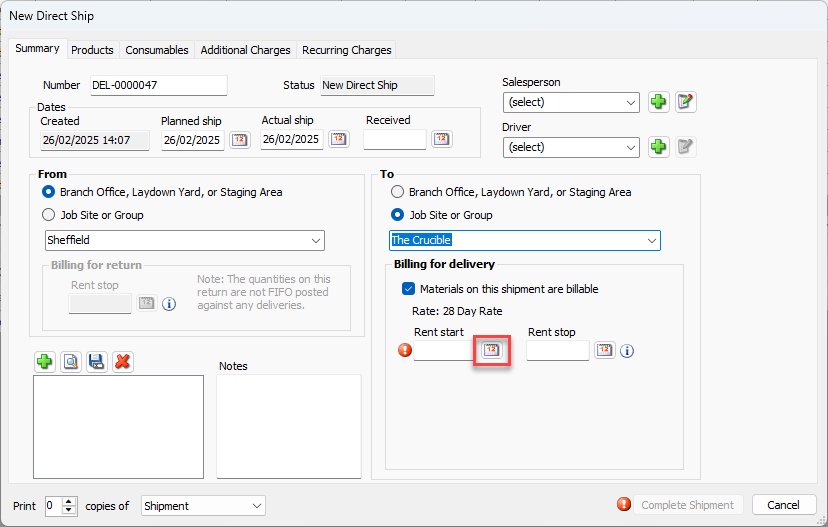
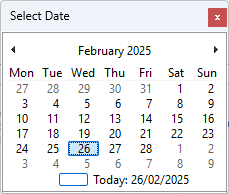
The calendar appearsLocate and click the appropriate rent start date.
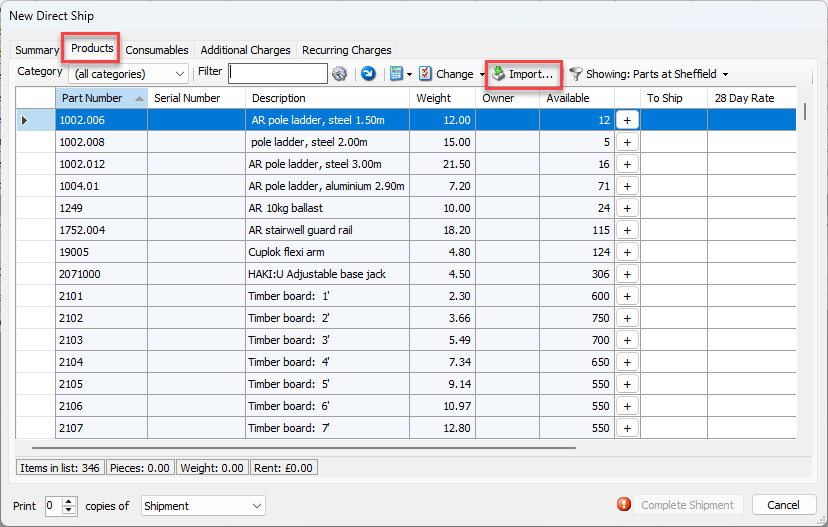
Click the Products tab and click Import.
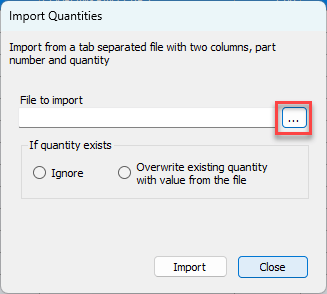
The Import Quantities dialog appears.Click the File to Import button (
 ).
).
The Import from Tab Separated Value File dialog appears.
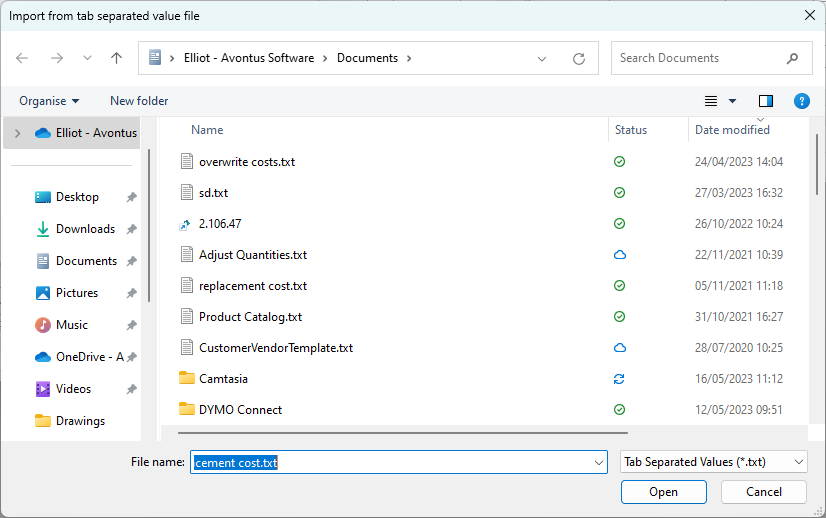
Navigate to the folder that contains the file, select the file and click Open.
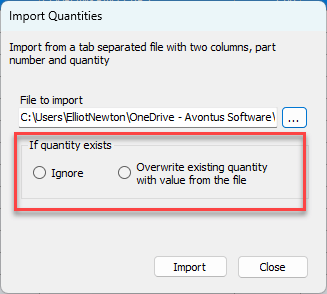
Click the appropriate If Quantity Exists radio button: Ignore or Overwrite Existing Quantity with Value from the File.
Click Import.
When the import is complete, a confirmation message appears.
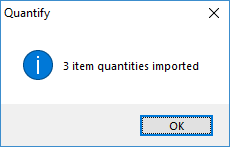
Click OK .
Quantify updates the Products tab with the counts for parts you imported.
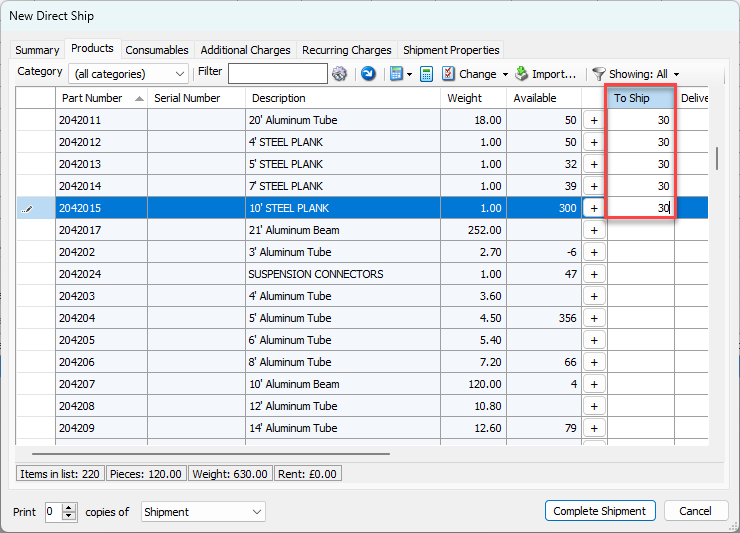
Complete the Shipment