The Mobile Request Portal makes it easy for users in the field to use their mobile device to create new Quantify Requests and edit existing Requests.
Placing a New Request Through Mobile Request Portal
After logging in to the Mobile Request Portal, you can use your mobile device to create a new Quantify Request.
To place a new Request through the Mobile Request Portal:
- Log in to the Request Portal.
- Click Add Request.
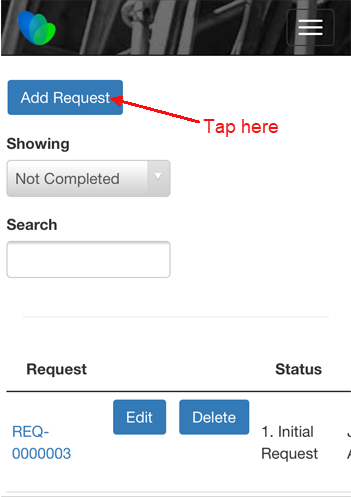
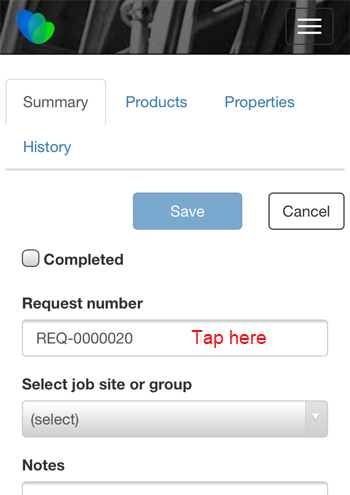
The New Request page appears. - Tap the Request Number text field.
The keyboard appears.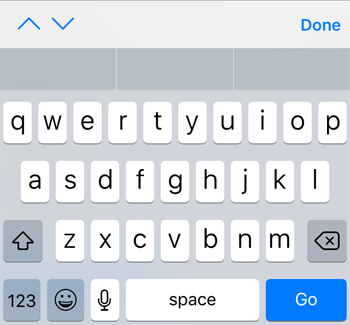
- Enter the appropriate Request number and tap Done.
- Tap the Select Job Site or Group dropdown.
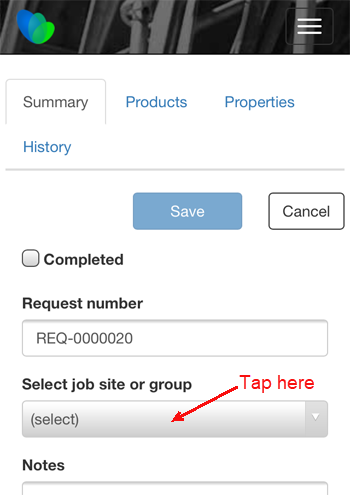
The Select Job Site or Group spinner appears.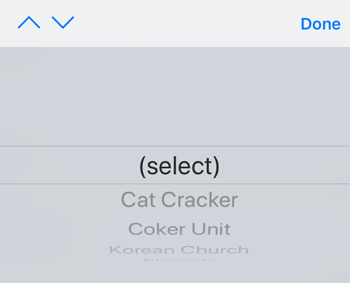
- Select the appropriate Job Site and tap Done.
- Scroll down and tap the Notes text field.
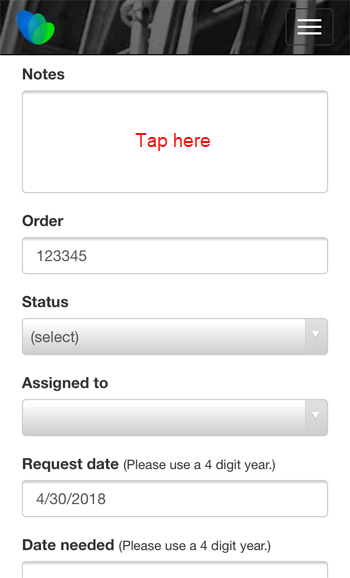
The keyboard appears. - Enter the appropriate notes and tap Done.
- Tap the Order text field.
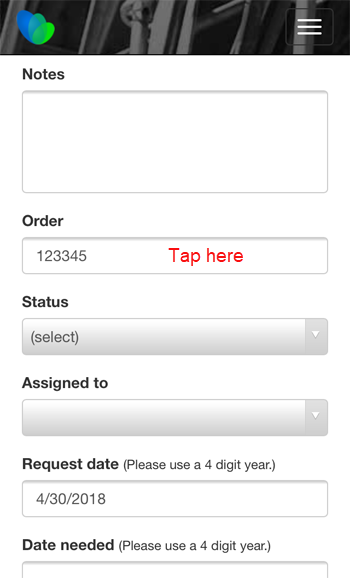
The keyboard appears. - Enter the appropriate order number and tap Done.
- Tap the Status dropdown.
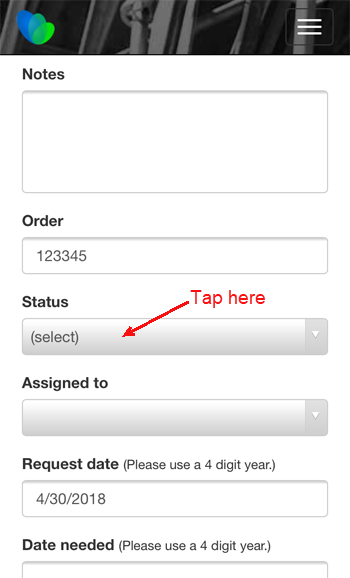
The Status spinner appears.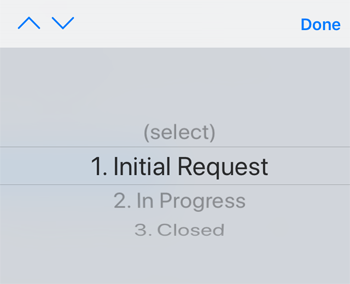
- Select the appropriate status and tap Done.
- Tap the Assigned To dropdown.
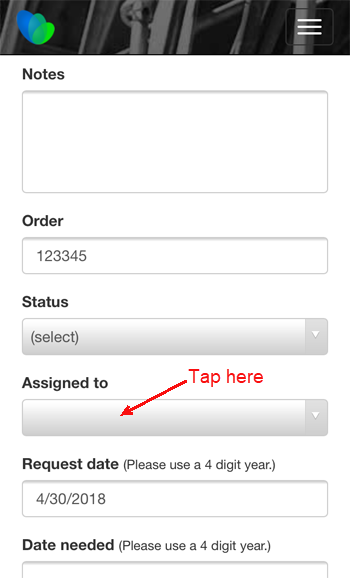
The Assigned To spinner appears.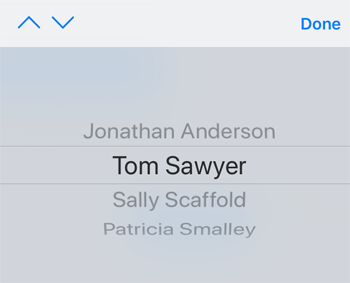
- Select the appropriate assignee and tap Done.
- Tap the Request Data text field.
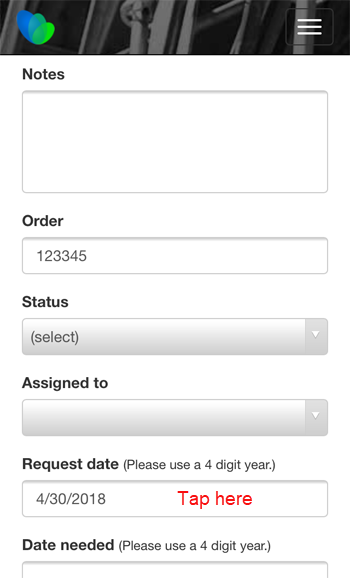
The Request Date calendar appears.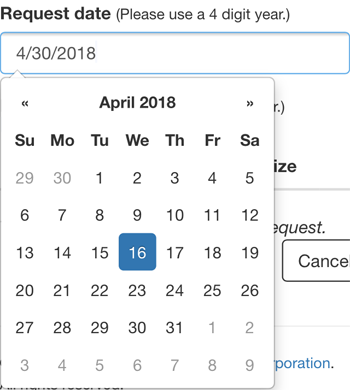
- Locate and tap the appropriate request date.
- Scroll the page down and tap the Date Needed text field.
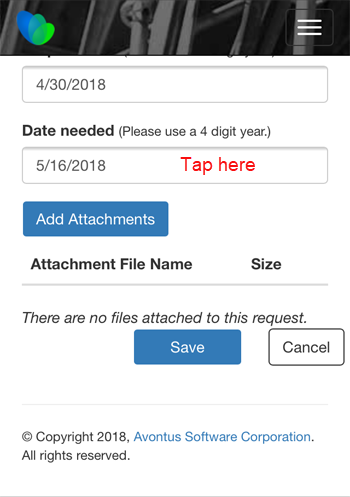
The Date Needed calendar appears.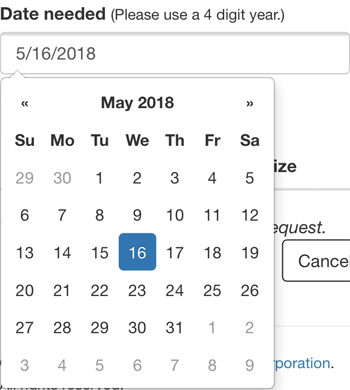
- Locate and tap the appropriate date on which the materials are needed.
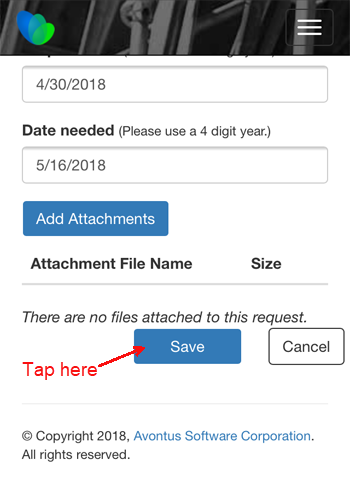
- Tap Save.
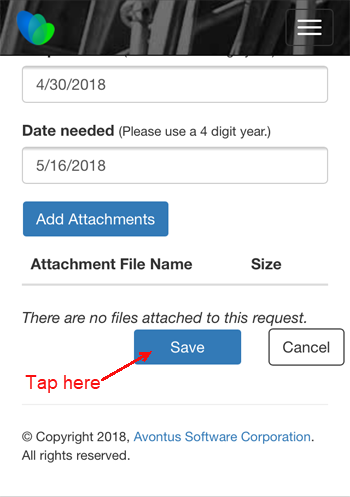
Quantify Web saves the Request and displays the Request Portal Home page.
Editing an Existing Request Portal Request on a Mobile Device
After logging in to the Mobile Request Portal, you can use your mobile device to edit an existing Quantify Request.
To edit an existing Request through the Request Portal:
- Log in to the Request Portal.
- Locate the appropriate Request and tap its Edit button.
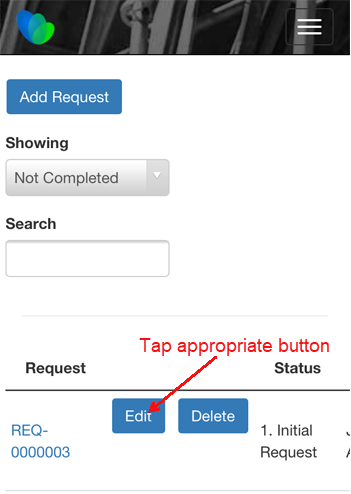
The Request page appears.
As necessary: - Tap the Select Job Site or Group dropdown.
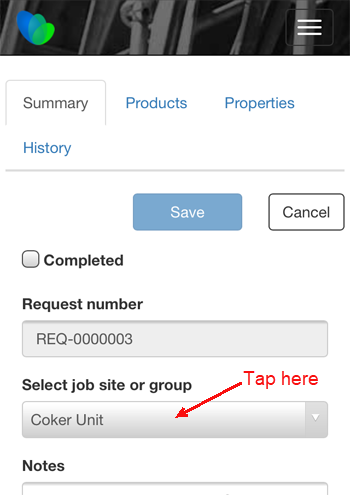
The Select Job Site or Group spinner appears.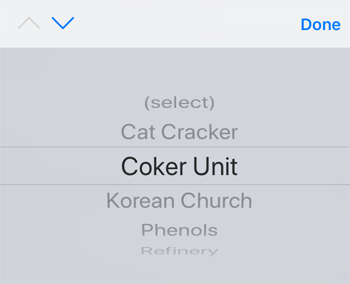
- Select the appropriate Job Site and tap Done.
- Scroll down and tap the Notes text field.
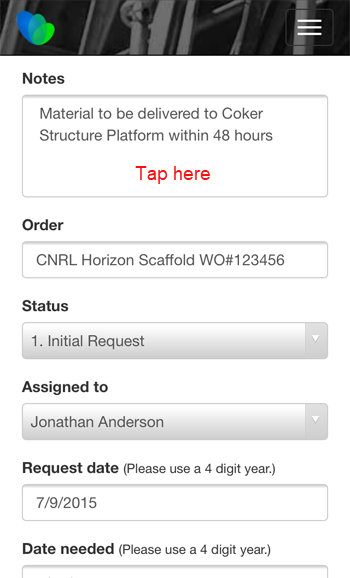
The keyboard appears. - Enter the appropriate notes and tap Done.
- Tap the Order text field.
The keyboard appears. - Enter the appropriate order number and tap Done.
- Tap the Status dropdown.
The Status spinner appears. - Select the appropriate status and tap Done.
- Tap the Assigned To dropdown.
The Assigned To spinner appears. - Select the appropriate assignee and tap Done.
- Tap the Request Data text field.
The Request Date calendar appears. - Locate and tap the appropriate request date.
- Scroll the page down and tap the Date Needed text field.
The Date Needed calendar appears. - Locate and tap the appropriate date on which the materials are needed.
- Tap Save.
Quantify Web saves the request and displays the Request Portal Home page.