If Avontus has built a Quantify database with your Company data, this database must be restored to the server. Follow the steps below to restore and use this database.
To restore an Avontus-Provided Database:
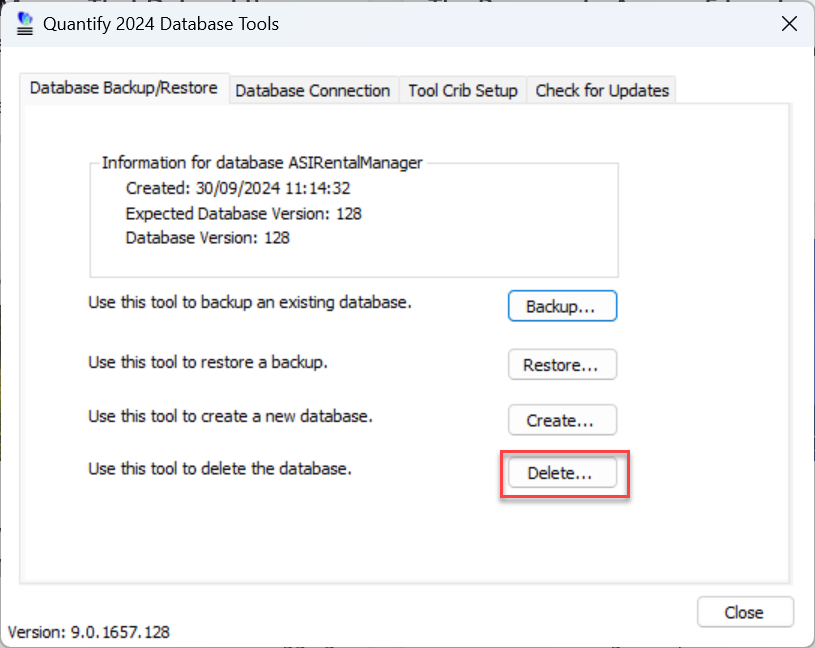
Click the Start menu and select Database Tools for SQL Server from the Avontus sub-menu.
The Quantify Database Tools dialog appears.Click Delete.
A confirmation dialog appears.
Click Yes.
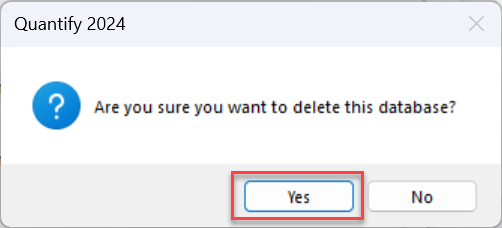
This deletes the new empty database.
A confirmation message appears.Click OK to the confirmation message.

You can now restore the database that Avontus provided.Note: If you receive a message that Quantify cannot connect to data source, you may need to first create a blank database and then delete it before restoring the Avontus-provided database. To create a blank database, refer to Step 6: Create a Blank Database.
Click Restore.

This Restore Database dialog appears.Click Browse.

The Restore From File dialog appears.Navigate to the location of the database Avontus sent, click the database file and click Open.

This Restore Database dialog returns.Click OK to begin the restoration.

The Restore Completed Successfully dialog appears when the restore is complete.Click OK .

Click Close in the Quantify Database Tools for SQL Server dialog.

Launch Quantify.
Quantify launches using the restored database.

Once the Avontus-provided database has been restored , you must activate it. Refer to Activate Quantify with a New Activation Code for details.