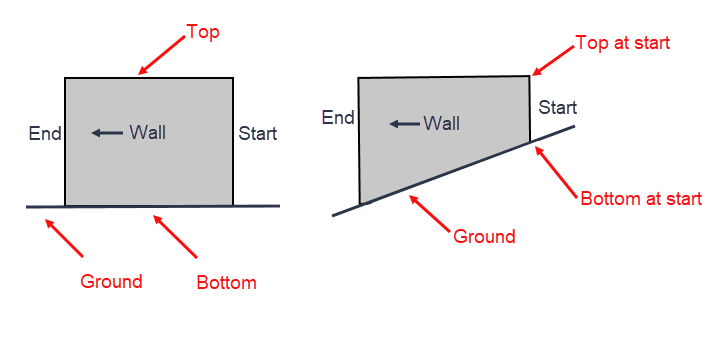
The first step in creating a sloped floor is to set the Wall elevations. You will notice that each Wall has four elevation values. These values correspond to the top and bottom of the Wall at the beginning and end of the Wall, when viewed from the side.
To set the Wall elevations:
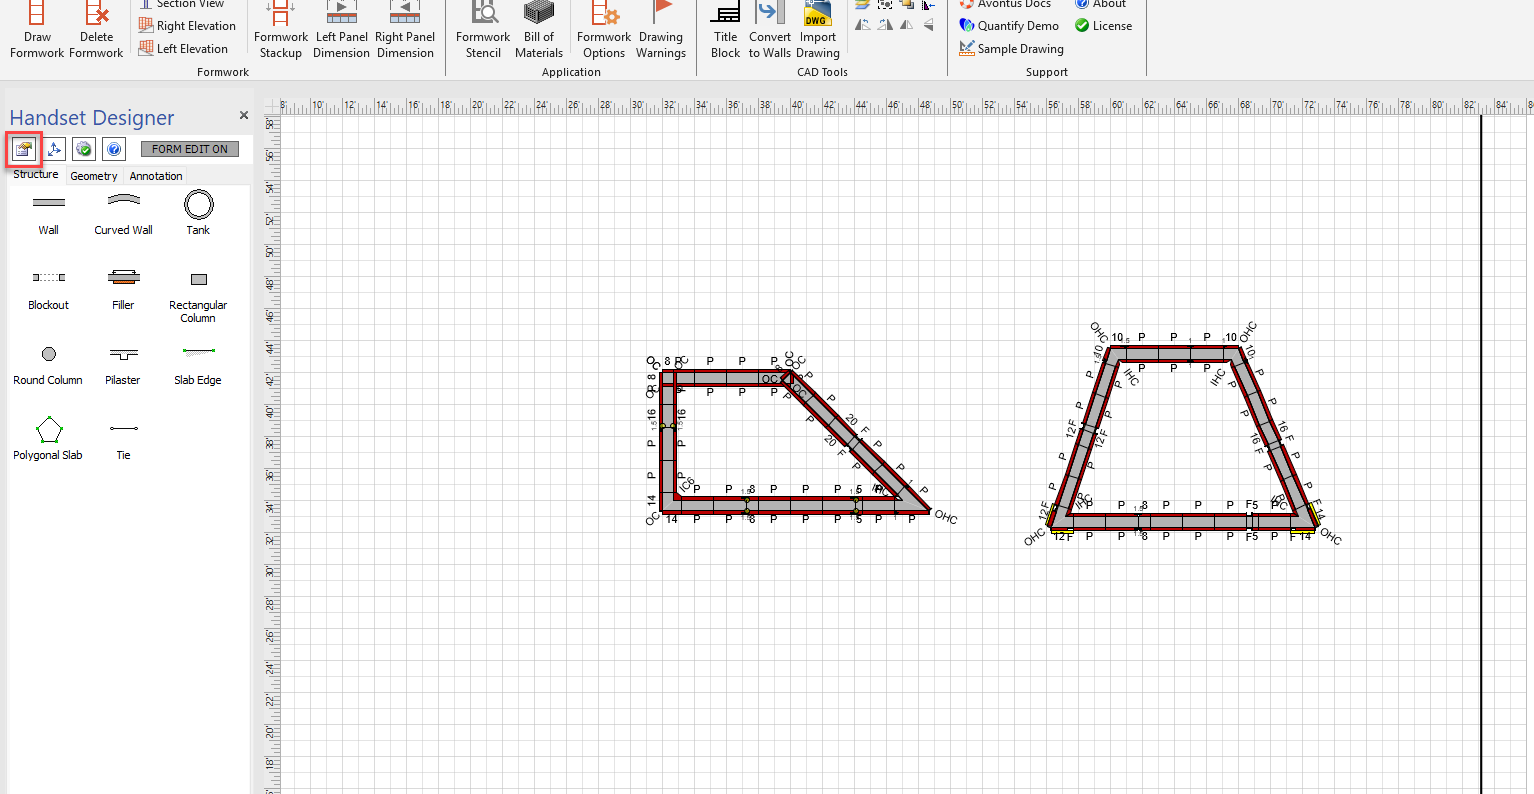
Click the Wall shape, to select it.
Click the Shape Data button in the Handset Designer toolbar .The Shape Data popup appears.
As necessary:
Click in the Top elevation at start of wall field and enter a new value.
Click in the Bottom elevation at start of wall field and enter a new value.
Click in the Top Elevation at end of wall field and enter a new value.
Click in the Bottom elevation at end of wall field and enter a new value.
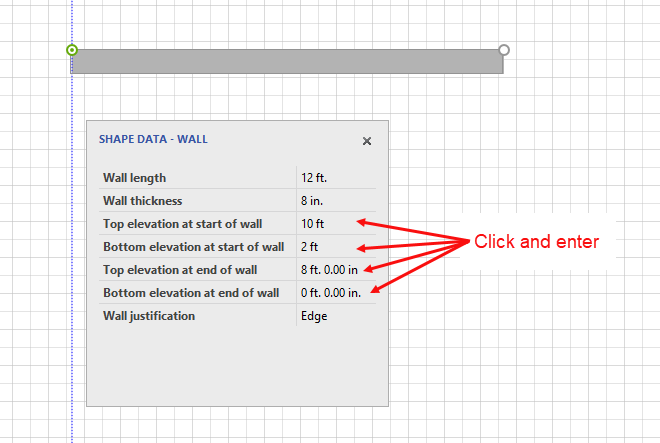
Note: For measurements use ft. for feet, in. for inches or m. for meters. (Be sure to designate ft., in, or m. or you will receive an error when drawing the formwork.