Label
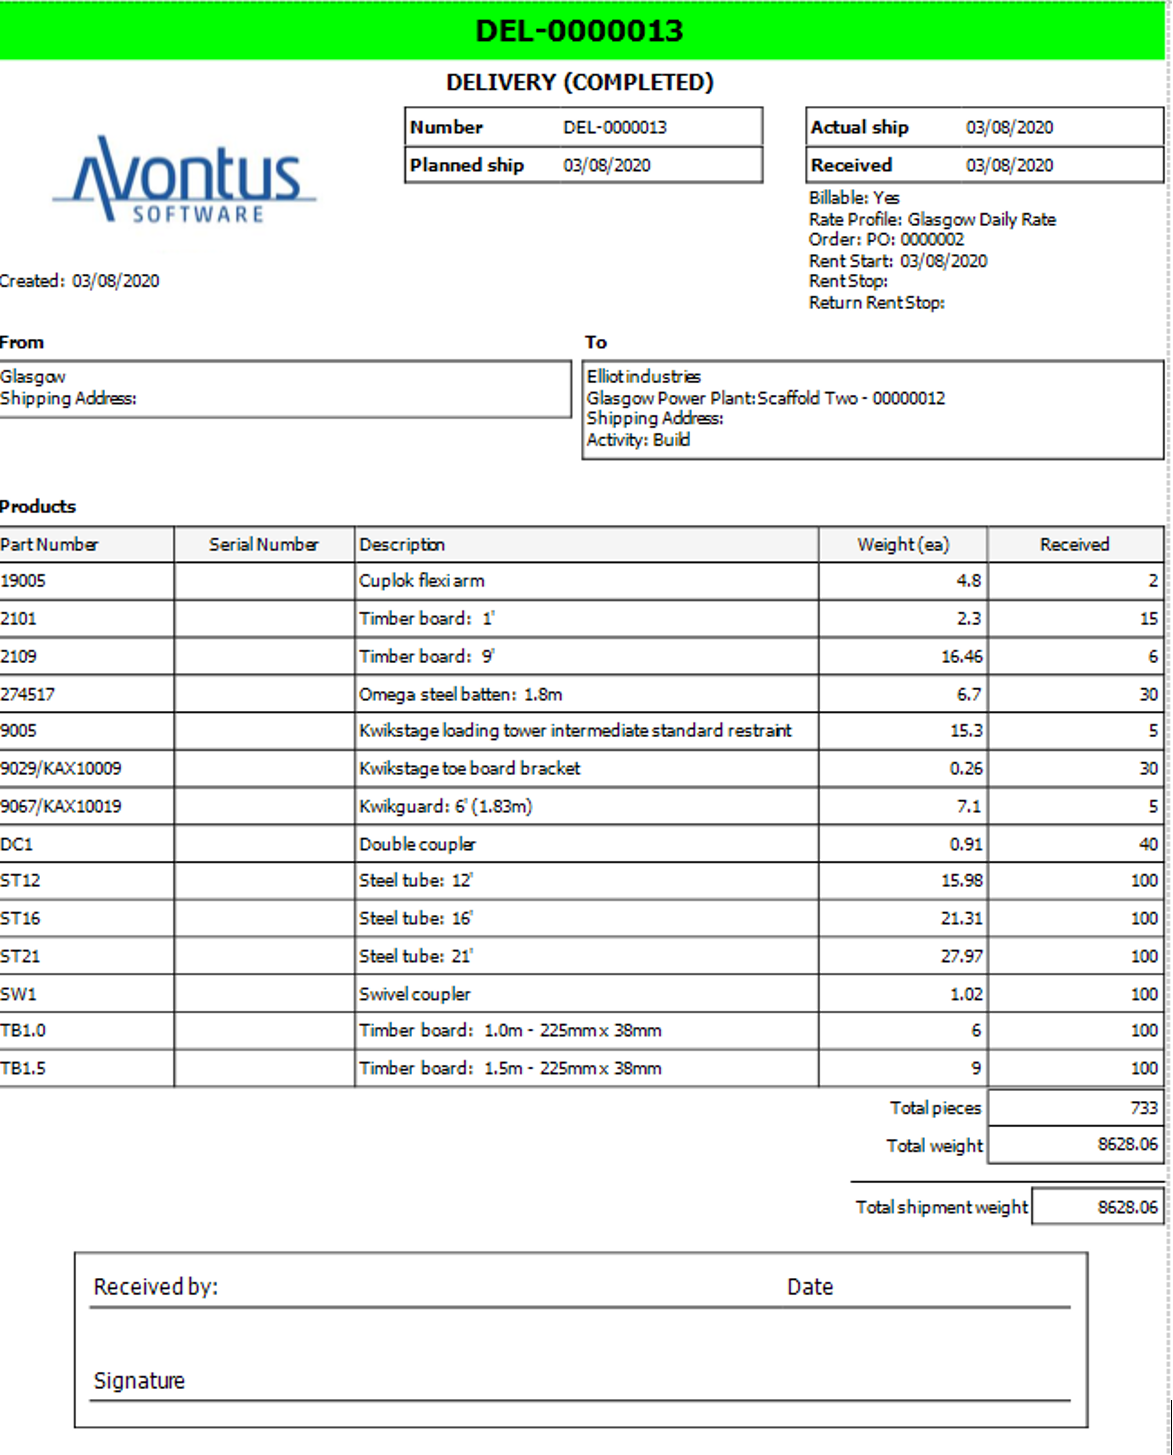
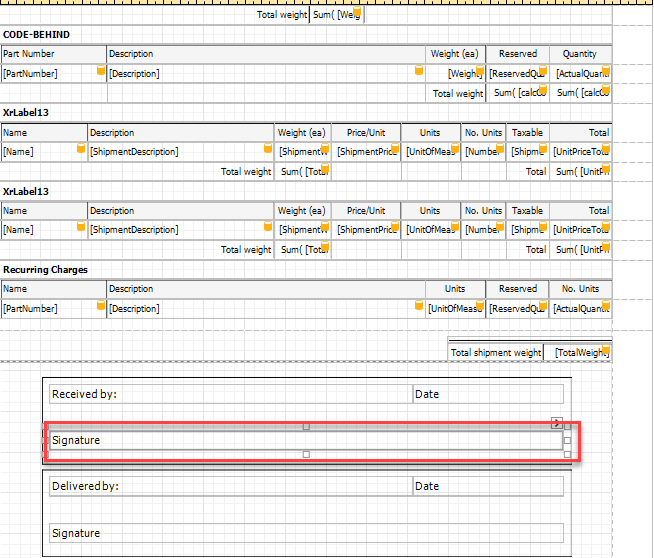
You can add a plain text label to the report.
![]()
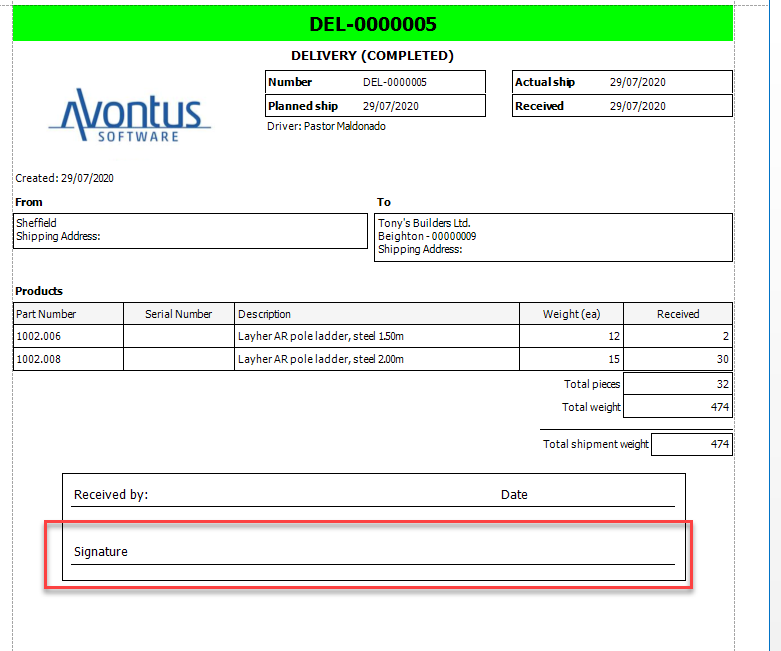
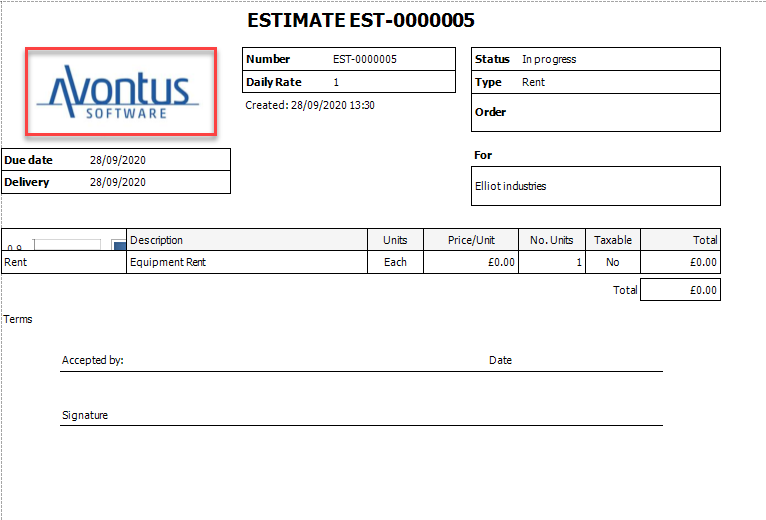
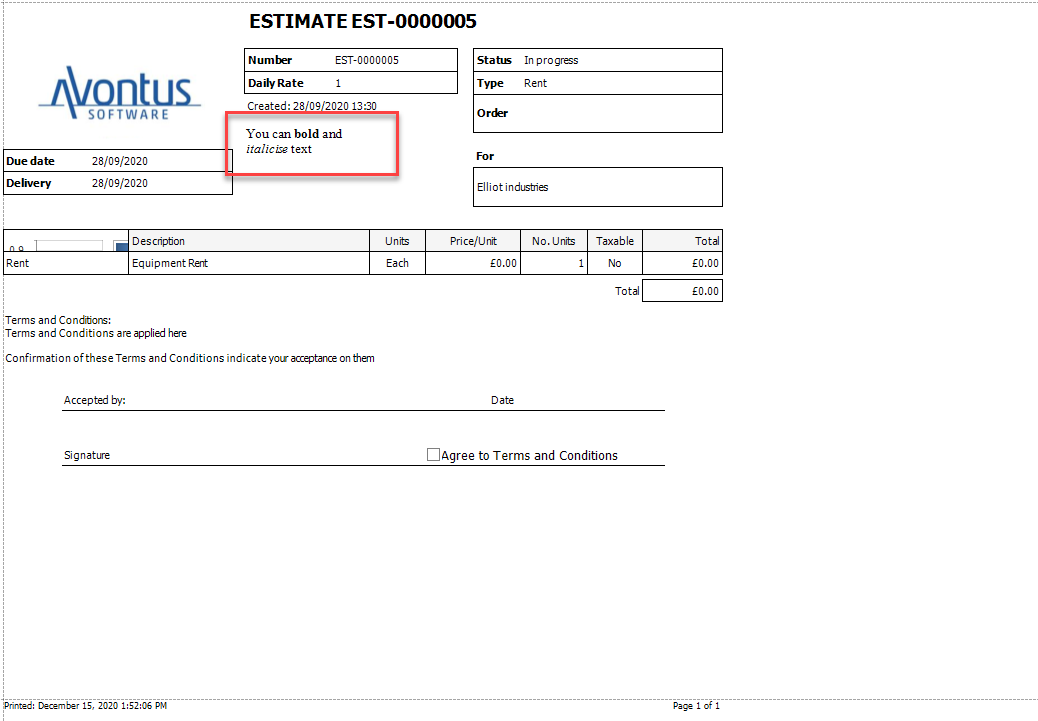
This could be used as a way to convey information regarding the report or to create a space for the recipient to fill in their details and sign the report off. For example, a label control can be used as an area where the user can provide a signature.
When you save the report, and preview the report, you will see the added label.
Picture box
You can use the Picture Box control to add an image to your report.
![]()
For example, you can add the company logo.
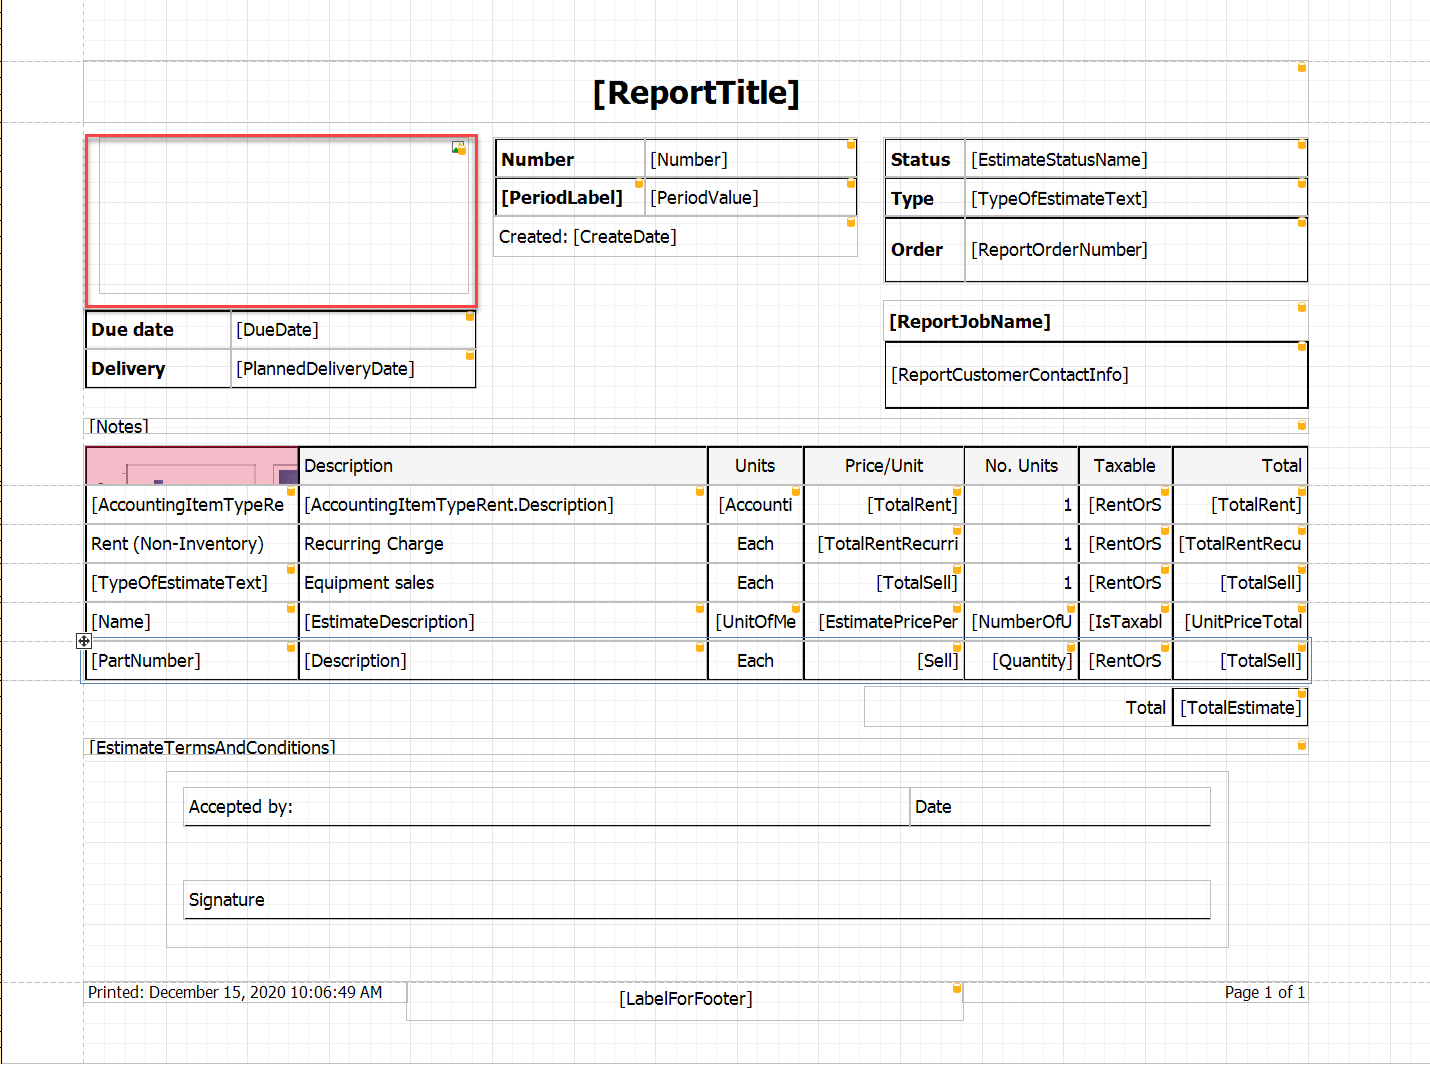
Save the report and preview the report in Quantity to see the new logo.
Checkbox
You can use the checkbox option to add an option to a report that allows a user to confirm or agree to the specified Terms and Conditions.
To do this
- From the left-hand side, select the Checkbox control
- Click the drag where you want the checkbox to go
- Double click on the Checkbox, and specify the text you wish to go there
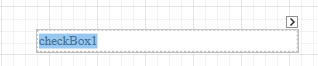
Note: You can copy and paste it from Microsoft word. - When done, click Save
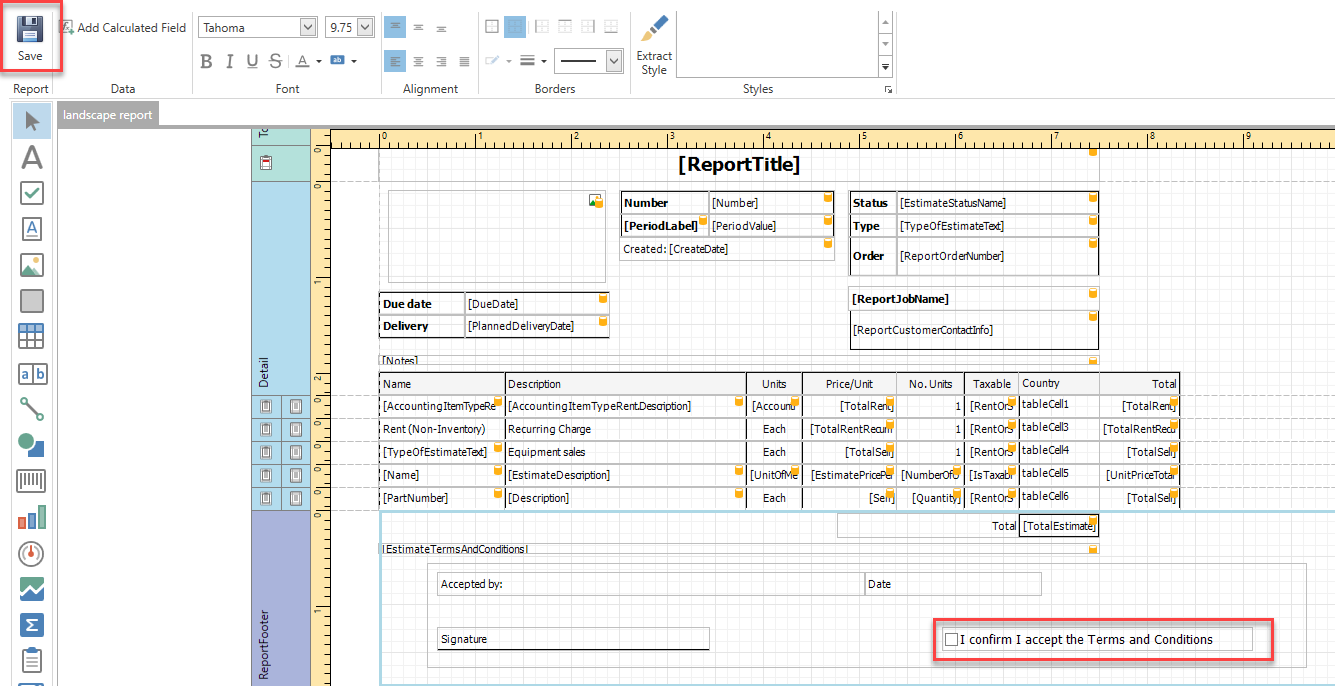
- Specify the report name and click OK
In Quantify, launch the report and you will see the updated report.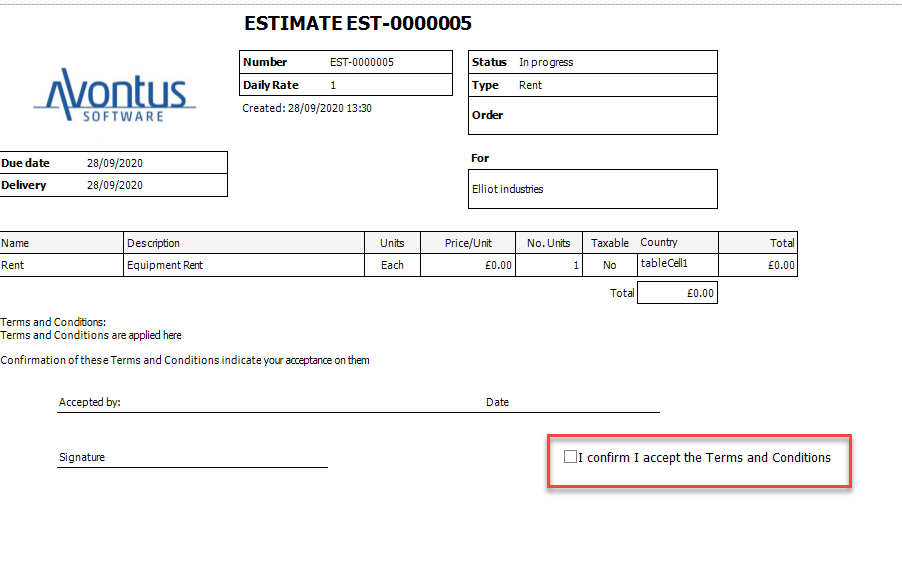
Rich text
The Rich Text option acts as textbox and it used to convey information relating to the Report.
![]()
The Rich text option gives users the ability to format text, such as italicising or bolding certain parts to add emphasis.
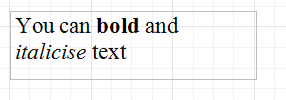
You will see this on the Report.
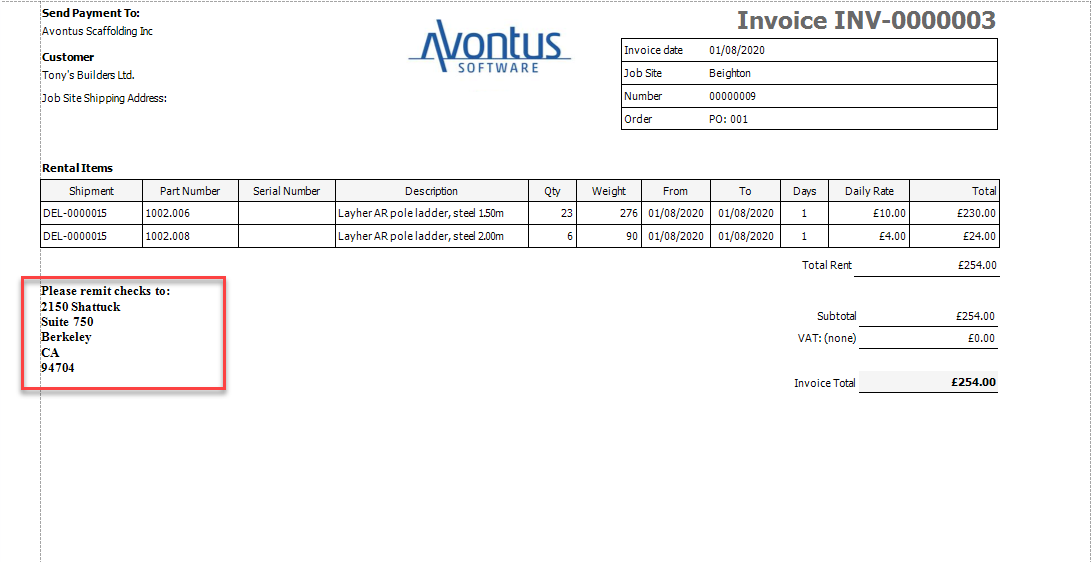
You can use the Rich Text control to add permanent text to the report. For example, you could add text that states where to remit checks to.
Add a Rich text control to the Report and enter the required text

Run the report and you will see the remit information.
Table
The table control can be used to create a table to show a large volume of data, such as a table detailing a transaction.
![]()
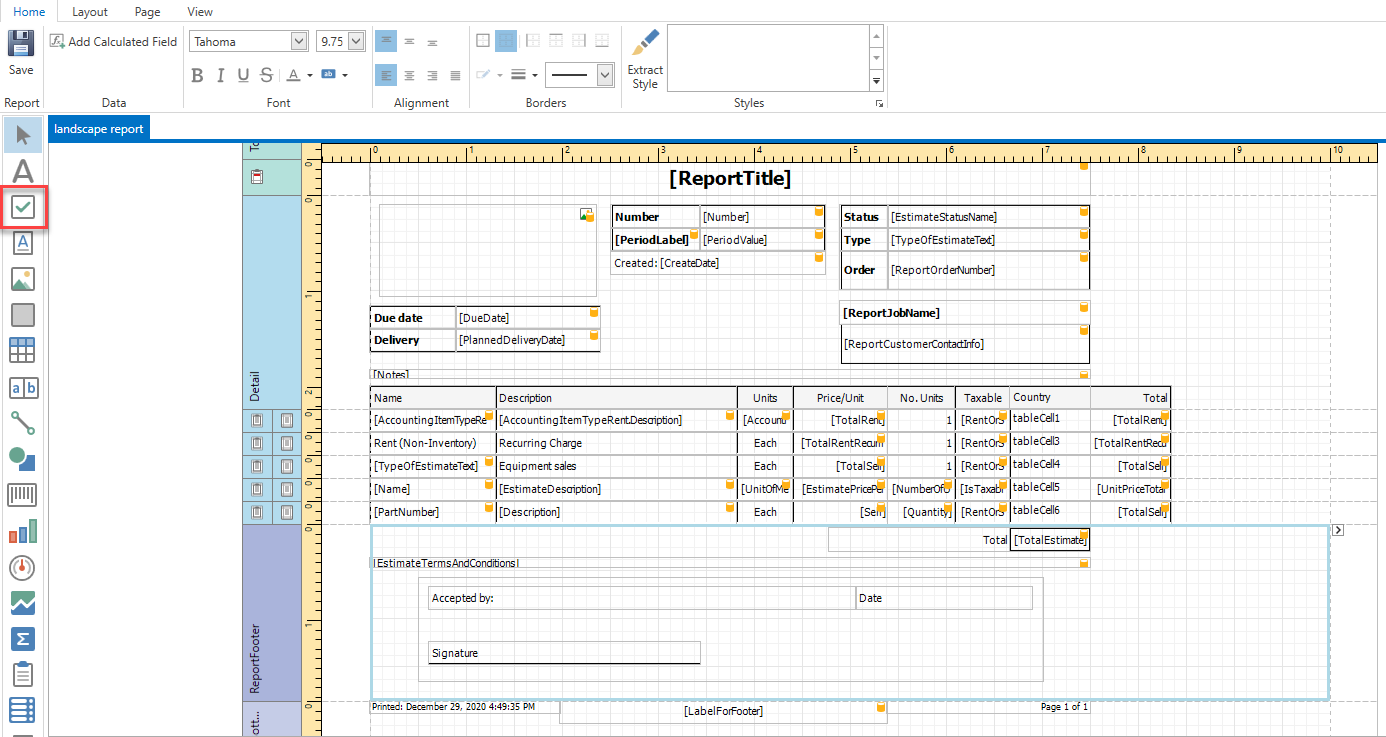
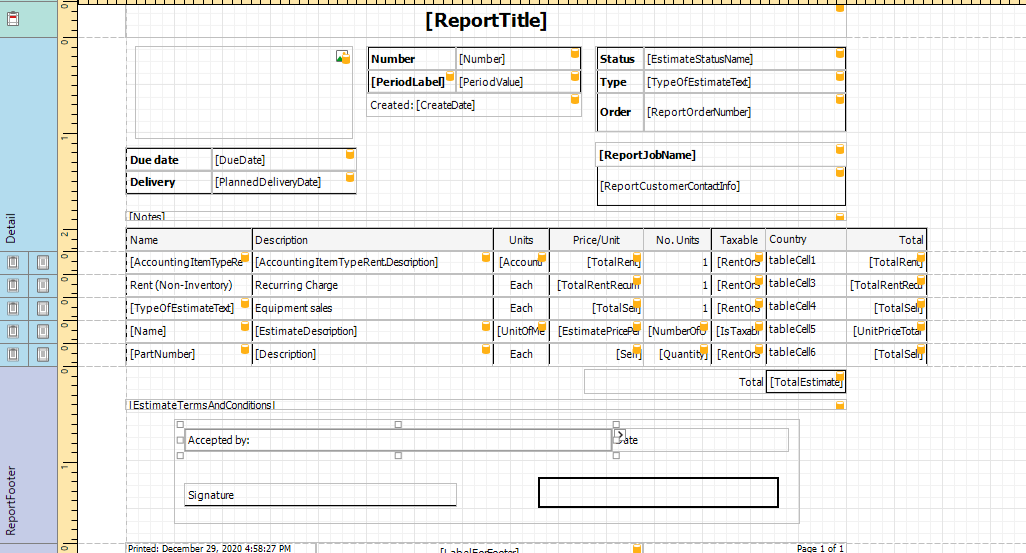
When creating a table, you can use fields to pull data from Quantify to populate the table with the required information. See Using fields in a Table for more information.
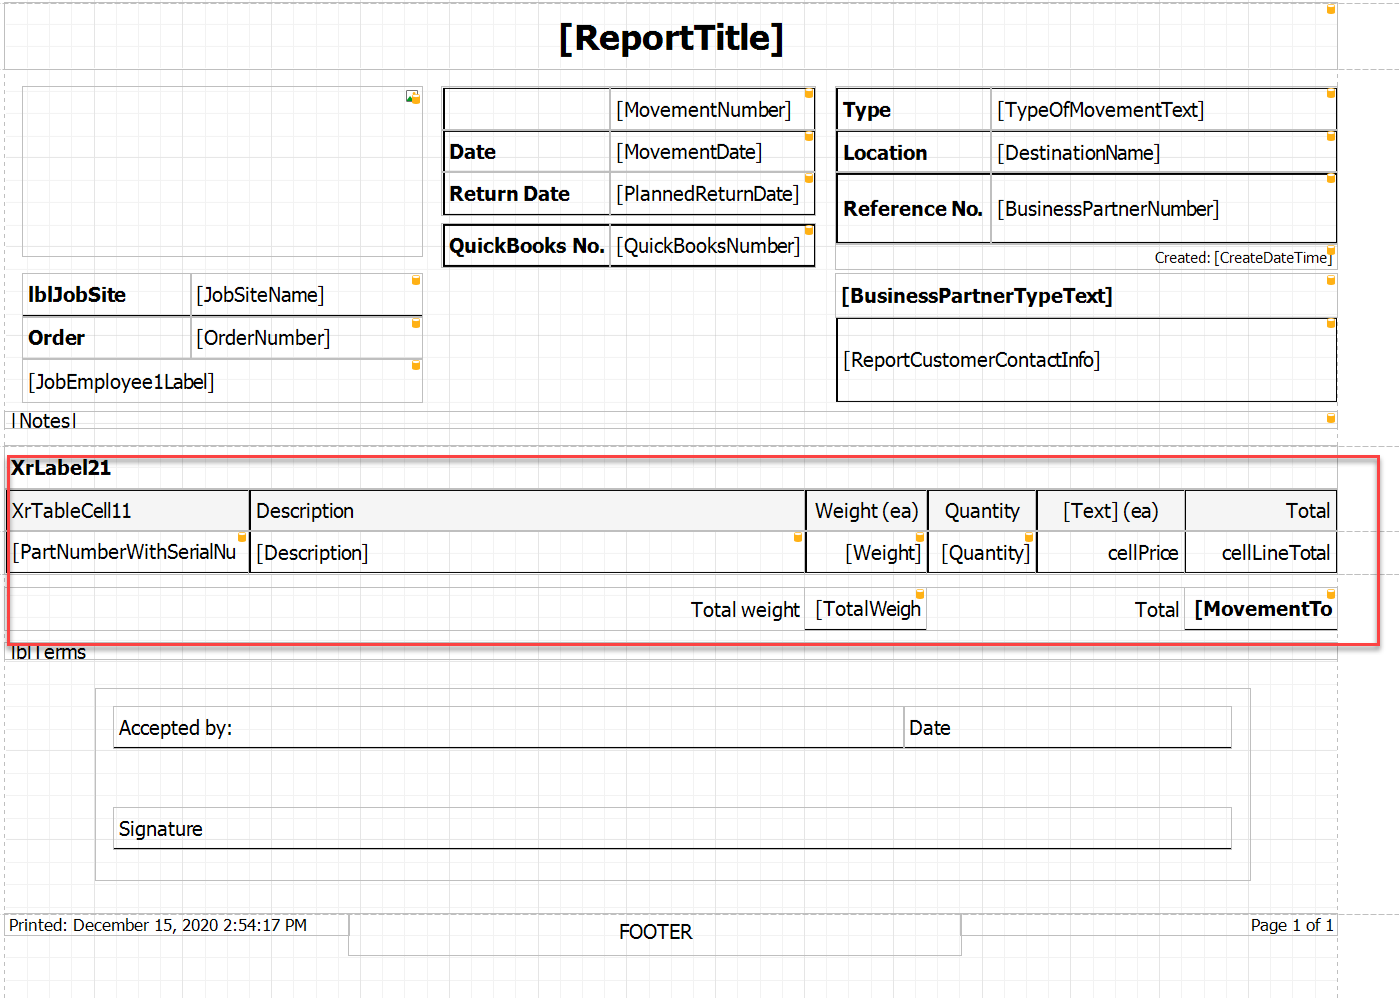
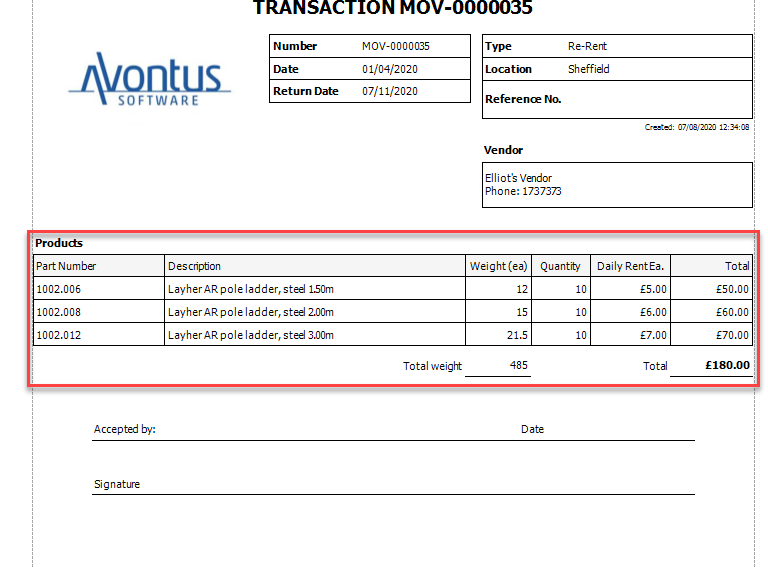
Preview the report to see the populated table.
Page Info
The Page Info control is used to show the number of pages in the Report. It will also show what page you are currently viewing.
![]()
Most reports will already have this control in the Report. It can be found at the bottom of the report.

You can then see the page number on the Report when published from Quantity.
![]()
Page Break
The Page Break control's sole purpose is to insert a page delimiter at any point within a report.
![]()
In the Report Designer, drag the page break where you would like it go.
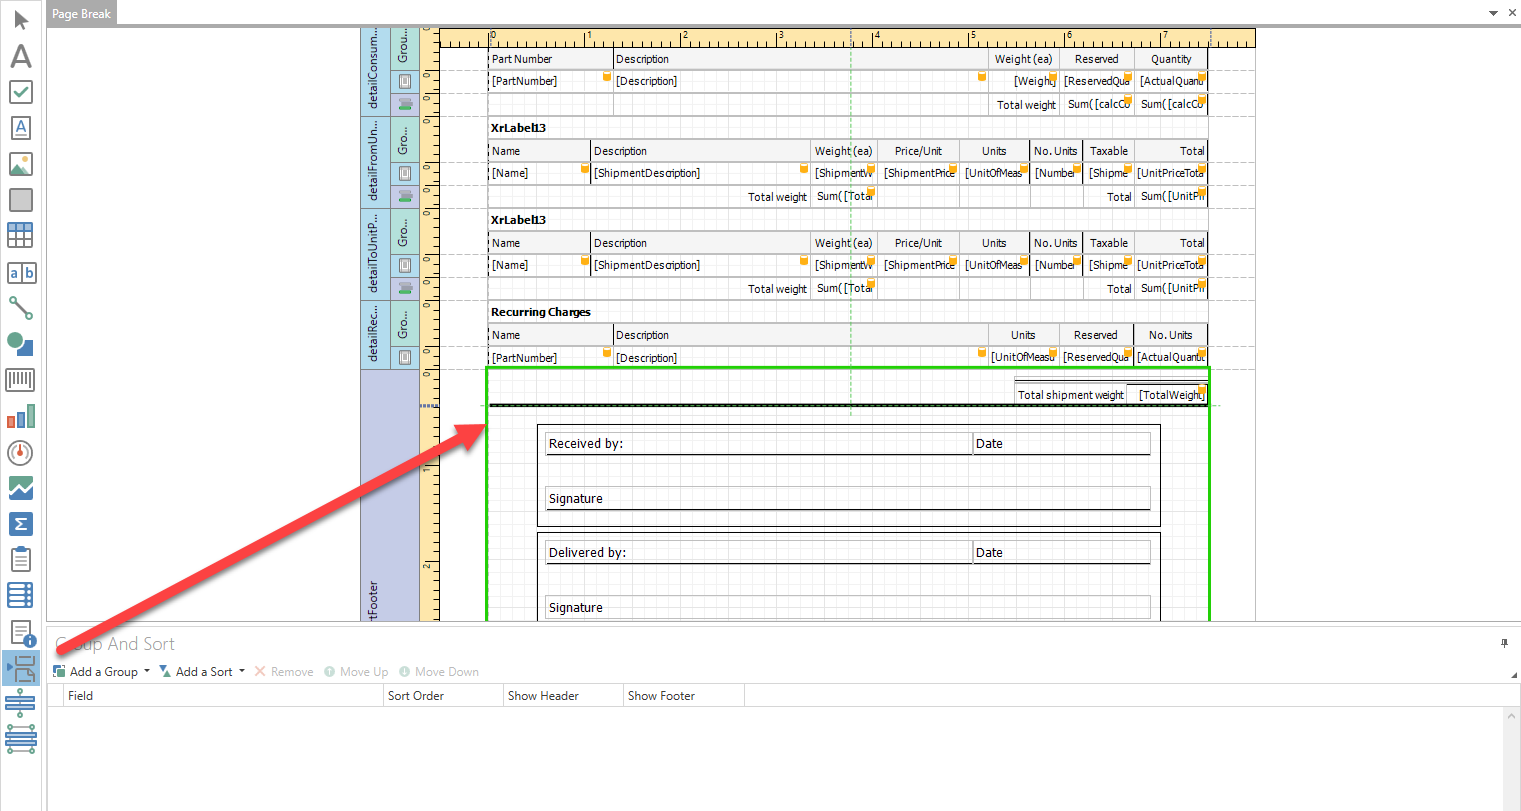
As we placed the Page Break between the table and the signature section, the signature section will move to a second page.
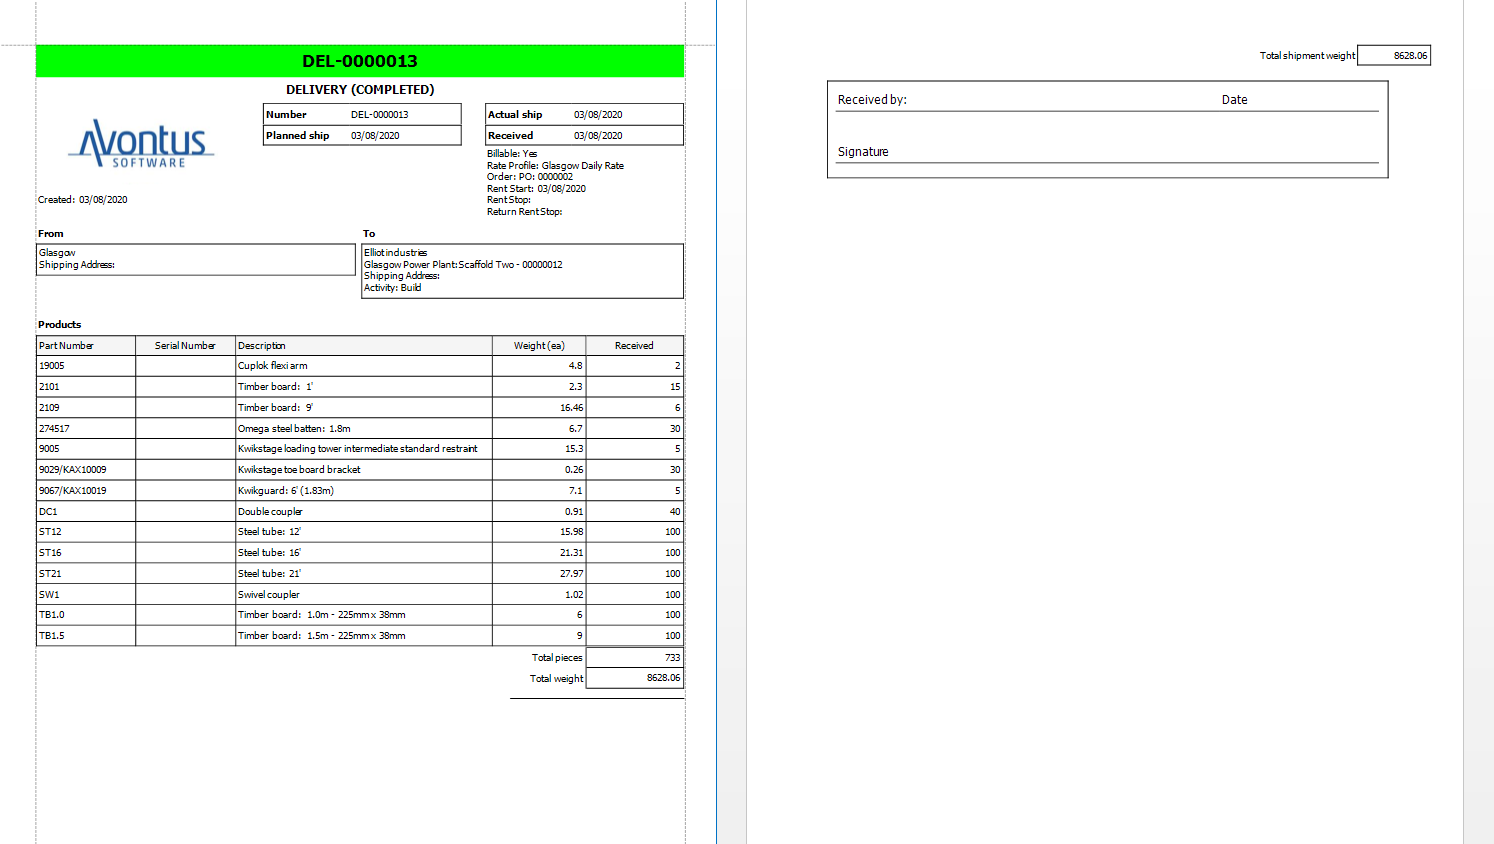
It would originally be on the first page.