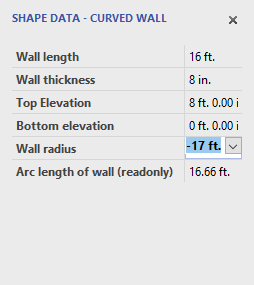
Use the Shape Data popup to edit any shape's characteristics: length, thickness. base elevation, height, etc.
To customize a shape:
- Click the drawing shape you want to customize.
- Click the Shape Data button in the Handset Designer toolbar.
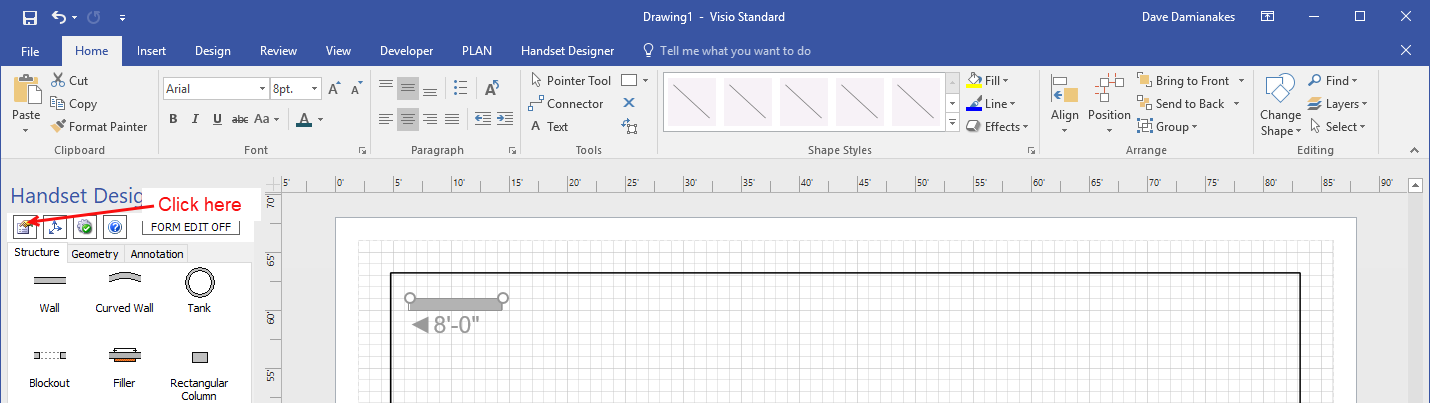
Note: If you click the Visio View tab and click Task Panes, you can open the Shape Data popup window, enabling you to edit the same information.
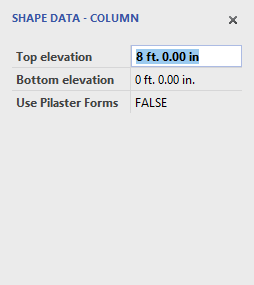
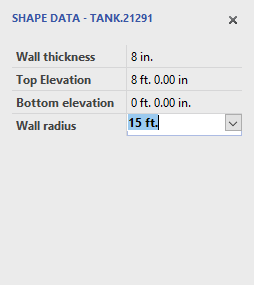
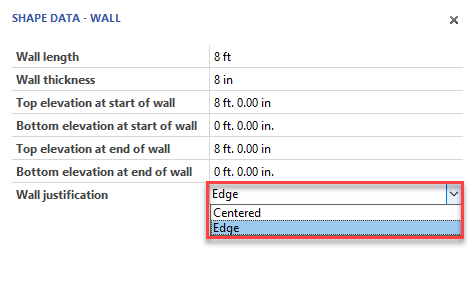
The Shape Data popup appears. Depending on what shape you select, the Shape Data popup provides text fields that you can use to change properties of the corresponding shape.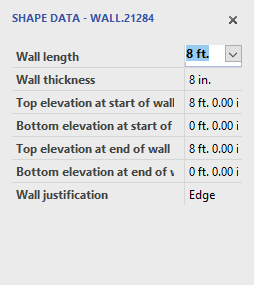
The procedures below explain how to enter information for a Wall.
Note: For lengths, use ft. for feet, in. for inches and m. for meters.
As necessary: - Click in the Wall length dropdown and select a new length.
Menu options range from 4 ft. to 30 ft. You can also manually enter a different length into the text field.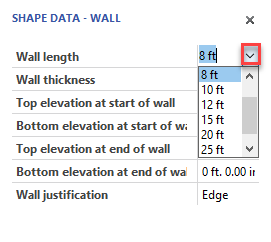
- Click in the Wall thickness dropdown and select a new width.
Menu options range from 1 in. to 12 in. You can also manually enter a different widths into the text field.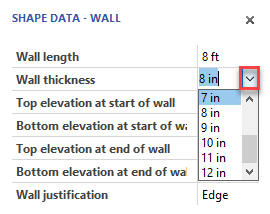
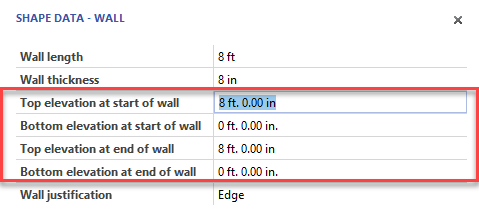
- Click the Top elevation at the start of wall and enter a new starting top elevation.
- Click in the Bottom elevation at start of wall text field and enter a new starting bottom elevation.
- Click in the Top elevation at end of wall text field and enter a new top ending elevation.
- Click in the Bottom elevation at end of wall text field and enter a new bottom ending elevation.
- Click the Wall Justification dropdown and select a new justification. Your options are Centered and Edge.
As you make changes, Handset Designer updates the drawing accordingly.