In the Bay Details, you can apply custom planking to the selected Bay. This allows you to select specific planks for a bay; for example, you could set Avontus Designer to use only planks from Scafom Rux for a specific Bay.
You can apply custom planking at global, drawing, and bay level. You can also apply custom planking on specific levels of Bay using the More button.
Global Options
In Global Options, you can apply custom planking to all drawings. Meaning any Bays that are dragged into your drawing will use the specified planking.
For example, the image below shows that for all bays in all drawings the planks used for regular bays will be steel planks from Scafom-rux.
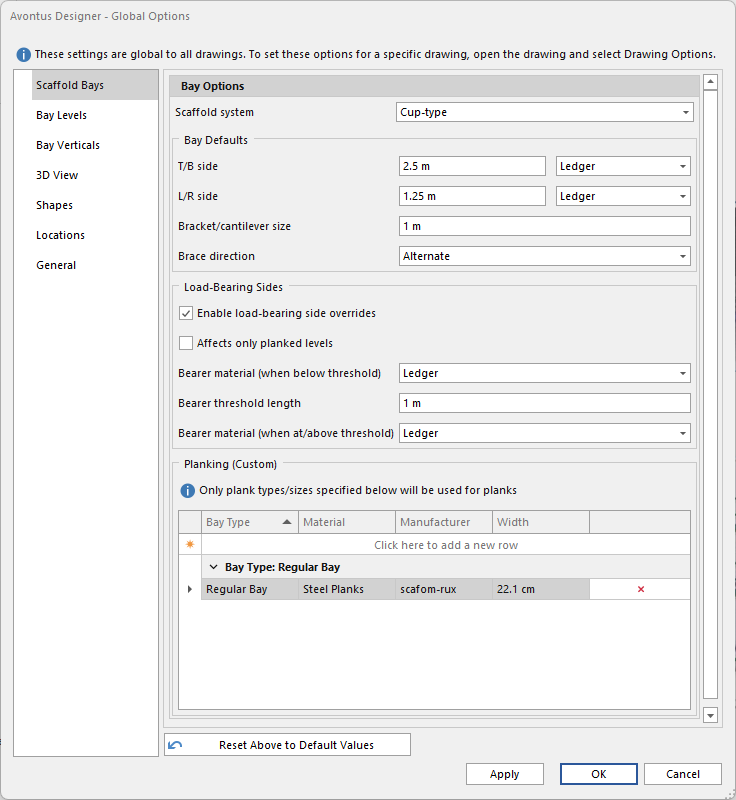
These settings can be overridden by those set in the Drawing Options, and on individual Bays in the Bay Details.

Bay Type - Select the Bay type, choose from Regular Bay, Side Bracket Bay, Stair Landing Bay.
Material - Select the material type. The materials available are the ones in the Material Master
Manufacturer - Select the manufacturer. These the ones listed in the Material Master.
Width - The width of the part.
Drawing Options
Custom Planking in Drawing options works the same as Global Options, but instead of applying globally, it will apply only to the current opening drawing.
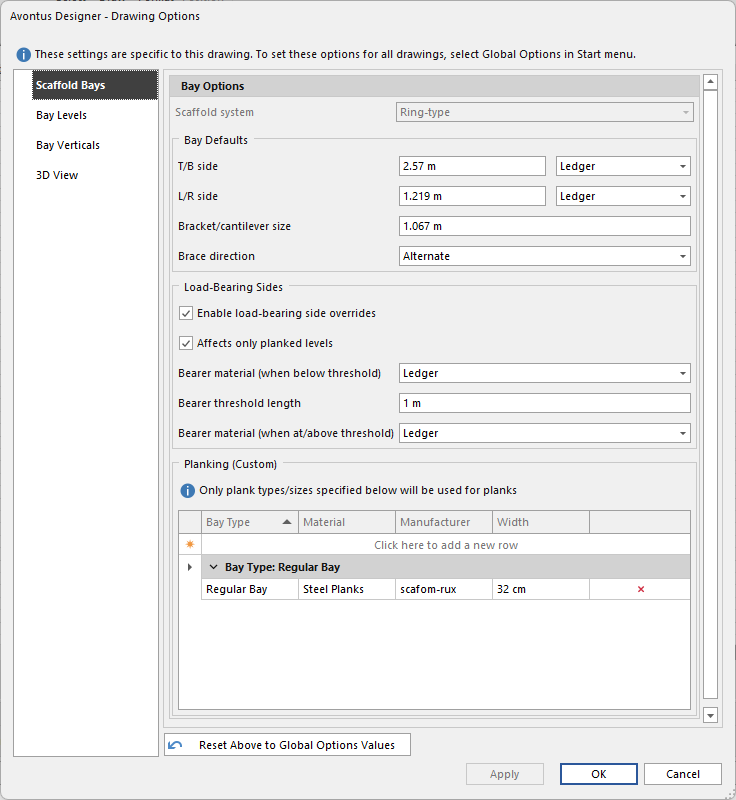
If we set the above custom planking set, each Bay you drag out will contain steel planks, manufactured by Scafom-rux and are 32 cm.
.gif)
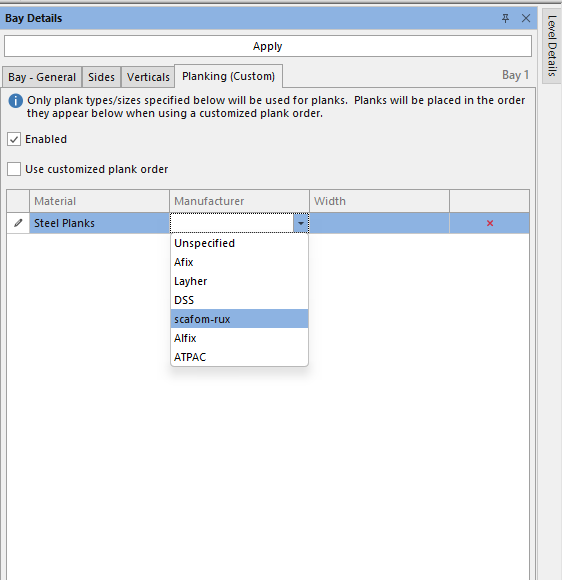
Bay Details
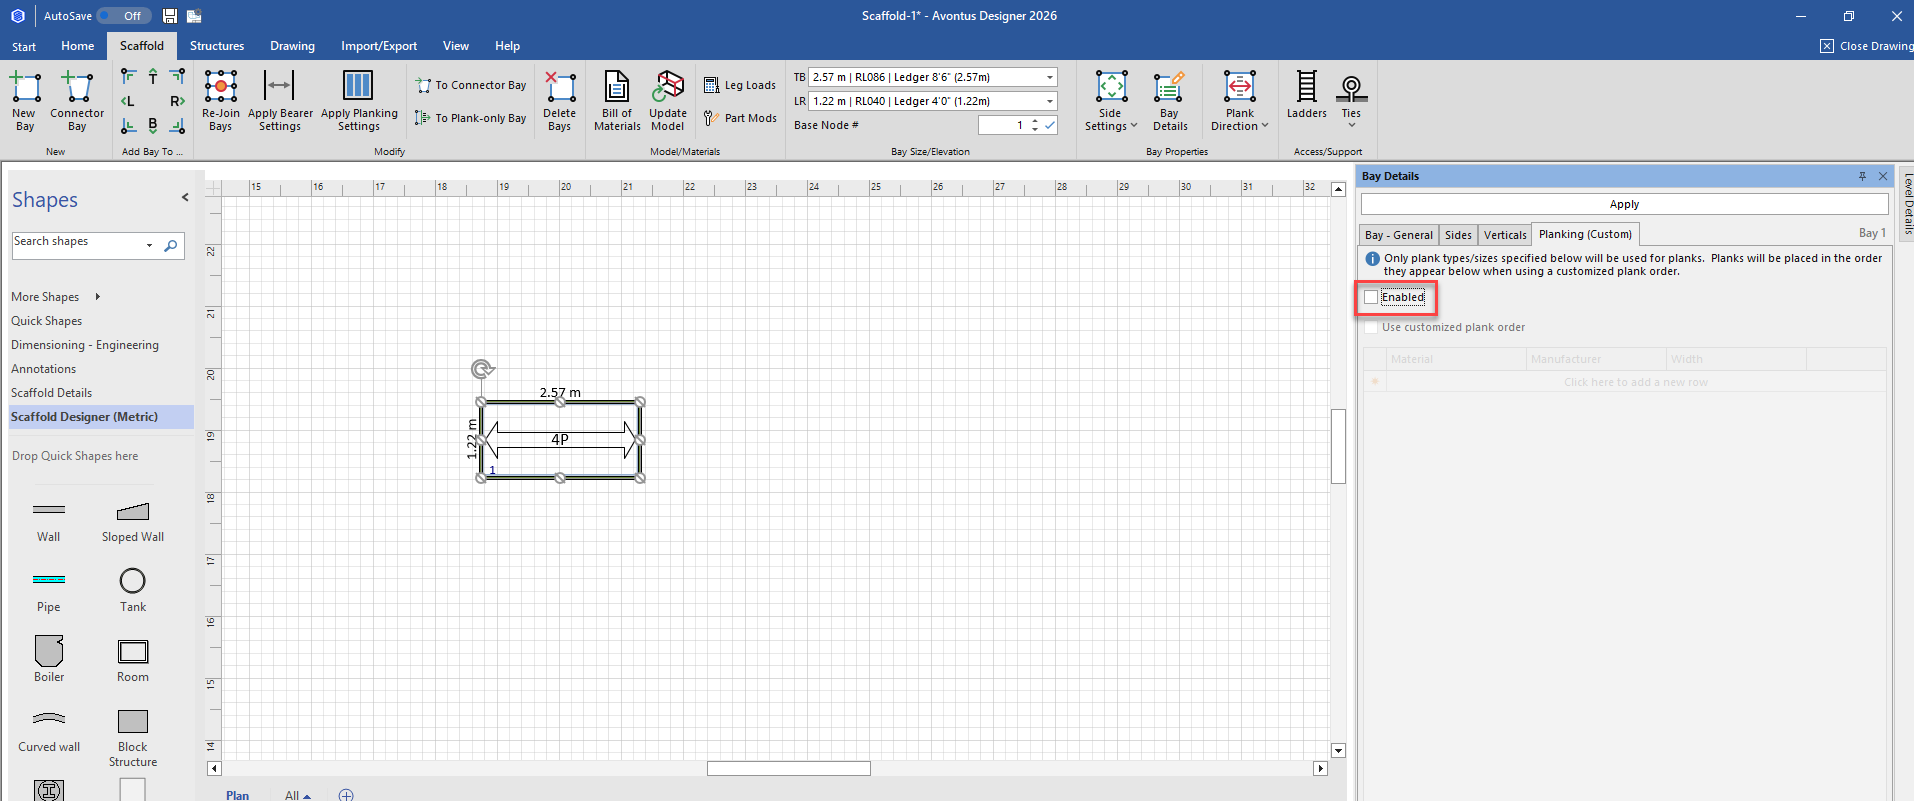
You can also apply custom planking to individual bays in the Bay Details tab. Only plank type/sizes specified will be used for planks. Planks will be placed in the order they appear when using a customised plank order.
Enabled - Enable custom planking on this Bay
Use customized plank order - Enable this to order the planks, and specify the number of each plank to use. This allows you to have multiple plank sizes in a single bay

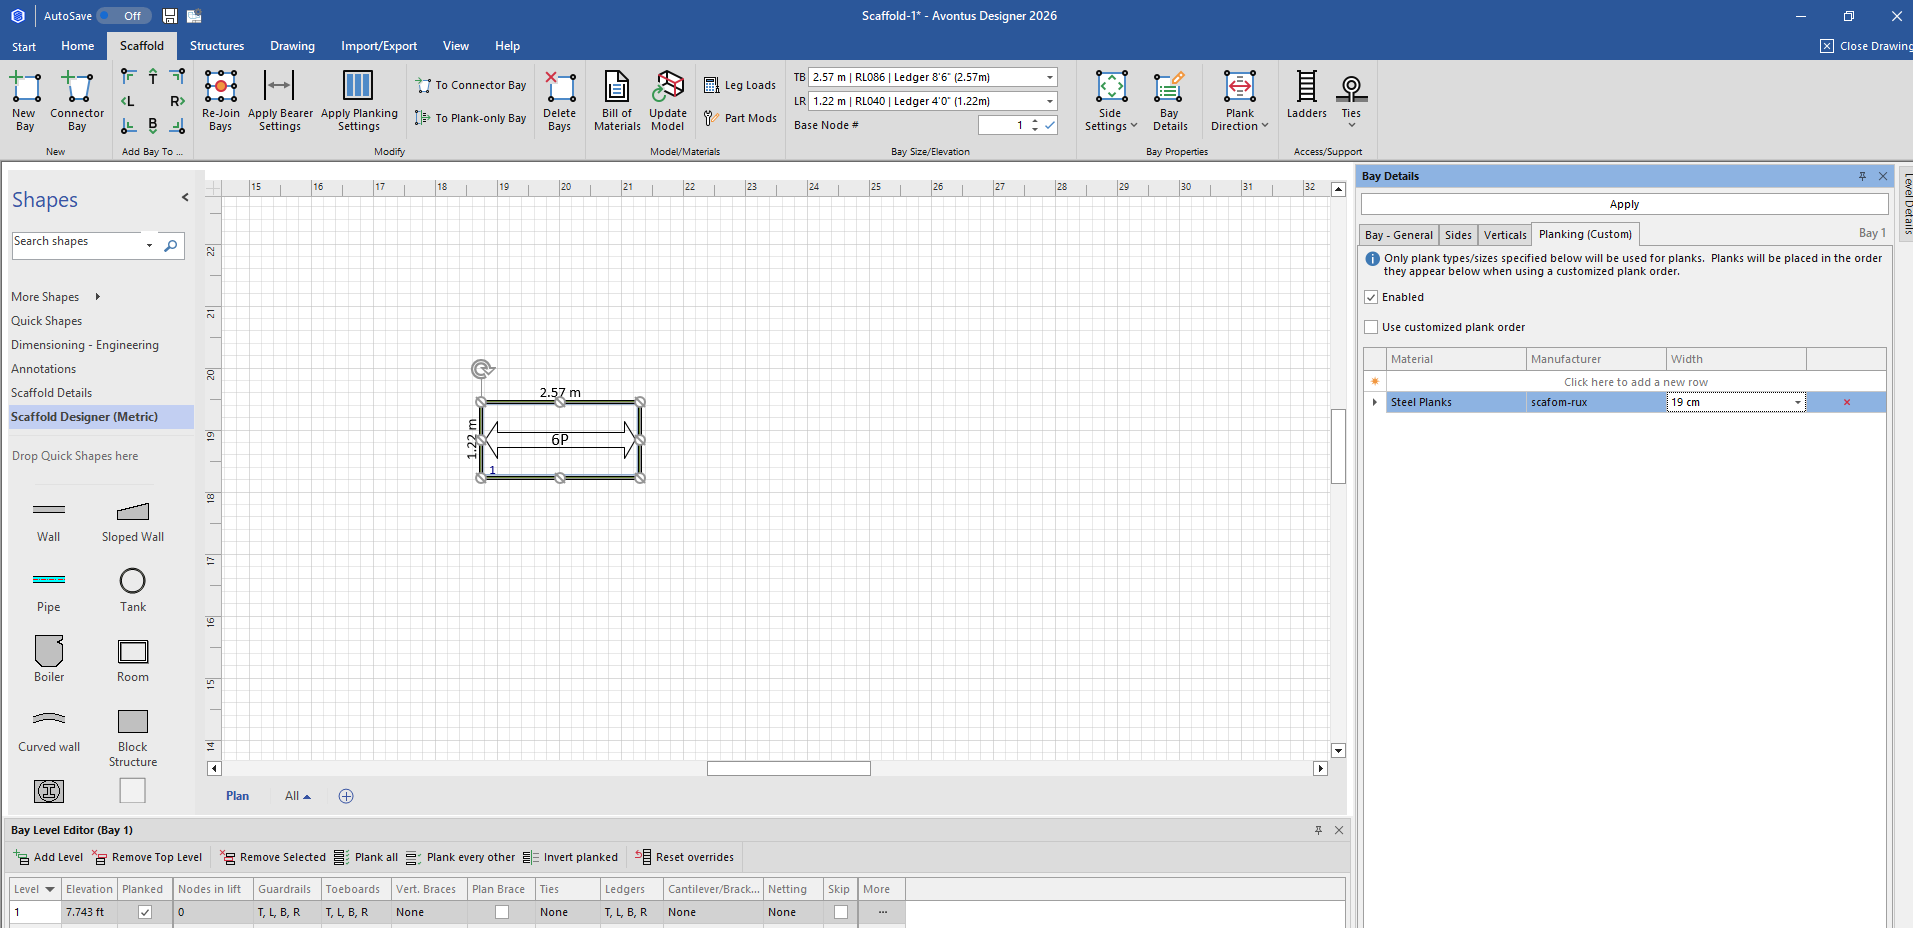
First, select the Bay, and in the Planking tab for the Bay Details, click the Enabled check box.
Click the Material drop-down, and select the material type.
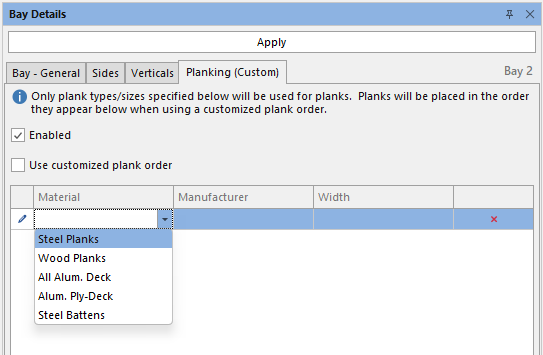
Then complete the Manufacturer and Width columns.
Click Apply. In the image below the plank custom options specified will be applied to the Bay. The number of planks may change.
Using Customized plank order
If you enable Use Customized Plank order, you can modify the order the planks are used, and number.
Bay Type - Select the Bay type, choose from Regular Bay, Side Bracket Bay, Stair Landing Bay.
Material - Select the material type. The materials available are the ones in the Material Master
Manufacturer - Select the manufacturer. These the ones listed in the Material Master.
Width - The Width of the part.
Plank Count - Enter the number of planks to use for this bay
You can use the arrow buttons to move the custom planks up or down, and use the red x to delete them

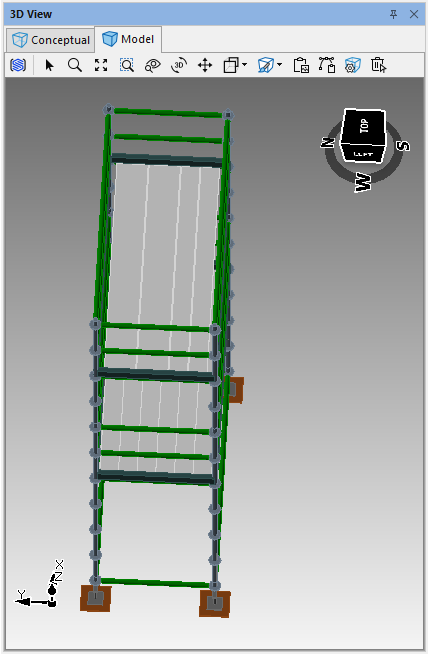
In the image above, we are using two 19 and 32cm planks. These will be applied to the Bay.
Below you can that two of each planks have been applied to the Bay,
More
You can apply custom planking on individual levels.
Click on a Bay, and select More on the level you want to apply the planking to
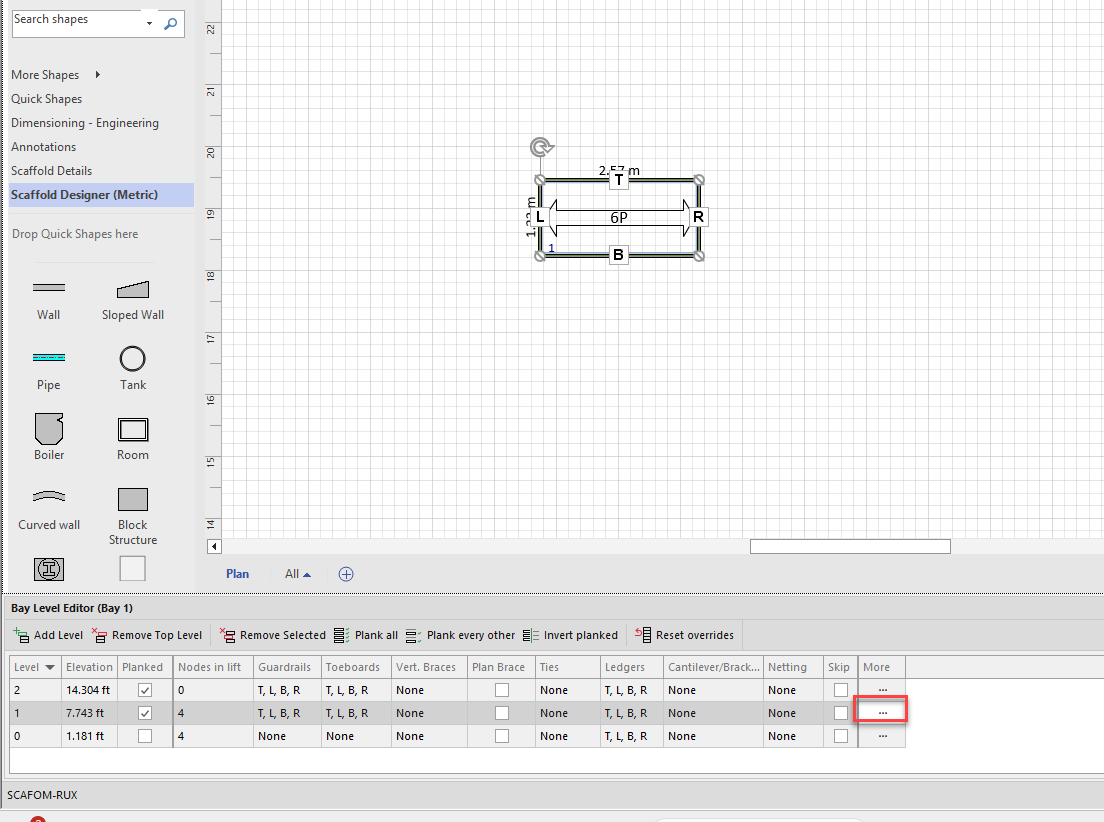
By default, the width of the planks are 19cm, and we change this level to 32 cm.
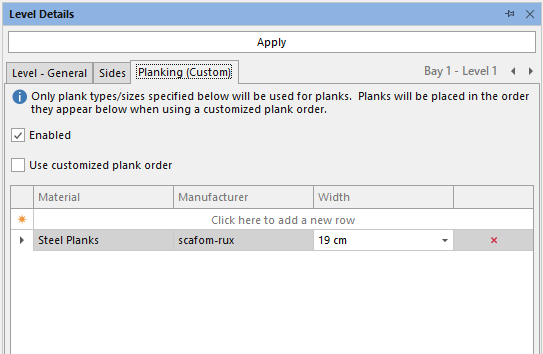 When done, click Apply.
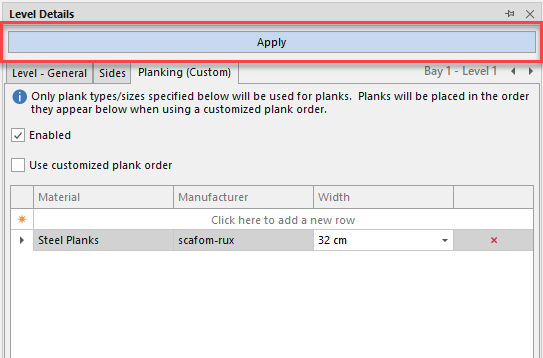
We can see that the first level uses fewer planks than the top level.
