Avontus Designer supports a custom material database that you access through the Material Master. You can use the Material Master to add your own materials to this database to supplement or replace the stock materials provided with each installation. You can use it to edit, duplicate and delete material, and to make material active or inactive.
Note: If material already exists with the desired dimensions and other options, you may edit this material to use your own part numbers and descriptions. For more information about editing materials, refer to Editing Material below.
Adding Material
The Material Master enables you to easily add material to your Avontus Designer material database. Before you begin, make sure to review Working with the Material Master. It explains which information can be entered for each material item.
To add material to the Material Master:
Access the Backstage and click Material Master.
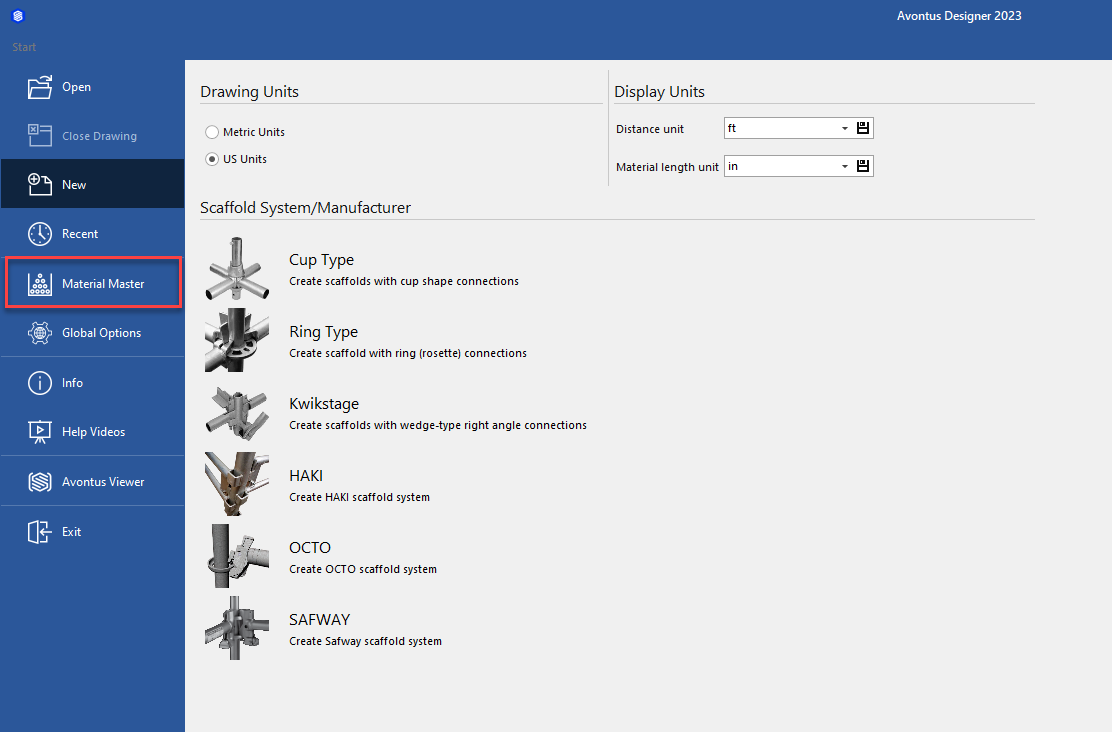
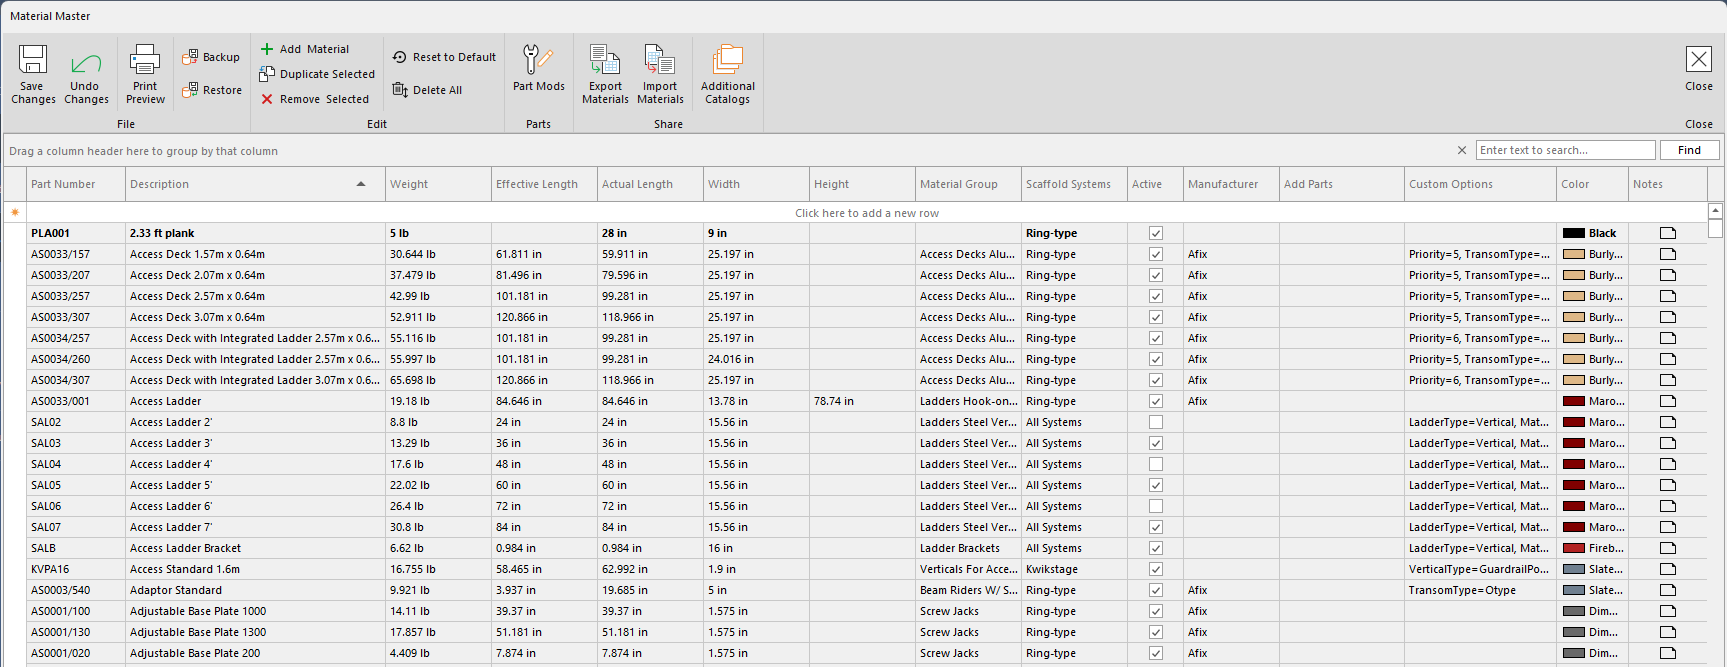
The Material Master appears.Click in the available row
Note: You can also click Add Material to add an item.

There are five ways to enter information into the Material Master:Text fields
Dropdowns
Checkboxes
Custom Value Popup
Color Picker
Note: To learn about the specific fields, dropdowns, etc., refer to Working with the Material Master
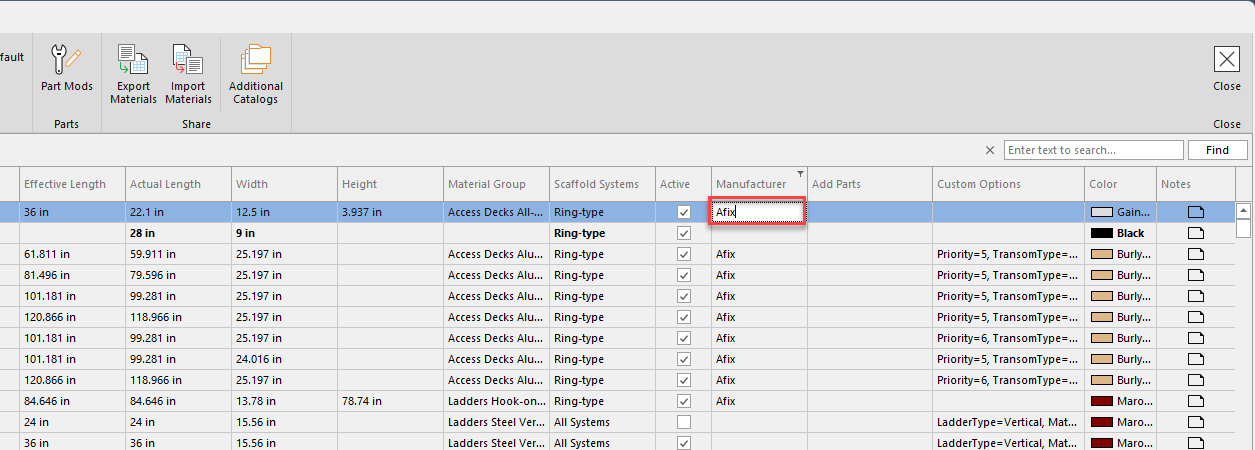
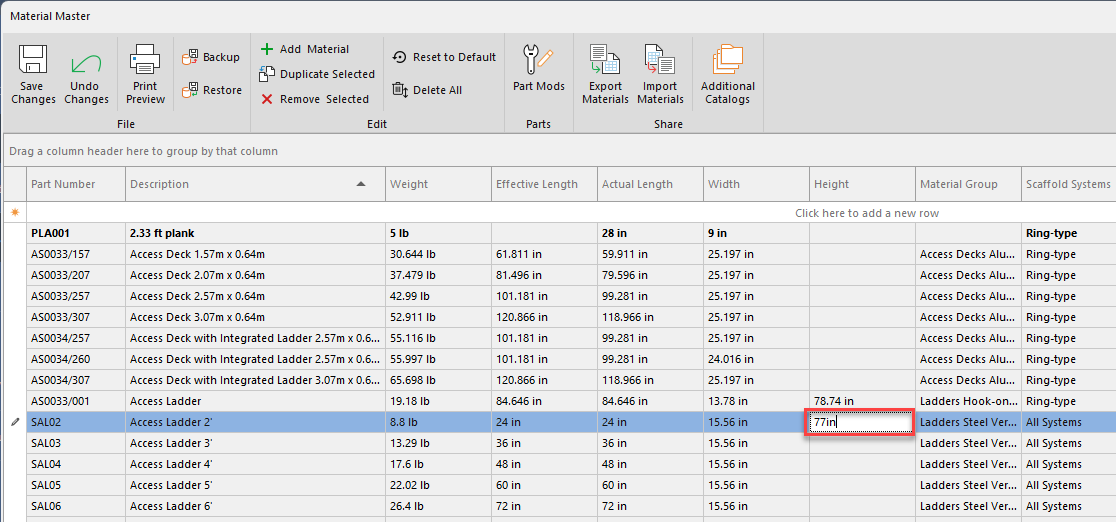
Enter a Part number and Description
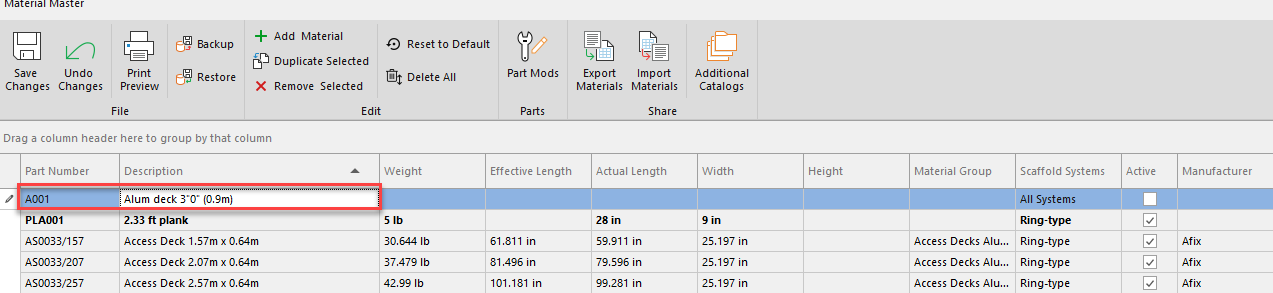
Enter the Weight, Effective Length, Actual, Length, Width, and Height

Click the appropriate dropdowns for Material Group and Scaffold systems and select the new item.
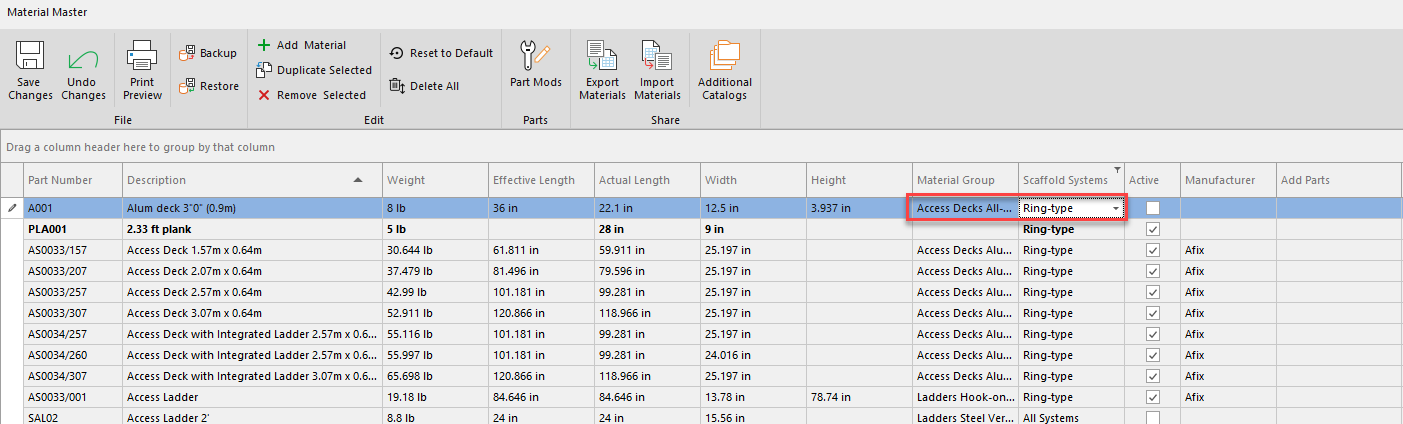
Click the checkbox in the Active column to enable the material.
Enter the Manufactuer
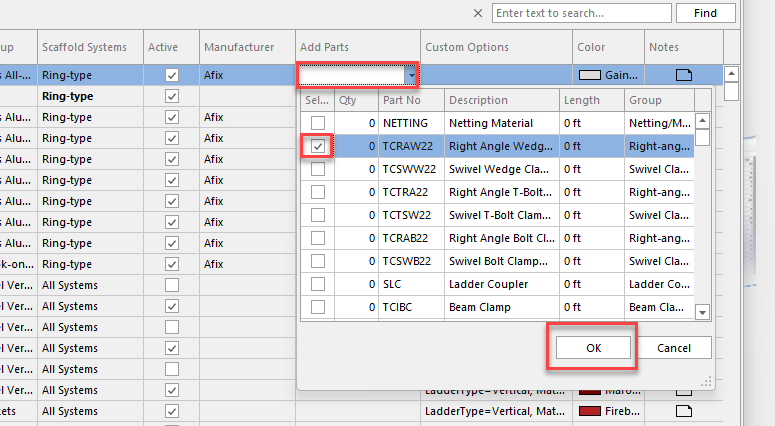
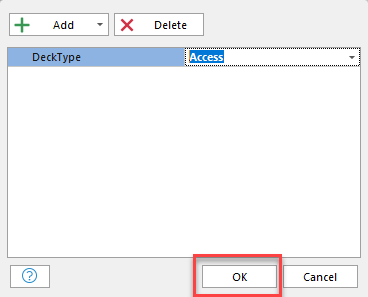
Select what parts to add to the Material and click OK. This is used if you require extra parts to be added to the Bill of Materials at the same time as placing the main part, for example, extra clamps to a beam.
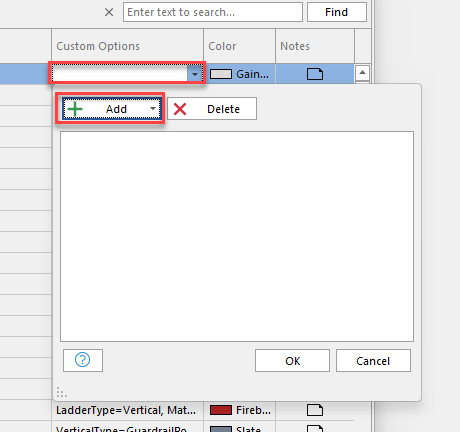
Click in the Custom Options column and select to add a custom option.
Note: For a complete list of Custom Options properties and effective values, refer to the Custom Options Index section below.
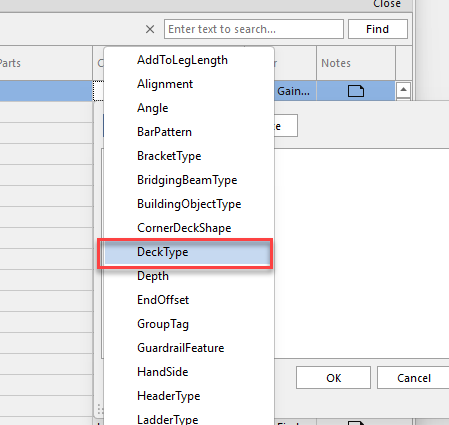
The Custom Optionspopup appears.Select a Custom option from the list
Click in the Value text field and enter the value for the new item.

Add more options as needed by clicking in the available row and repeating the above two steps.
You can delete an option by selecting it and clicking Delete.Click OK.
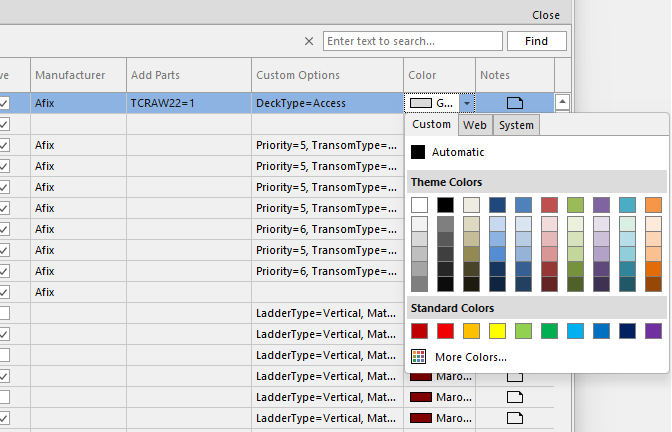
Click the cell in the Color column and select the color from the color picker that appears.
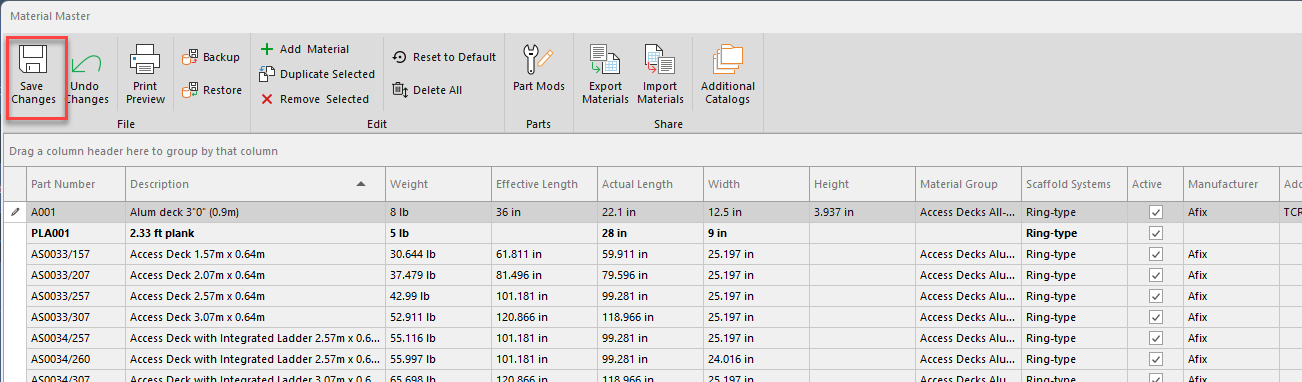
Click Save Changes in the top-left corner of the Material Master when you are done.
Custom Options Index
The following properties are available when using custom options for materials. The effective values listed below change how Avontus Designer matches, displays and uses materials in a drawing. You can select options from a drop-down. For some values, you can enter multiple custom options. To do this you must type the options. When typing, you must enter effective values exactly as shown (capitalization not required). Entering any value other than the exact values listed below will not work,.
Set Options
Set options allow any alphanumeric values, but only specific values will affect the drawing.
Property Name | Effective Values |
AddToLegLength | True, False |
Alignment | None, Start, End, Middle, Top, Bottom |
Angle | |
BracketType | None, Ledger, NoSpigot, NoTipNode, TieBar |
BridgingBeamType | None, LatticeBeam, LadderBeam, LatticeGirder, Truss, LadderBeam, LoadingBaythree |
BuildingObjectType | Tank, Pipe, Sphere, CurvedWall, CurvedPipe, Slab, QuadMesh, TieMesh, Bean, Dome, Cone |
CornerDeckShape | None, Rectangle, Triangle, Square, Pie |
DeckType | None, Access, Hatch, Ladder |
Depth | |
EndOffset | |
GroupTag | |
GuadrrailFeature | None, SkipLedger, Panel, Mesh, Advanced, Lattice |
HandSide | None, Inside, Outside, Left, Right |
HeaderType | None, Spiglot-less Vertical, Deck Adapter, Screew Jack, U-head Jack |
LadderType | Vertical, Inclined, Hook-on, Access Deck Built-in |
Material | Any, Alum, Steel, Wood |
NodeType | None, Rosette, Cup, Pocket, Double, Clamp |
Position | Bottom, End, External, Inside, Internal, Left, Right, Start, Top |
Priority | |
Ref Part No | |
SectionType | Box, Tube, I-beam U_channel, L_angle, Tee, Trapezoid |
Spacing | |
StairDefaultGuardrail | Child-SafeGuardrail, Standard Guardrails, Stair Handrail, Vertical Diagonal, Stair Handrail + Guardrails, Diagonals & Guardrails |
StairHandrailType | Attached, ChildSafe, Extended, External, Internal, LandingDeck, TopRail |
StairLandingType | None, Standard Bay, Side Brackets, Inside Bay Platform, Stair Built-in Deck |
StairSupportType | None, Ledger, Transom, GapDeck, GapCover |
StairType | Compact, Stringer, StringerPlanks, StairUnit, ModularTreads, DoubleUnit |
TransomType | None, Otype, Utype |
Units | Metric, US |
VerticalType | BaseCollar, ClampedHandrailPost, DeckAdaptor, GuardrailPost, HandrailPost, Standard, SupportSpigot, TrimStandard |
*Manufacturer information used for informational purposes only.
Dynamic Options
Dynamic options allow numeric values with units of measure where appropriate.
Example | Use | |
GroupTag | LaddersSteelWide | Groups materials commonly used together. |
MaxDistance | 2in | Sets the maximum distance between materials. Commonly used for decking/planking. |
MinDistance | 1.5in | Sets the minimum distance between material. Commonly used for decking/planking. |
Priority | 2.5 | When multiple (active) materials meet the application requirements for a bay, the priority will determine which material is selected. The lowest numbered items are selected before higher numbered items. |
RefPartNo | KSSS20 | References-dependent parts numbers for select materials. |
StairSteps | 9 | Sets the number of steps for a stair/stair unit. |
StairWidth | 625mm | Sets the width of a stair/stair unit. |
Editing Material
Scaffolds Designer enables you to edit the characteristics of existing items in the Material Master.
Warning: Editing stock material dimensions is not recommended, as updates may overwrite them. Instead, duplicate the material (refer to Duplicating Stock Material below), make changes to the duplicate item and deactivate the original stock item.
If you would like to prevent materials from being used in drawings, deactivate the item(s). (Refer to Activating/Deactivating Material below.)
Warning: Clicking Undo Changes will undo all changes made since the last Save.
For more information about material fields and options, refer to Adding Material above.
For information about deleting or removing materials, refer to Removing Material below.
To edit existing material:
Access the Backstage and click Material Master.
The Material Master appears.
There are five ways to enter information into the Material Master:Text fields
Dropdowns
Checkboxes
Custom Value Popup
Color PIcker
Note: To learn about the specific fields, dropdowns, etc., refer to Working with the Material Master.
Locate the part in the grid.
Click in the appropriate field and change the information it contains.
Repeat the above steps as necessary.
Click Save Changes in the top-left corner of the Material Master when you are done.

Duplicating Stock Material
Avontus Designer enables you to duplicate items in the Material Master.
To duplicate existing material in the Material Master:
Access the Backstage and click Material Master.
The Material Master appears.Locate and click the appropriate part in the grid and click Duplicate Selected.
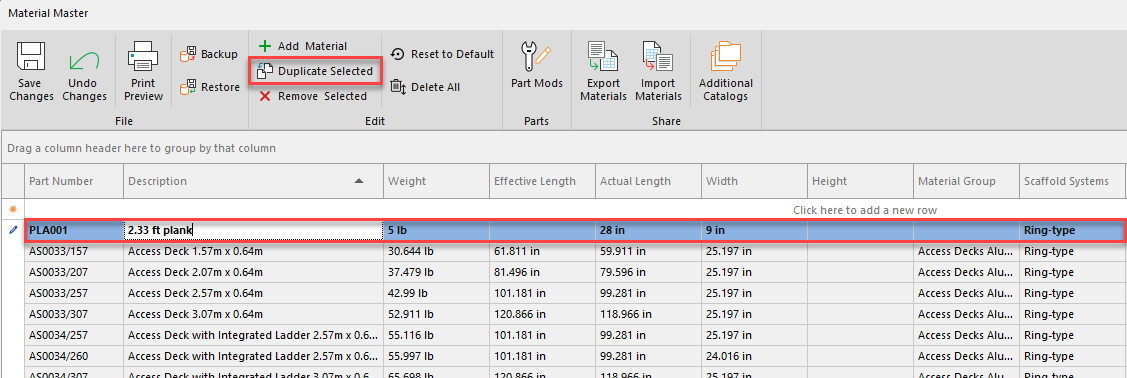
The Material Master duplicates the part.Repeat the above step as many times as necessary
Click Save Changes in the top-left corner of the Material Master when you are done.

Activating/Deactivating Material
If you would like to prevent materials from being used in drawings, you can disable it with the Active option. This is similar to removing materials, but retains the material in the Material Master for possible reactivation, reference, or duplication.
To activate/deactivate material:
Access the Backstage and click Material Master.
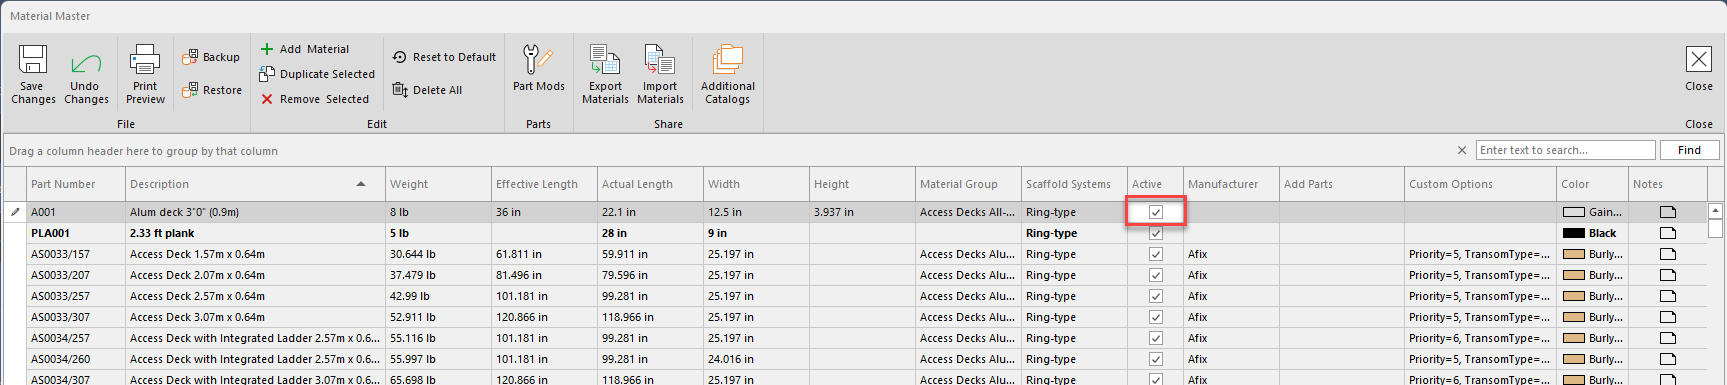
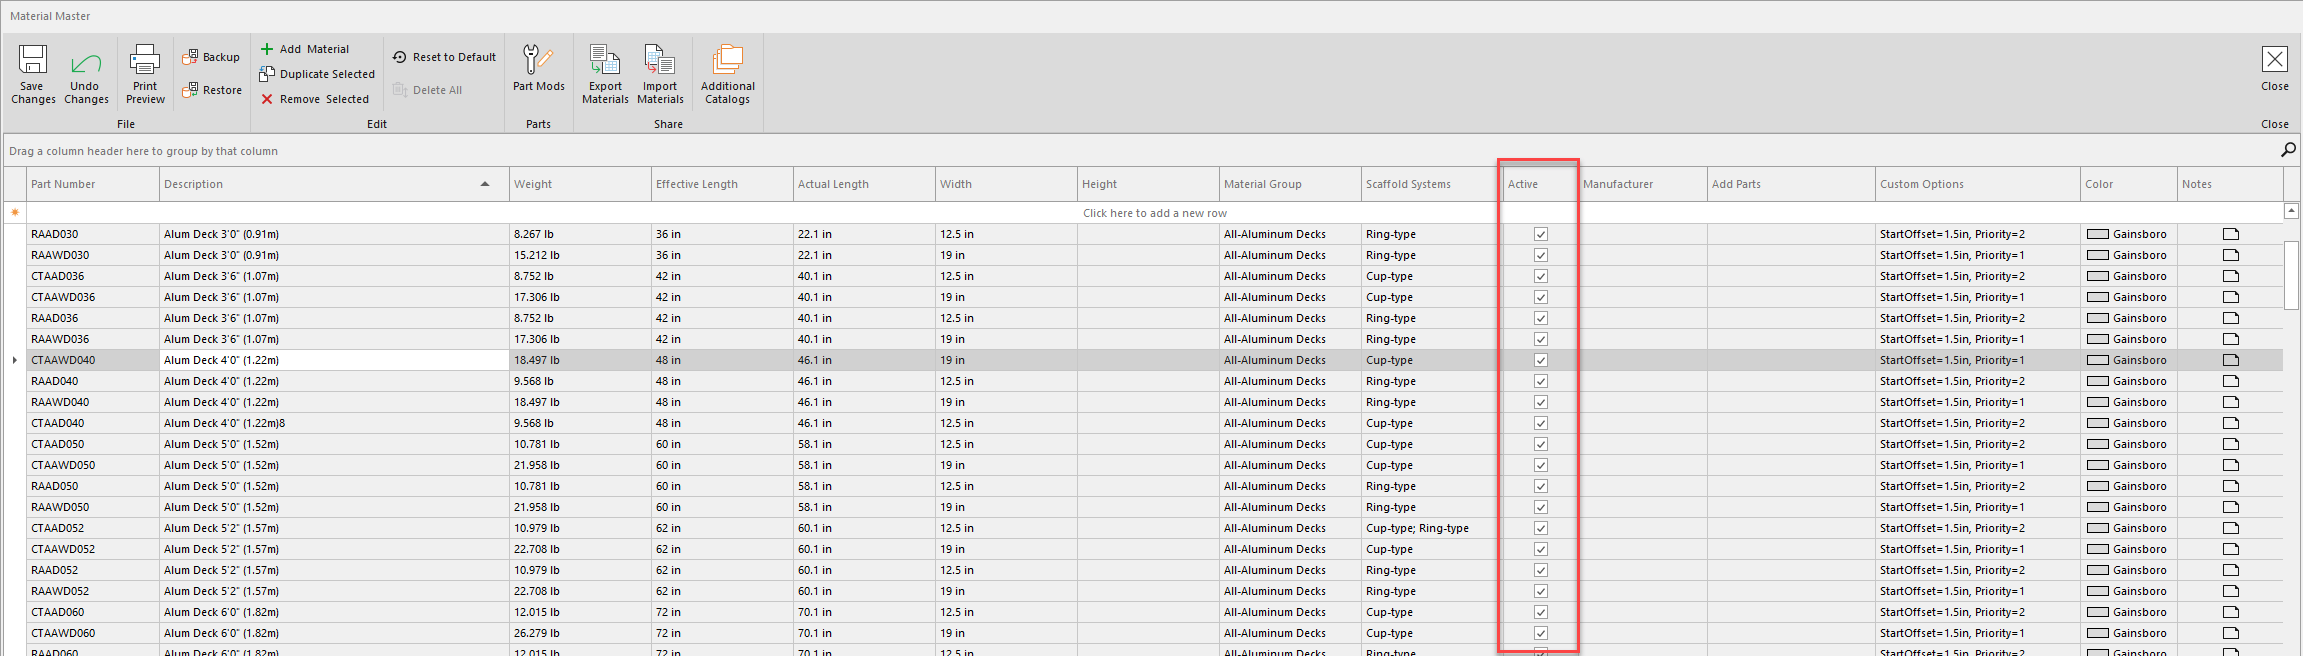
The Material Master dialog appears.Locate and click the appropriate part in the grid and click its Active checkbox.
A check in the checkbox means the part is available for use.
Repeat the above step as many times as necessary
Click Save Changes in the top-left corner of the Material Master dialog when you are done.
Removing Material
Avontus Designer enables you to remove items from the Material Master. Any material you remove cannot be recovered, but can be added as a new item if needed.
Warning: Removing stock material may result in missing materials for drawings and in the bill of materials. It is recommended to make unused stock materials Inactive.
If you would like to prevent materials from being used in drawings, disable the option Active. This is similar to removing materials, but retains the material in the Material Master for possible reactivation, reference, or duplication.
To remove existing material from the Material Master:
Access the Backstage and click Material Master.
The Material Master dialog appears.Locate and click the appropriate part in the grid and click Remove Material.
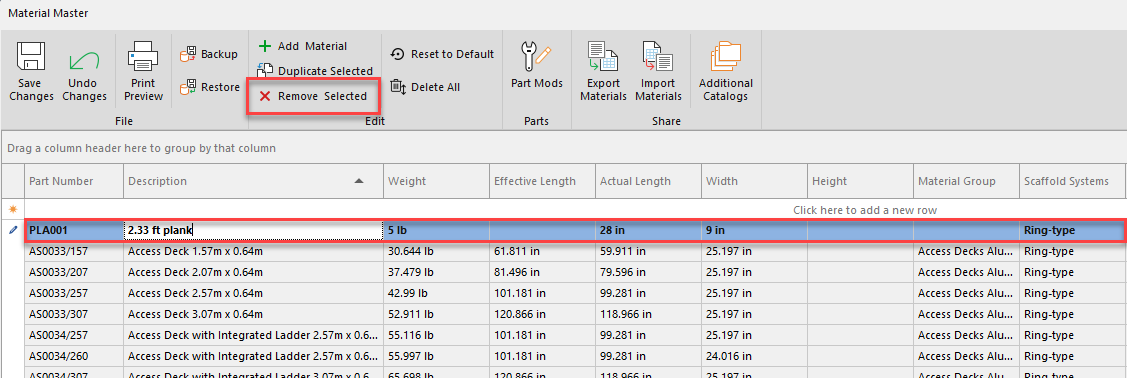
The Material Master dialog removes the part.Repeat the above step as many times as necessary
Click Save Changes in the top-left corner of the Material Master dialog when you are done.