When a request is created, the user assigned as the approver to the request will be notified that they have a request to approve. There are multiple ways to change a request. You can approve the Request via the Map screen, Requests Screen or from the Notifications screen
Note that this example has all the steps (Initial Approval, Secondary Approval, Estimate, Estimate Approval, Final Approval) enabled in the Request Settings screen. You can enable or disable the steps on the approval workflow in the Request Settings screen.
Map
From the Map screen, select the Request
On the right-hand side, select Initial Approval and then select Approve
The status will change to the next status in the process. This is set up in the Global Options.Select Final Approval and then select Approve
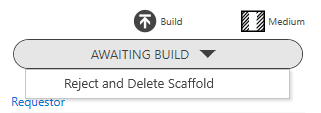
The status will change to Awaiting Build. You can now begin to erect the Scaffold.

You can reject the request and delete the Request at this stage
You can view your Scaffold Details screen by selecting the Scaffold Number.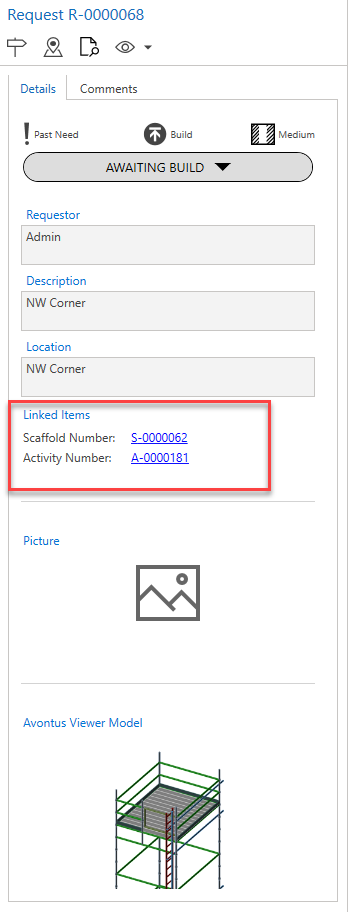
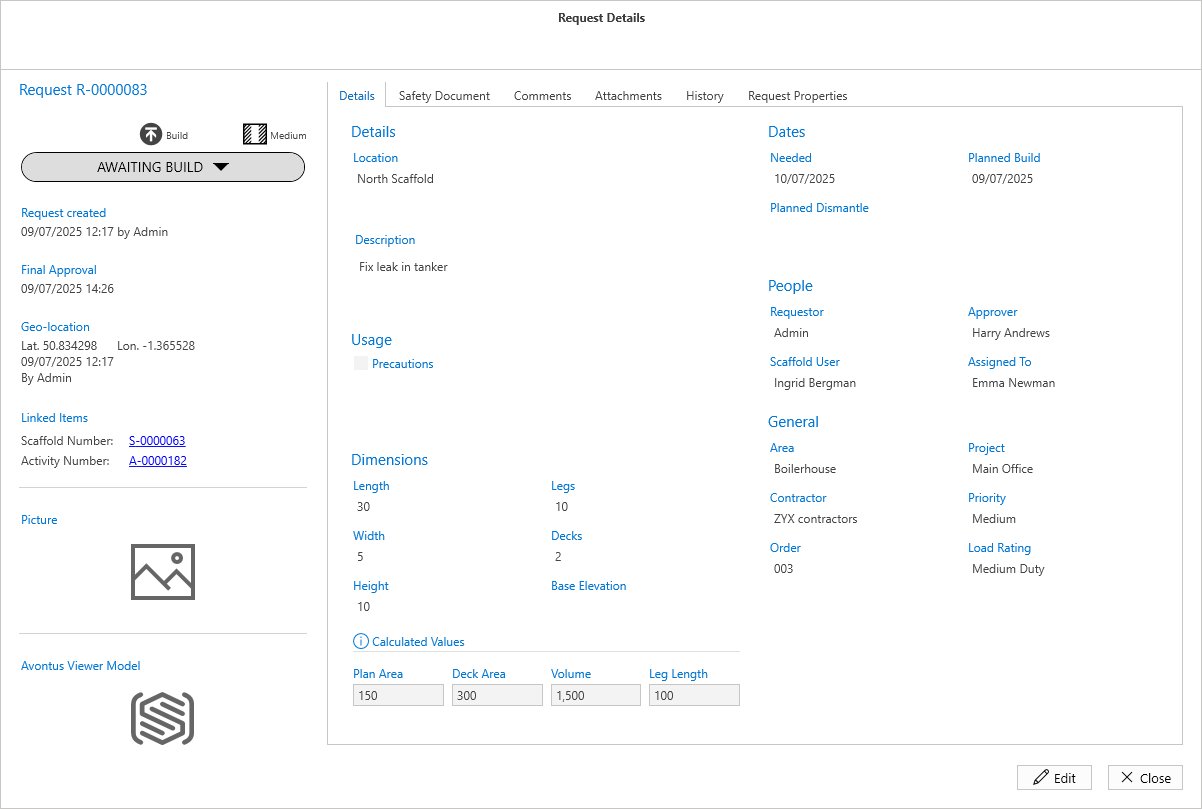
From Requests Details
From the Requests screen, double-click the Request to open (or select the More Details button team)

Select Initial Approval and select Approve
Select Final Approval and select Approve
The Request status will change to Awaiting Build. You can now erect the scaffold. You can also Reject and Delete the Scaffold.
The request will now be in the Awaiting Build status and you can begin the process of erecting the request into a scaffold. For more information, visit the Erecting a Scaffold guide.