Parts that are sent to servicing can be invoiced after a Service Ticket has been created.
To invoice a Service Ticket:
Click the To Be Serviced node under the appropriate Branch Office.
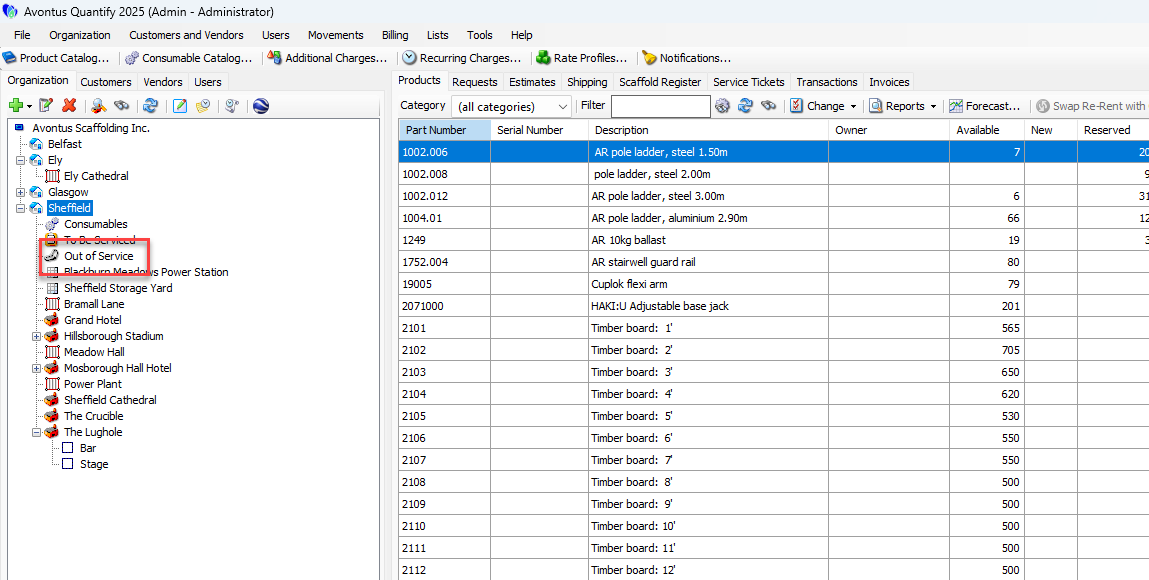
Click the To Be Serviced tab.
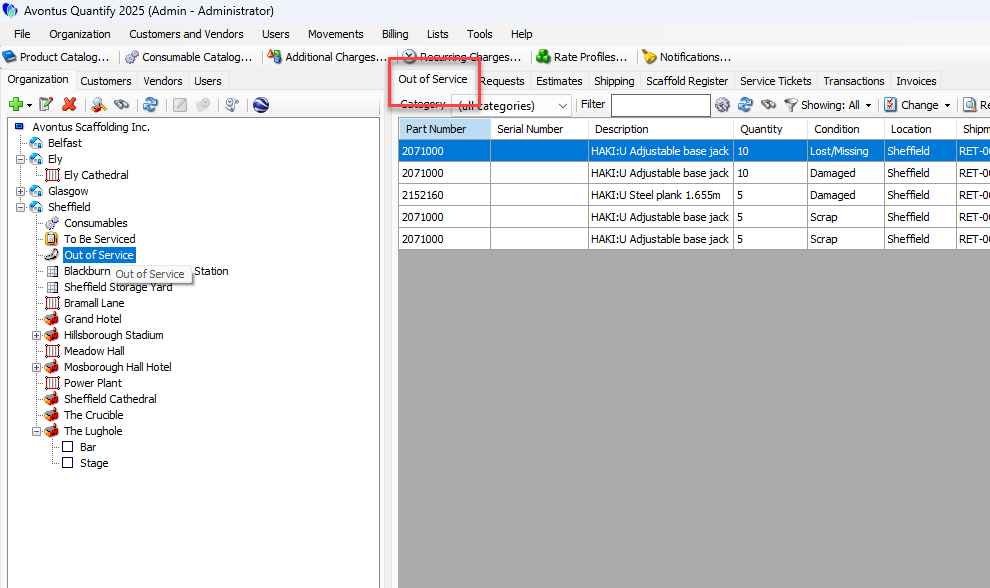
Click the item that must be serviced.
Click the Change dropdown and select Create Service Ticket for Selected Product.

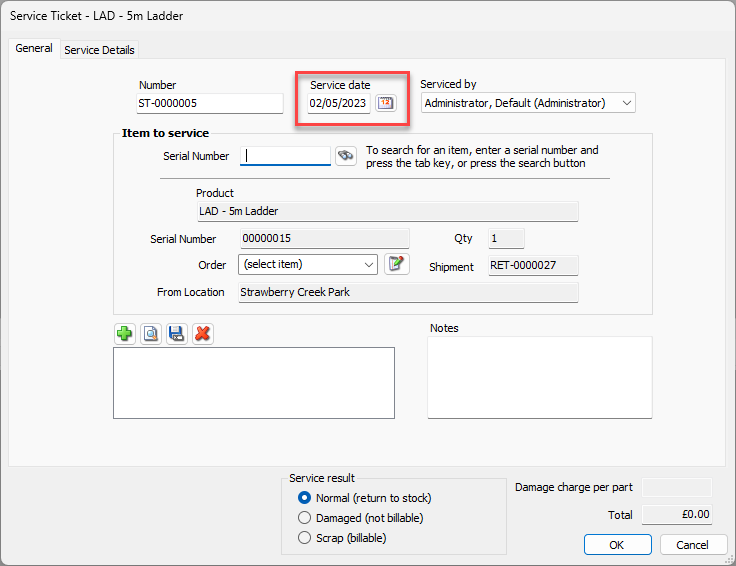
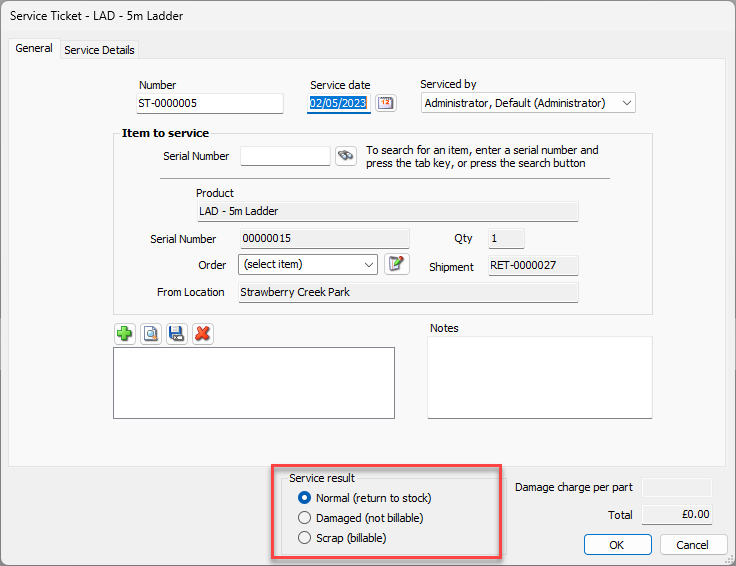
The Service Ticket dialog appears.As necessary, click the Service Date calendar button (
 ).
).
Quantify uses this date for billing.
A calendar appears.
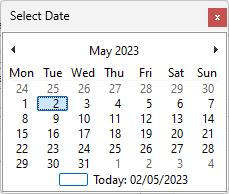
Locate and click the appropriate date.
Select the appropriate Service result radio button.
Your options areNormal (return to stock)
Damaged (not billable)
Scrap (billable)
Note: When the service result is billable, the Damage charge per part text field in the bottom-right corner of the dialog will default to the replacement cost from the associated Rate Profile.
Click the Service Details tab.
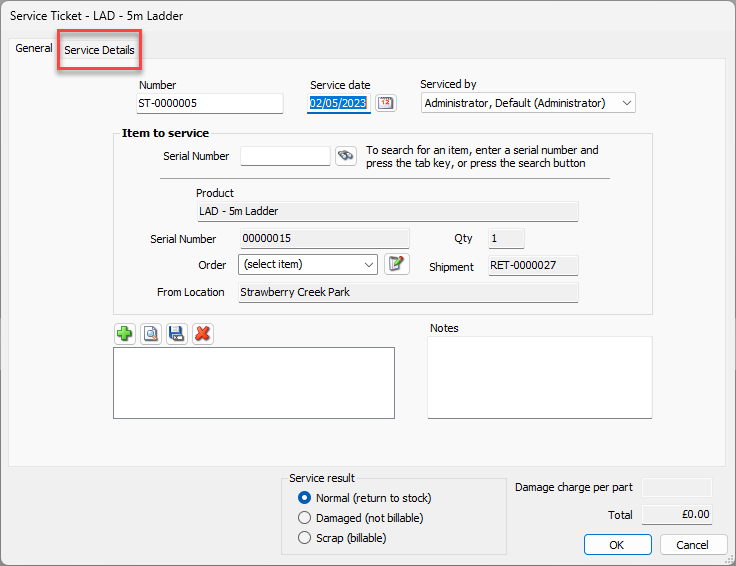
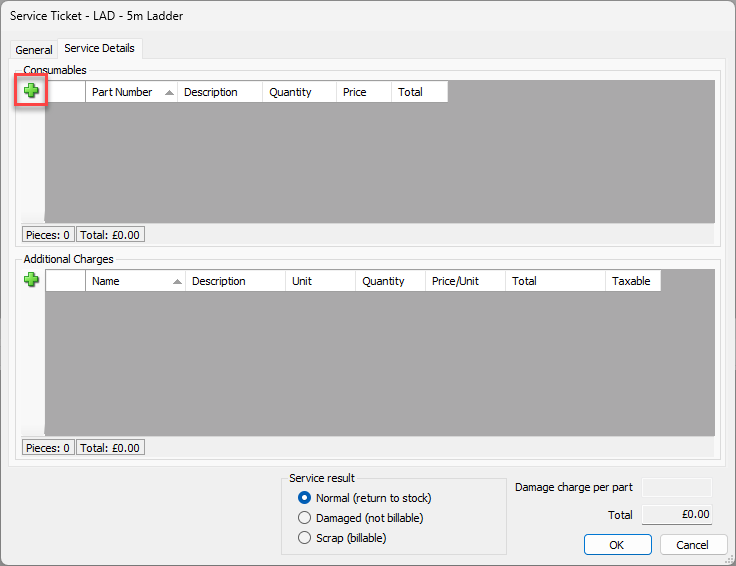
The Service Ticket dialog refreshes.To add a Consumable charge to the Service Ticket, click the Add button (
 ).
).
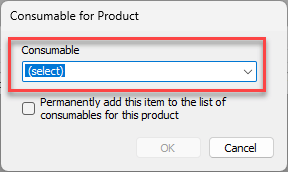
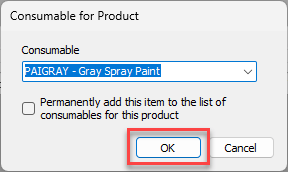
The Consumable for Product dialog appears.Click in the Consumable dropdown box and select the appropriate Consumable.
Note: If this Consumable should be used every time a Service Ticket is created for this part, check the Permanently add this item to the list of consumables for this product checkbox
Click OK.
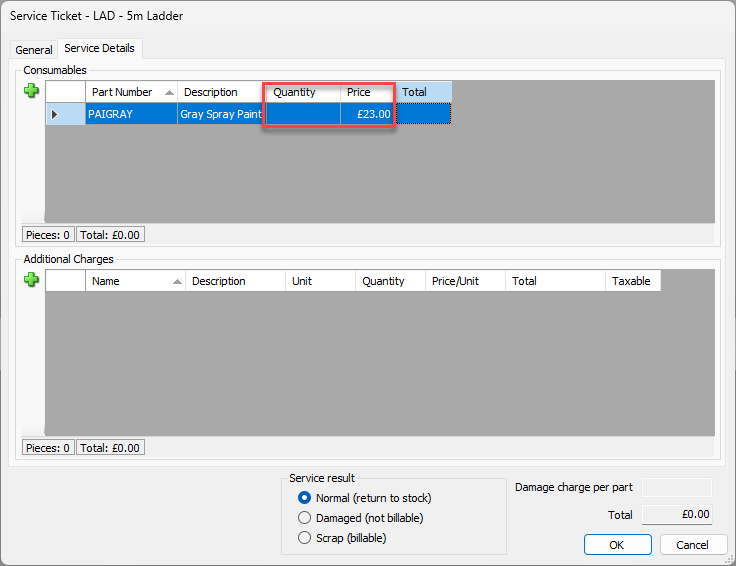
The Service Ticket dialog returns.Click in the Quantity cell and enter the quantity of the Consumable used.
Click in the Price cell and enter the price each for the Consumable item.
Repeat the above five steps, as necessary.
To add an Additional Charge charge to the Service Ticket, click the Add button (
).
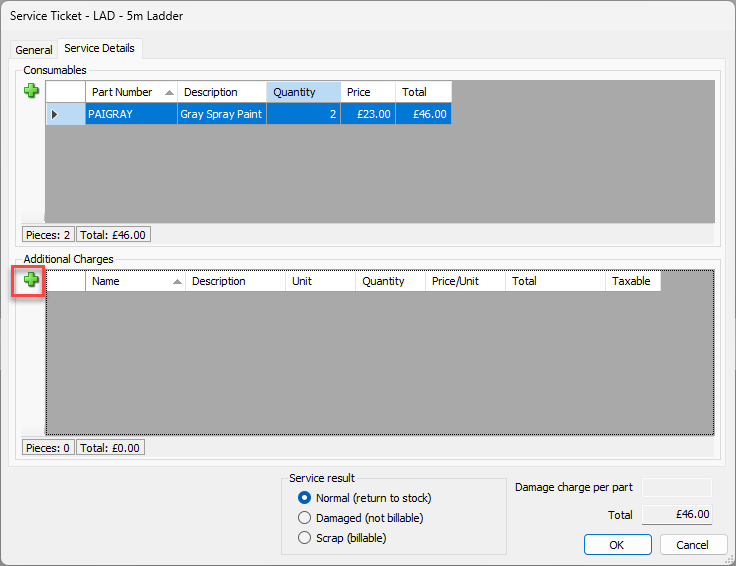
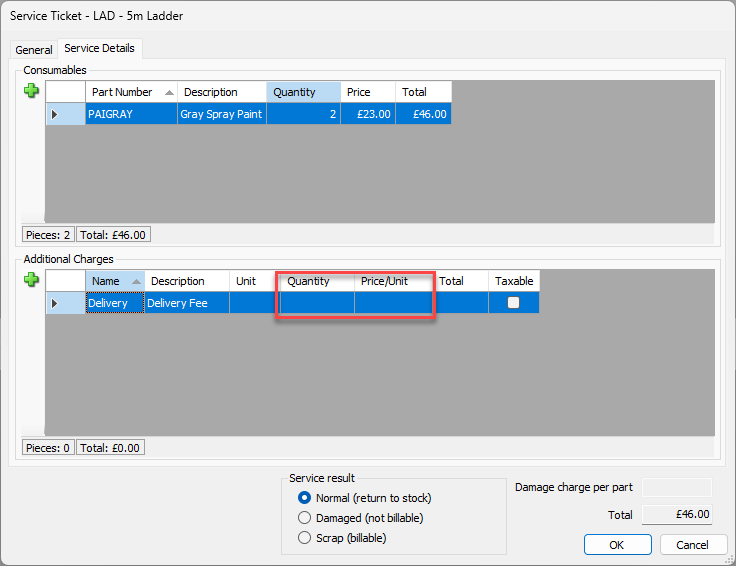
The Additional Charge for Product dialog displays.Click the Additional Charge dropdown and select the appropriate Additional Charge.
Note: If this Additional Charge should be used every time a Service ticket is created for this part, check the Permanently add this item to the list of additional charges for this product checkbox.
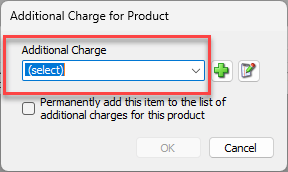
Click OK.
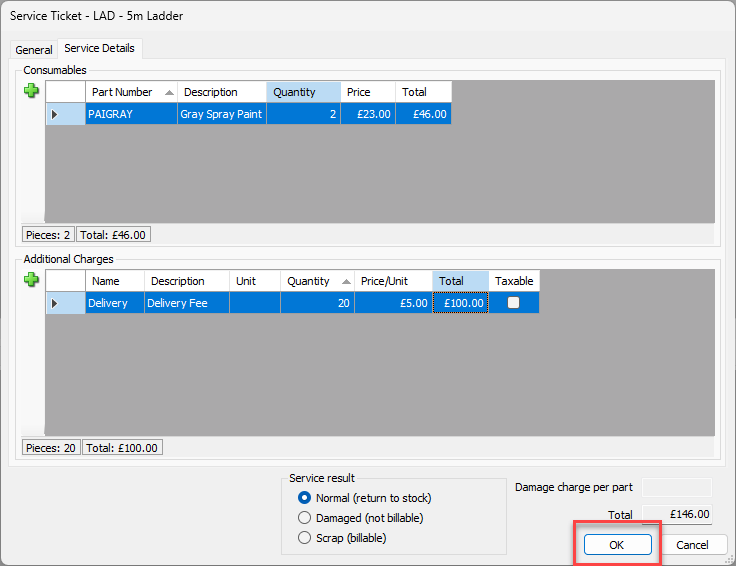
Click in the Quantity cell and enter the quantity of the Additional Charge used.
Click in the Price/Unit cell and enter the price each for the Additional Charge item.
Repeat the above five steps, as necessary.
Click OK.
Quantify refreshes to display the Service Tickets tab, showing that is has added the Service Ticket.
Invoice the Job site, using a date that includes the Service Ticket date.
For instructions, refer to Creating and Saving Invoices for a Job Site.
The invoice will include charges for the Service Ticket. Quantify updates the Service Ticket item with the Job Site's Invoice number.