The 3D View interface of the Global Options dialog enables you to determine the display characteristics of Avontus Designer's 3D View pane.
To set default 3D View options:
As necessary, click the 3D View tab in the Avontus Designer Options dialog.
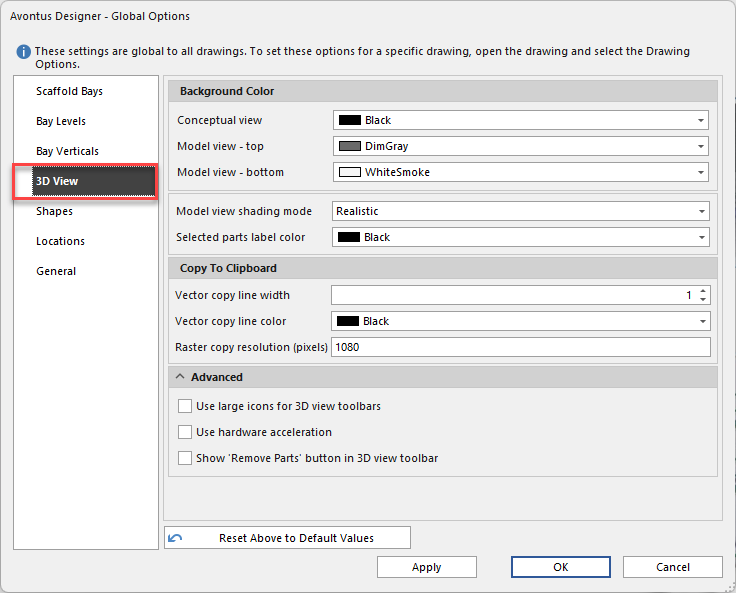
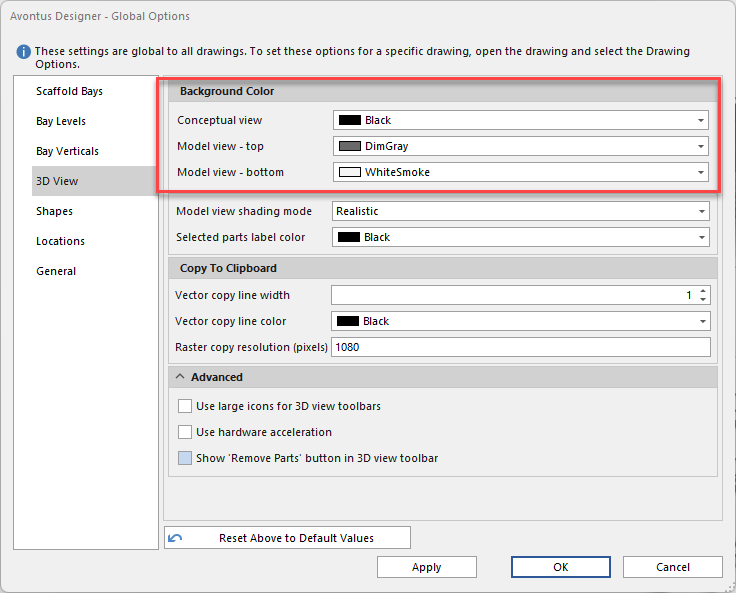
The Avontus Designer Options dialog refreshes, displaying the means for configuring default 3D view options.Click the Conceptual View dropdown and select a new default color for the background in the Conceptual tab of the 3D View dialog.
Click in the Model View - Top dropdown and select a new default color for the background at the top of the Model tab of the 3D View dialog.
Click in the Model View - Bottom dropdown and select a new default color for the background at the bottom of the Model tab of the 3D View dialog.
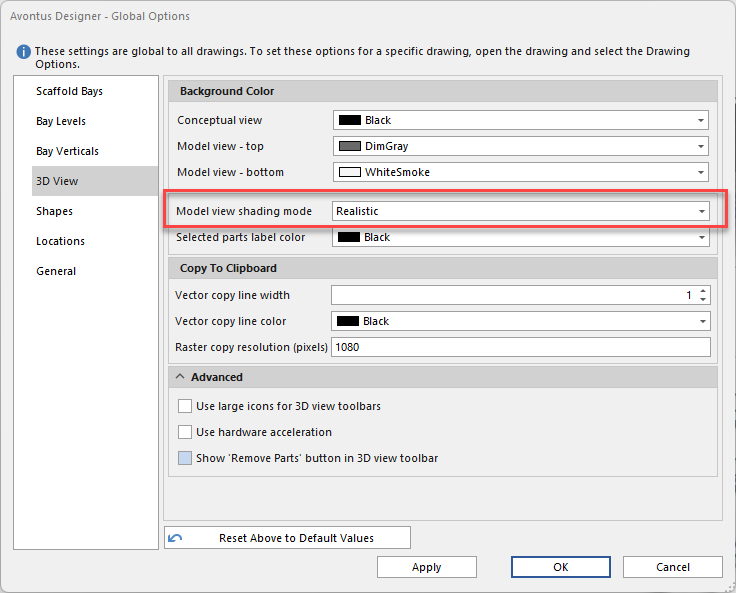
Click the Model view shading mode dropdown and select how you want Avontus Designer to shade the models it displays. Your options are:
Wireframe
Shaded with Edges
Realistic
Flat
Hidden Lines
For more information shadowing views, please see Shading ViewsNote: You can also select these options in the 3D Model window.

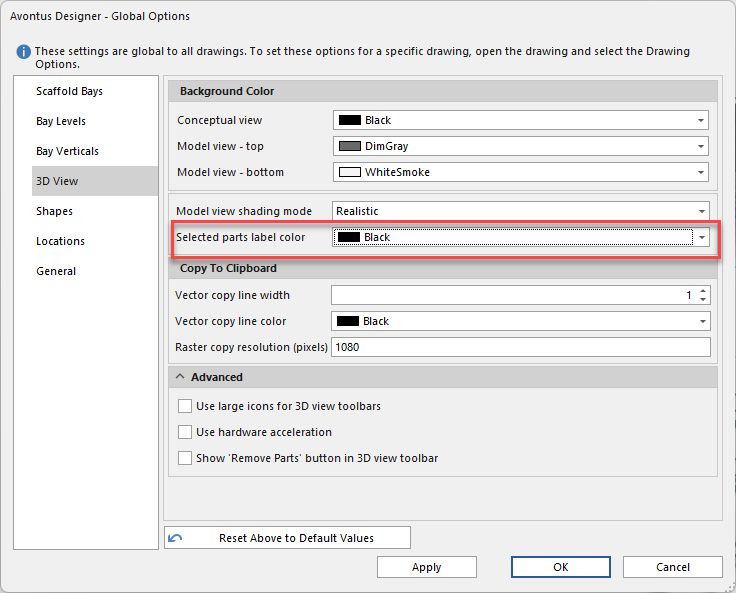
Set the Selected parts label colour - these are labels you'll find on the 3D view of a model when you select a part.
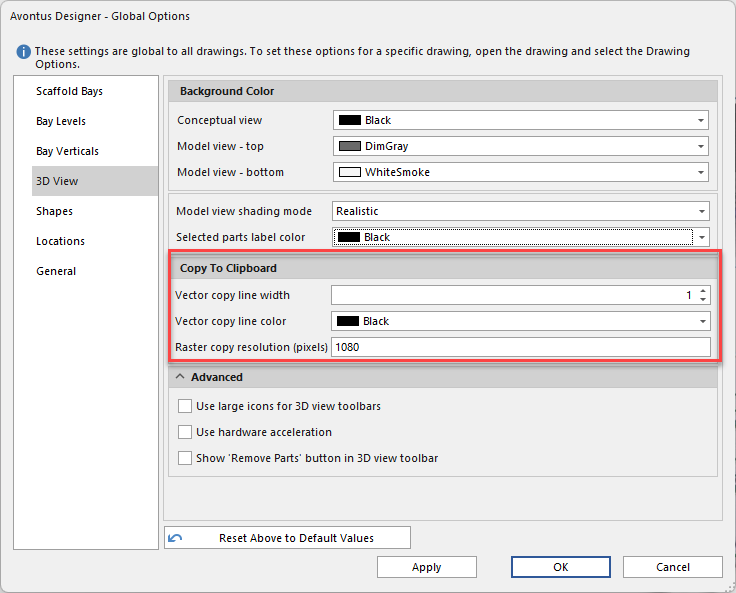
When a 3D view is copied to a vector it is copied to the clipboard first where it can be pasted from. When pasted, these options control how thick the lines of the vector are and what the line color is. The Raster Copy option controls how large/detailed the raster image is when copied to the clipboard.Note: You will need to re-open your image for this change to take effect
Click in the Vector copy line width text field and enter how thick you want the lines to be in the vector drawing that is copied to the Clipboard.
Click the Vector copy line color dropdown and select what color you want the lines to be in the vector drawing that is copied to the Clipboard
Click in the Raster copy resolution text field and enter how large/detailed you want the raster image to be when it is copied to Clipboard.
As necessary, click the arrow beside the word Advanced.
The Advanced area of the dialog expands, displaying advanced 3D View settings,If you want Avontus Designer to display large icons in the 3D View dialog, click the Use large icons 3D view toolbars checkbox (to put a check in it).
If you want Avontus Designer to use hardware acceleration, click the Use Hardware Acceleration checkbox to put a check in it.
If you want Avontus Designer to show the Remove Part button (
 ) in the Model tab of the 3D View dialog, click the Show Remove Part Button in 3D View Toolbar checkbox (to put a check in it).
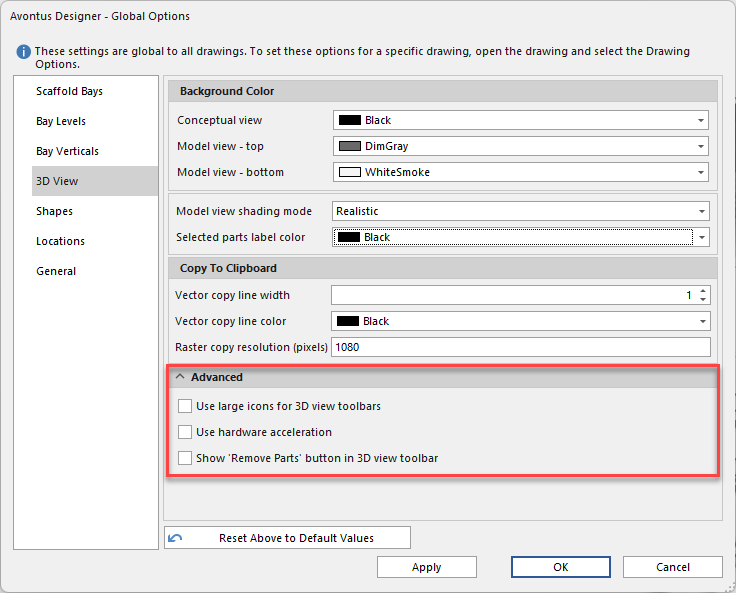
Note: This button enables you to select a part of a drawing in the Model tab of the 3D View dialog and remove it. It will reappear when the 3D model is refreshed.
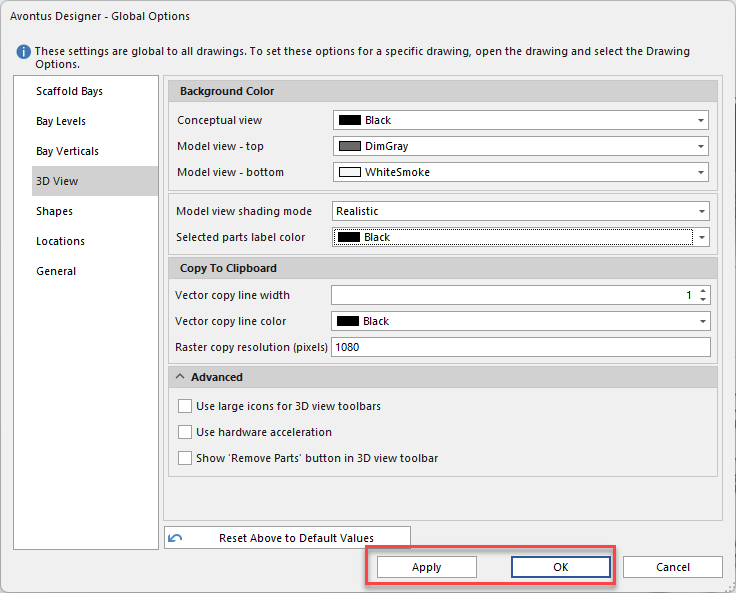
If you are done, click OK.
If not, click Apply and then the next appropriate tab.
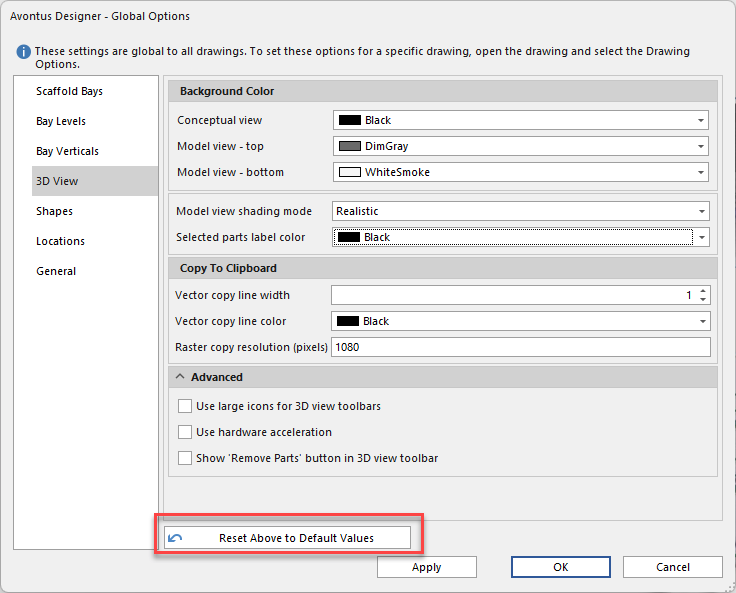
Note: Click Reset Options Above to Default Values to restore Avontus Designer default values.