The My Options dialog enables you to configure options that only apply to your account. Any changes you make in this dialog DO NOT affect other users. This includes things like modifying how locations are displayed on the tree, specifying whether invoice numbers are shown in transactions, and selecting whether to display Length, Width, and Height columns in the Products tab.
The Organization View Tab
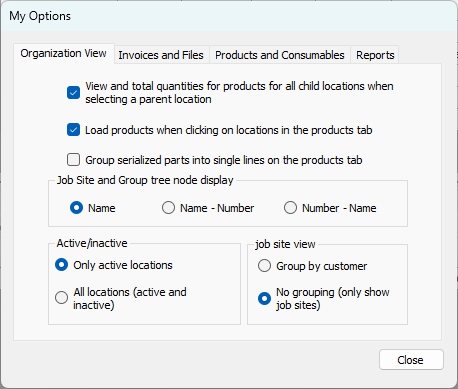
The Organization View tab enables you to determine specific ways in which Quantify handles items in the Organization Tree in the Quantify interface.
The Top Section
The properties in this section enables you to determine some of the ways Quantify displays information in the Products tab.
| View and total quantities for Products for all child locations when selecting a parent location | When this checkbox is checked, Quantify displays and totals quantities of Products for all child locations when you click a parent location in the Organization Tree. |
| Load products when clicking on locations in the products tab | When this checkbox is checked, Quantify displays Products in the Products tab when you click a location. |
| Group serialized parts into single lines on the products tab | When this checkbox is checked, Quantify groups serialized parts into a single line in the Products tab. |
The Job Site and Group Tree Node Display Section
The information this section will help you configure how quantify displays Job Site labels: name only, name then number or number then name
| Name | When this radio button is selected, Quantify displays just the Job Site name beside its icon in the Organization Tree. |
| Name-Number | When this radio button is selected, Quantify displays the Job Site name then the Job Site number beside its icon in the Organization Tree. |
| Number - Name | When this radio button is selected, Quantify displays the Job Site number then the Job Site name beside its icon in the Organization Tree. |
The Active/Inactive Section
The information this section will help you configure which locations appear in the Organization Tree
| Only Active Locations | When this radio button is selected, Quantify only displays active locations in the Organization Tree. |
| All Locations (active and inactive) | When this radio button is selected, Quantify displays both active and inactive locations in the Organization Tree. |
The Job Site View Section
The information this section will help you configure how Job Site are displayed.
| Group by customer | When this radio button is selected, Quantify groups Job Sites by customer under their respective Branch Offices. Quantify displays customer names with Job Sites as child locations under each name. |
| No grouping (only show job sites) | When this radio button is selected, Quantify just displays Job Site names and icons under their respective Branch Office. |
The Invoices and Files Tab
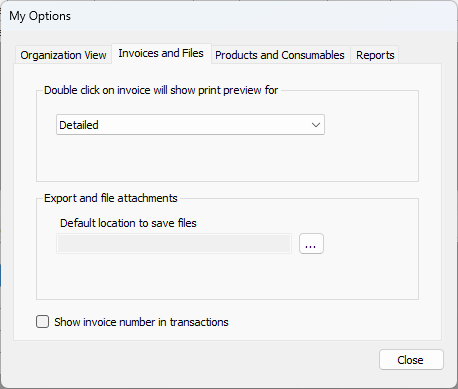
The Invoices and Files tab enables you to determine specific ways in which Quantify handles invoices and files in the Quantify interface.
The Double Click on Invoice Will Show Print Preview For Section
The information this section will help you determine what happens when you double-click an invoice in the Invoice tab.
| Dropdown | Use this dropdown to determine what happens when you double-click an Invoice in the Invoice tab. |
| Detailed | When this radio button is selected, Quantify displays a detailed invoice in PDF format. |
| Summary | When this radio button is selected, Quantify displays a Summary invoice, in PDF format. |
| Summary with rent lines | When this radio button is selected, Quantify displays a Summary invoice that also contains lines for rental items, in PDF format |
| Summary with rent lines (landscape) | When this radio button is selected, Quantify displays a Summary invoice that also contains lines for rental items (in landscape orientation), in PDF format |
| Scaffold | When this radio button is selected, Quantify displays a detailed Scaffold invoice in PDF format. |
| Scaffold summary | When this radio button is selected, Quantify displays a Summary Scaffold invoice in PDF format. |
| Scaffold PO/WO summary | When this radio button is selected, Quantify displays a Scaffold Work Order/Purchase Order Summary invoice, in PDF format. |
The Export and File Attachments Section
The information this section will help you determine the default location in which Quantify saves files and whether Quantify will open the folder into which it has saved an invoice.
| Text Field | This text field displays the to the default location in which Quantify saves files. |
Save | Click this button to change the default location in which Quantify saves files. |
| For invoicing, open folder to show files after exporting | When this checkbox is checked, each time an invoice is saved, Quantify will open the folder into which the file resides. |
The Products and Consumables Tab
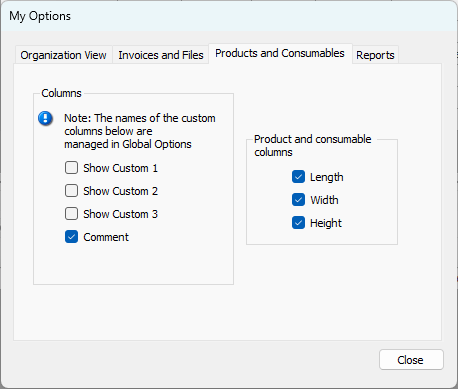
The Products and Consumables tab enables you to determine whether Quantify displays one or more custom columns and/or the Length, Width and Height columns in the Products tab.
The Columns Section
| Show Column | When one ore more of these checkboxes are checked, Quantify displays the corresponding number of custom columns in the Products tab. |
The Product and Consumables Section
| Length | Quantify displays the Length column in the Products tab. |
| Width | Quantify displays the Width column in the Products tab. |
| Height | Quantify displays the Height column in the Products tab. |
The Report Tab
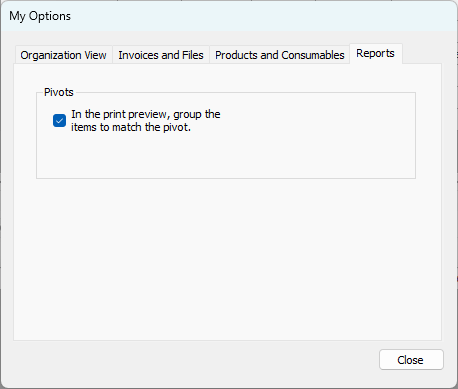
| In the print preview, group the items to match the pivot. | By default, when previewing pivot reports, the print preview and exported files are grouped in a way that matches the pivot report configuration. When exporting to Excel, the grouping can be difficult to work with. When this checkbox is checked, Quantify previews pivot reports with their items organized as they are in the report. |
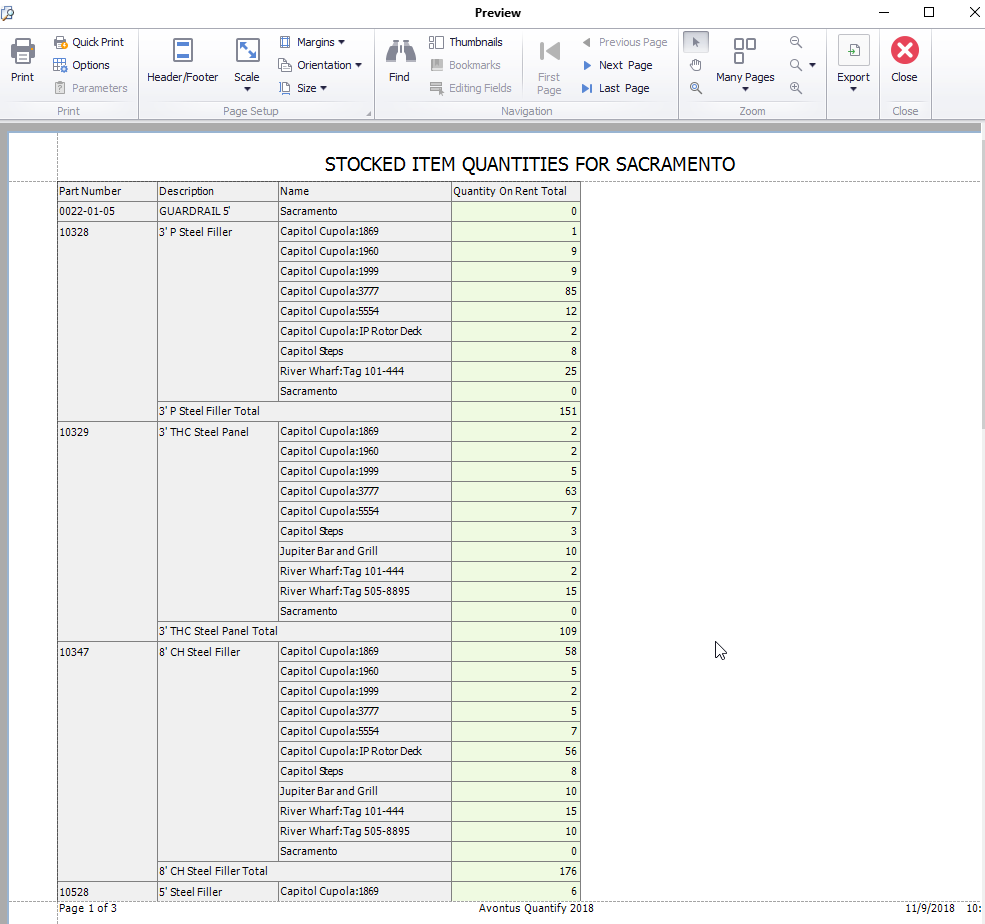
Below is an example of the Product Quantity pivot report, in Print Preview, with the Pivot Grouping option unchecked:

Alternatively, the example below is of the Product Quantity pivot report, in Print Preview, with the Pivot Grouping option in the default, checked, state: