Quantify Web leverages Google Maps technology to enable you to see exactly where your scaffold tags are (in map, satellite image and street view form), get directions to and from the locations and view detailed information associated with the locations. You will find these features in the Map tab. Quantify uses the same location icons in the Map tab as it does in the Quantify interface, which makes it easy for you to determine what type of location you are looking at.
![]() Branch Office
Branch Office
![]() Staging Area
Staging Area
![]() Laydown Yard
Laydown Yard
![]() Job Site
Job Site
![]() Group
Group
![]() Job Site with Scaffold Tag
Job Site with Scaffold Tag
![]() Job Site with multiple Scaffold Tags and Groups
Job Site with multiple Scaffold Tags and Groups
Note: Some of the procedures below show you how to view the available information for a scaffold tag. You can determine what information Quantify Web displays by using the procedures here. If you use the linked procedures to change the available information, Quantify changes that information for all Job Sites, not just the selected Job Site.
Viewing a Location in the Map Tab
Viewing a location in Quantify Web is an easy and quick process using two mouse clicks.
To view a location in the Map tab:
- Click the appropriate location then click the Map tab.
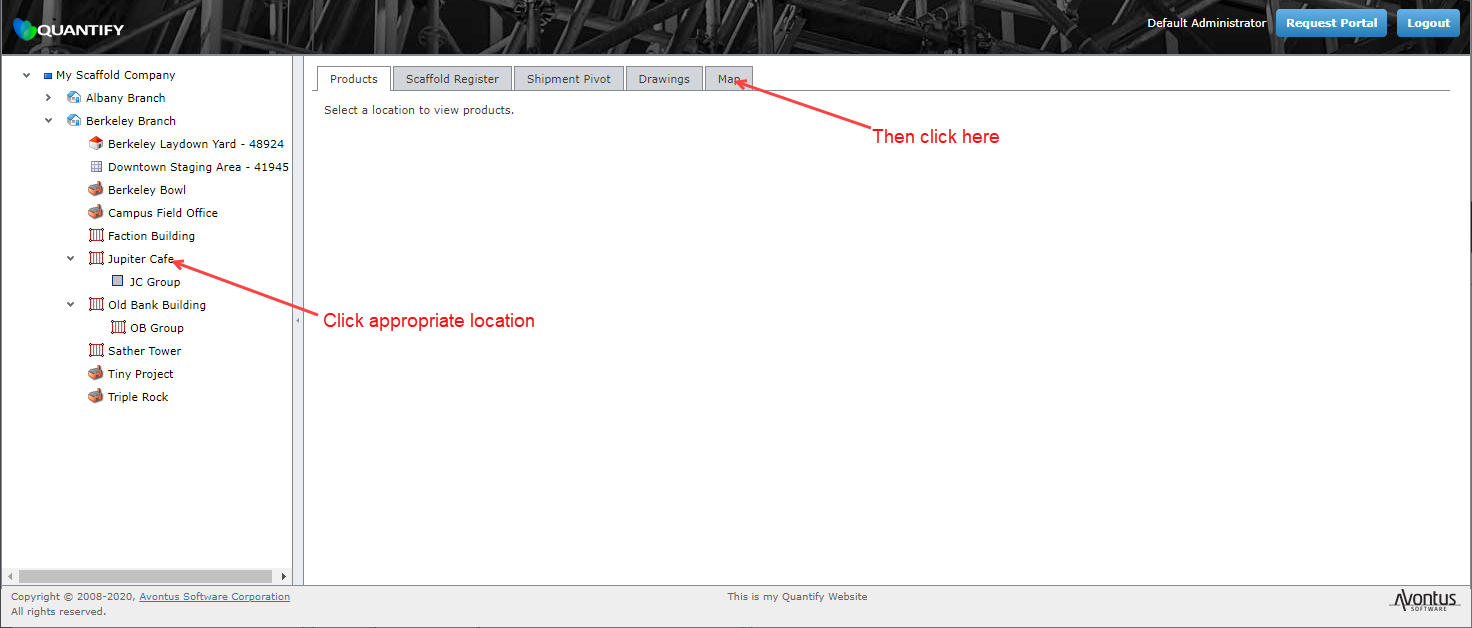
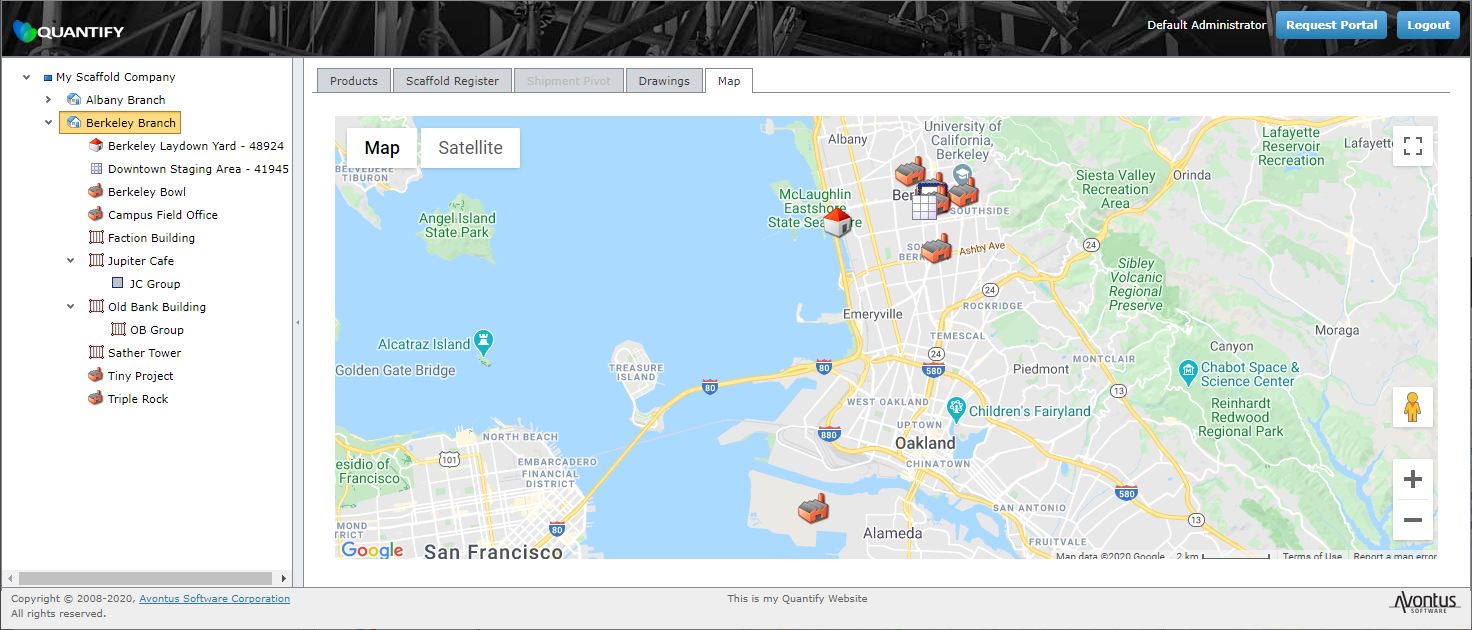
The Quantify web interface refreshes, displaying a map that contains the location.
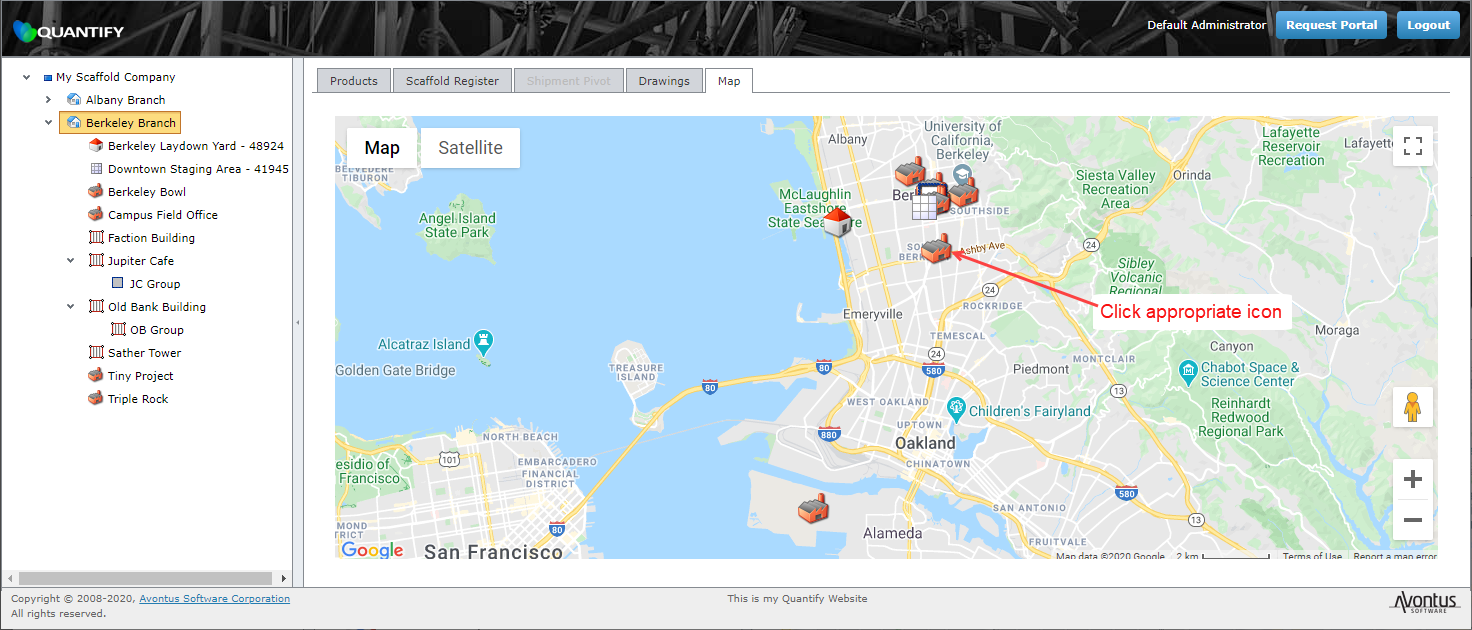
- If you click a Branch Office and then click the Map tab, the tab displays all locations associated with that Branch Office.
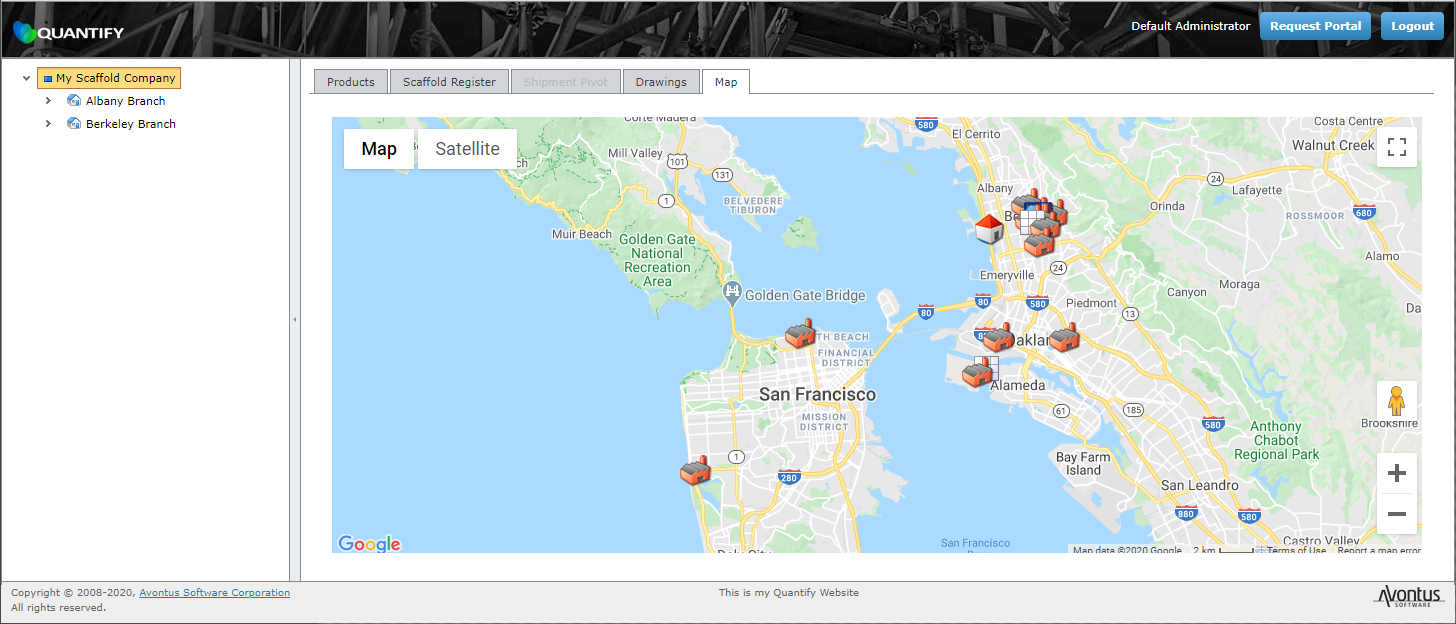
- If you click a Corporate Structure and then click the Map tab, the tab displays all locations associated with that Corporate Structure.
Viewing a Scaffold Tag's Image, Available Information and Tag Details
Google Maps provides a popup that appears when you click a location's icon. The popup contains an image of the location and information about the location. To learn how to associate a picture with a location, refer to Adding a Quantify Web Image to a Scaffold Tag.
To view a location's image, available information and tag details:
- Click the appropriate Scaffold Tracking Job Site, then click the appropriate Scaffold Tag icon.
A popup appears, displaying the image assigned to the location.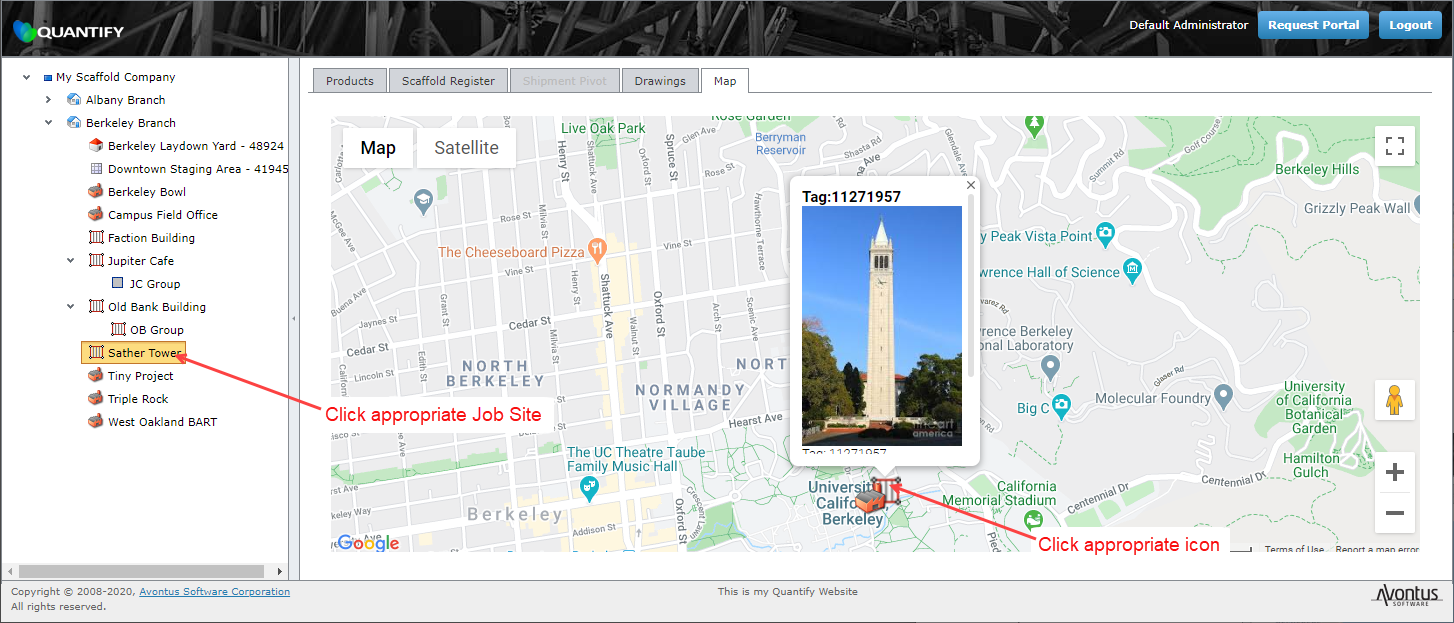
- To view the tag's available information, scroll the image down (as necessary).
The popup displays the information made available through the Scaffold QR Code and Quantify Web Fields dialog. - To view the tag's complete details, click the View Details link.
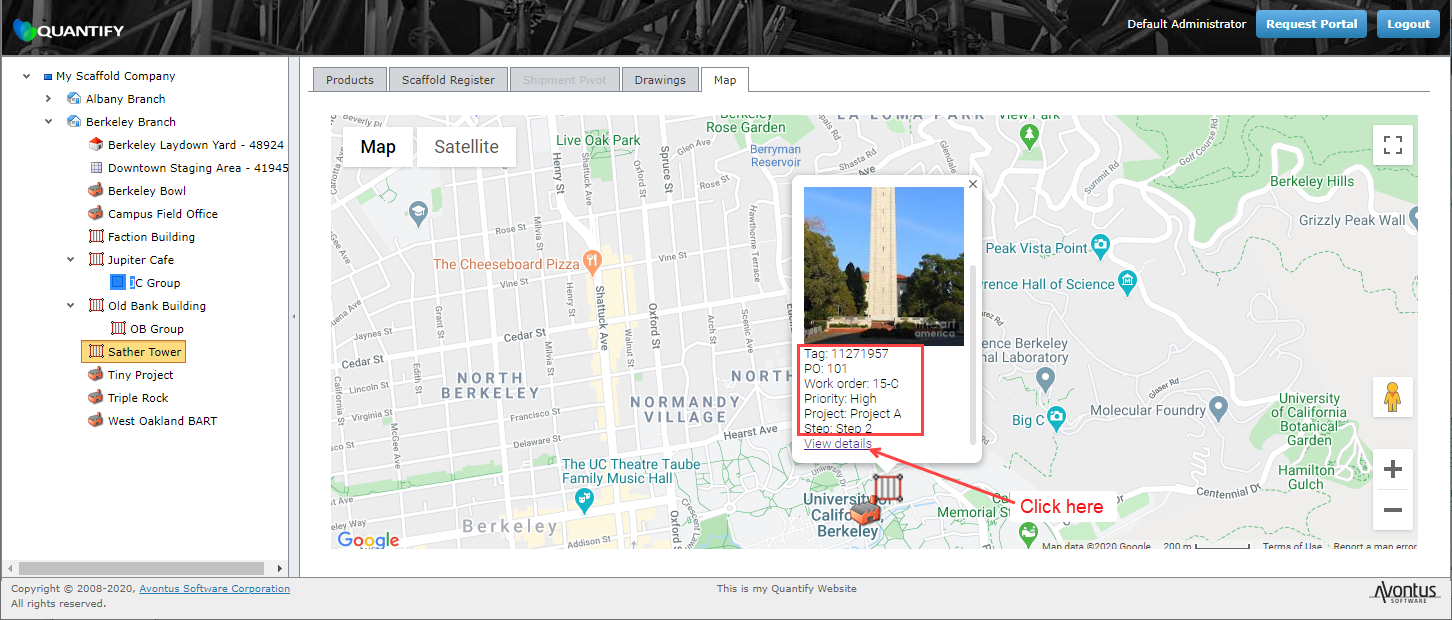
Quantify Web displays the Scaffold Tag's details.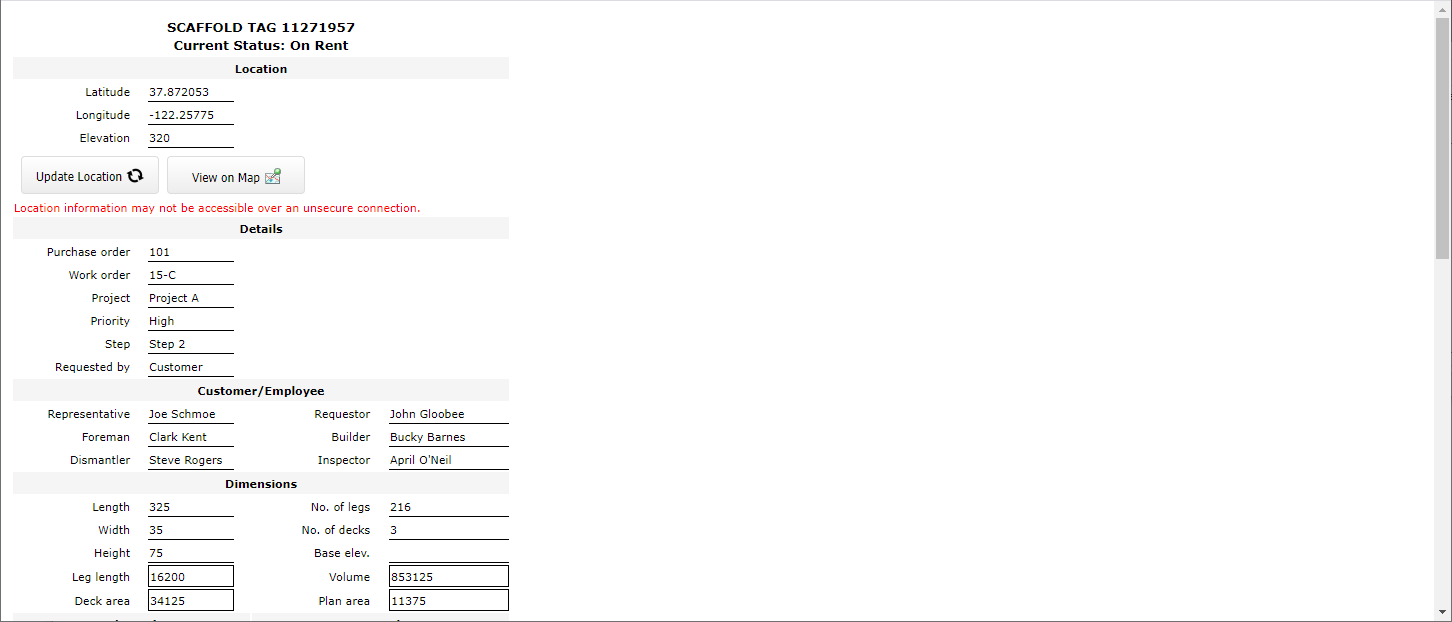
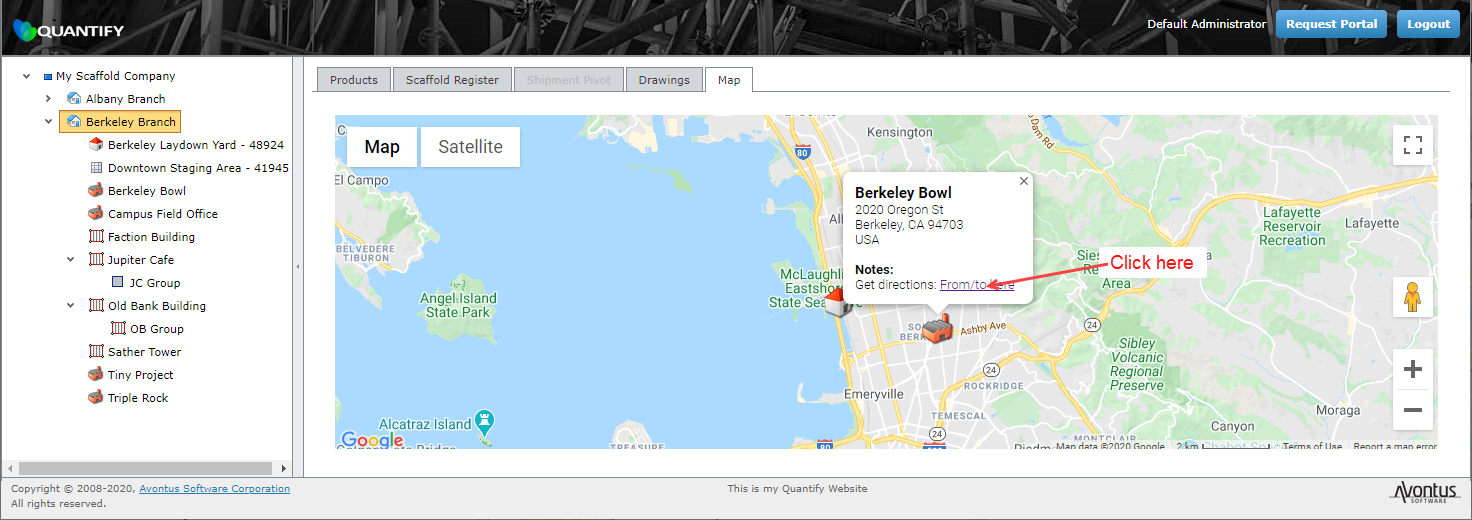
Getting Directions to/from a Location
Google Maps provides a popup that appears when you click a Job Site's icon. The popup contains a link to Google Maps that you can use to get directions to/from the Job Site.
To get directions to/from a location:
- Click the appropriate location icon.
A popup appears, displaying the Get Directions link. - To get directions to/from the location, click the From/To Here link.
Your browser launches a new tab displaying Google Maps, with the Directions sidebar active. - Click Directions.
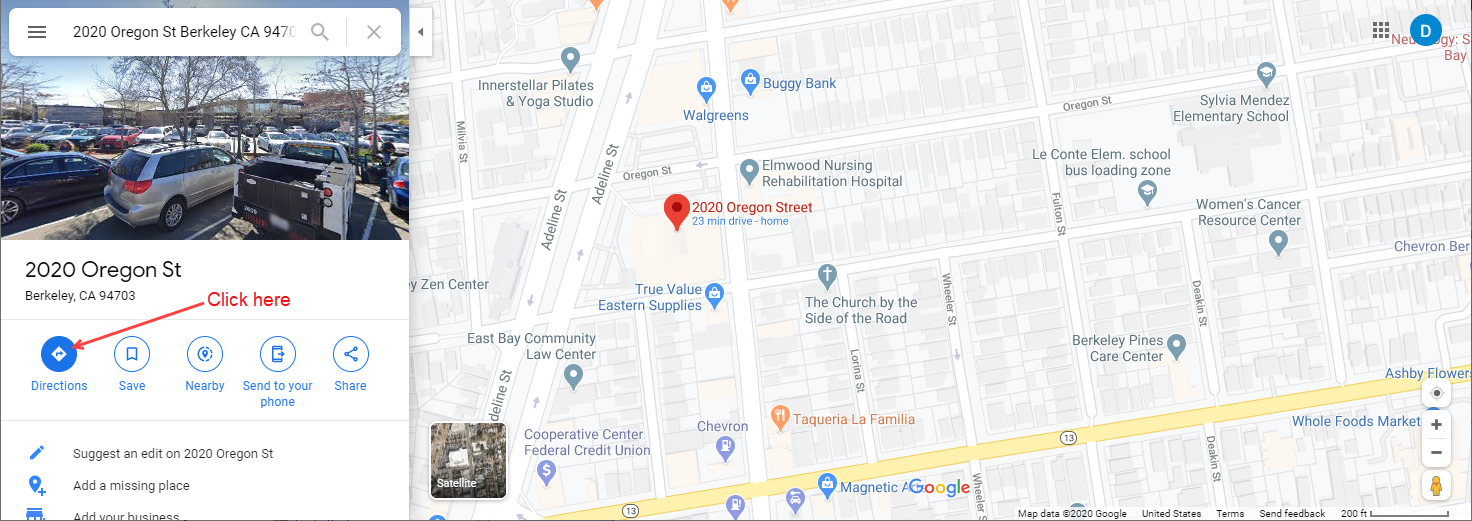
The Directions sidebar refreshes.
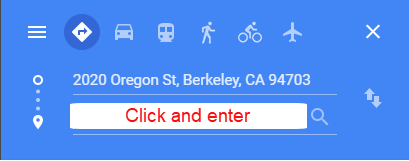
To get directions to the location:
- Click in the Choose Starting Point text field, enter the appropriate address and press the Enter key on your keyboard.

To get directions from the location:
- Click the Destination icon and drag it into the Starting Point position.
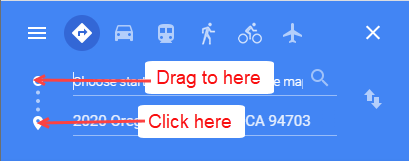
The two text field swap places. - Click in the Choose Destination text field, enter the destination address and press the Enter key on your keyboard.
Google Maps produces the directions.
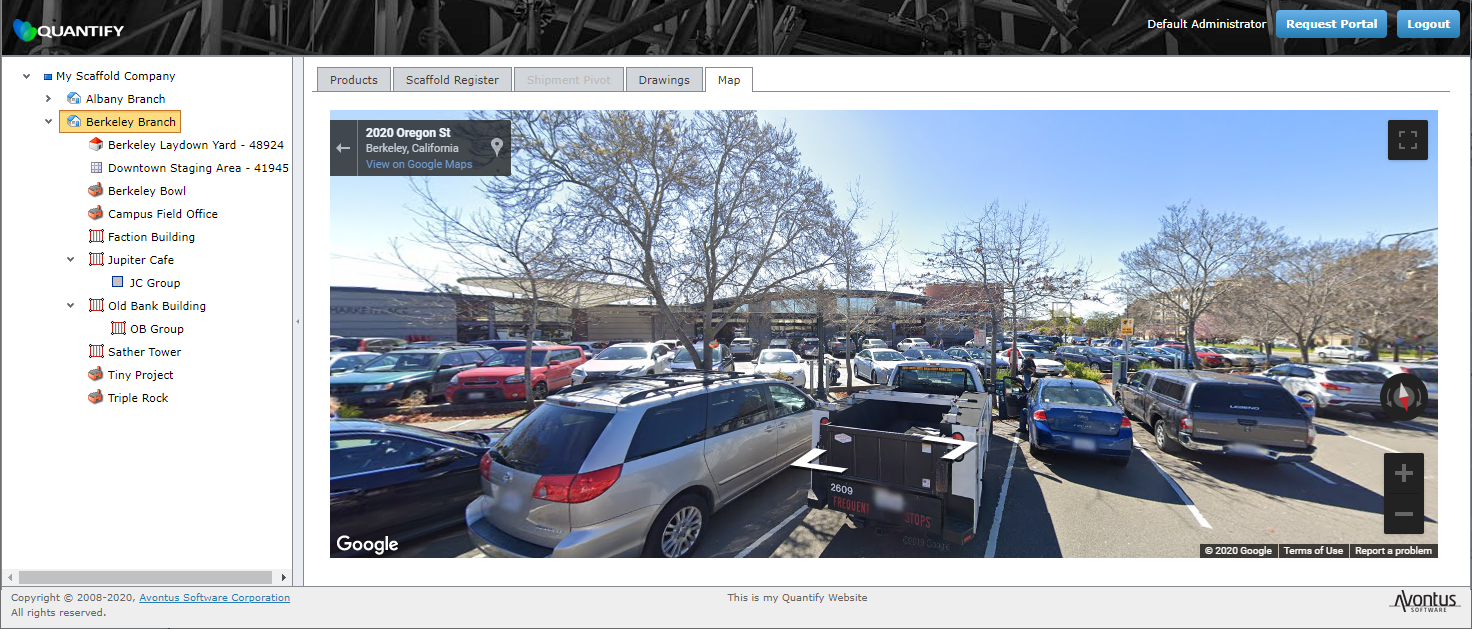
Opening Google Street View from the Map Tab
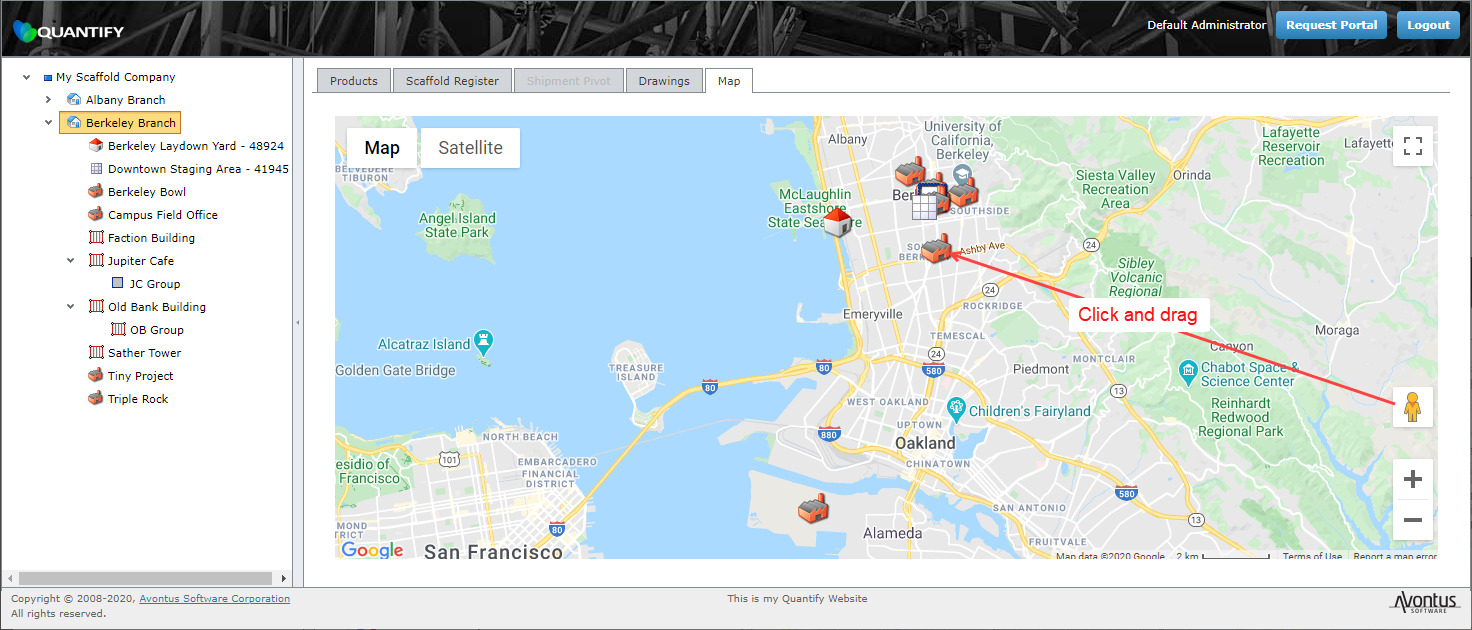
The Pegman icon in Google Maps enables you to quickly view any location in Google's Street View.
To open Google Street View from the Maps tab:
Click the Pegman icon (![]() ) and drag it onto the map location you want to view.
) and drag it onto the map location you want to view.
The Maps tab refreshes, displaying the Google Street image of the location.