This page gives you all the information you need to create a Branch Office or Sub-Branch. Branch Offices and Sub Branches have all of the same functionality. However, the Sub-Branch is a child location of a Branch Office, making them very useful for organizing the corporate structure of a company.
The Branch Office and Sub-Branch Dialogs
|
|
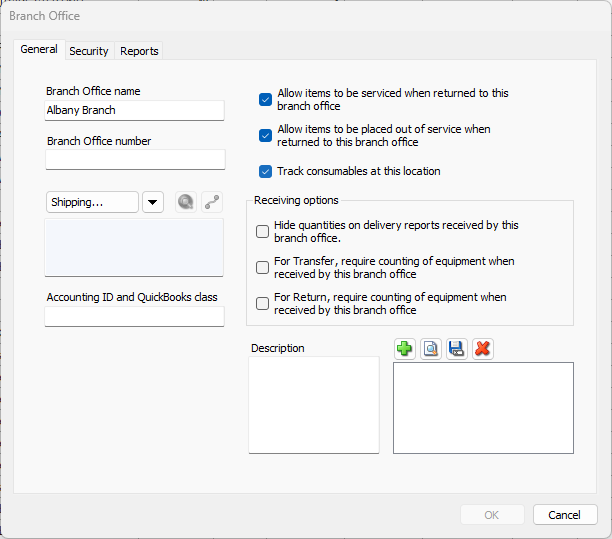
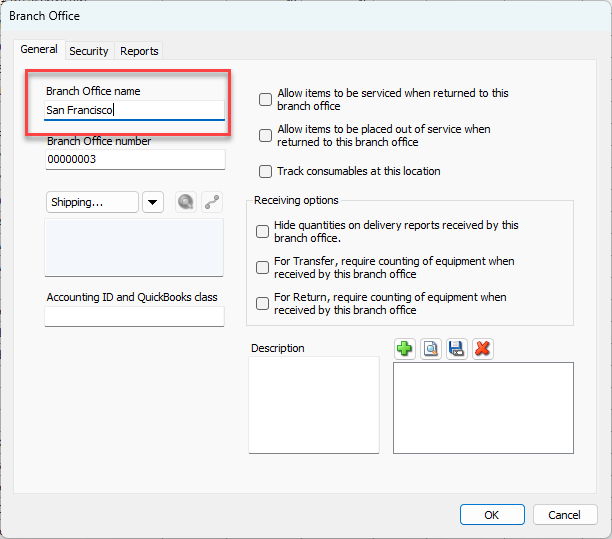
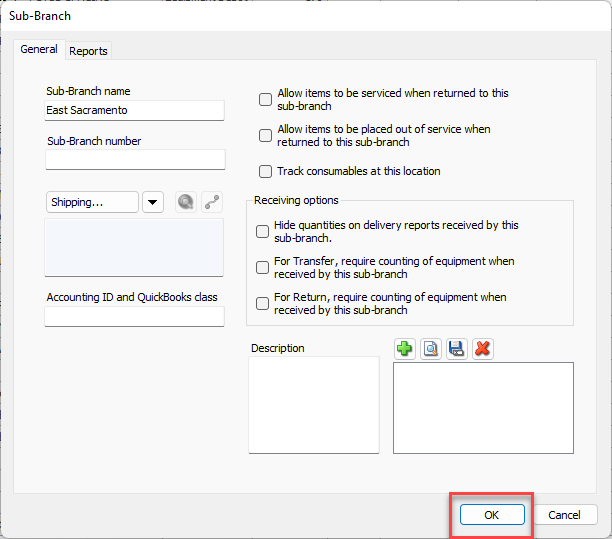
The General Tab
Branch Office Name text field | Use this text field to configure the unique name for the selected Branch Office. |
Branch Office Number text field | Use this text field to configure the unique number for the selected Branch Office. |
Shipping area | Use this area to add and manage shipping addresses for the Branch Office. This includes geolocation information. |
Accounting ID and Quickbooks Class | Quantify refers to each business unit as a Branch Office. The invoices for Job Sites under a Branch Office use this location’s accounting ID in this field. To add the accounting ID, click in the text field enter the appropriate ID. |
Allow items to be serviced when returned to this branch office checkbox | Servicing is enabled individually for each Branch Office that will service products. Use this checkbox to enable this feature for the selected Branch Office. Once the Servicing feature has been enabled, it cannot be disabled if any products are in the To Be Serviced queue. |
Allow items to be placed out of service when returned to this branch office checkbox | Use this checkbox to enable/disable tracking Out of Service items for the selected Branch Office. Once you have enabled the Out of Service feature, it cannot be disabled if Out of Service items exist in the Out of Service queue. |
Track Consumables at this location checkbox | Use this checkbox to enable/disable the shipping of consumable items to job sites associated with the selected Branch Office or Sub Branch. You can enable Consumable tracking when you create a Branch Office or you can enable it for existing Branch Offices. When you enable consumable tracking for a Branch Office, Quantify adds a Consumables node to the Branch Office. You can then view the inventory of consumable items when you click the Consumables node and the Consumables tab. |
Hide quantities on delivery reports received by this branch office checkbox | When this checkbox is checked, Quantify hides quantities on specific reports for returns. The reports will show what was received, but not the quantities. |
For Transfer, require counting of equipment when received by this branch office checkbox | When this box is checked, transfer shipments go into in-transit mode and are not immediately moved to a new location. A Quantify user must verify whether the amounts are accurate or not and complete the shipment. |
For Return, require counting of equipment when received by this branch office checkbox | When this box is checked, return shipments go into in-transit mode and are not immediately moved to a new location. A Quantify user must verify whether the amounts are accurate or not and complete the shipment. |
Description text field | Use this text field to enter a short description of the selected Branch Office. |
Attachments area | Use this area to upload, view, save and delete attachments for the selected Branch Office. |
The Security Tab
To learn about the Security tab, refer to the Branch Office Location-Based Security section of the Location-Based Security.
The Reports Tab
Reports logo area | Use the features in this area to upload a logo to use in reports for the select Branch Office. |
Billing notes area | Click in the Notes on Invoices text field and enter the note you want to appear on invoices created for the select Branch Office. |
Adding a Branch Office or Sub Branch
You can only add a Branch Office to a Corporate Structure and only as many as your license allows.
To add a Branch Office
Click the appropriate Corporate Structure in the Organization Tree.
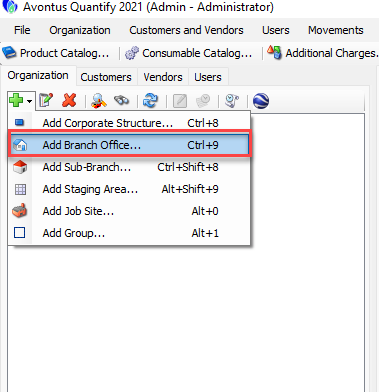
Click the Add button
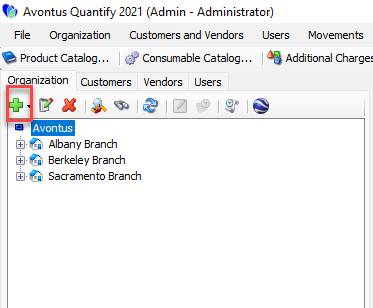
Select Add Branch Office from the dropdown that appears.
The Branch Office dialog appears. Branch Office Name is the only required field.Click in the Branch Office Name text field and enter the name of the new Branch Office.
As necessary, enter any other information you have. To understand where to enter it, refer to the tables above.
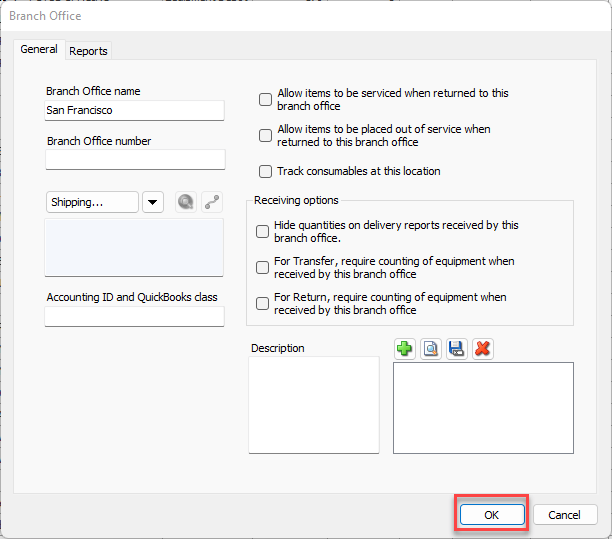
Click OK .
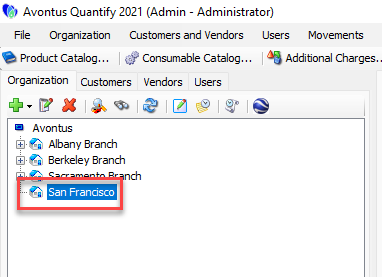
The new Branch Office appears in the list of entities.
Adding a Sub Branch
You can only add a Sub-Branch to a Branch Office and only as many as your license allows.
To add a sub Branch:
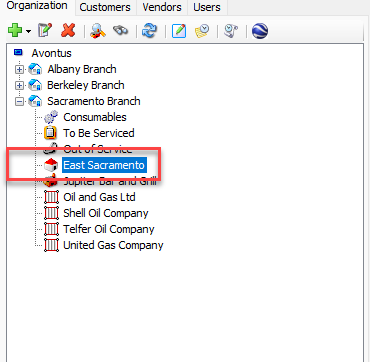
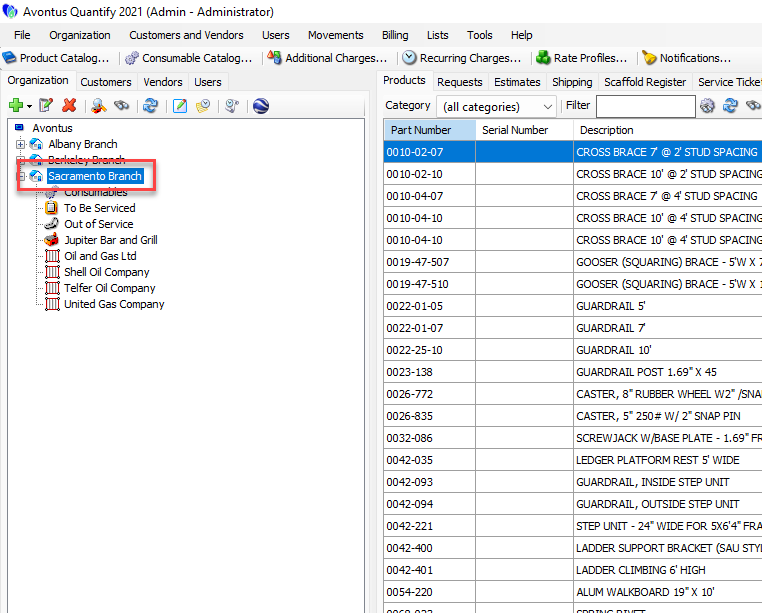
Click the appropriate Branch Office in the Organization Tree.
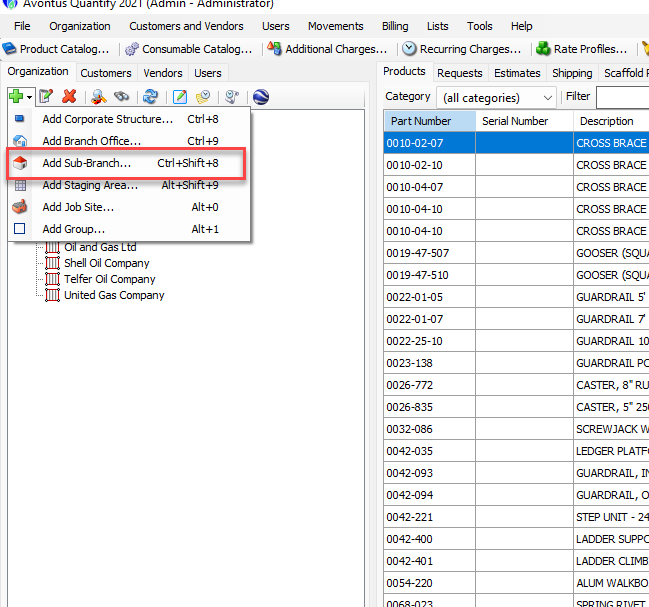
Click the Add button
Select Add Sub-Branch Office from the dropdown that appears.
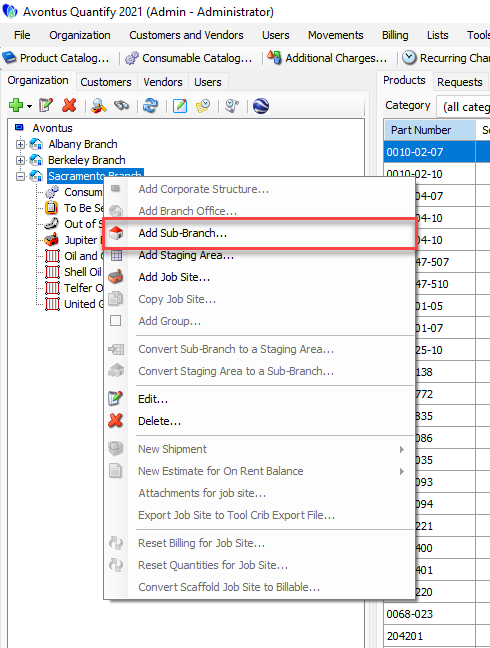
You can also right-click and select Add Sub-Branch
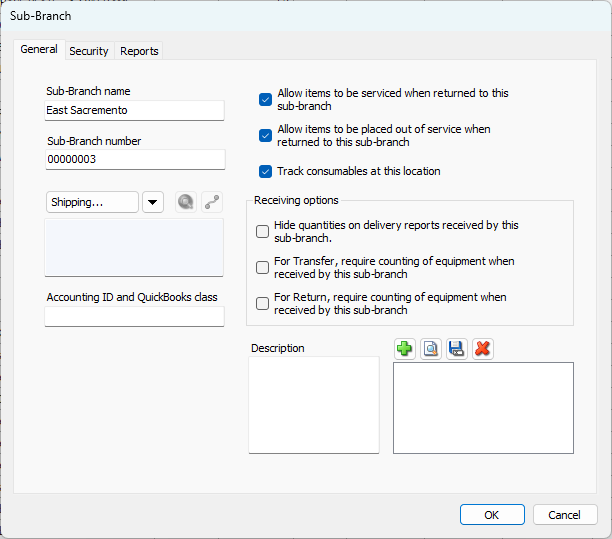
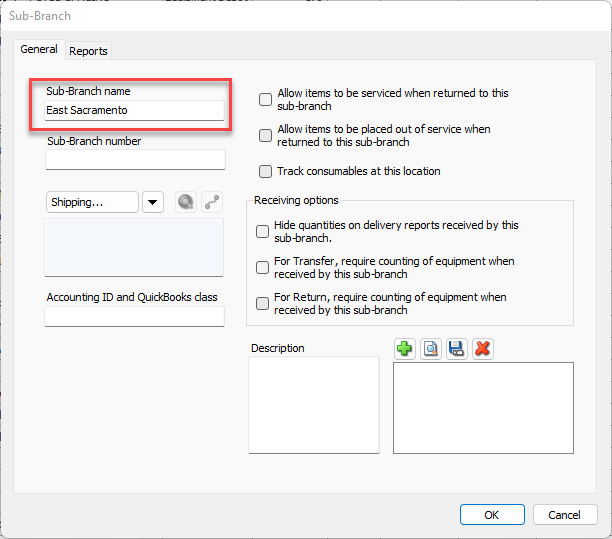
The Sub Branch dialog appears. The Sub-Branch Office Name is the only required field.Click in the Sub-Branch Office Name text field and enter the name of the new Sub-Branch Office.
As necessary, enter any other information you have. To understand where to enter it, refer to the tables above.
Click OK.
The new Sub Branch appears in the list of entities.