You can add a credit to a billable Job Site at any time. Quantify will include manually-added credits in future invoicing for the Job Site.
To add a credit to a Shipment for future invoicing:
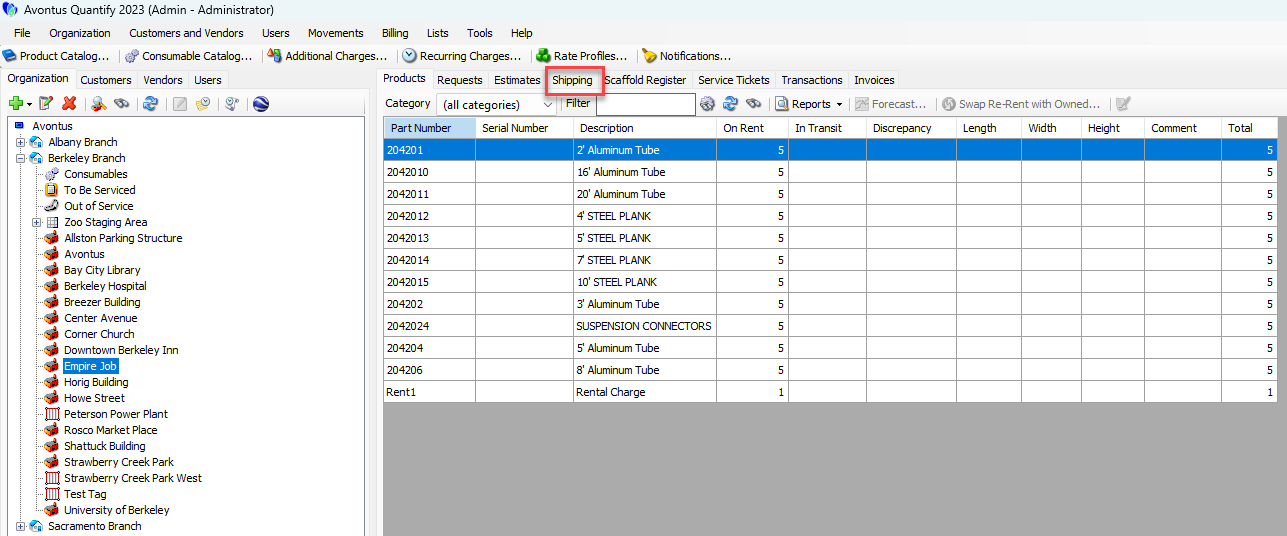
Locate and click the appropriate Job Site or Group and click the Shipping tab.
.gif)
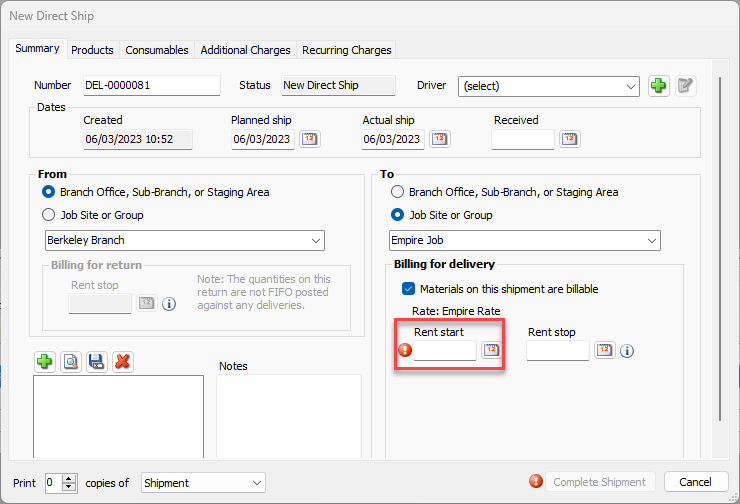
In the Summary tab, click the Rent Start calendar icon (
 ).
).
Quantify uses the date you select when generating invoices.
A calendar appears.
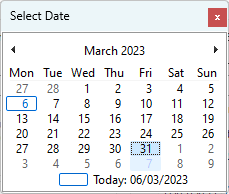
Locate and click the appropriate date.
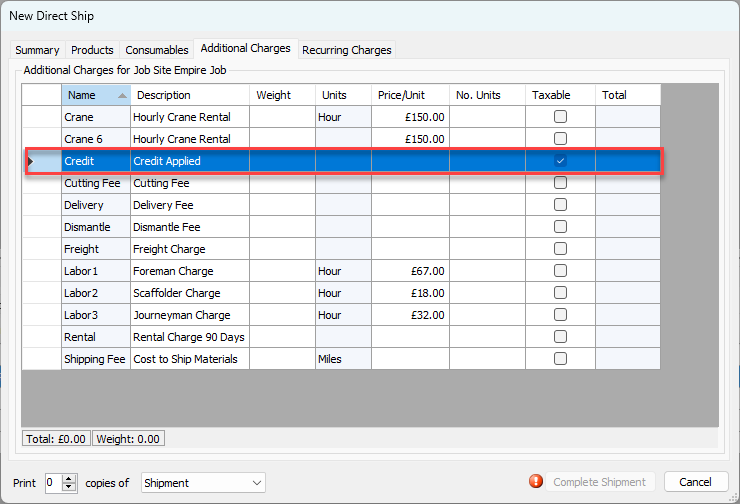
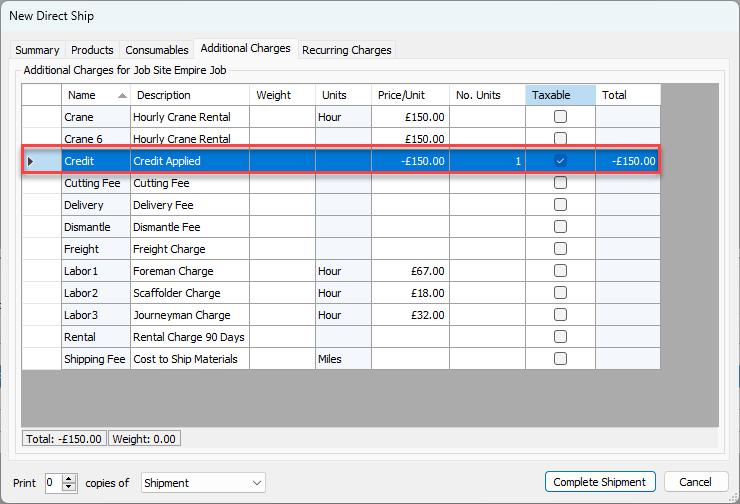
Products are not required to send a Shipment and you may skip the Products tab.Click the Additional Charges tab.

Locate and click the appropriate charge.
This charge must allow negative prices. For information about setting up Additional Charges for use as Credits, refer to the Adding an Additional Charge for Credit section of Working with Additional Charges.
As necessary:Click in the Description text field and edit the description as necessary.
This description will be included on Invoices and other reports.
Note: This must be enabled through the Global Options dialog.Click in the cell in the charge's Price/Unit column and enter a negative amount.
Click in the cell in the charge's No. Units column and enter 1 if this amount is not multiplied.
Click the checkbox in the charge's Taxable column (to put a check in it) if this credit is for taxable items or services.
This will reduce the amount of taxes charged on the Invoice
Complete any other required fields.
Click Complete Shipment.
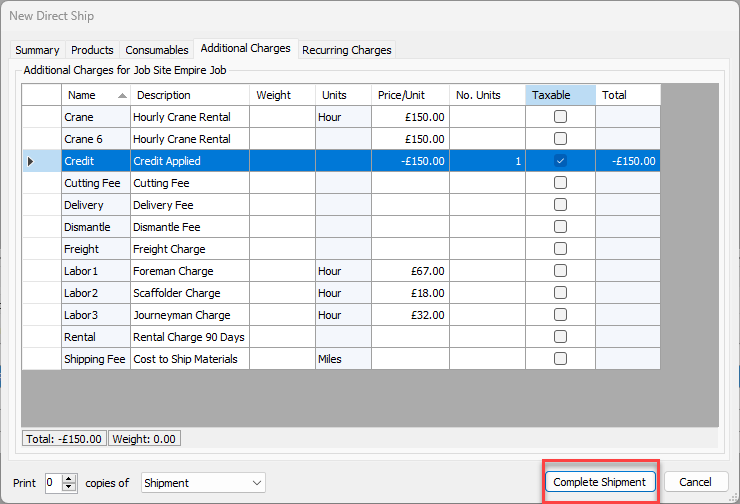
Based upon the Shipment's rent start date, Quantify includes the credit to future invoicing and reduces the total of the Invoice.