This help article shows you how to add hatch deck access to a Ladder Bay. However, to do that, you first must add a Hatch Deck Access material to your material list. So, this article also shows you how add the appropriate material, should you need to. Once you do that, you can add a hatch deck to a Ladder Bay.
Adding Hatch Deck Material by Importing a Catalog
Avontus Designer makes it easy for you to import a catalog.
To add hatch deck material by importing a catalog:
Navigate to the Backstage and click Material Master.
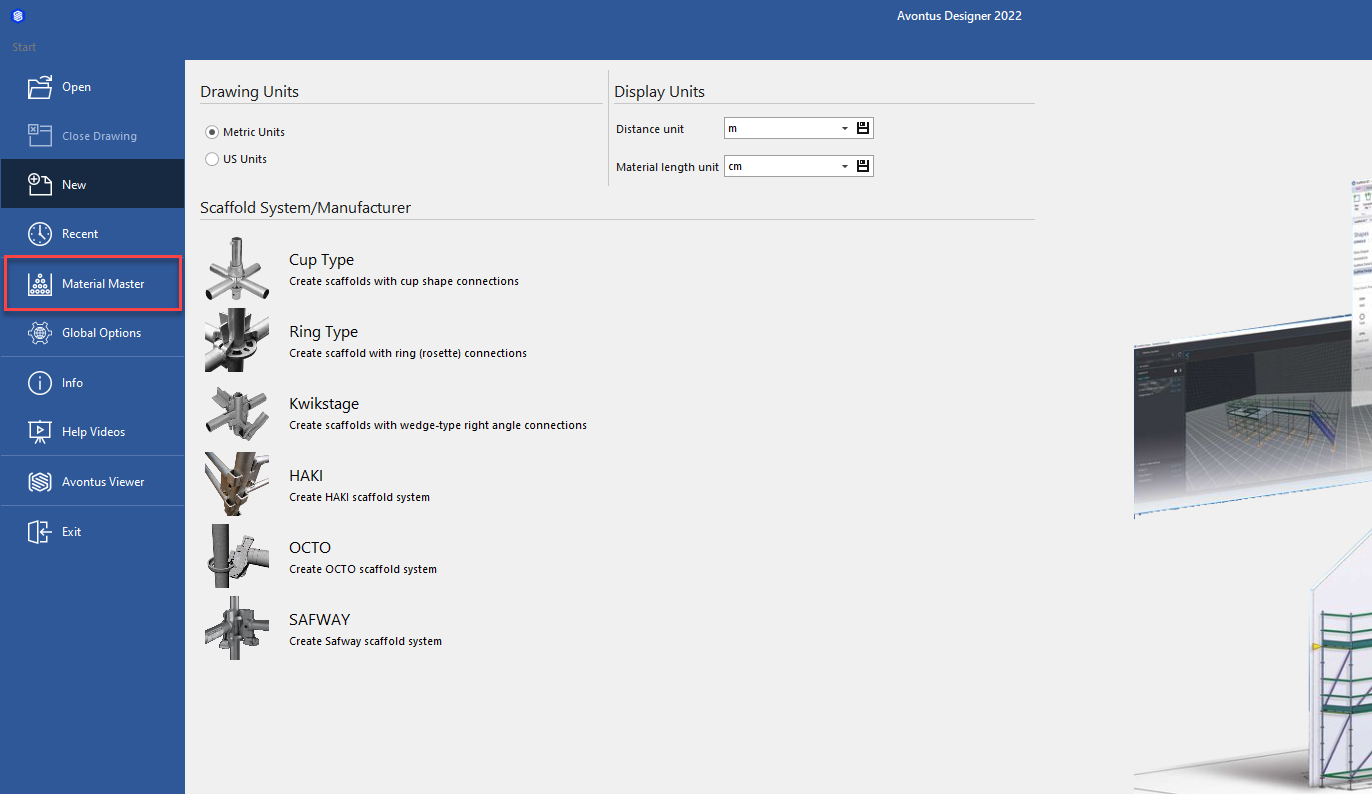
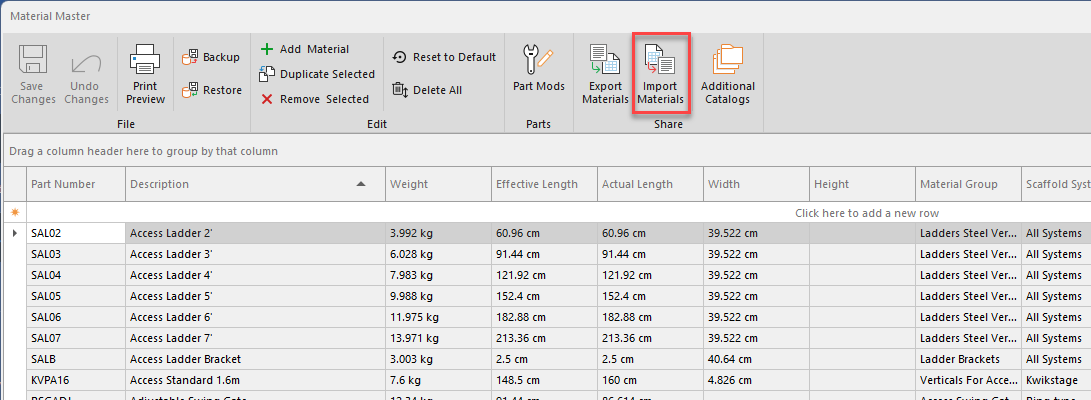
The Material Master appears.Click Additional Catalogs.
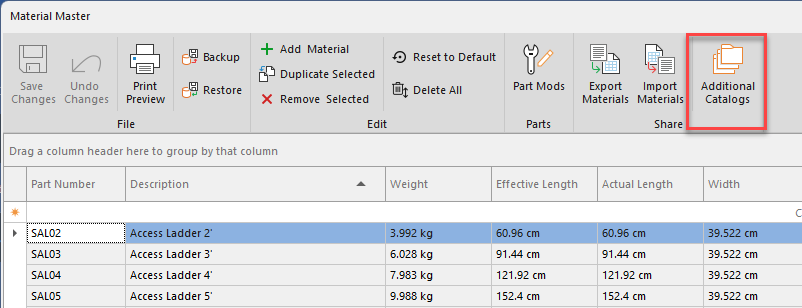
Your default web browser launches and displays the Manufacturer Catalogs page on the Avontus website.Locate and click Download Catalog on the appropriate manufacturer
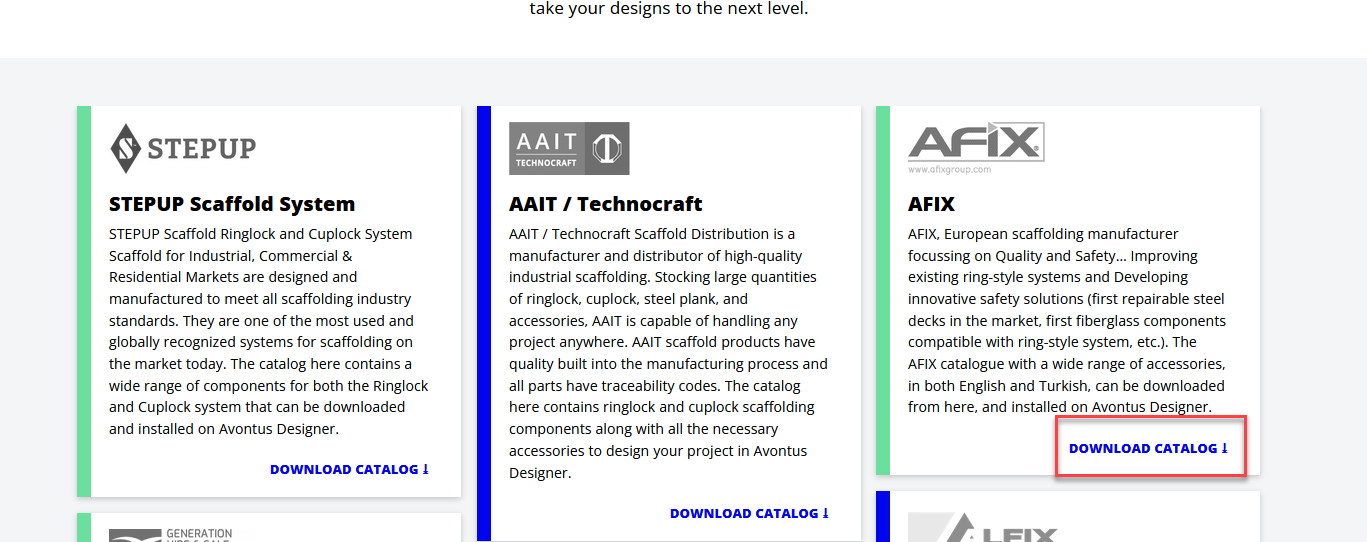
Your web browser downloads the catalog in .zip format.Extract the file
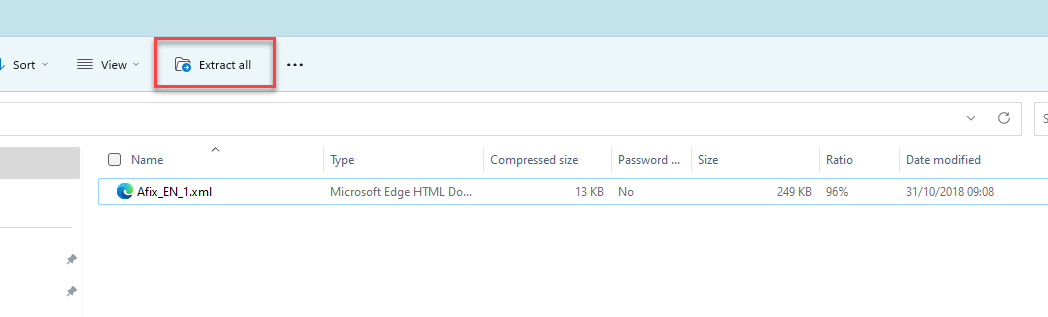
Return to the Material Master and click Import Materials.
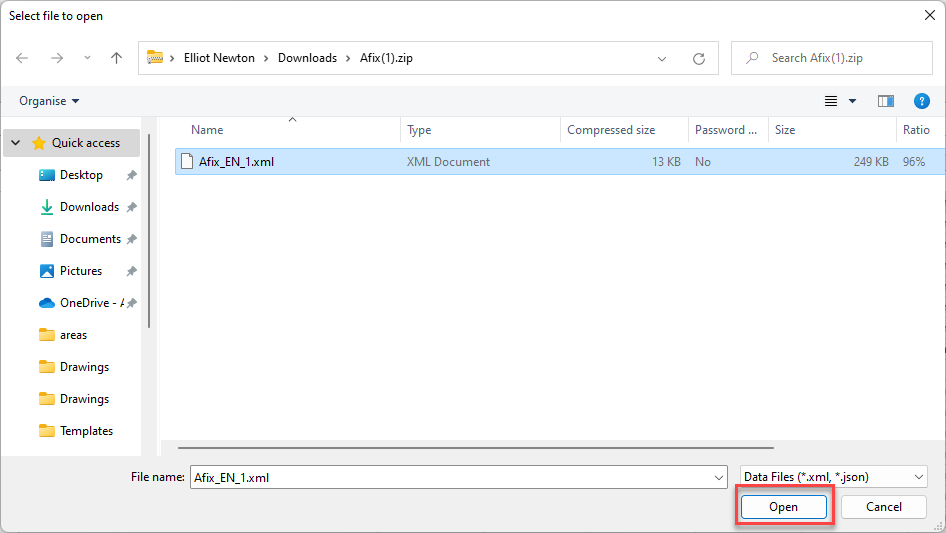
The Select File to Import dialog appears.
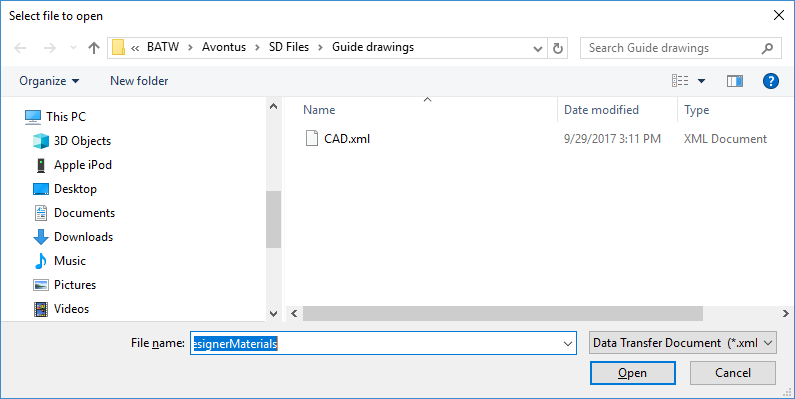
Navigate to correct folder and import file by double-clicking or selecting the file and clicking Open
Avontus Designer imports the catalog into the Material Master, making the hatch deck material available to you.Select to replace the existing Ring-Type or combine with existing Ring-type

Manually Adding a Hatch Deck Material
Avontus Designer makes it easy for you to manually add hatch deck material to the Material Master.
To manually add hatch deck material:
Navigate to the Backstage and click Material Master.
The Material Master appears.
For more information about the Material Master, refer to About the Material Master.
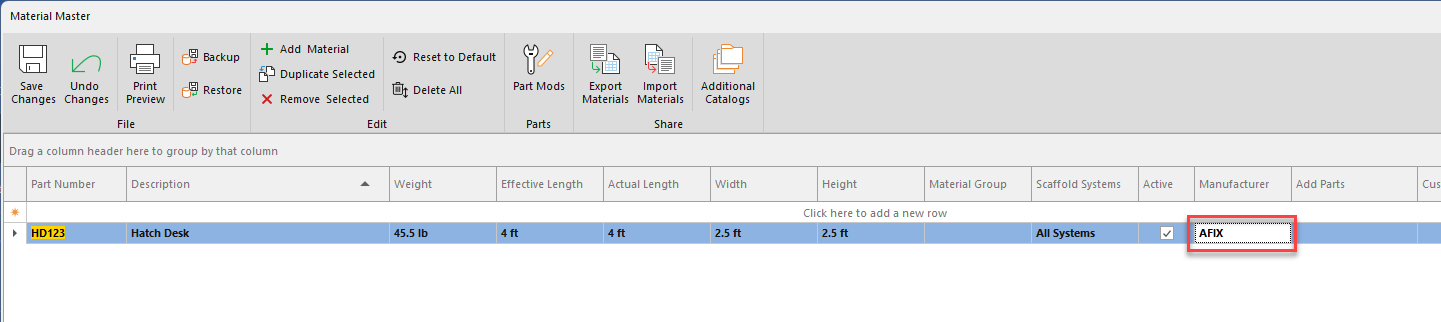
As necessary:Click in the following cells in the top row and enter the following information for the new hatch deck material.
Part No. - enter the part number for the new hatch deck material
Description - enter a description of the new hatch deck material
Weight - enter the weight of the new hatch deck material
Effective Length - enter the effective length of the new hatch deck material - this needs to match that bay that it will be used with.
Actual Length - enter the actual length of the new hatch deck material
Width - enter the width of the new hatch deck material
Height - enter the height of the new hatch deck material
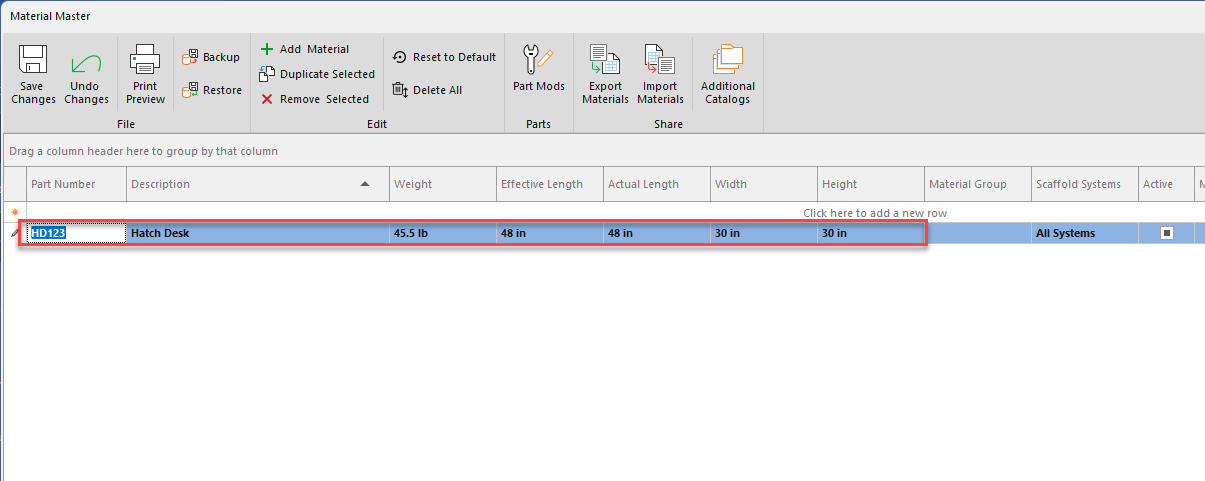
Click the Material Group dropdown and select Access Decks Alum-Plywood or Access Decks All-Alum, whichever is appropriate.
Click the Supporting System dropdown and select the appropriate scaffolding system.
Make sure the Active checkbox is checked.
Click in the Manufacturer cell and enter the name of the materiel's manufacturer.

Click the arrow in the Custom Options cell and add a custom option.
Note: For a complete list of Custom Options properties and effective values, refer to the Custom Options Index section of Adding, Editing, Duplicating, Activating/Deactivating and Removing Material.
The Custom Optionspopup appears.Click the Name dropdown and select the appropriate name.
Click in the Value text field and enter the value for the new item
Add more options as needed by clicking in the available row and repeating the above two steps.
You can delete an option by selecting it and clicking Delete.Click OK.
Add any further information if required
Click Save in the top-left corner of the Material Master when you are done.

Adding a Hatch Deck to a Ladder Bay
Once you have added a hatch deck access material, you can use the Scaffold Ladders dialog to add it to a Ladder Bay.
To add a hatch deck to a Ladder Bay.
Click the appropriate Ladder Bay in the Drawing Page, to select it.
Click the Scaffold tab and click Ladders.
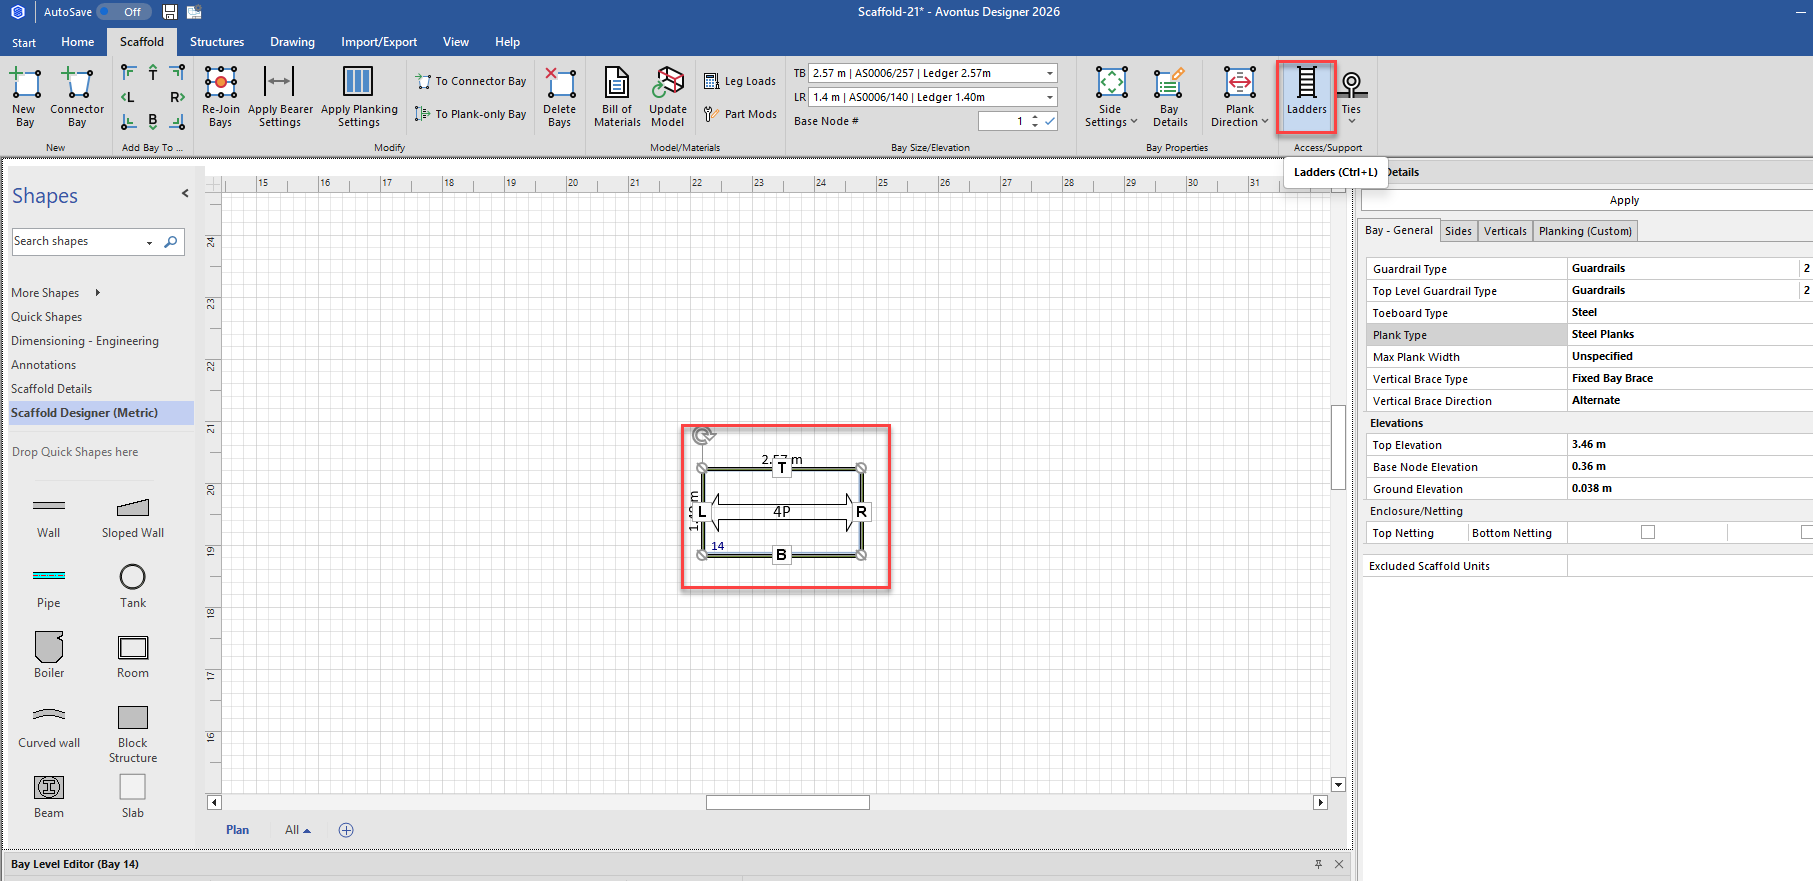
The Scaffold Ladders dialog appears.Click the Inclined Ladder Type radio button.
Click the Inside access type dropdown and select Access Deck with Hatch Door.
Make any other configurations necessary. For information on the rest of the settings, refer to Ladders
Click OK
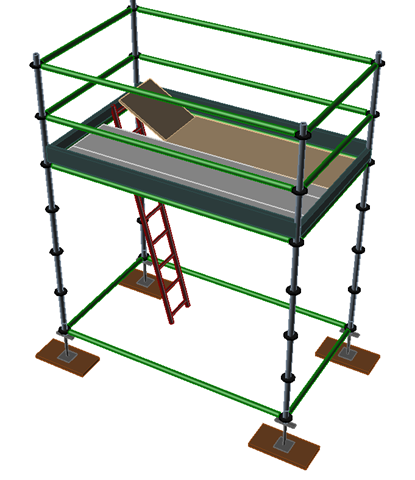
This is the result