The procedures in this section of the Avontus Designer help show you how to fill a Pipe with a cantilevered Bay that has one access ladder.
Create the Pipe
In the first steps, you must add a Pipe to the Drawing Page and define its dimensions.
To create the Pipe:
Add a Pipe to the Drawing Page and double-click it
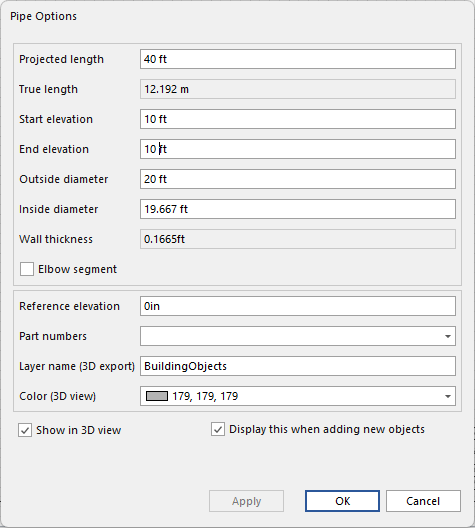
The Pipe options will appear automatically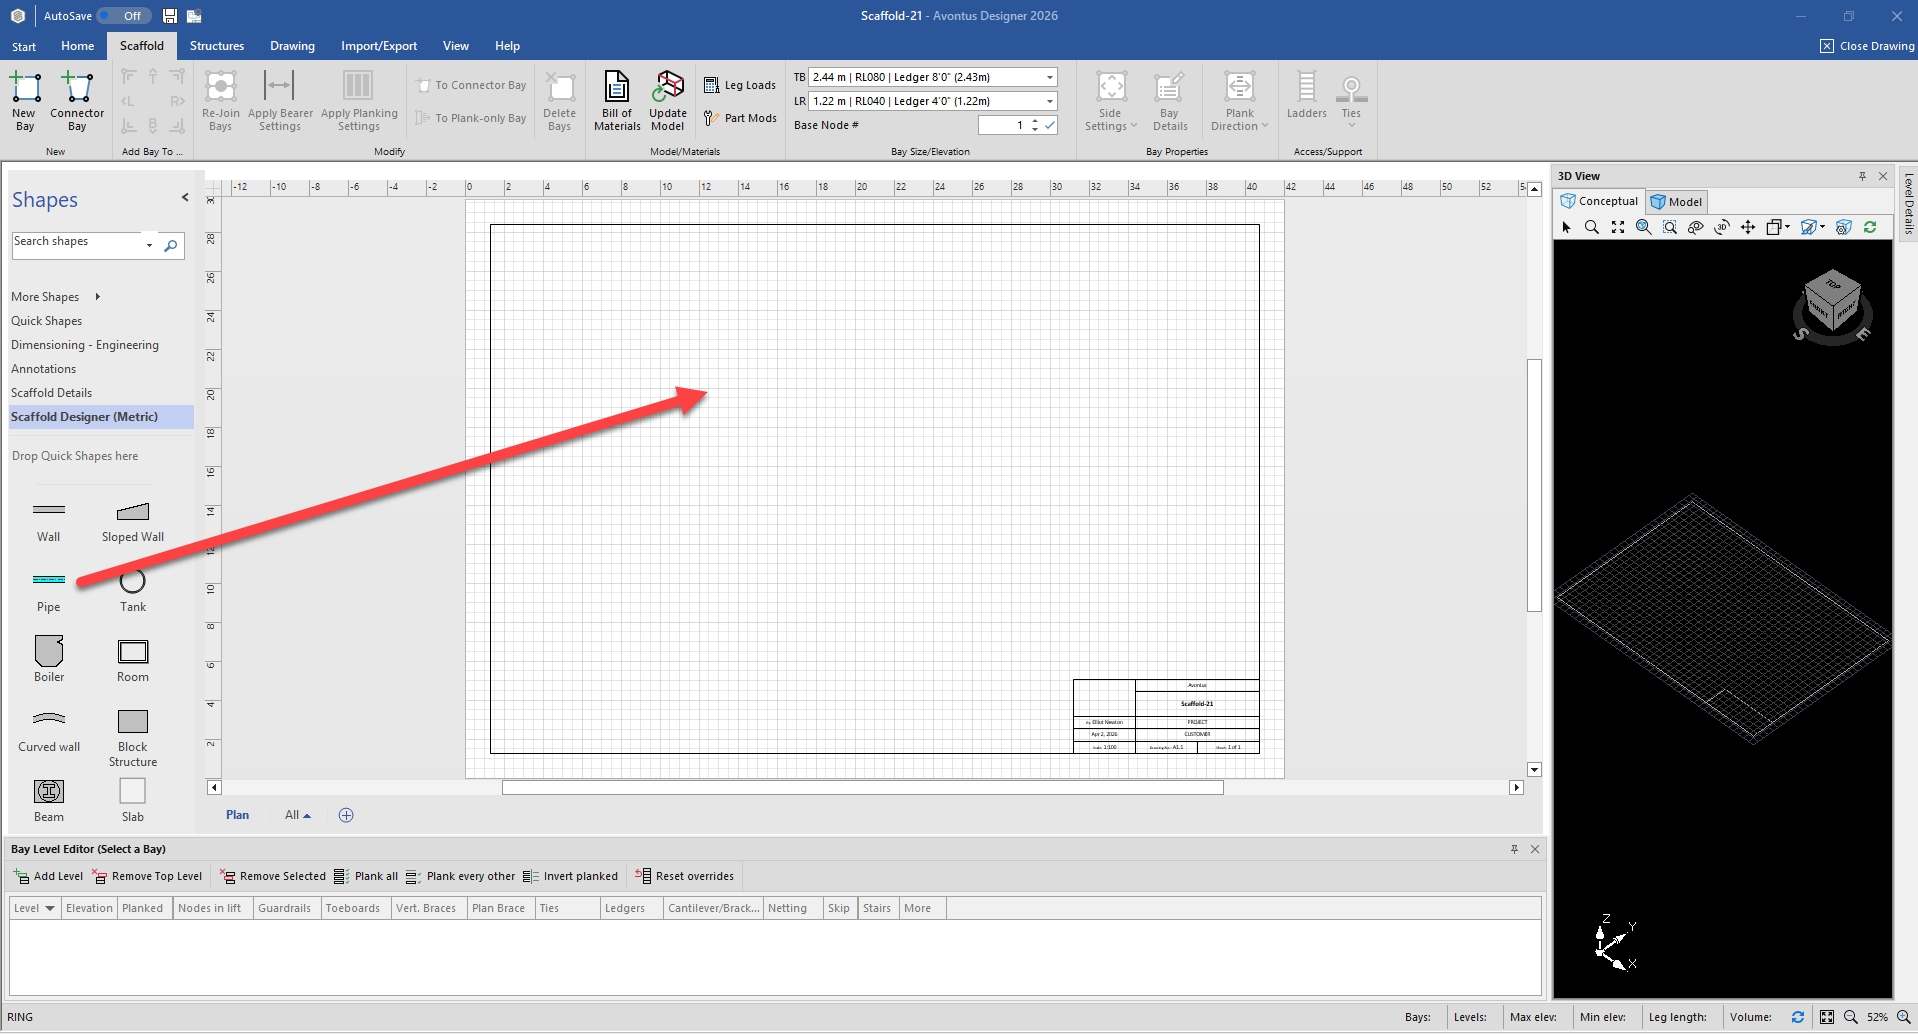
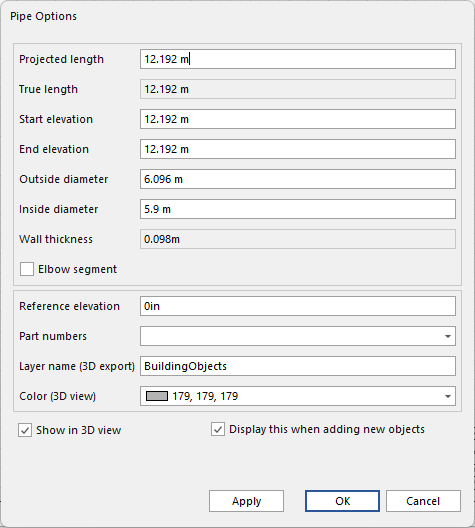
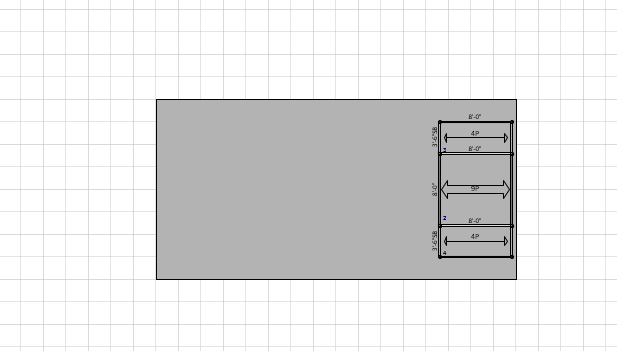
Enter the dimensions for the Pipe.
Click OK
The Drawing Page refreshes, displaying the Pipe's new dimensions.

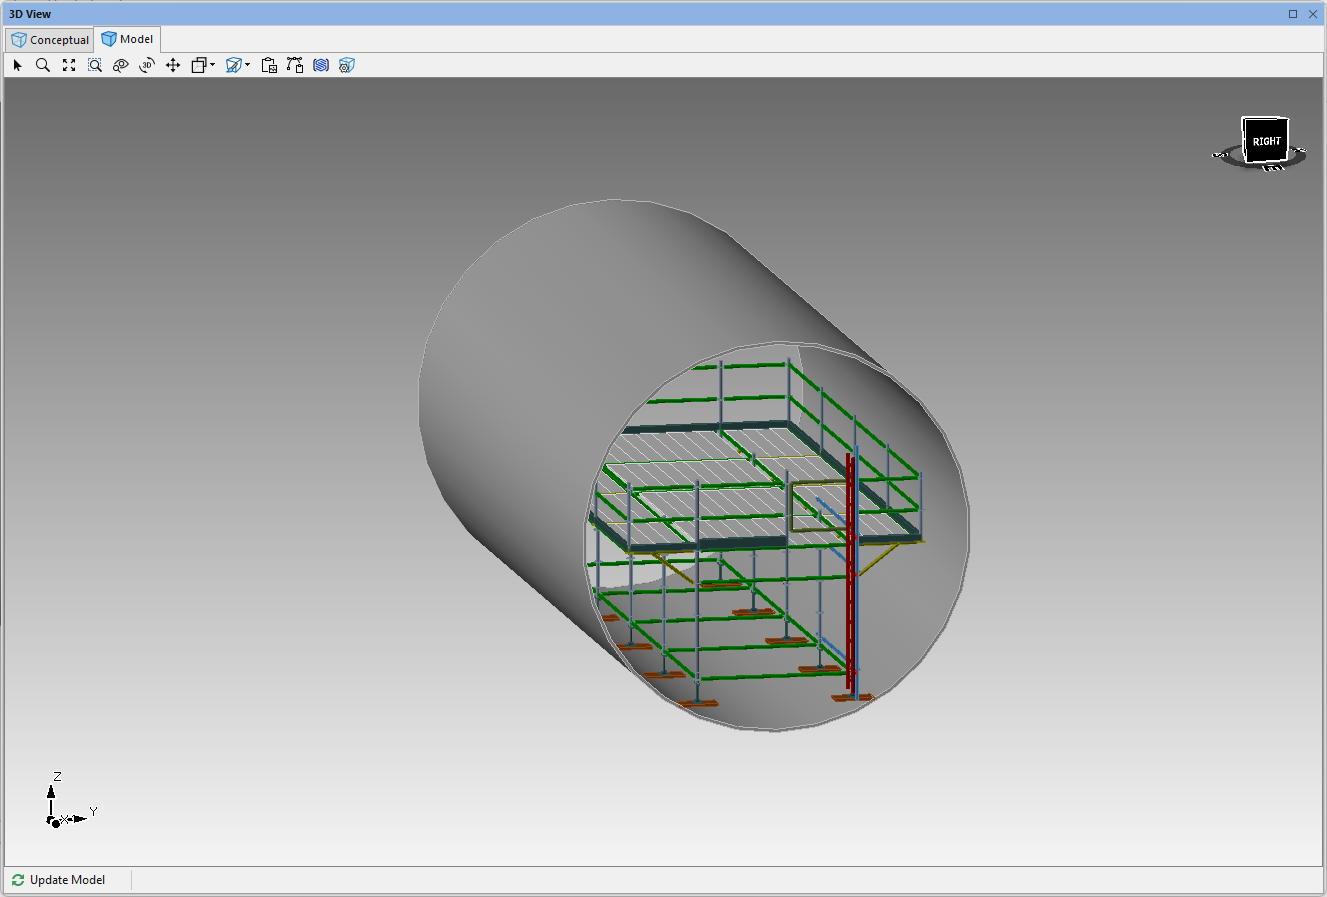
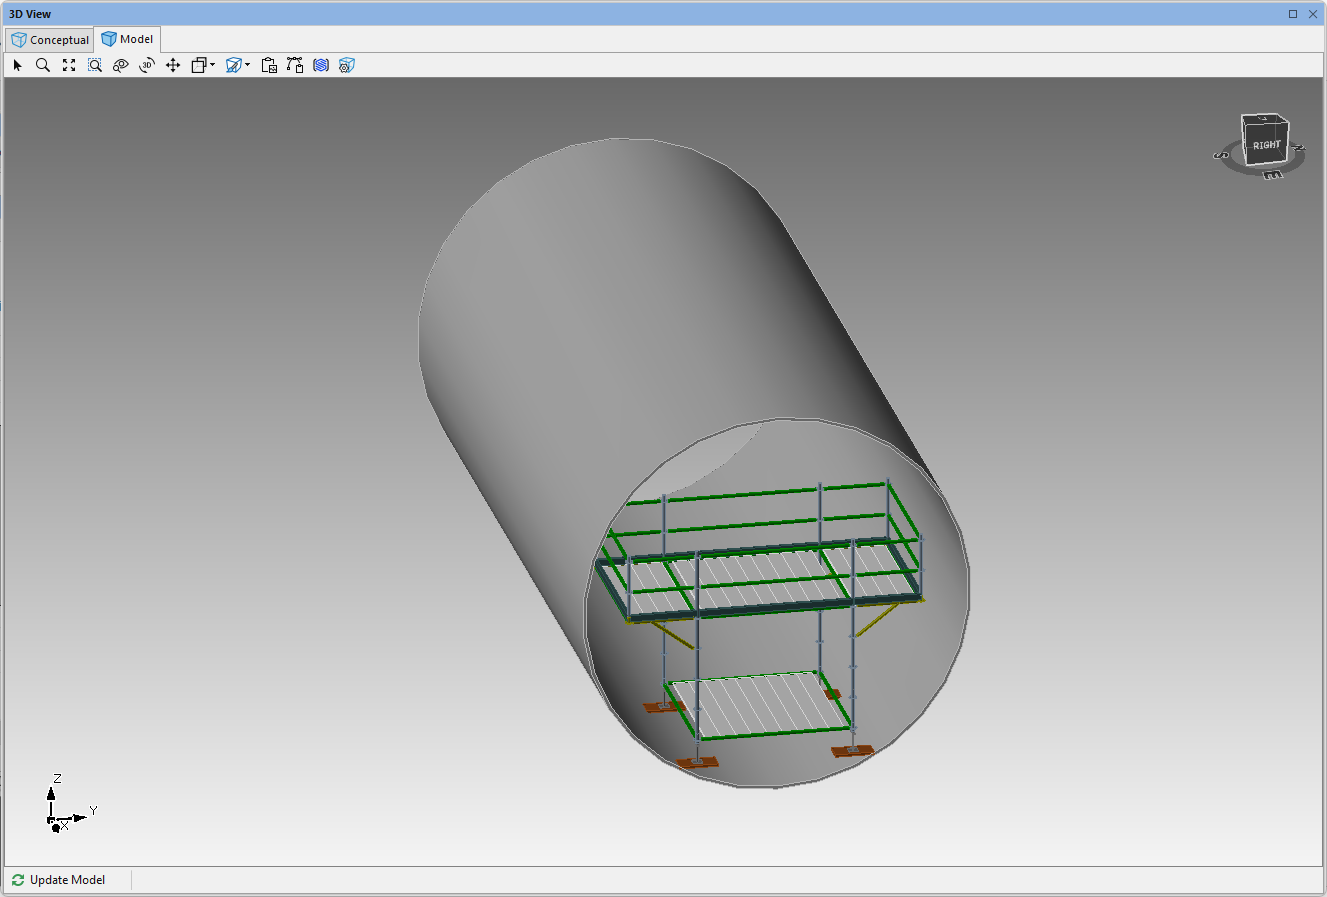
The 3D Model will look like this.
Place a Bay within the New Pipe
The next steps are to place a Bay within the Pipe.
To place a Bay within the new Pipe:
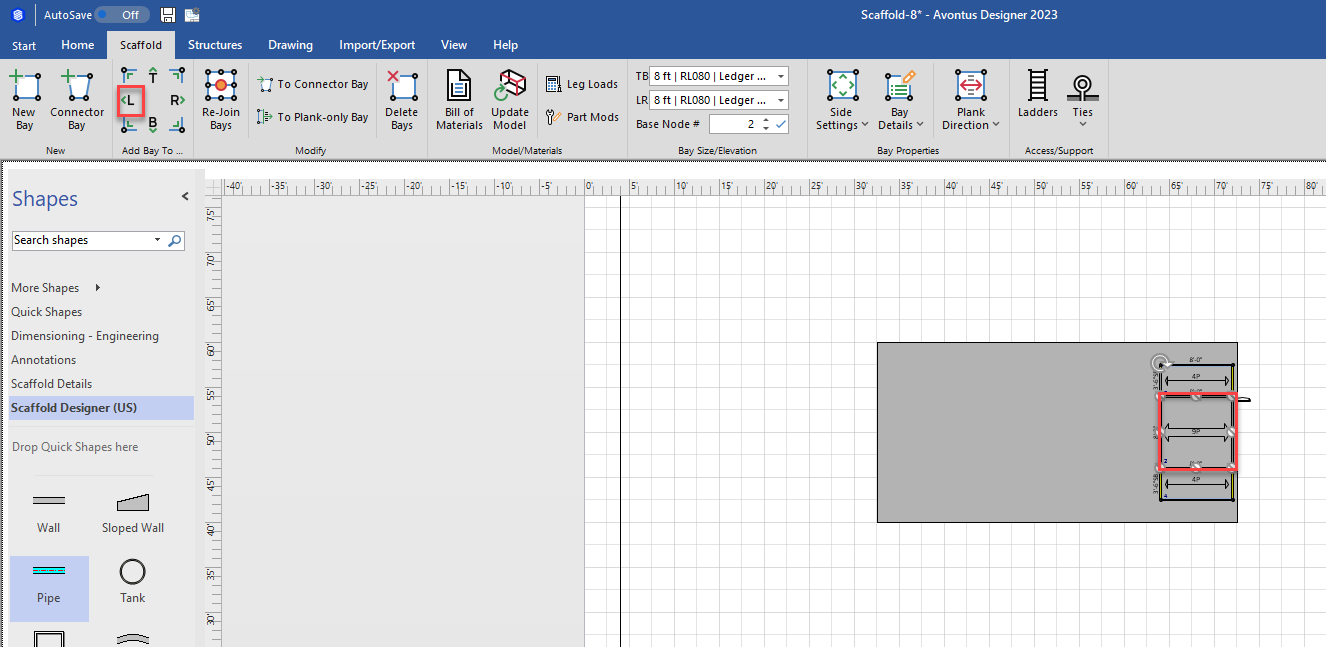
Add a Bay to the Drawing Page and place it inside the Pipe in the center of the right edge.
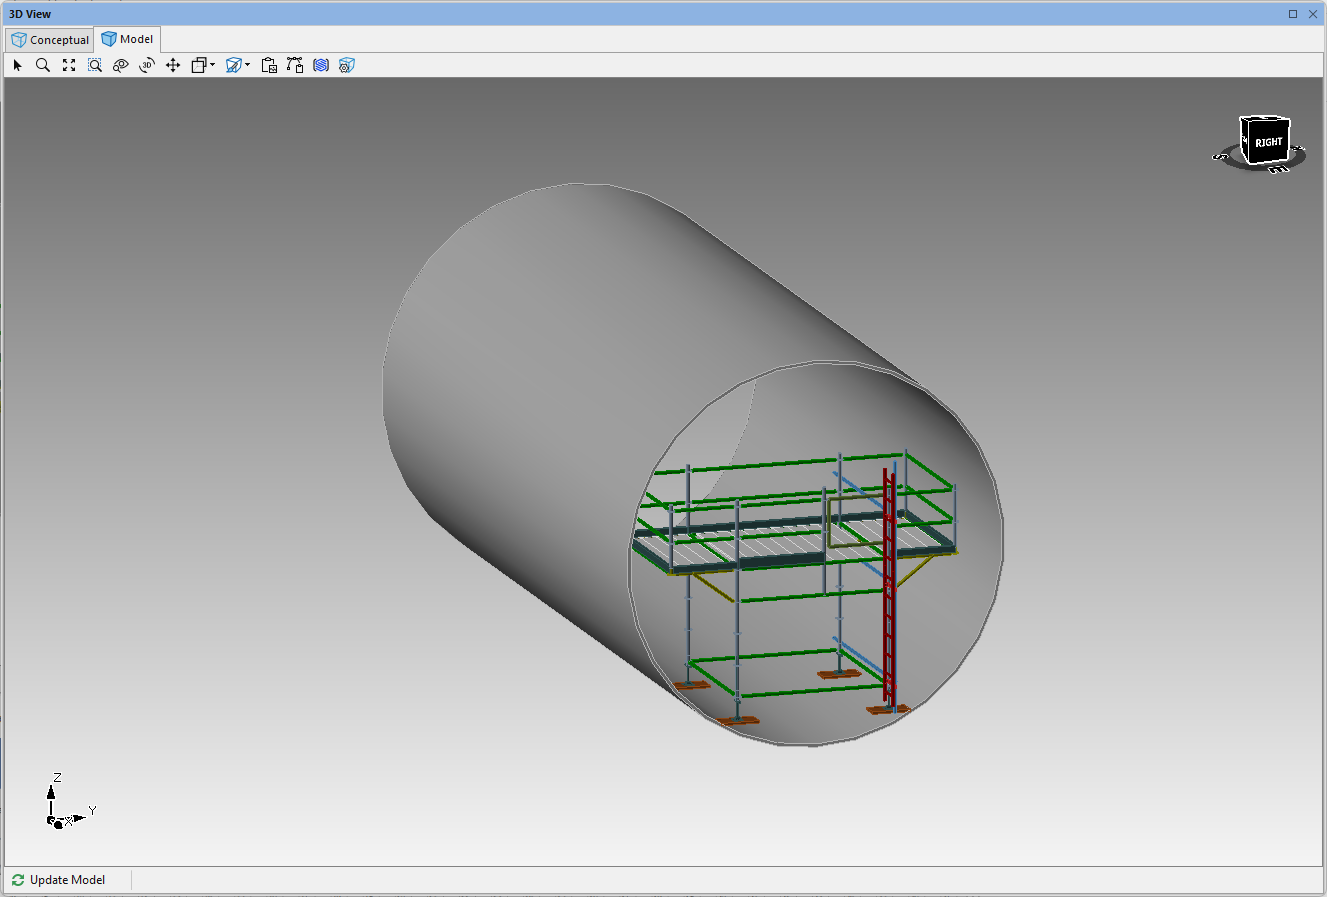
The result looks like this in the 3D View dialog.
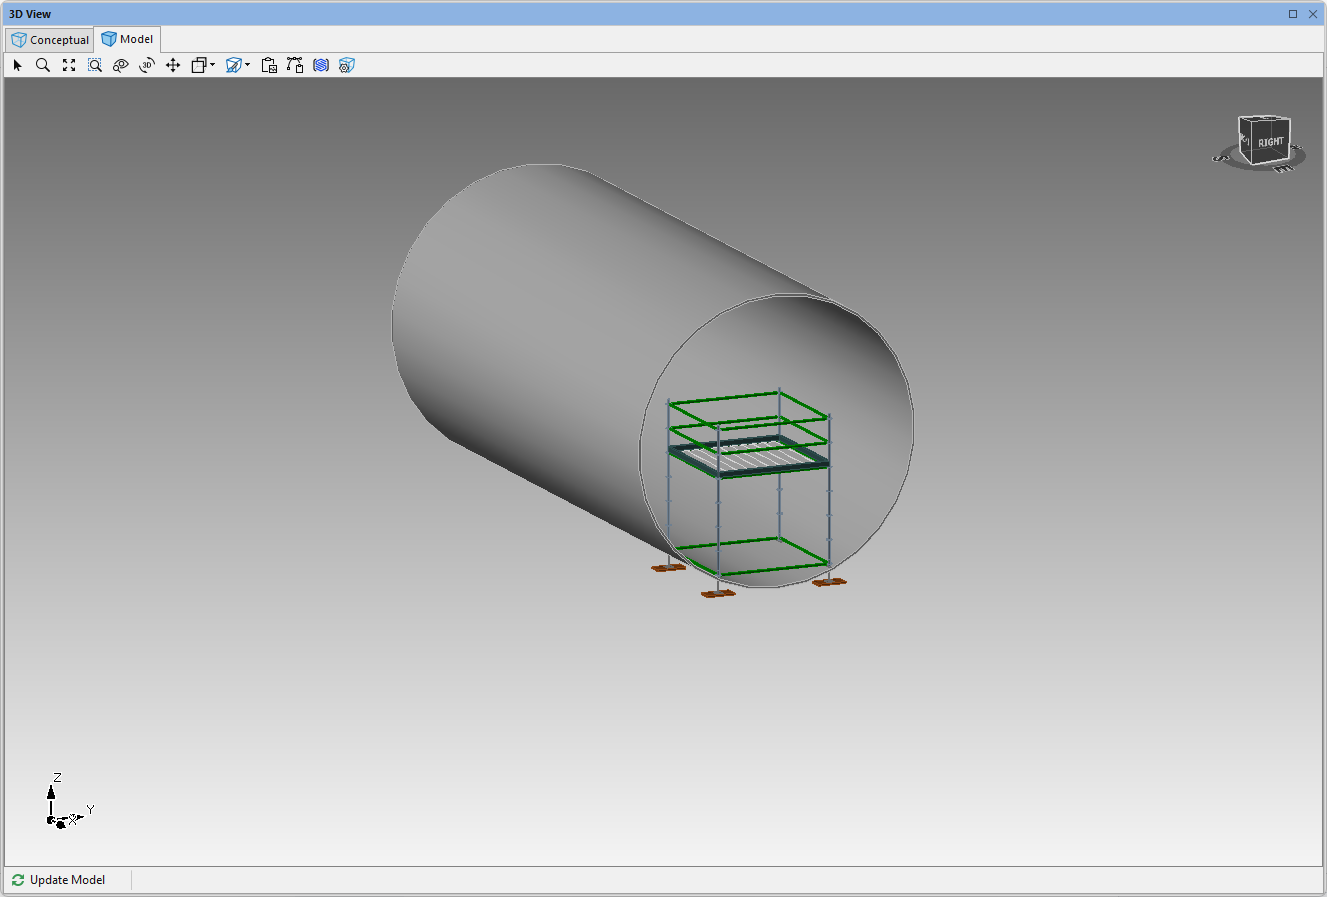
The Bay's legs protrude beneath the Pipe wall. You must raise the Bay up so that it is completely inside the Pipe.Click the Bay, to highlight it.
Click the Bay Details tab
Click the General tab, click in the Ground Elevation text field and enter the appropriate elevation
Click Apply

Note: You may have to do this a few times to get the elevation correct.
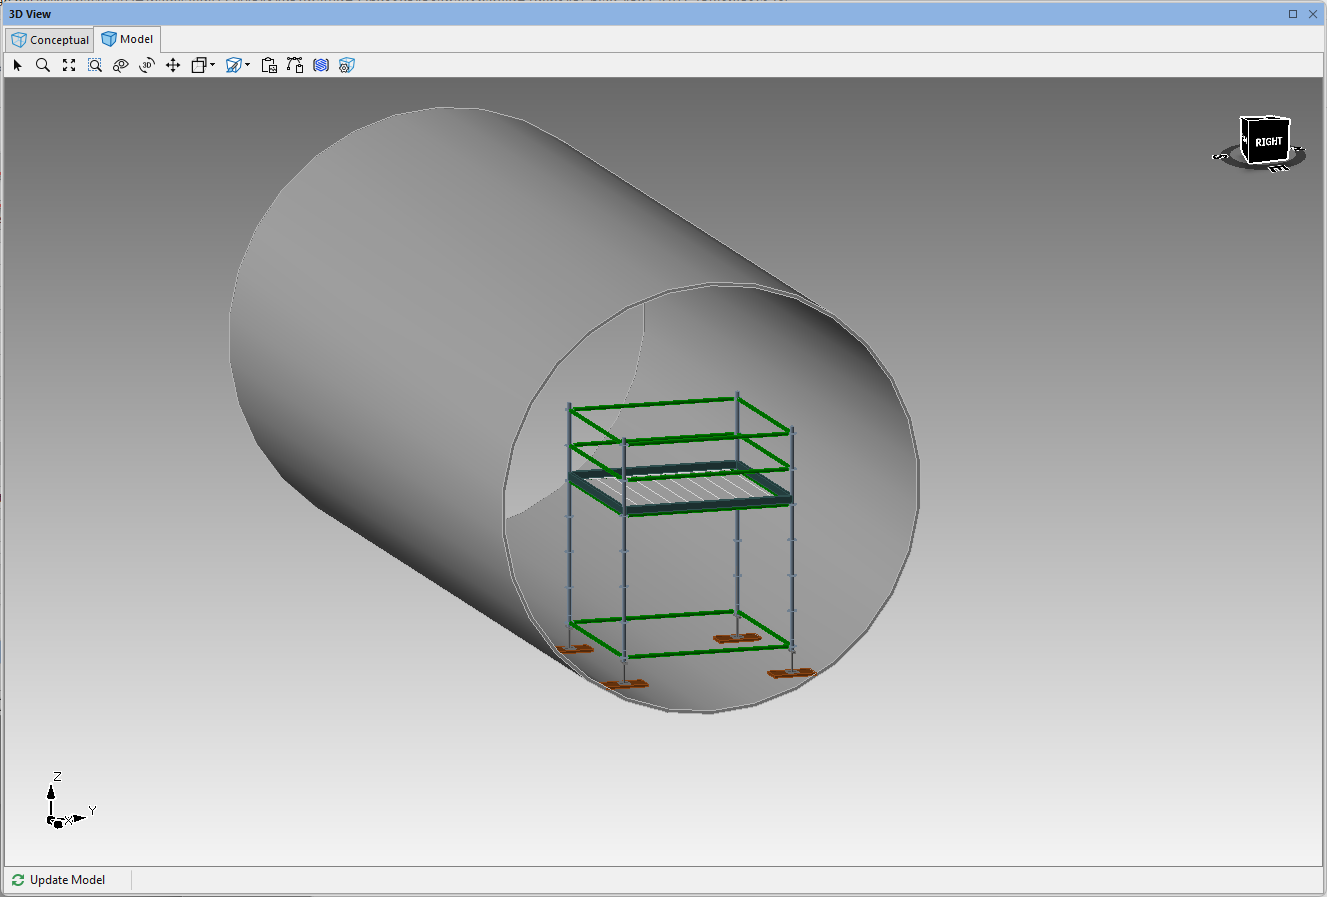
The result should look something like this:
Configure the Bay
Now you will configure the Bay as needed.
Click the Bay, to select it.
Click the checkbox in the Planked column of the bottom Bay, to put a check in it.
Click the Level 1 row, then click the Cantilever/Bracket dropdown and click the T and B arrows. This adds side brackets to the top and bottom sides of the Bay.
Click the tick icon.
The design page will look like this:
The result looks like this:
Click the center Bay, to highlight it.
Click the Scaffold tab, then click Bay Details.

The Bay Details dropdown appears.Click the Verticals tab.
Click the All dropdown in the Base Type row and select Swivel Screw Jack
Click Apply
.gif)
Finish Up: Add a Ladder and Duplicate the Bay
In the last steps, you will add a ladder, then create enough duplicates of the Bay to fill up the length of the Pipe.
To finish up:
Click the center Bay, to highlight it.
Click the Scaffold tab and click Ladders.
The Scaffold Ladders dialog appears.Click the Start Bay Side dropdown and select R-side.
Click the Right Side Alignment radio button.
Click the Ladder Placement dropdown and select First Outside
Click the Perpendicular Ladder Angle radio button.
Click the Add Ladders radio button, and click Apply.
Click OK

Avontus Designer adds the ladder. The result should look like this:
Click the Bay and in the Scaffold tab, select L on Add Bay to Side
Finally, repeat the above step on the L side of each new Bay until necessary
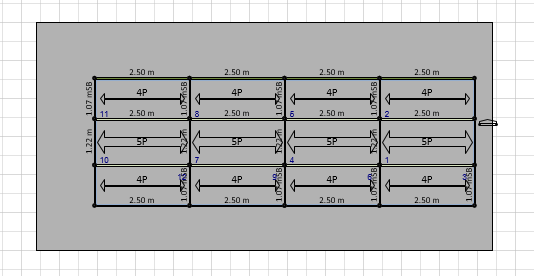
The result looks like this.