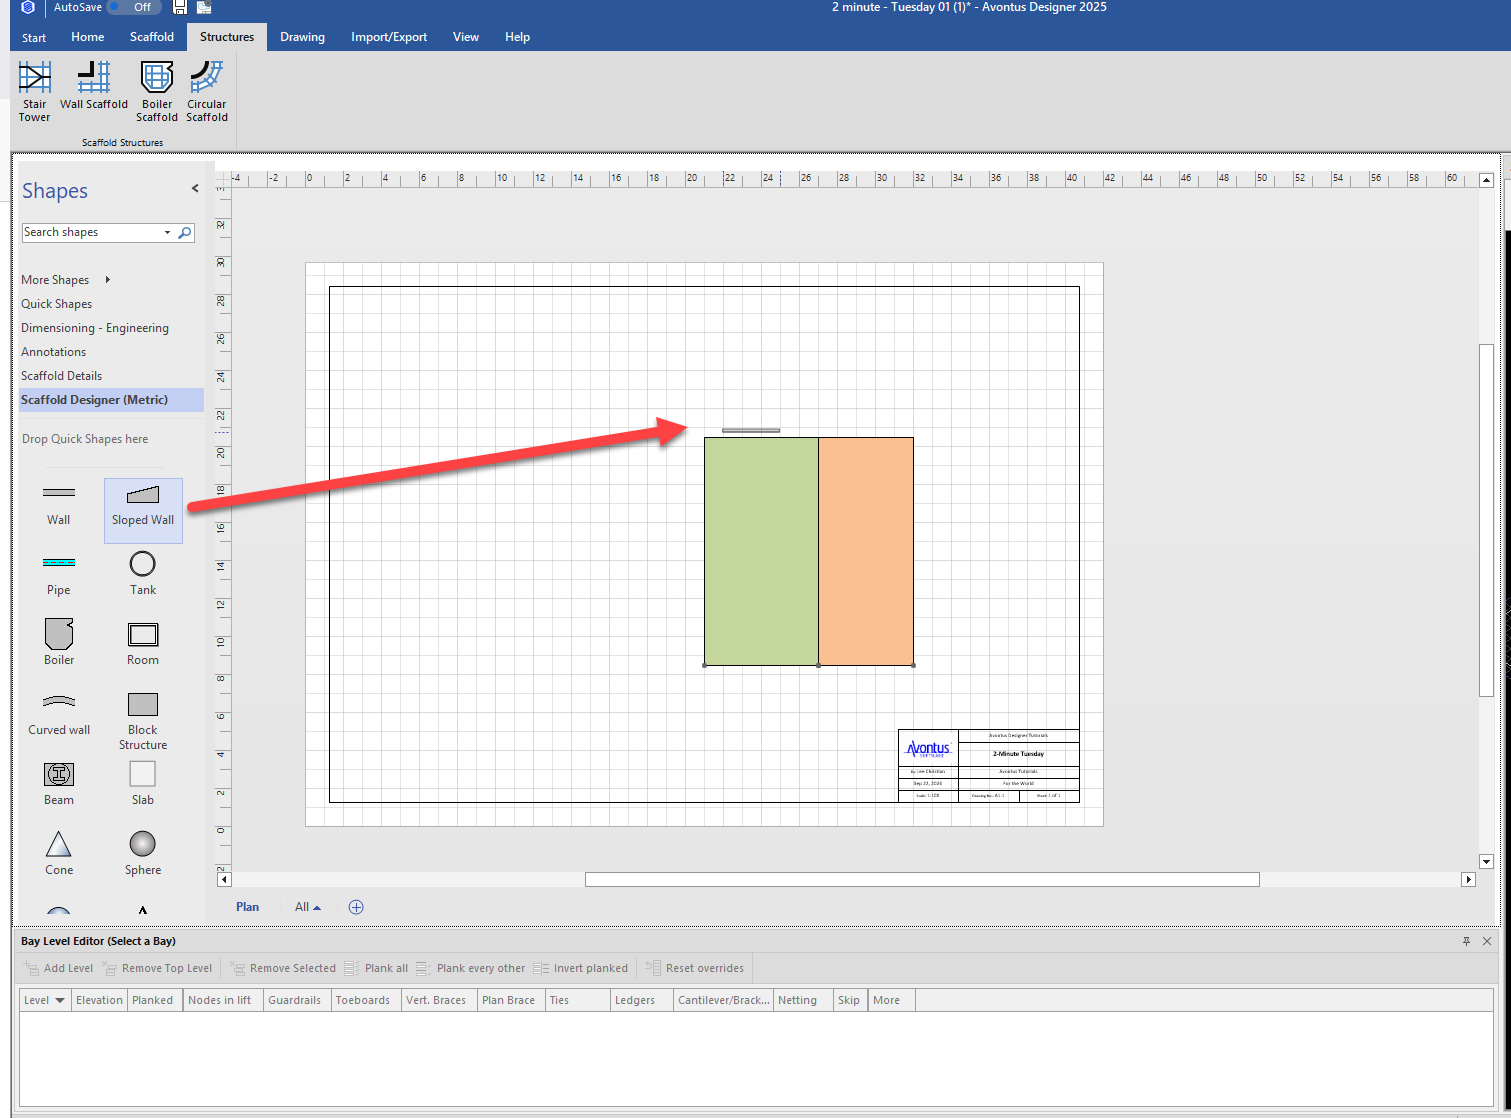
This article shows you how to create a birdcage on sloped ground. We use walls to allow us to measure the size of the bays. This process is easier than altering bay legs to get an even height. With this easy step-by-step process, you can do it in no time.
We have already dragged in a Sloped Wall and a Block.
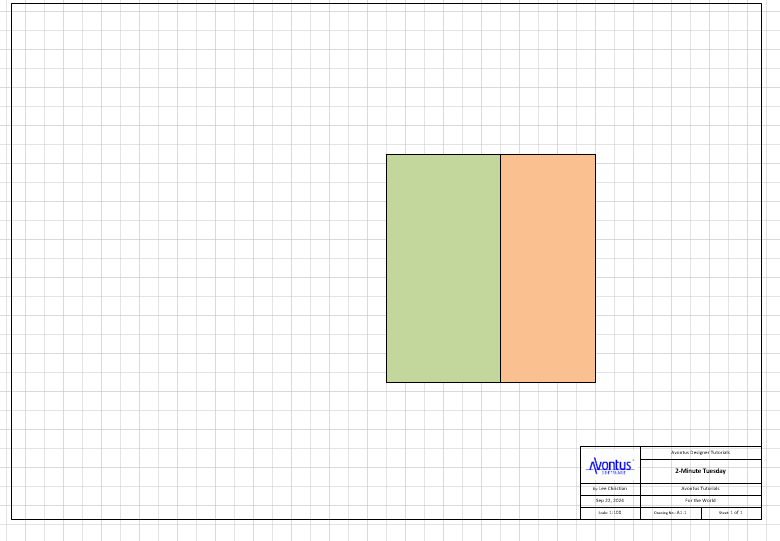
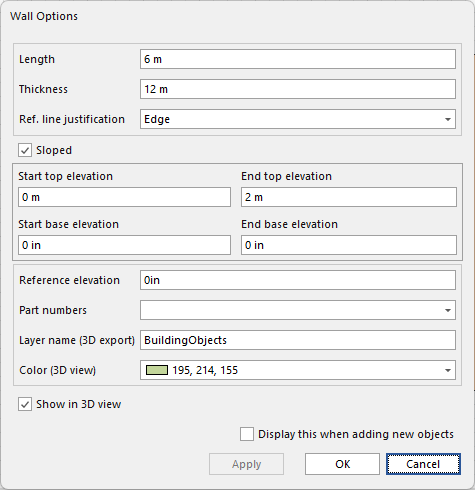
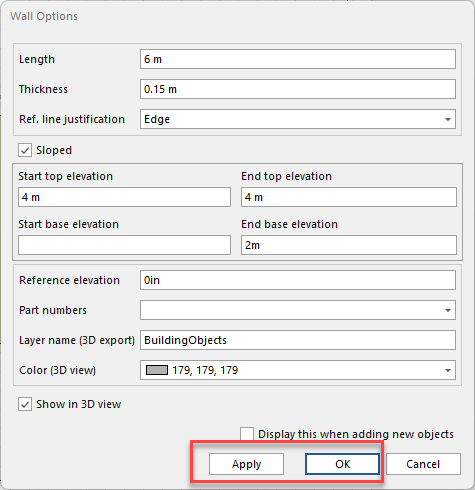
These are the Wall Dimensions.
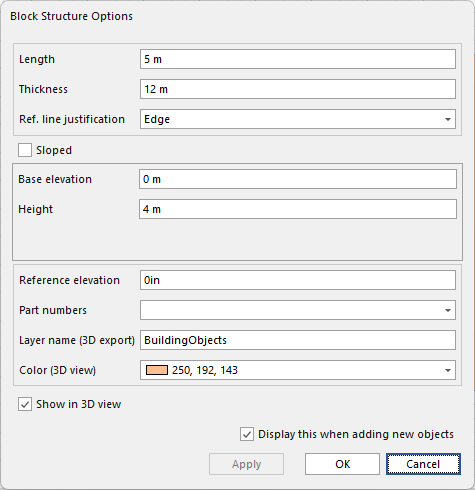
These are the block’s dimensions.
Drag in a Sloped Wall
Set the Length to 6m
Set the Start Top and End Top Elevation to 4m
Set End Base Elevation to 4m
Click Apply & OK (or just click OK).
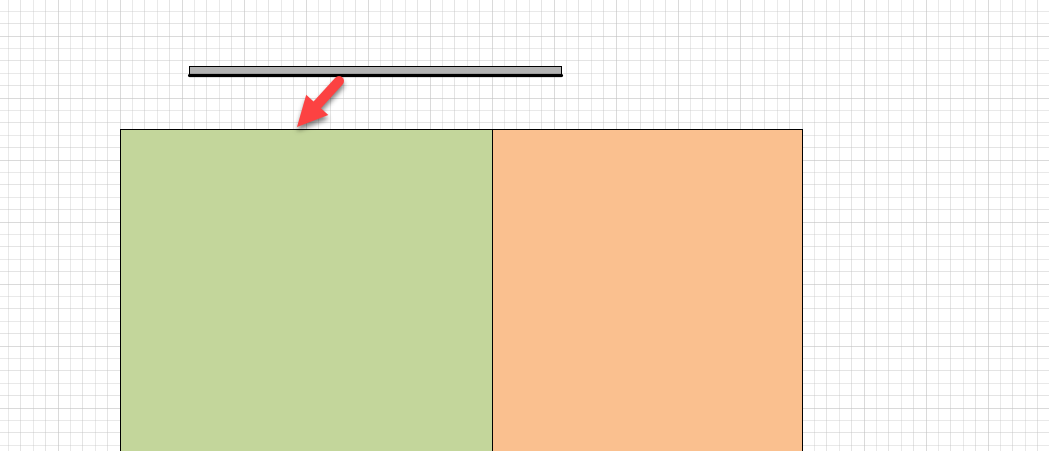
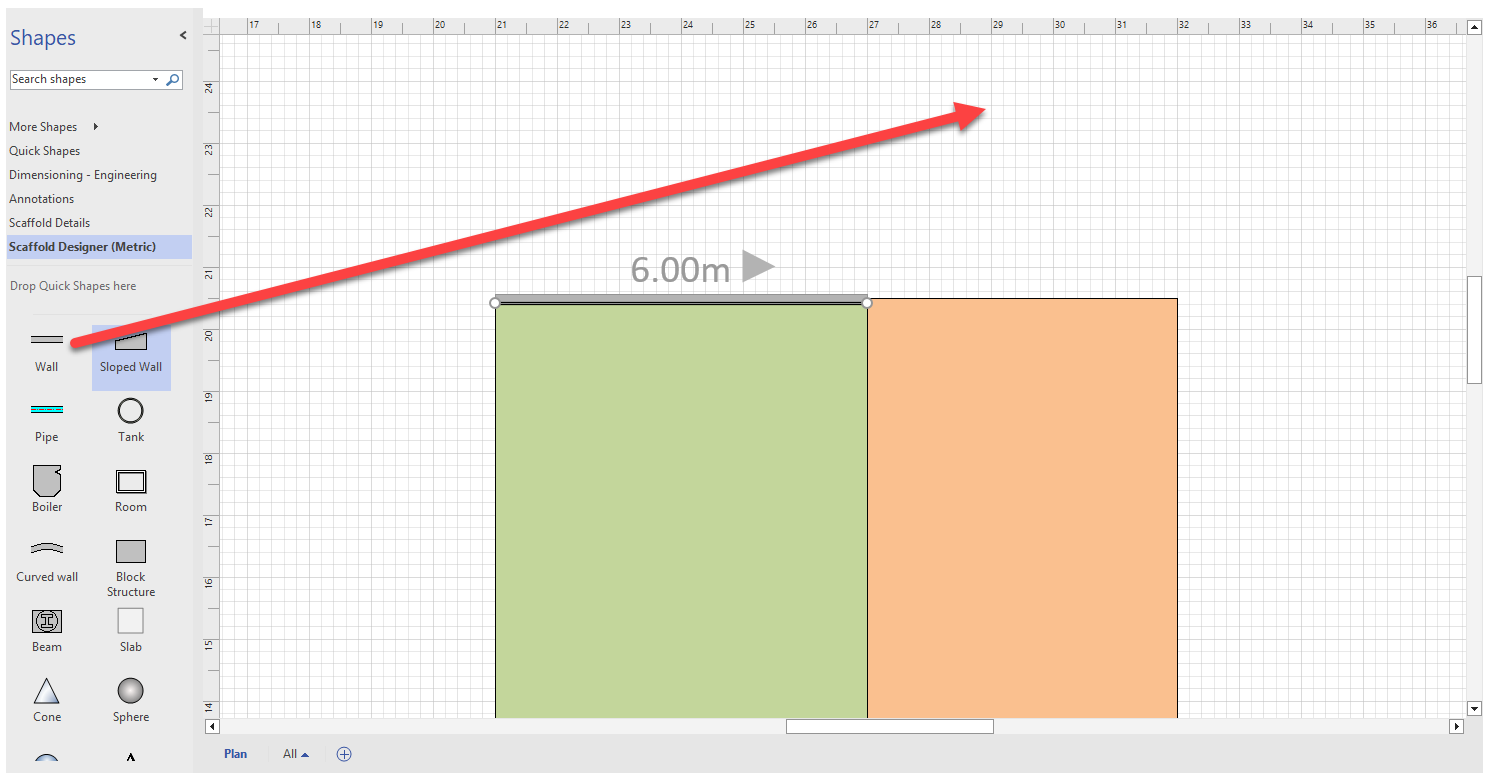
Drag the Sloped Wall into position
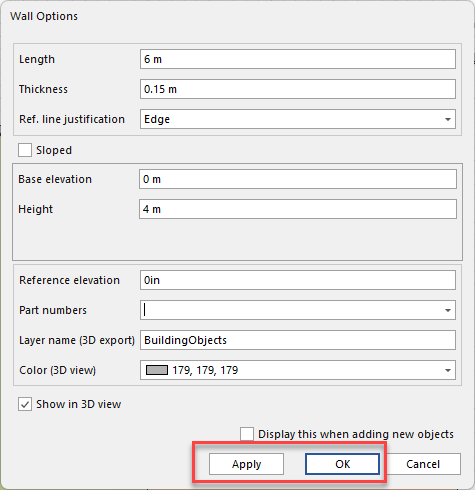
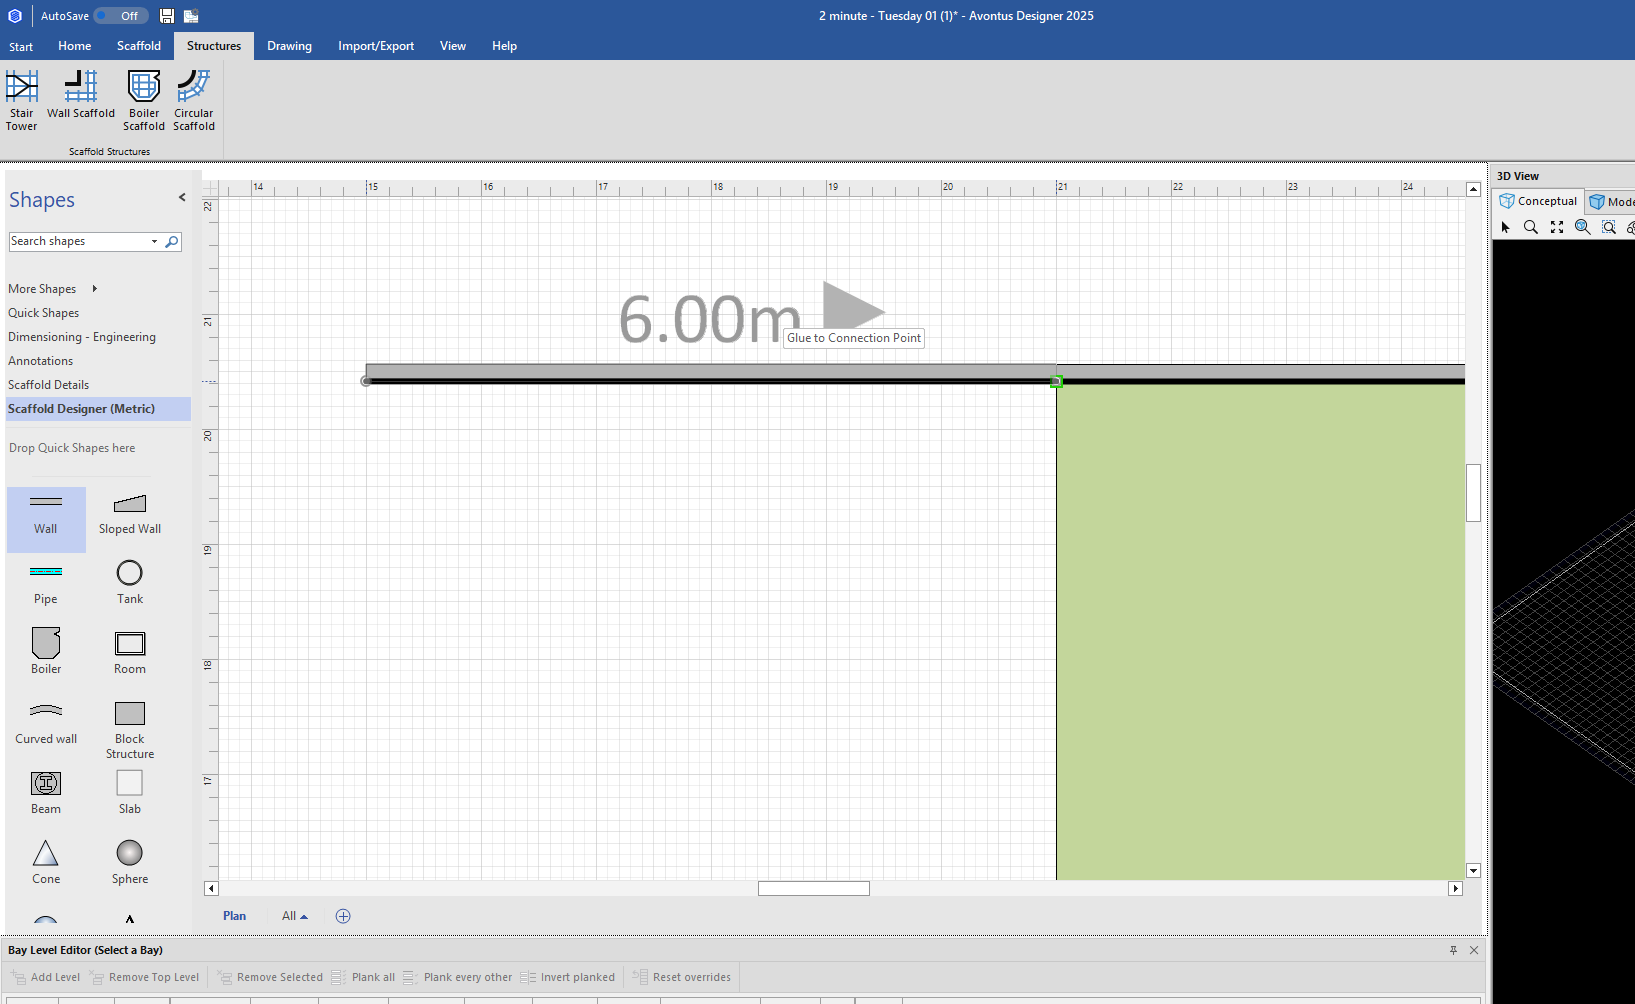
Drag in a Wall
Set Length to 6m
Set the Height to 4m
Click OK
Click and drag the wall and glue it into place
Note: We will delete these Walls later
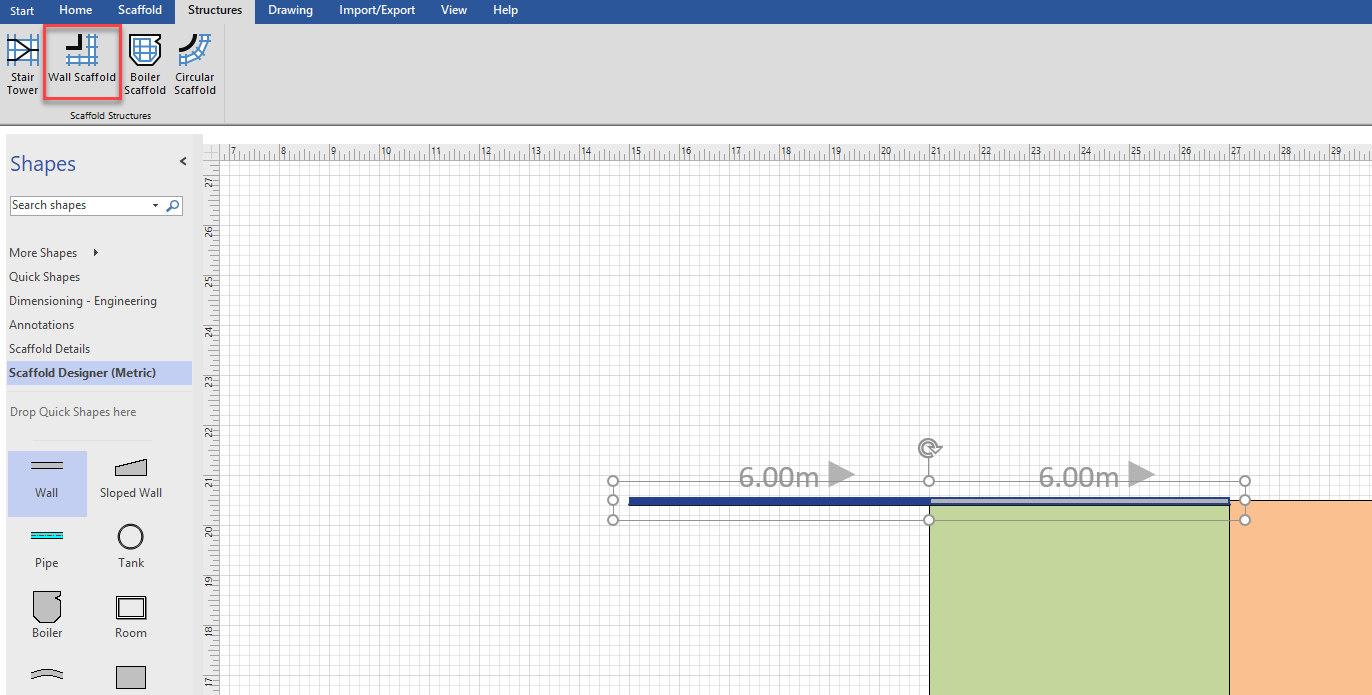
Highlight both walls and select Wall Scaffold
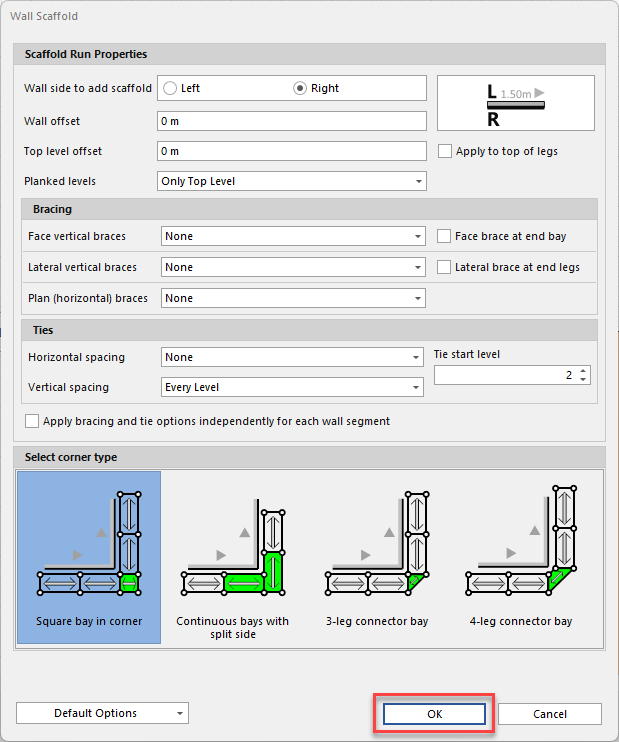
Leave the Wall’s settings as default, and click OK.
The Scaffolds will be added to the wall.
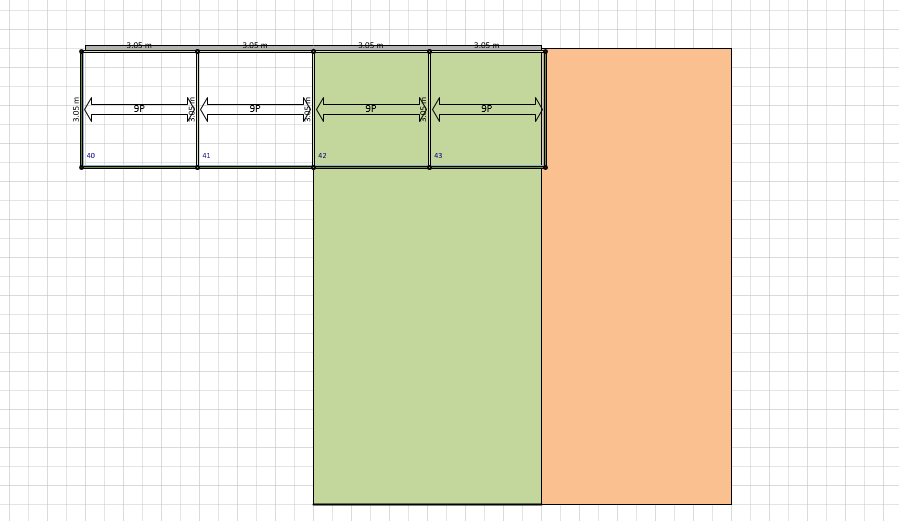
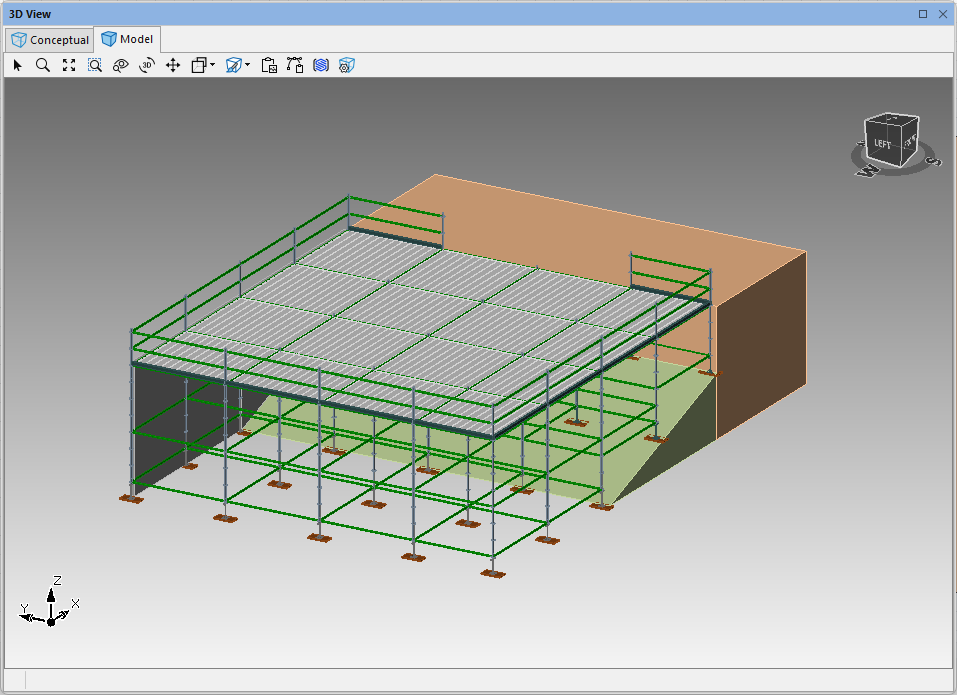
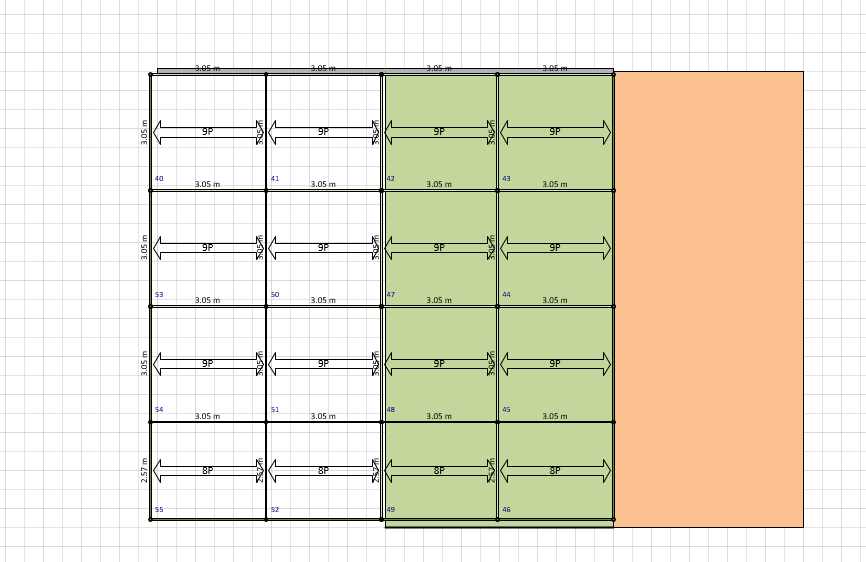
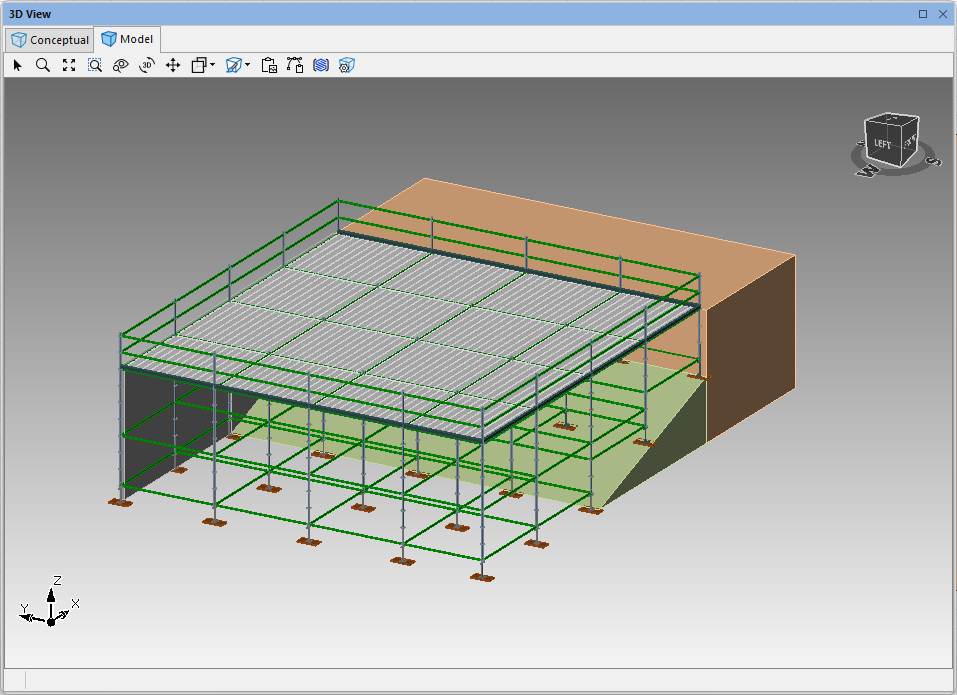
Our design will look like this:

Select the Bay and click B to add a Bay to bottom side of the selected Bay
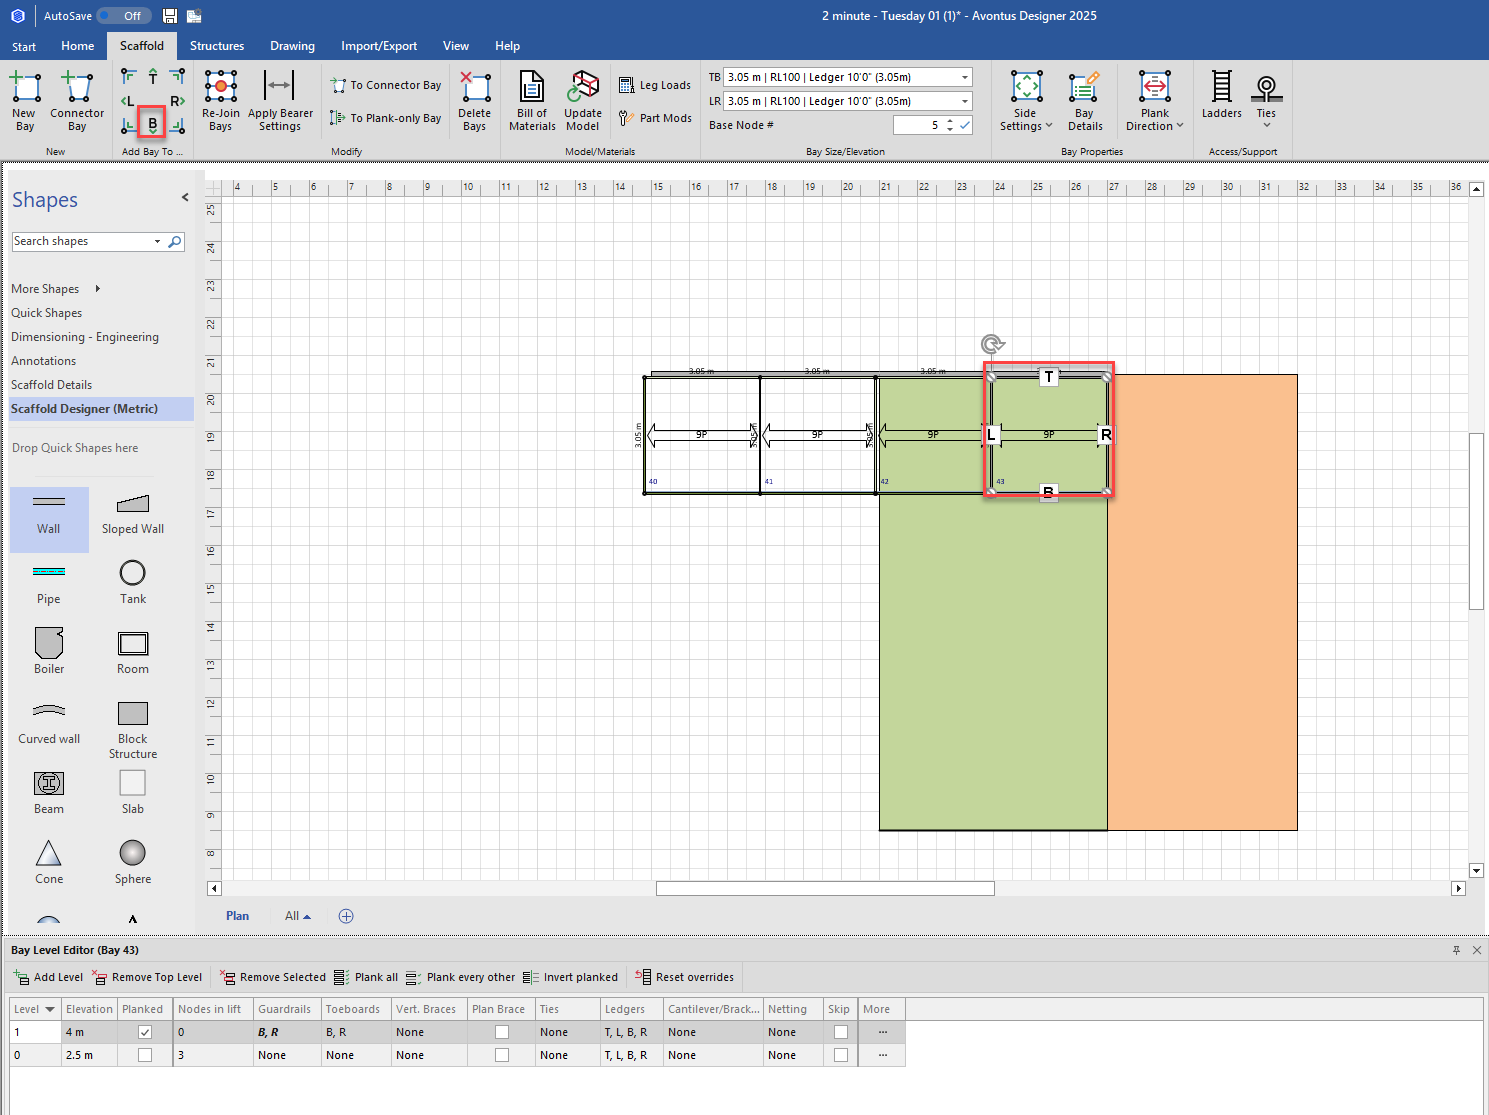
Repeat until you reach the other hand of the sloped wall.
Change the size of the Bay, if needed
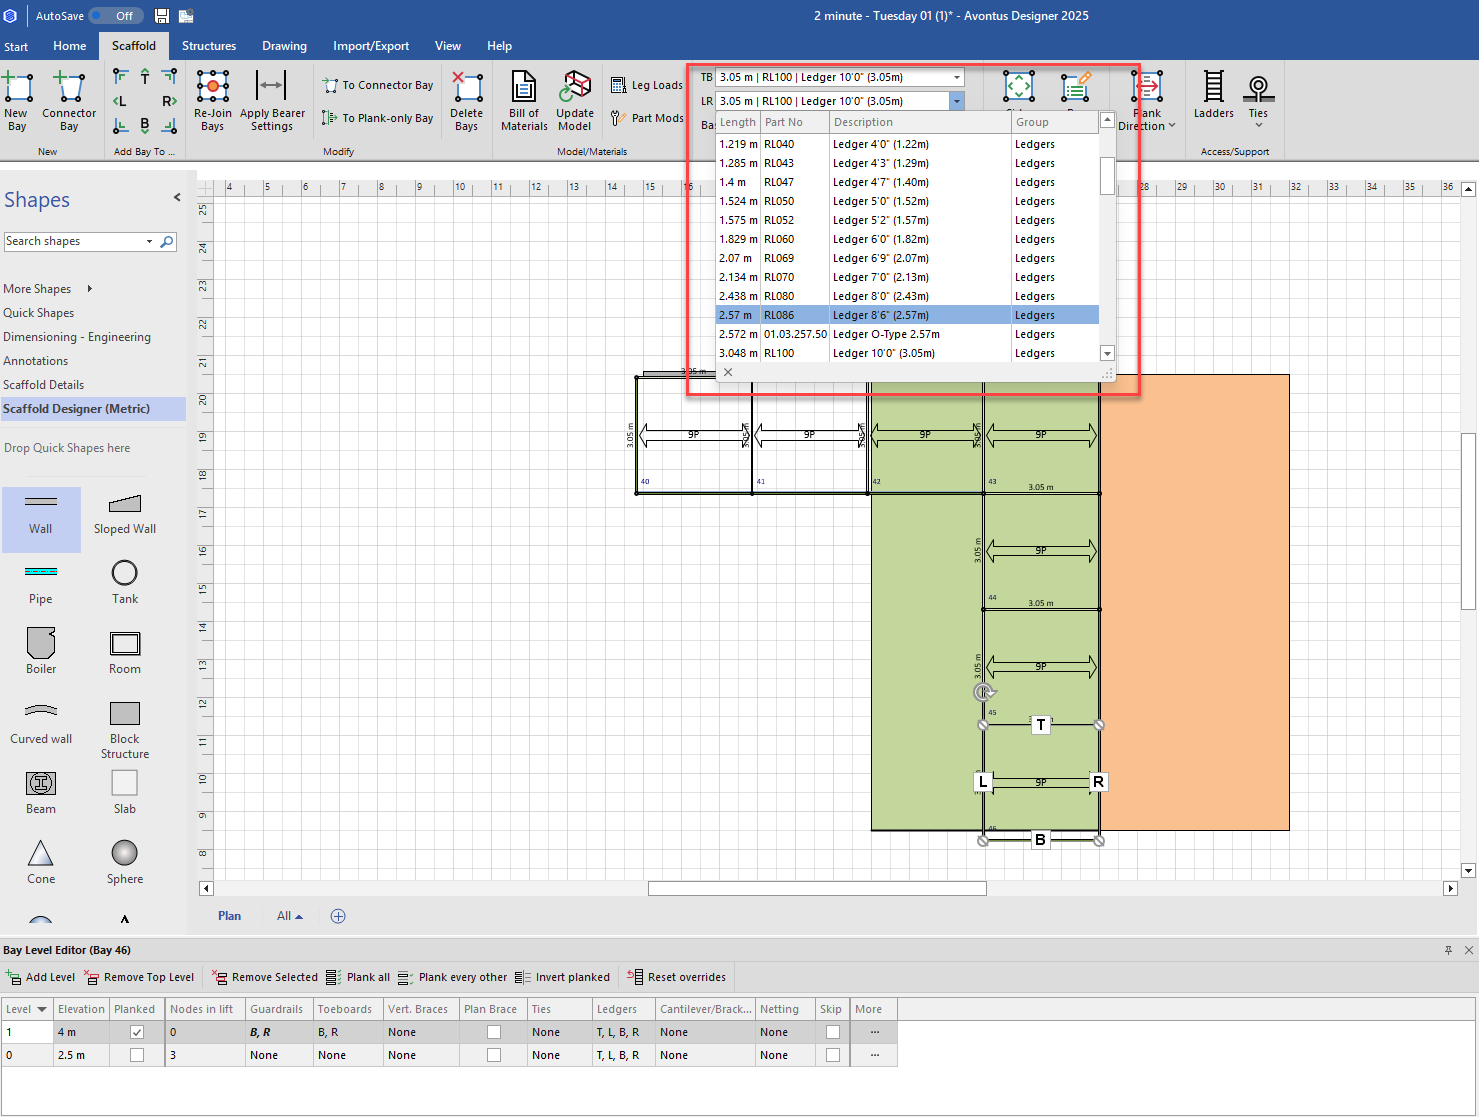
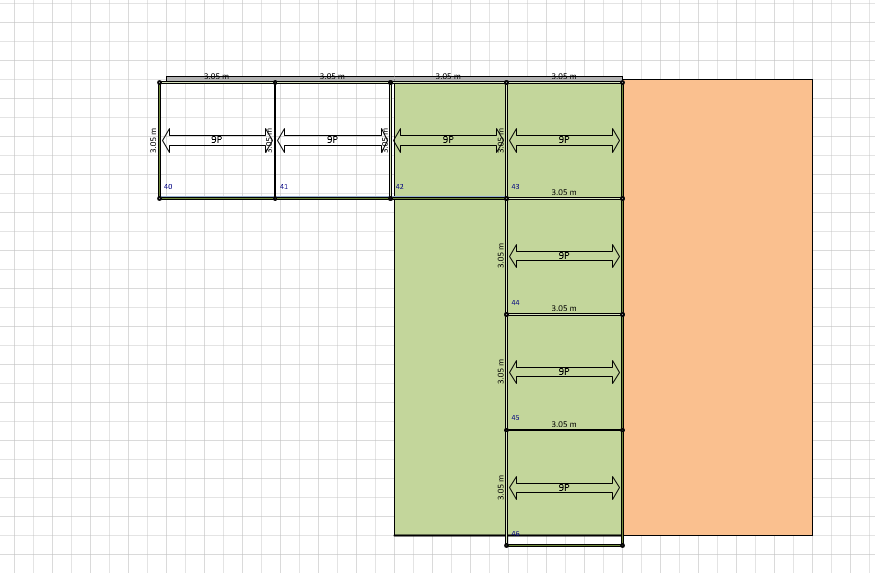
Repeat steps 14-16 for all other Bays
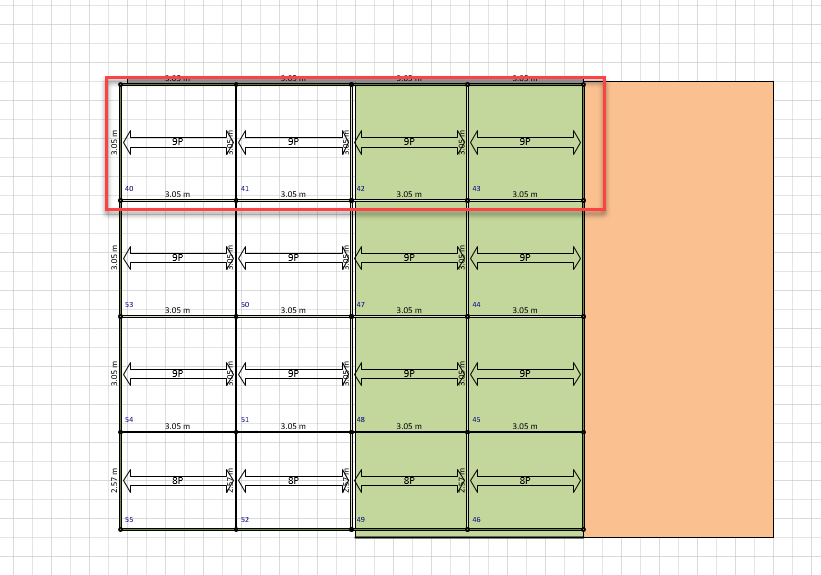
Remove the Walls
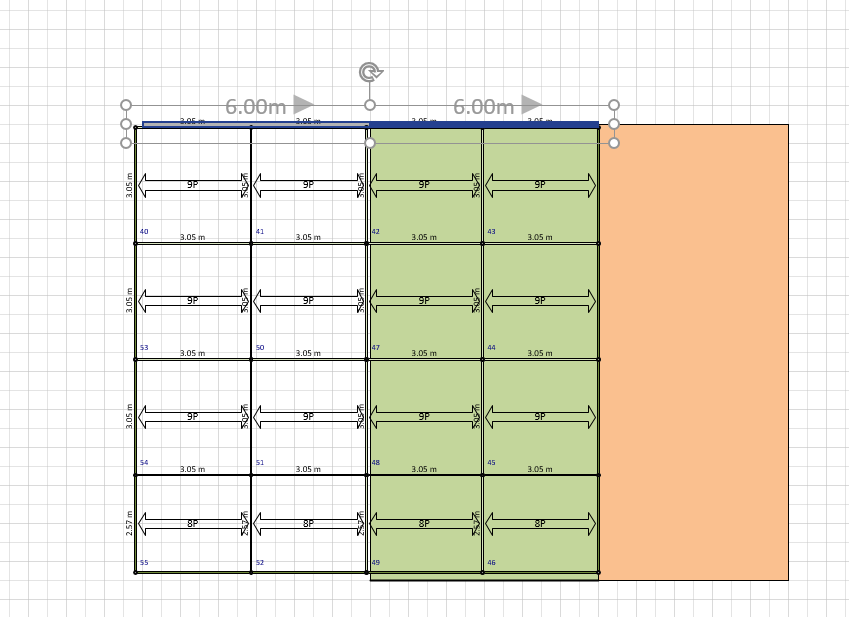
Add the Top guardrail to each of the bays at the top of the drawing.
Highlight all objects, and select Rejoin Bays.
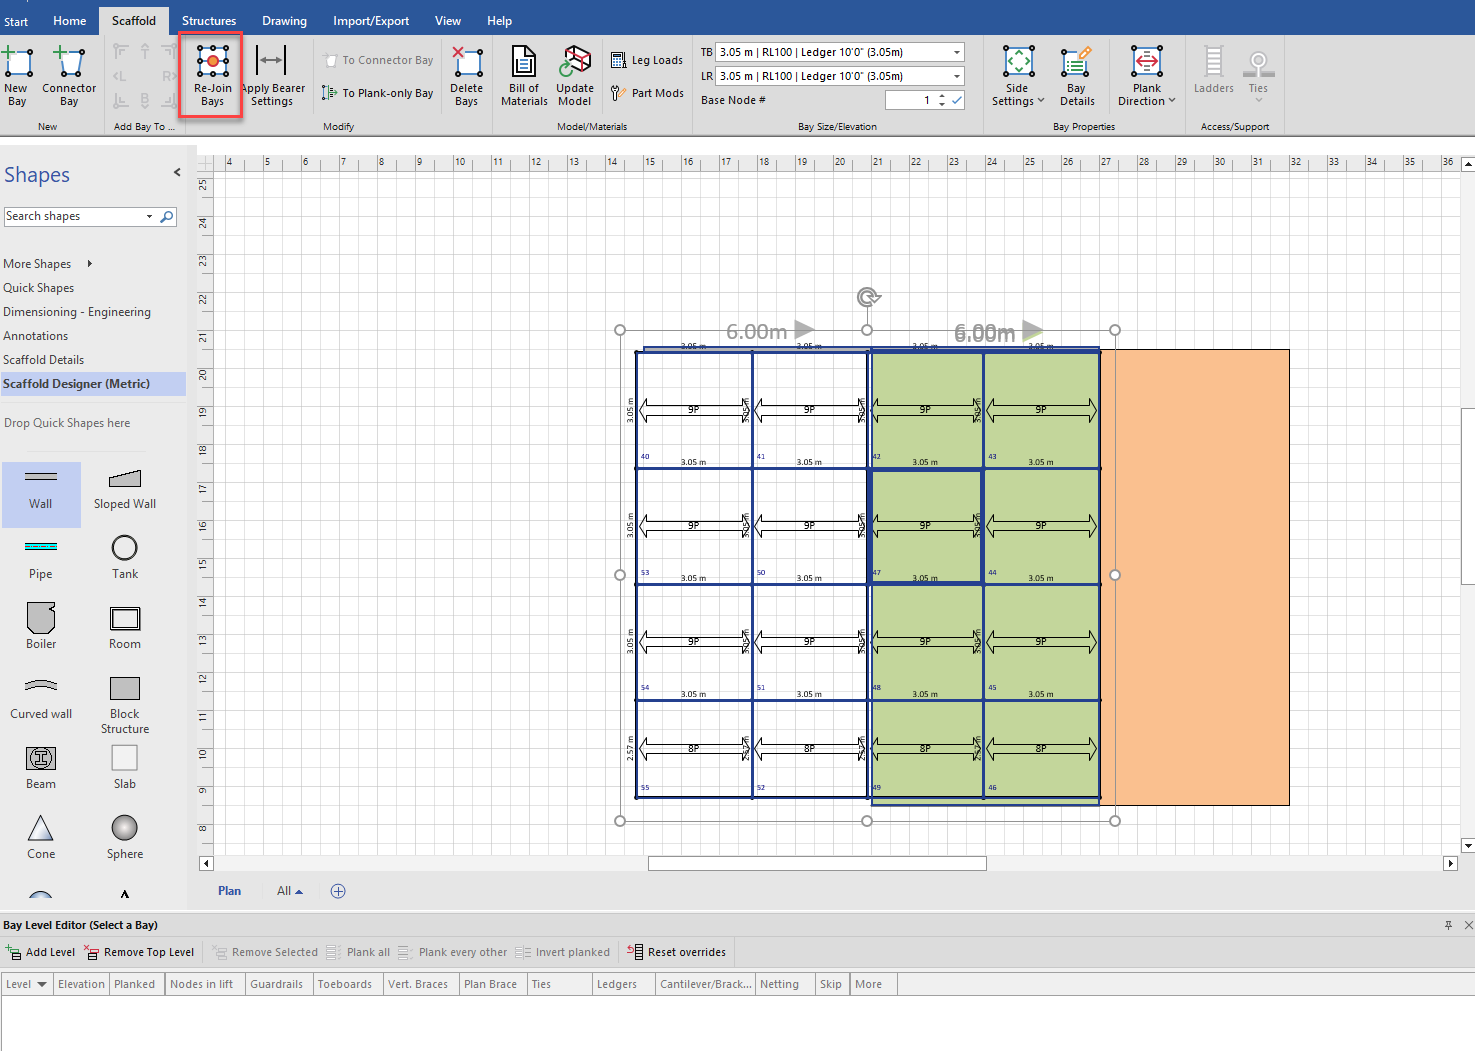
The birdcage will look like this.
You can add or remove bracing and guardrails as needed to access the platform.