Safety is a top priority in the construction of scaffolding. Fall prevention is essential for both the safety of workers and the secure handling of equipment. Installing safety netting during equipment lifting helps prevent loose items from falling, which can injure pedestrians or damage nearby buildings. This article will demonstrate how to create a fall prevention safety net using Building Objects, ensuring a safer work environment.
For a Video demo, please see Creating a Fall Prevention Safety Net in Avontus Designer
We will be creating our own tubes, please see creating a 6ft tube with building objects in avontus designer for more information.
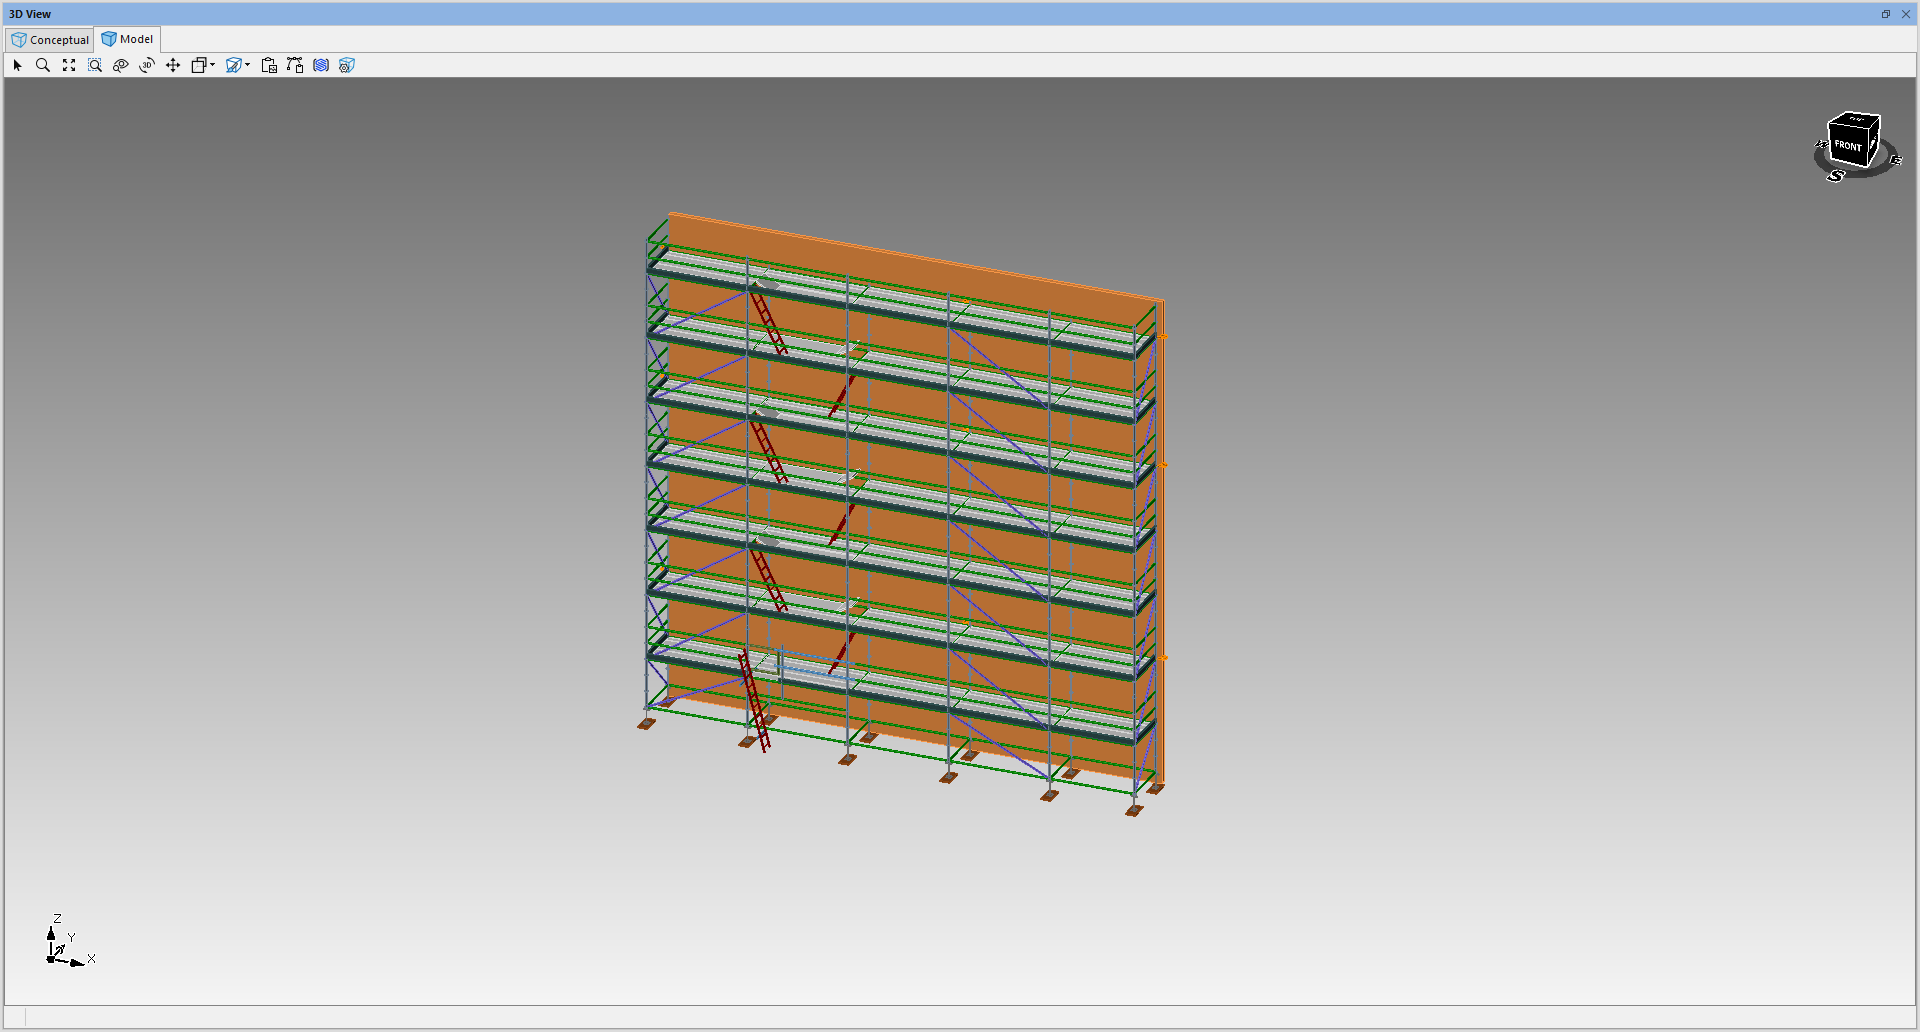
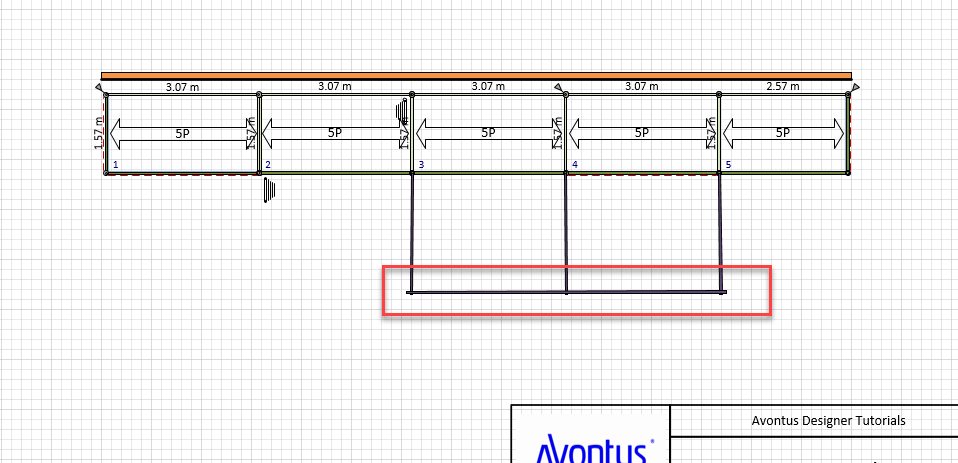
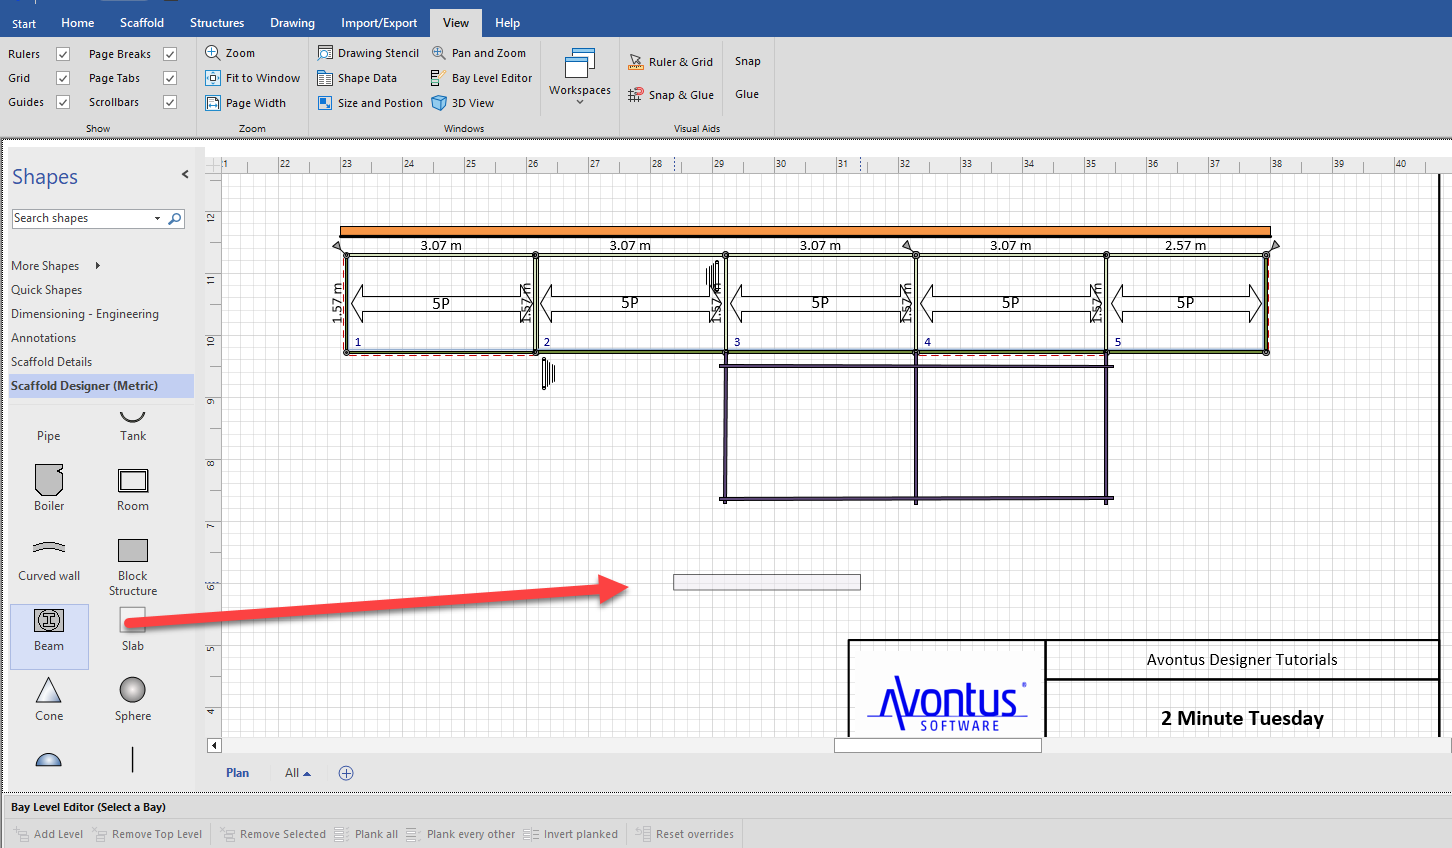
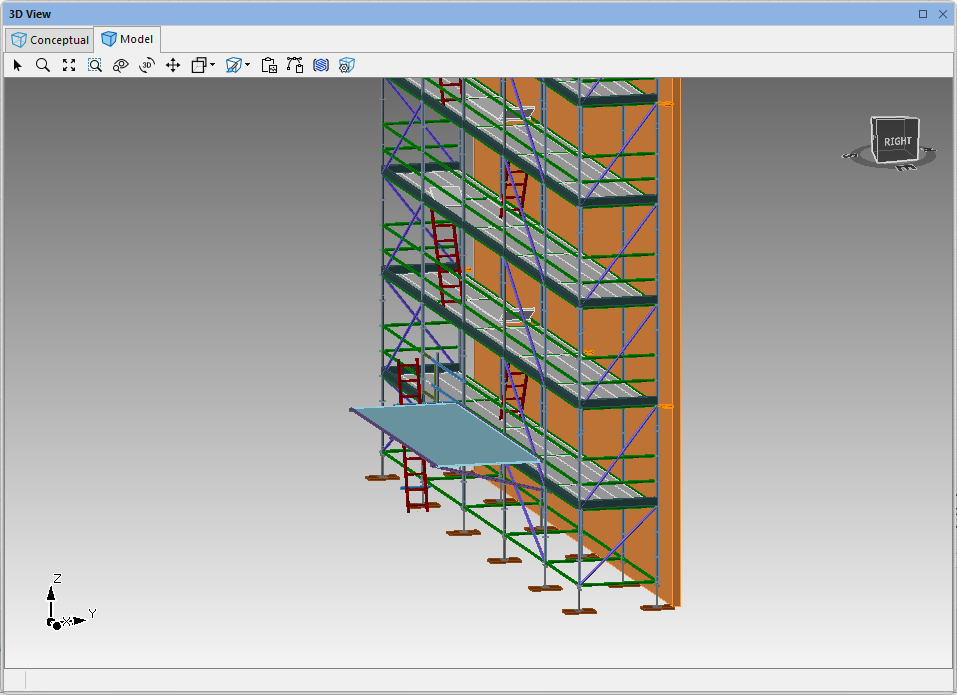
We are going to add fall prevention safety net to a simple scaffold, like the one below.
To create a Fall Prevention Safety Net
Drag in a Beam
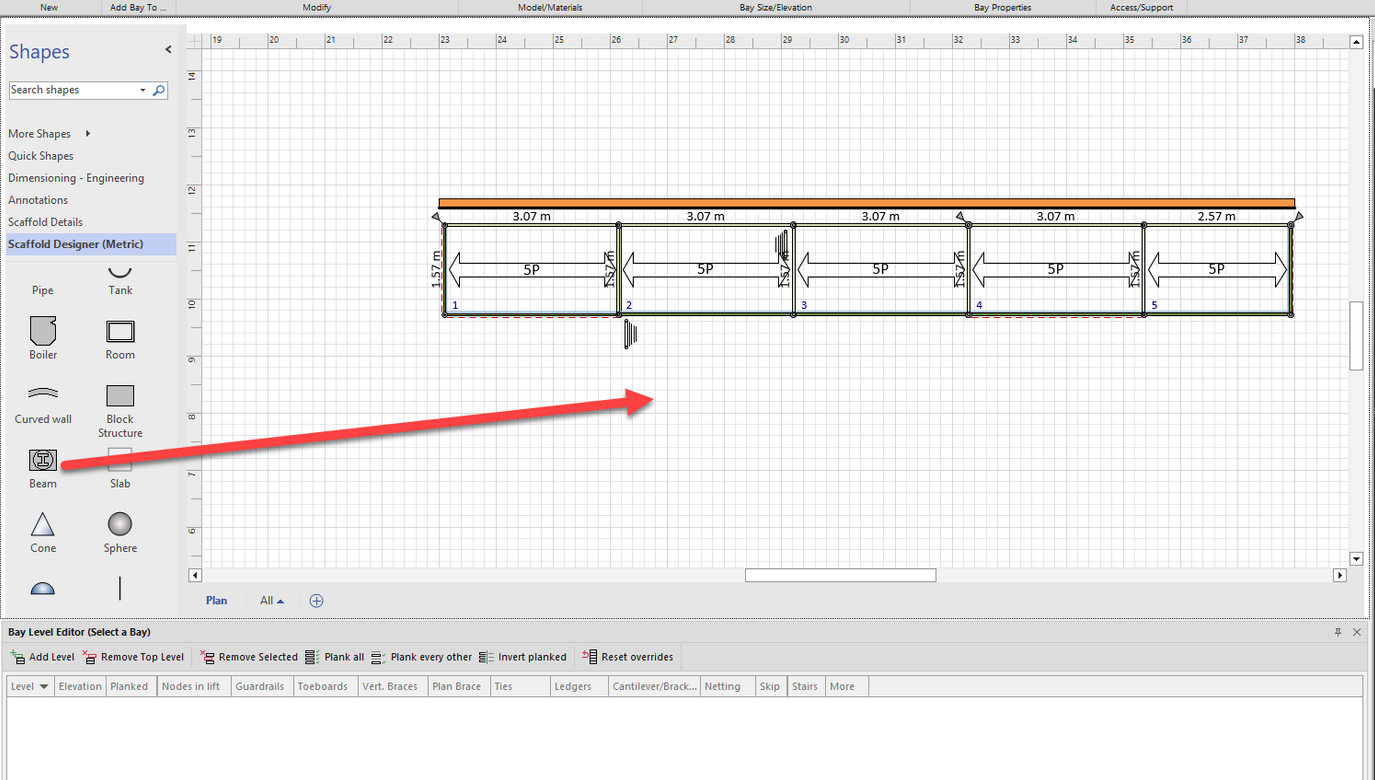
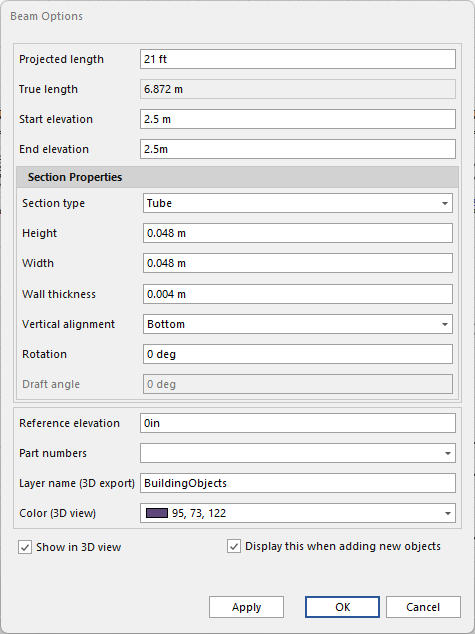
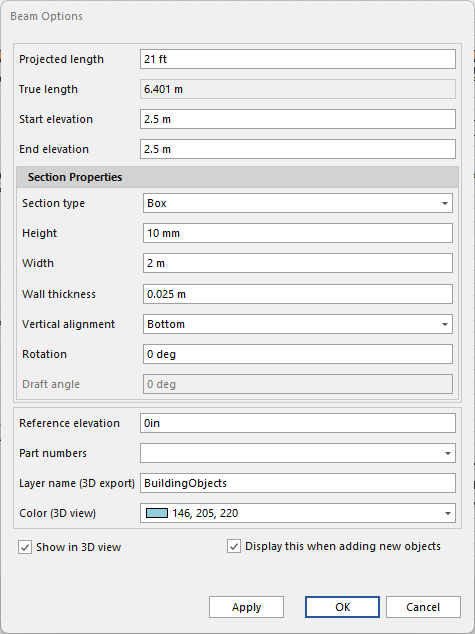
Open the Beam Options
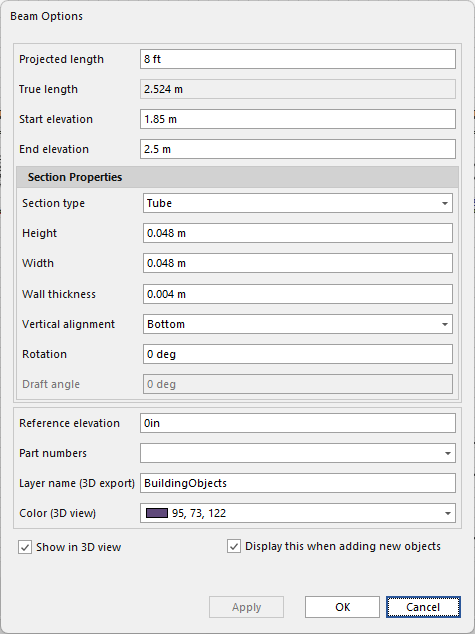
Specify the Beam’s settings - I will use the below settings
Copy the Beams and drag them into place, retaining the beam’s original length. These beams/tubes will help support the netting.
Note: Go back into the beam’s options if required
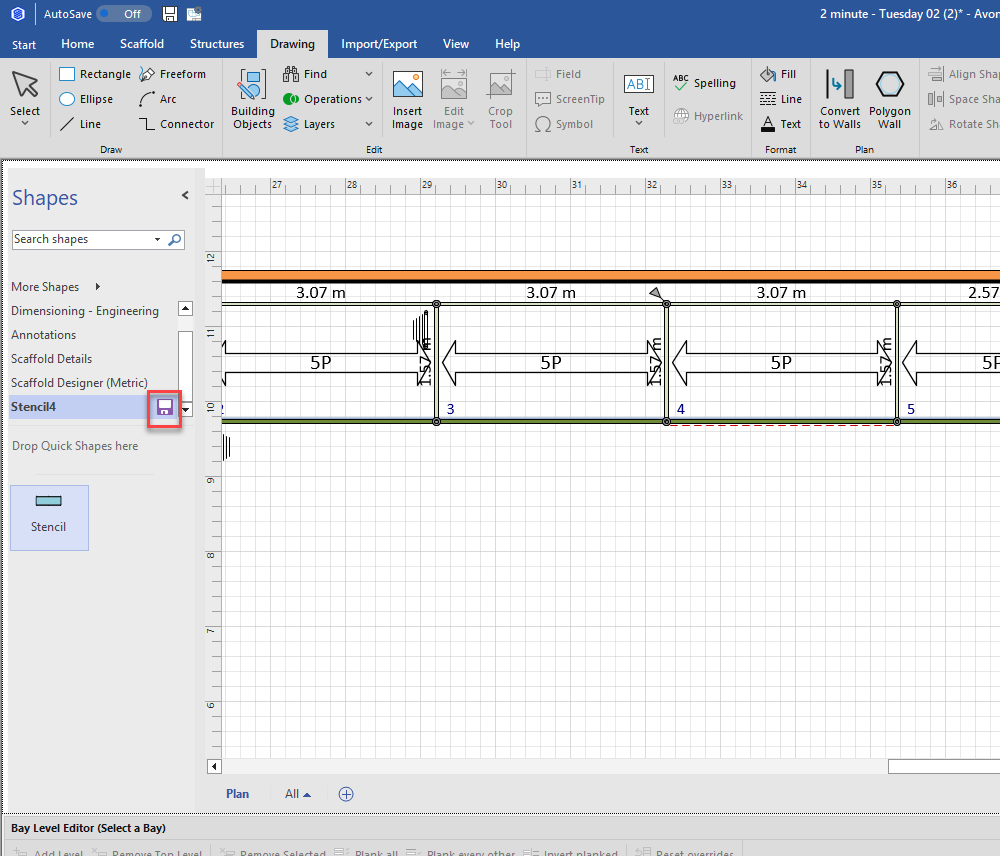
Note: You can then drag these beams to the stencil to use them later on
Drag in another Beam - this will be a longer tube/beam that will help support the netting. We will create two of them.
Modify its options - I am using the below settings
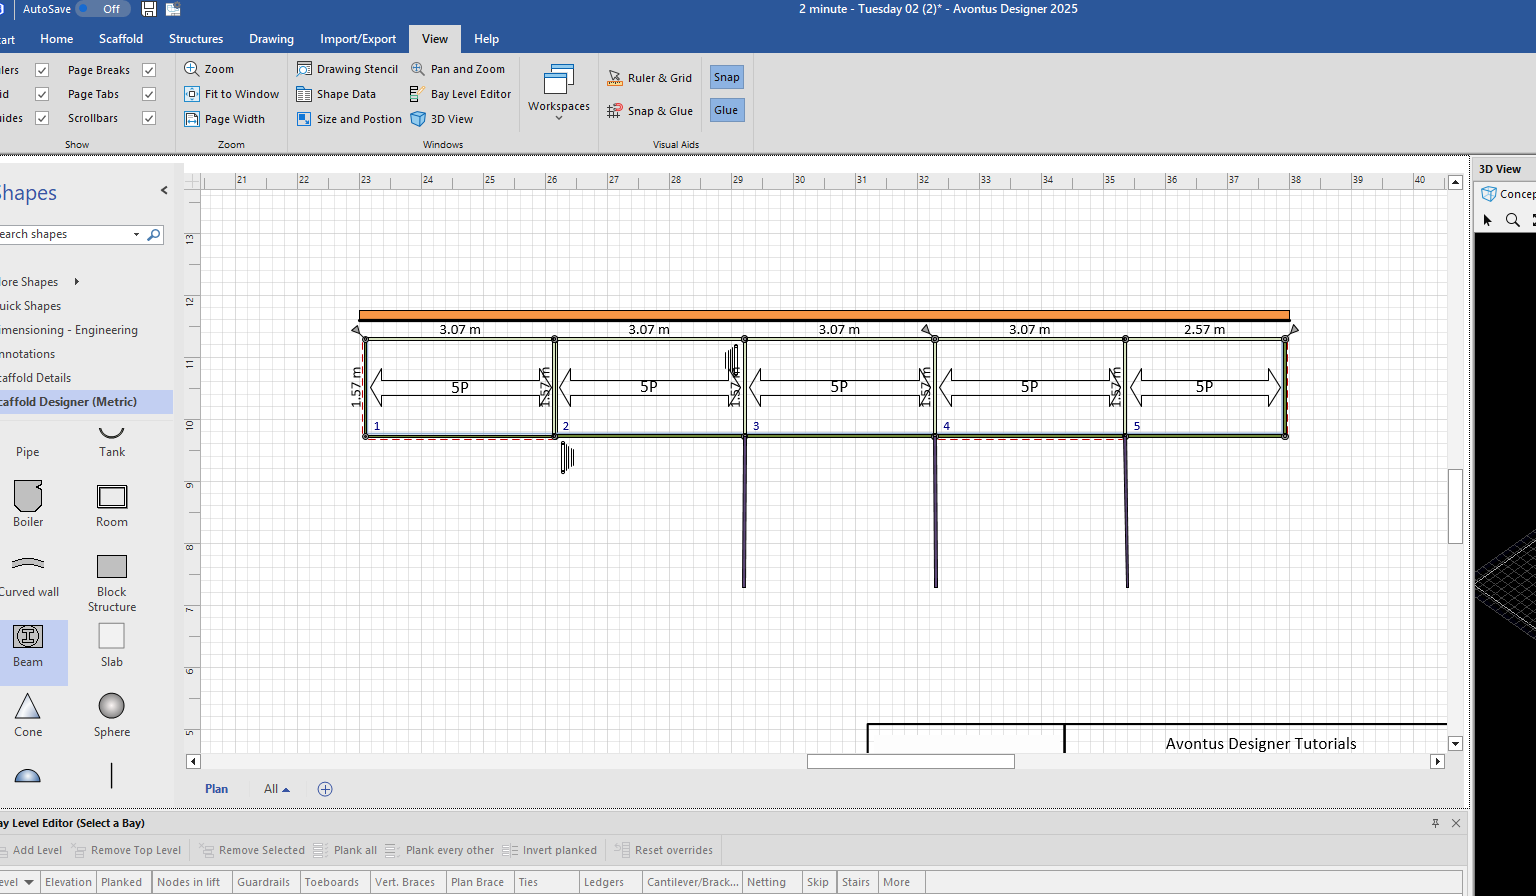
Drag the beam into place
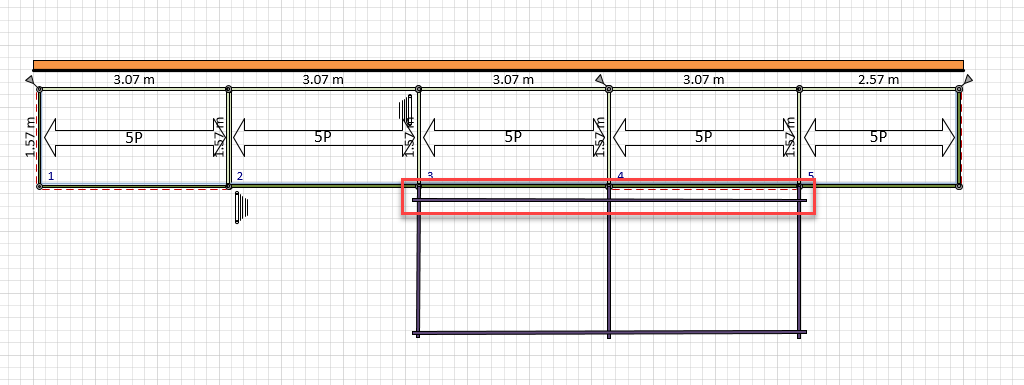
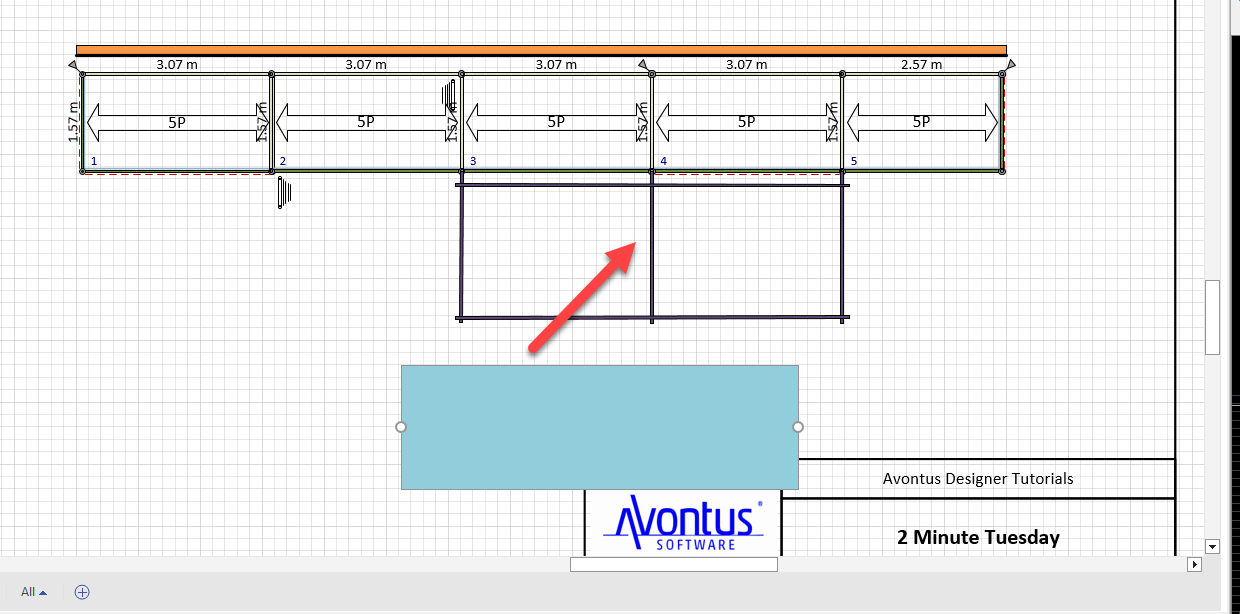
Our Beams and model look like this.
Copy and place the other beam
Drag in another Beam to create the netting.
Modify the Beam’s settings - ensure the Start and End Elevation match the other beams.
Drag the beam/netting over the other beams/tubes.
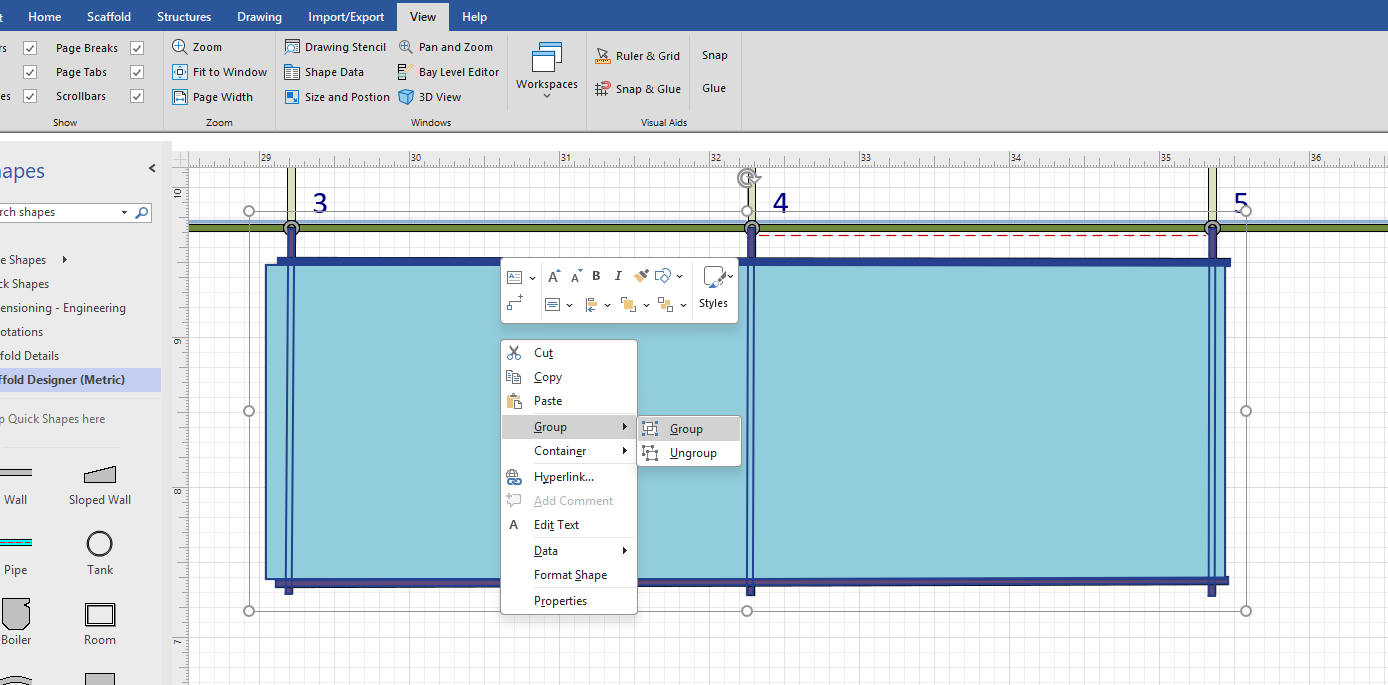
Group all the tubes/beams
Your design will look like this:
Drag the grouped objects to the stencil

Name, and save the Stencil
You can then reuse the stencil whenever it is needed.