Once a drawing is complete, Avontus Designer will create an Estimate for you with the click of a button.
To create an Estimate from a drawing:
As necessary, click the Home tab and click Bill of Materials.
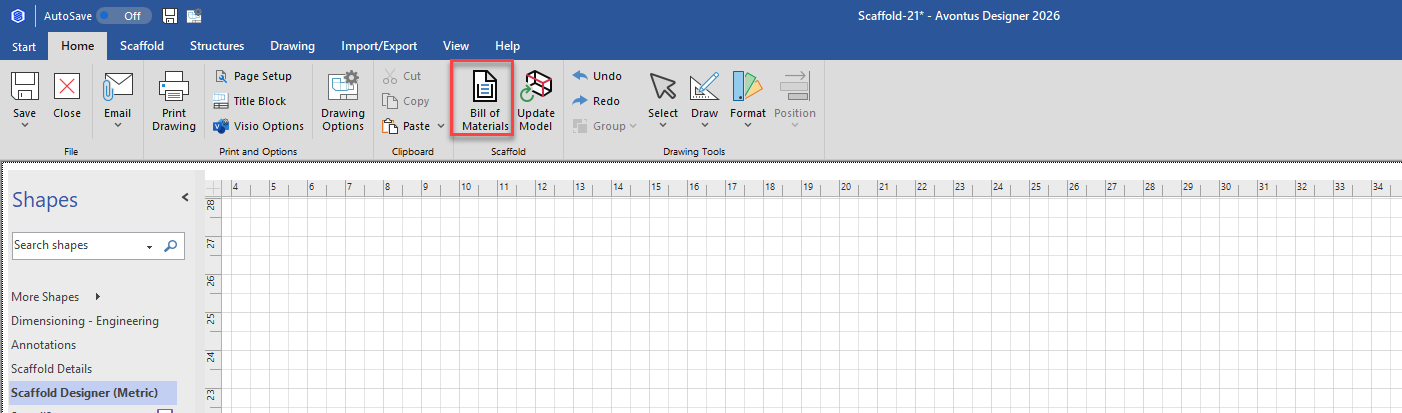
The Bill of Materials dialog appears. .Click Quantify and make the appropriate selection from the menu that appears. Your options are:
Open in Quantify - Choose this option if Quantify is installed on the same computer as Avontus Designer. If Quantify is not currently open, you will be prompted to login during the integration.
Save as Quantify File - Choose this option if Quantify is not installed on the same computer as Avontus Designer, or if you want to integrate with another user's Quantify. Then, in Quantify, the user must select Import File from Avontus Designer in the Estimates tab to complete the integration.
Export to Quantify (Exchange) - Choose this option if you want to open the Estimate directly in Quantify as an Exchange file
Save as Exchange - Choose this option if you want to save the file as an exchange file.

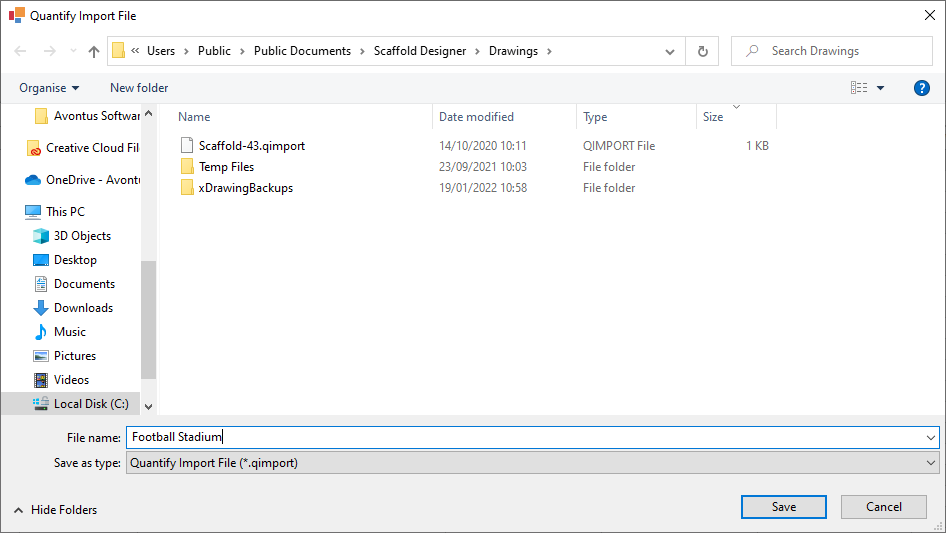
If you selected Save As Quantify File:
The Quantify Import File dialog appears.As necessary, click in the File Name text field and enter a new name for the exported file.
Navigate to the folder into which you want to save the new file and click Save.
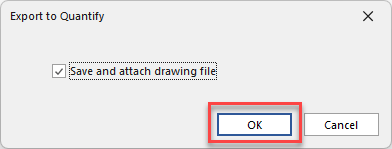
If you selected to save as an Estimate file, save and attach the drawing and click Ok
If you selected Open in Quantify:
Quantify launches and prompts you to log in.
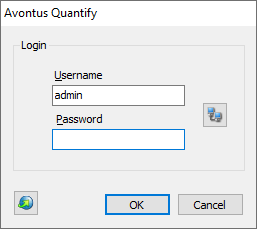
Note: You will need to save and attach the drawing file if you select to export as an exchange file
Note: Some units may not be found in Quantify. These will have to be added.Click in the Username text field and enter your Quantify username.
Click in the Password text field, enter your Quantify password and click OK.
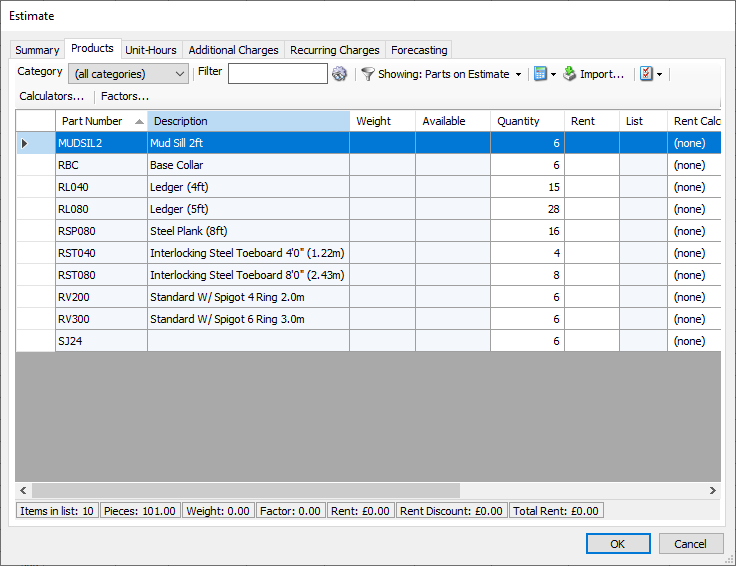
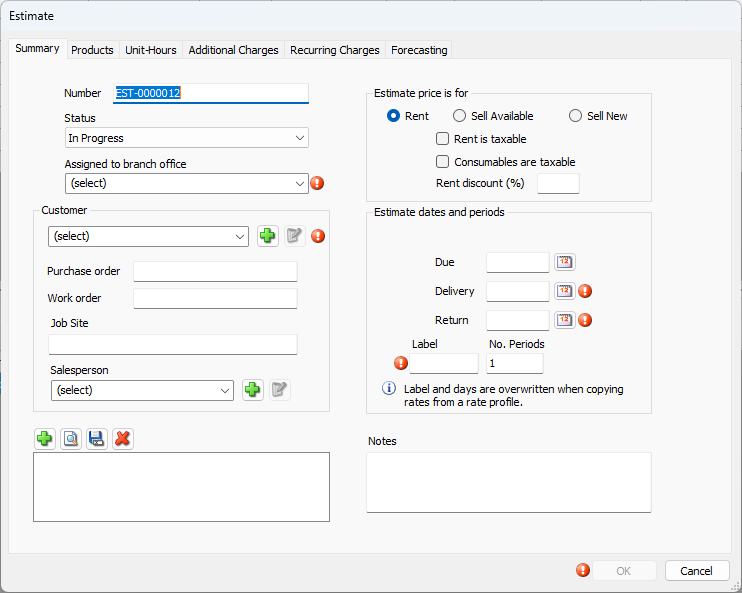
The Estimate dialog appears.
The Summary tab contains the Avontus Designer drawing and Avontus Designer web drawings are added as attachments.
The Products tab contains the appropriate quantities of matched materials from the Avontus Designer bill of materials.At a minimum, complete the required fields:
Click the Customer dropdown and select the appropriate customer.
Click in the Delivery text field and enter a delivery date.
Click in the Return text field and enter a return date.
Click in the Label text field and enter a period label.
Complete the Estimate by adding any additional information as necessary. (Refer to Creating or Editing an Estimate for additional details.). Note that the Products tab will be complete with the parts from your Scaffold model.
Click OK.