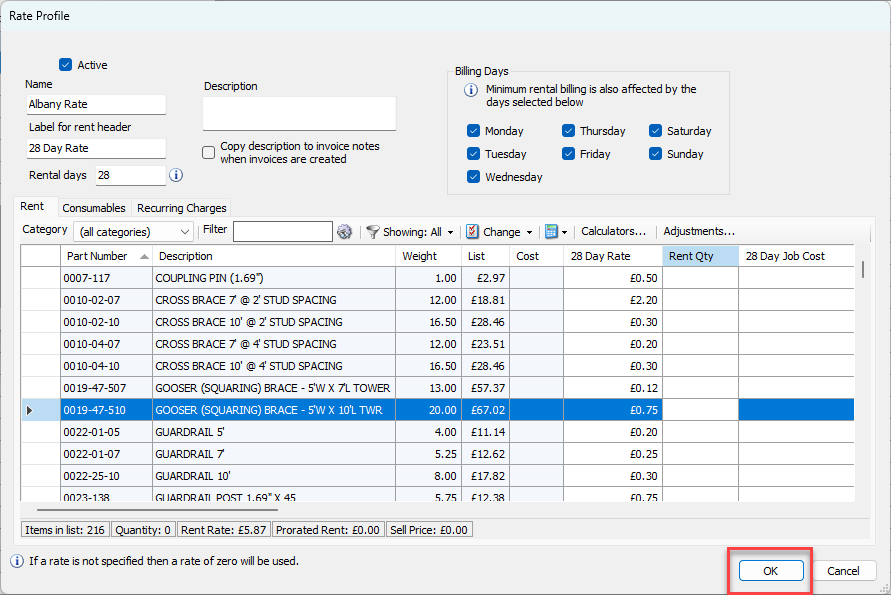
Creating a Rate Profile is a simple, straightforward process. Before you begin, you should familiarize yourself with the information you can enter into the Rate Profile dialog. You can do that here: Rate Profiles Basics.
Note: This article only contains procedures for entering the minimal amount of information into the new Rate Profile.
To create a Rate Profile:
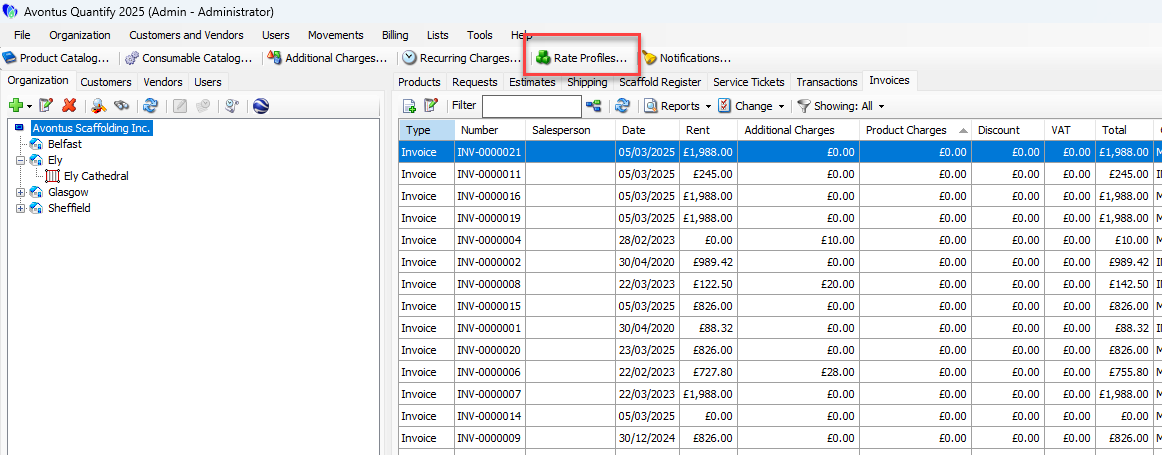
Click Rate Profiles.
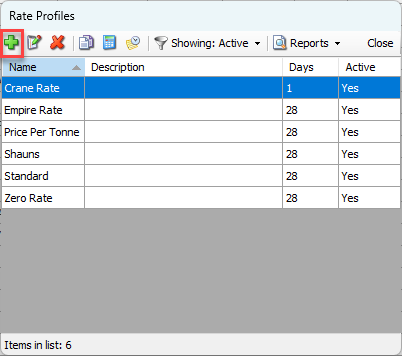
The Rate Profiles dialog appears.Click the Add Profile button (
 ).
).
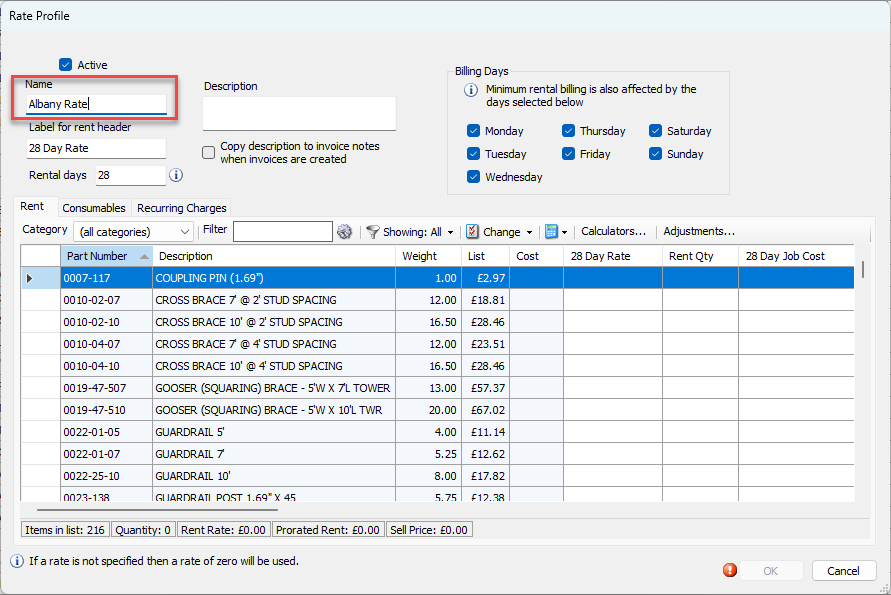
The Rate Profile dialog appears.Click in the Name text field and enter the name of the new Rate Profile.
Click the appropriate Product, to select it.
Click in the Product's cell in the 28 Day Rate column and enter the rate for the selected Product.
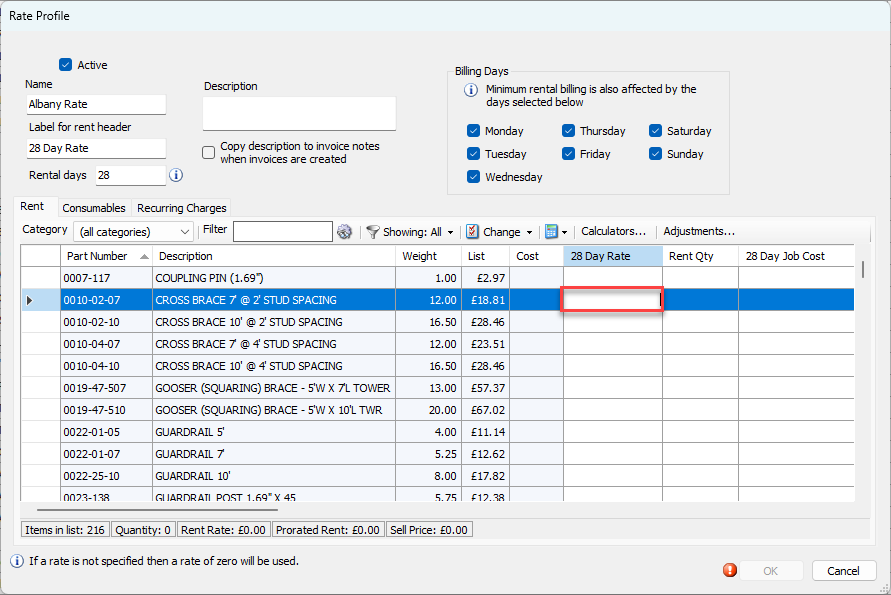
Repeat as much as necessary
Click OK.
