When adding a Map Overlay, the file must be in the MBTile file format. You can create MBTiles using the Maptiler Desktop app which can be downloaded for free here - https://www.maptiler.com/desktop/.
Once you have downloaded, the Maptiler application you can convert your image, whether it is a JPEG, PNG, etc, into the correct format.
Note: In this example, we are using Maptiler Engine. You can use any application you like.
To do this.
Drop your image onto the Maptiler desktop app.
Note: You can also select Open file
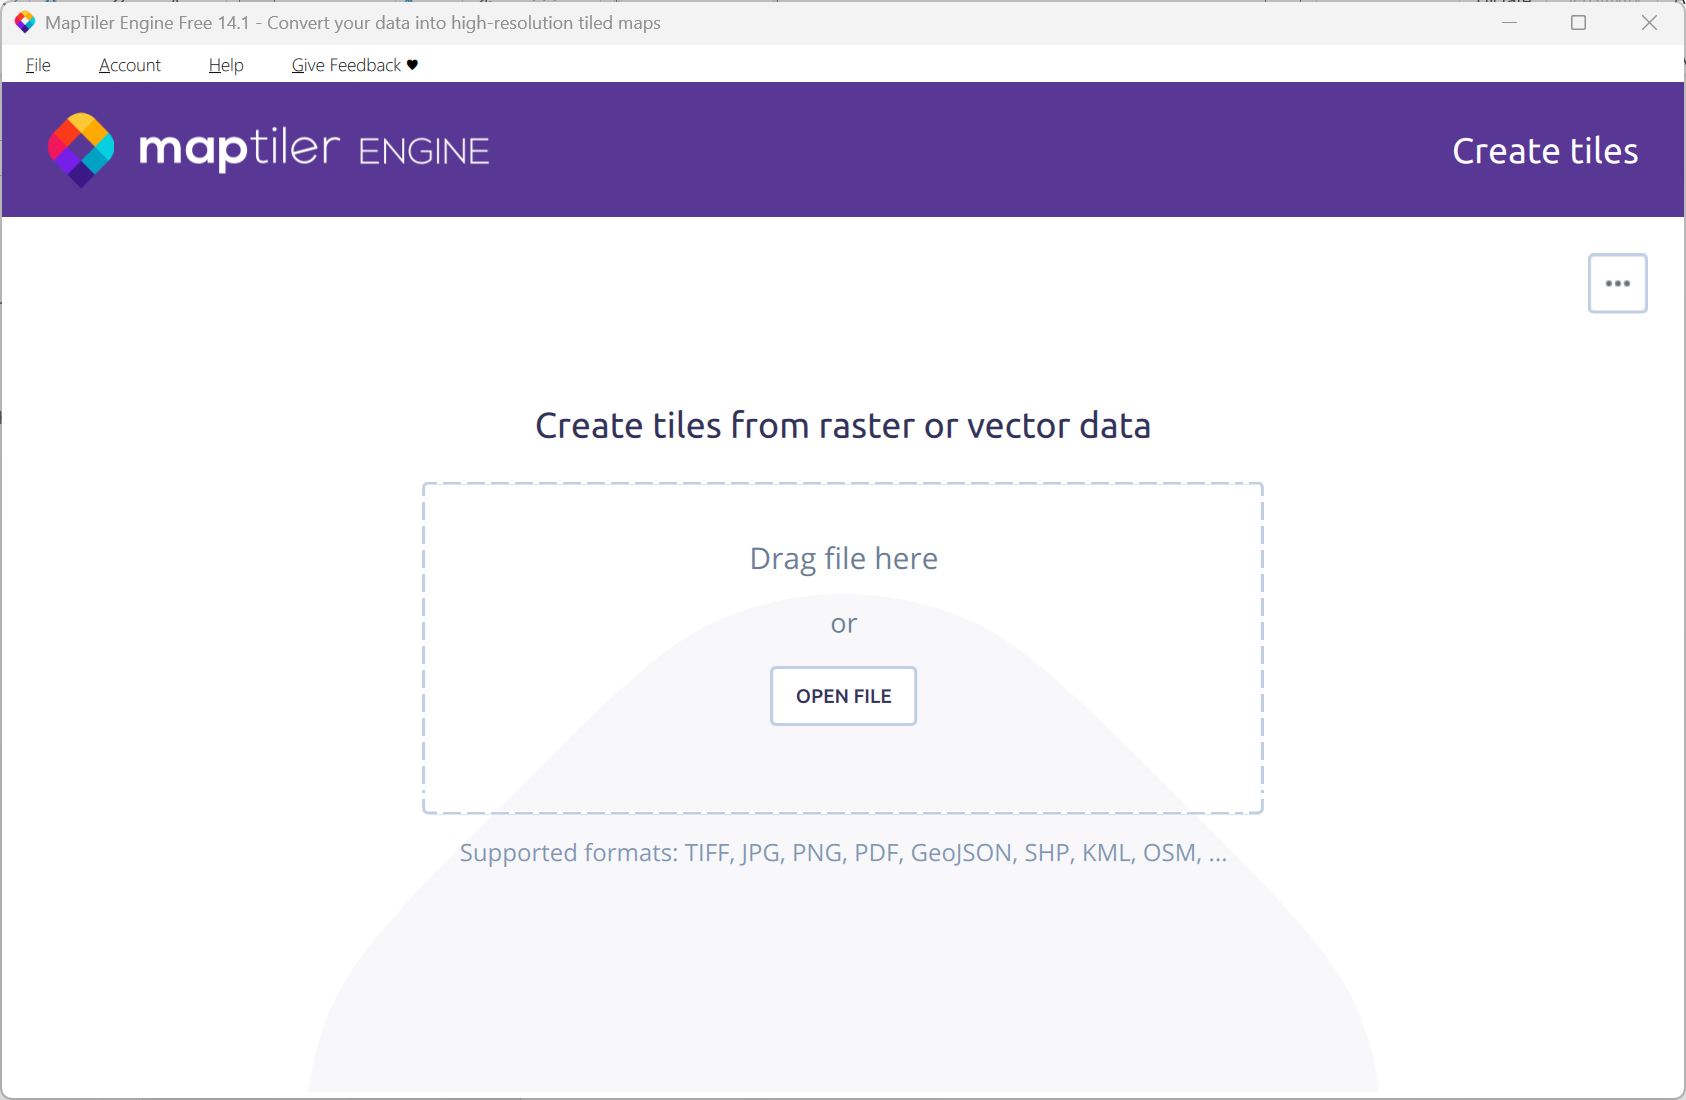
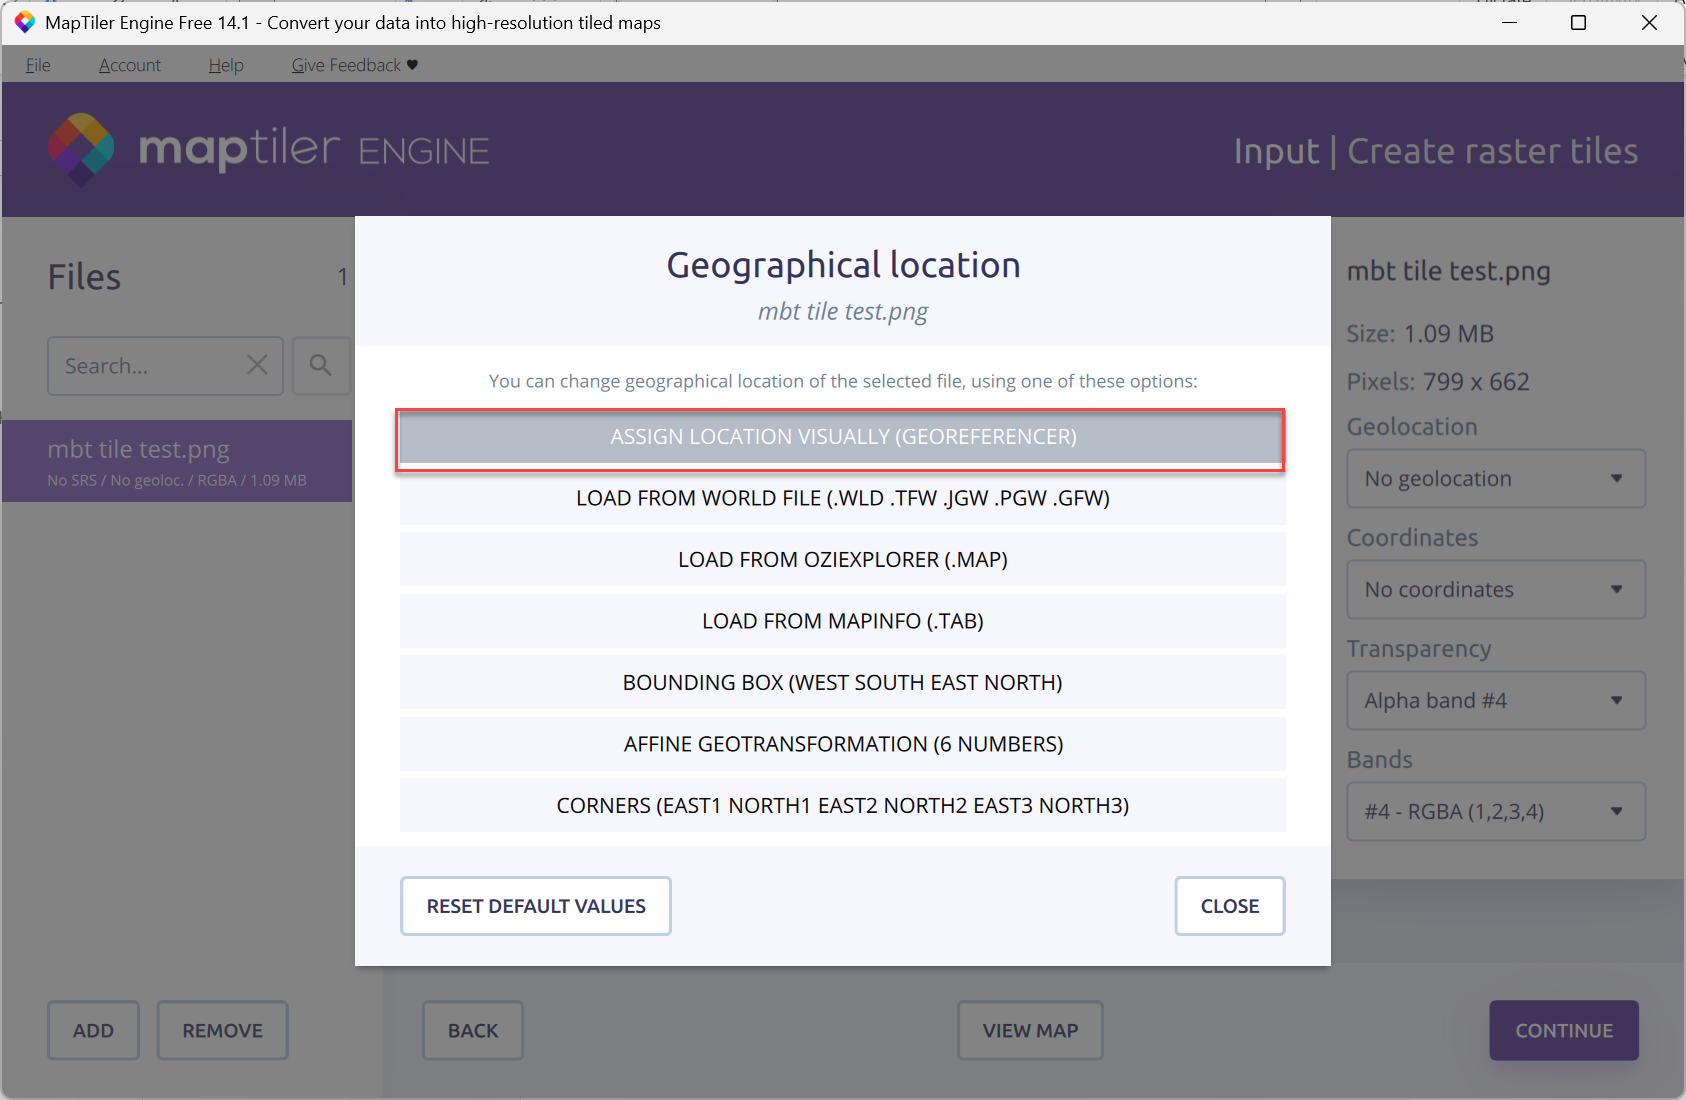
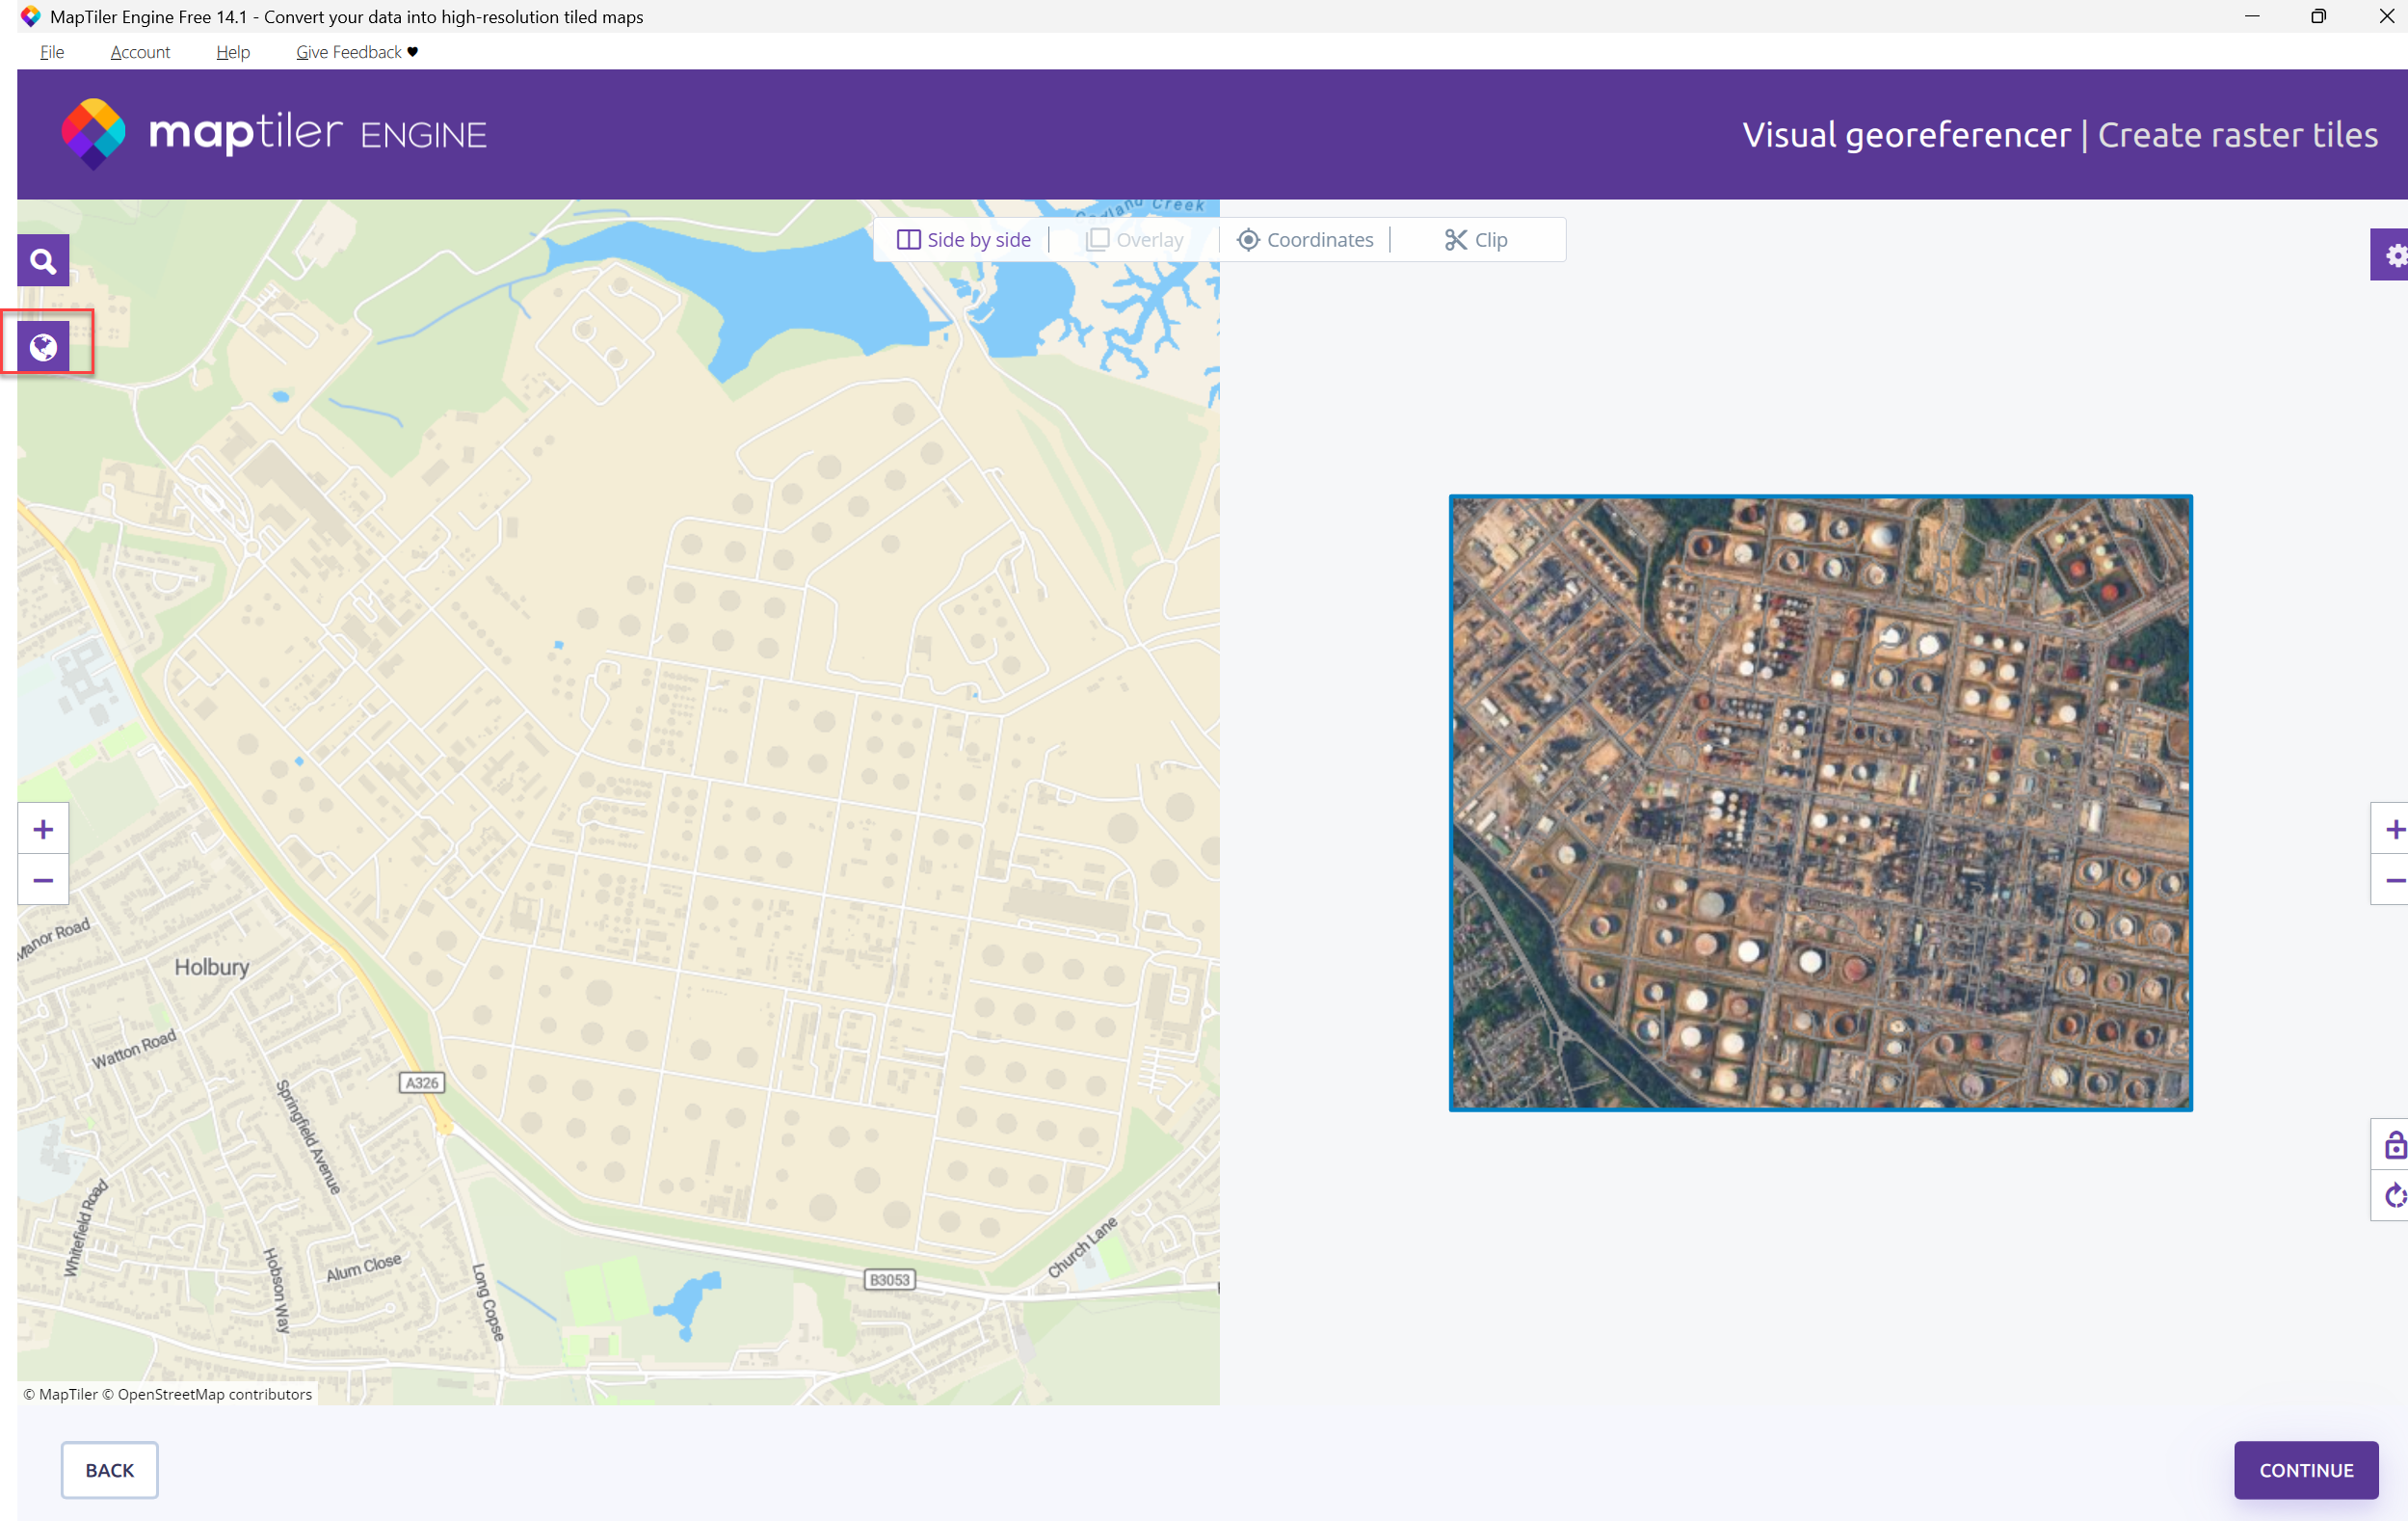
Once you've dragged a file to the Maptiler app, select Assign Location Visually (GeoReferencer).
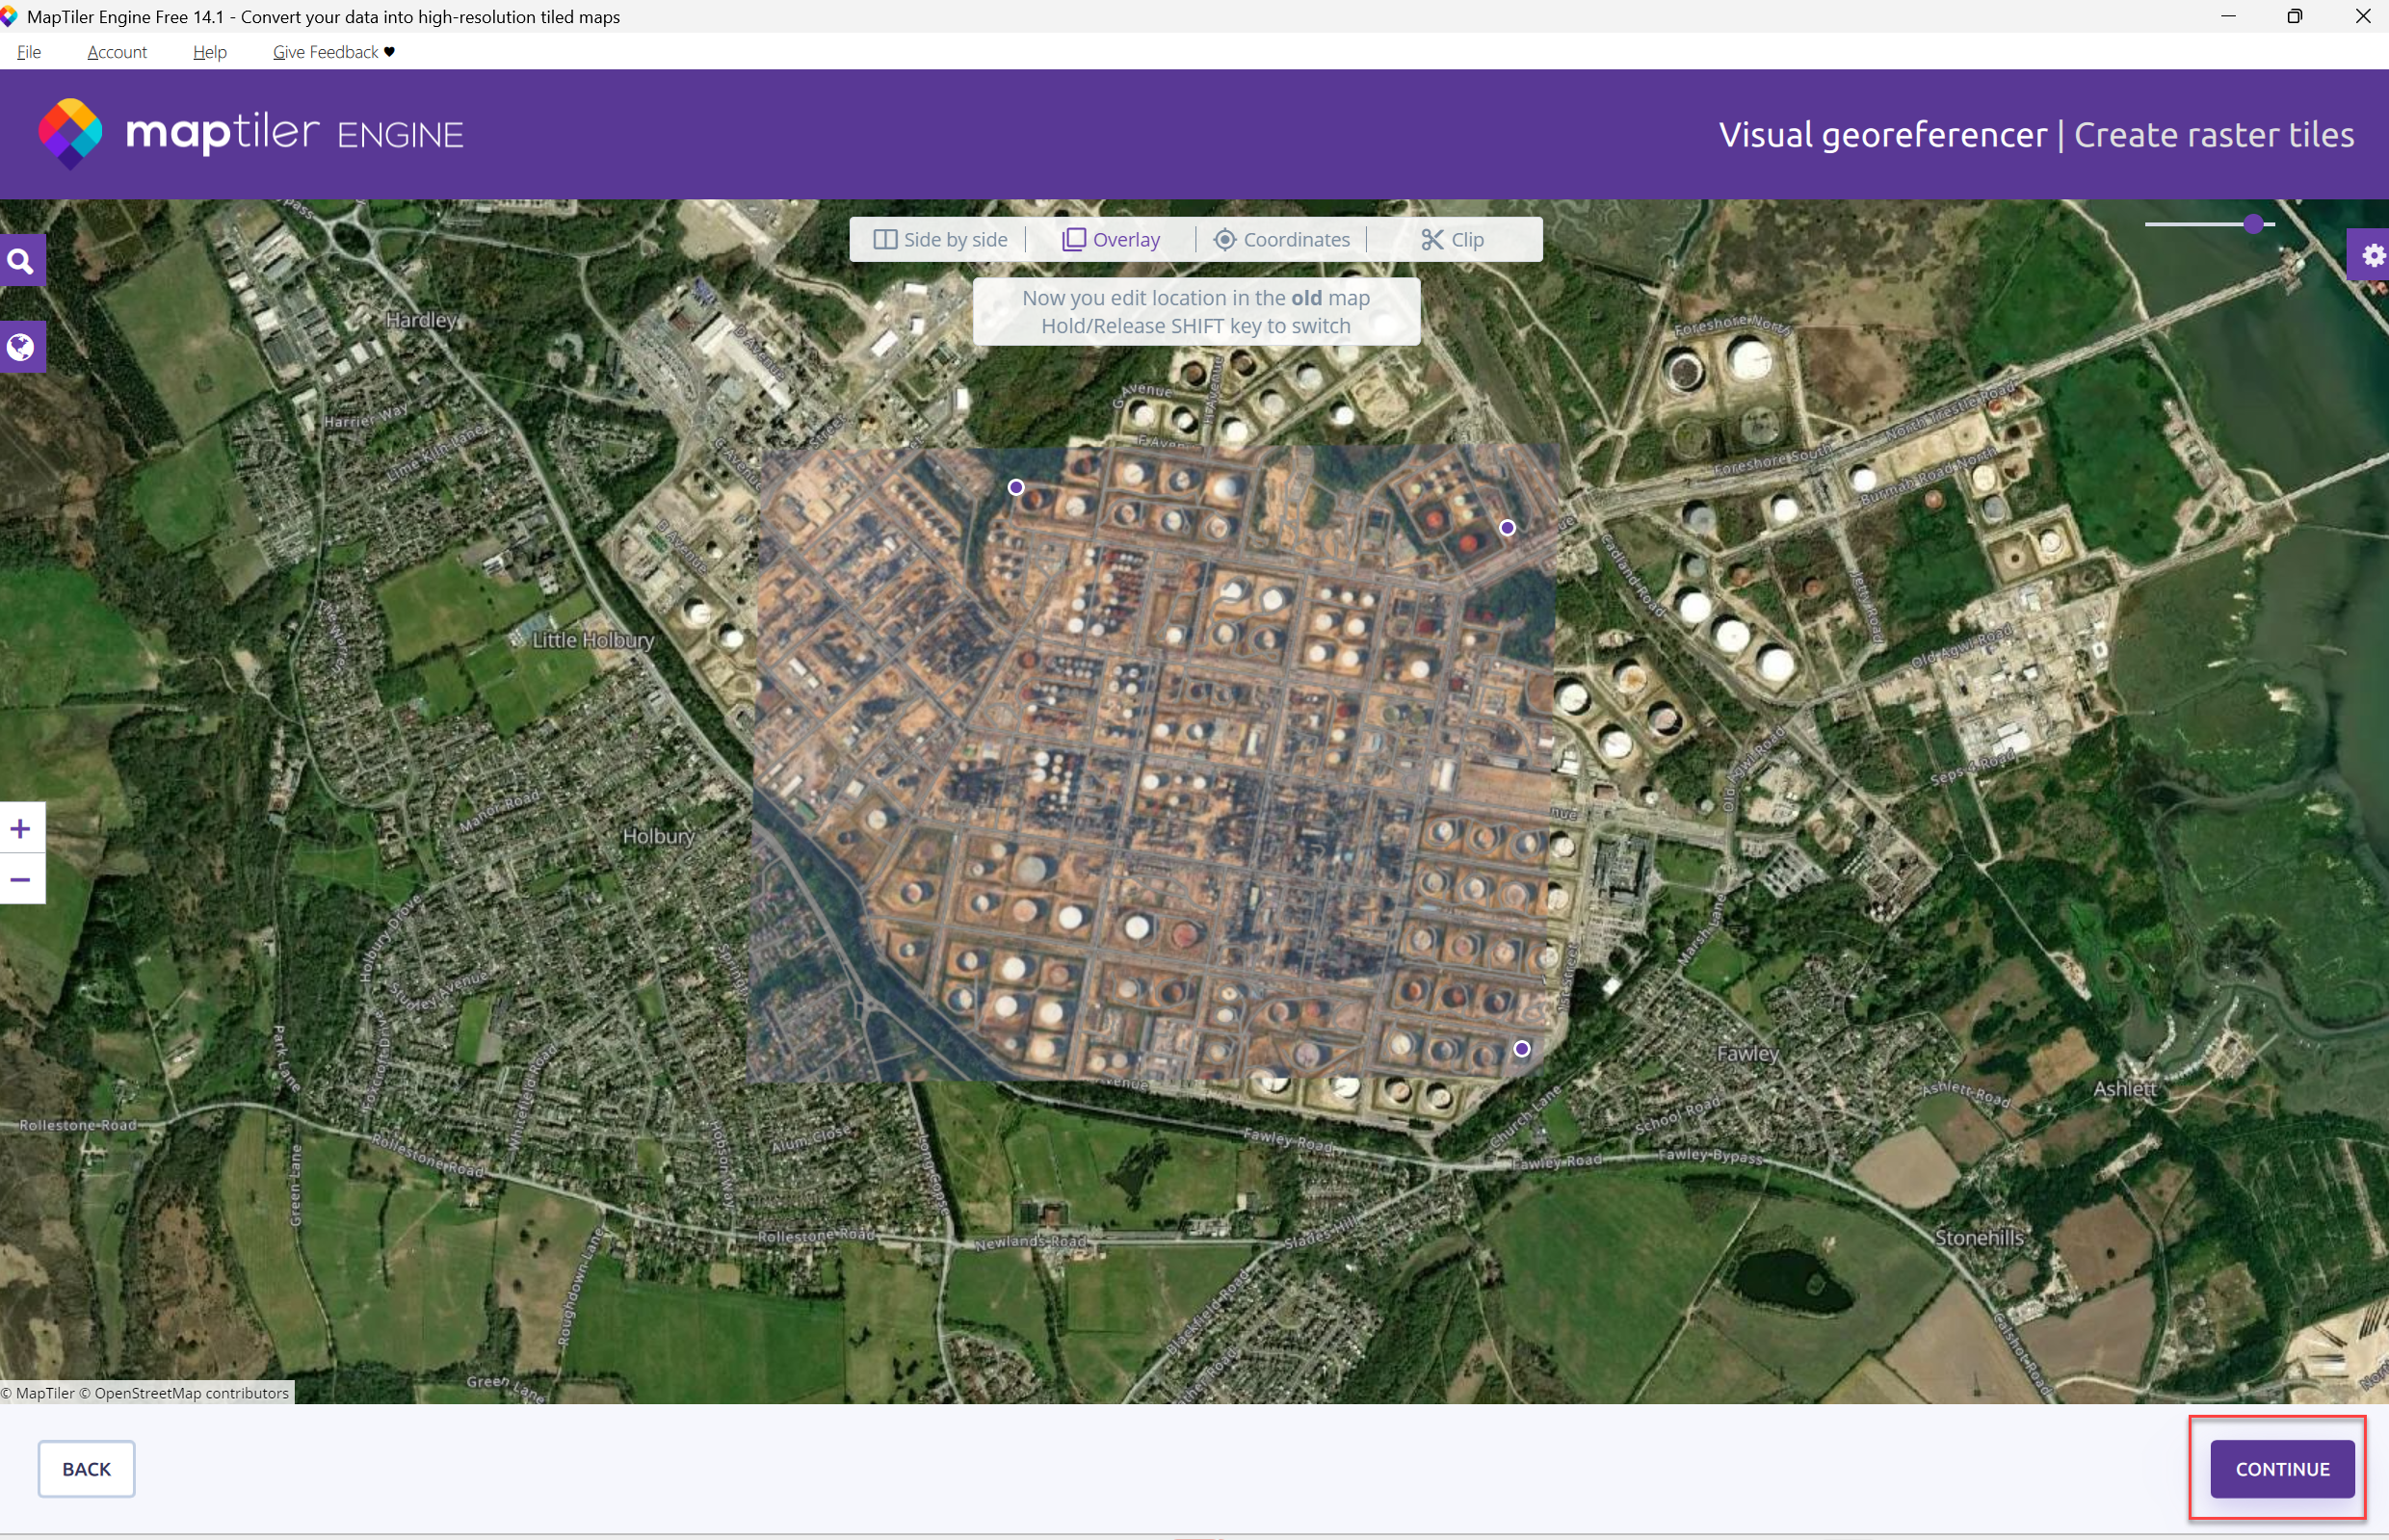
Two maps will appear, one of them is your image and the other is Maptiler app map.On the map on the left, find your location. You can use the search icon if needed.
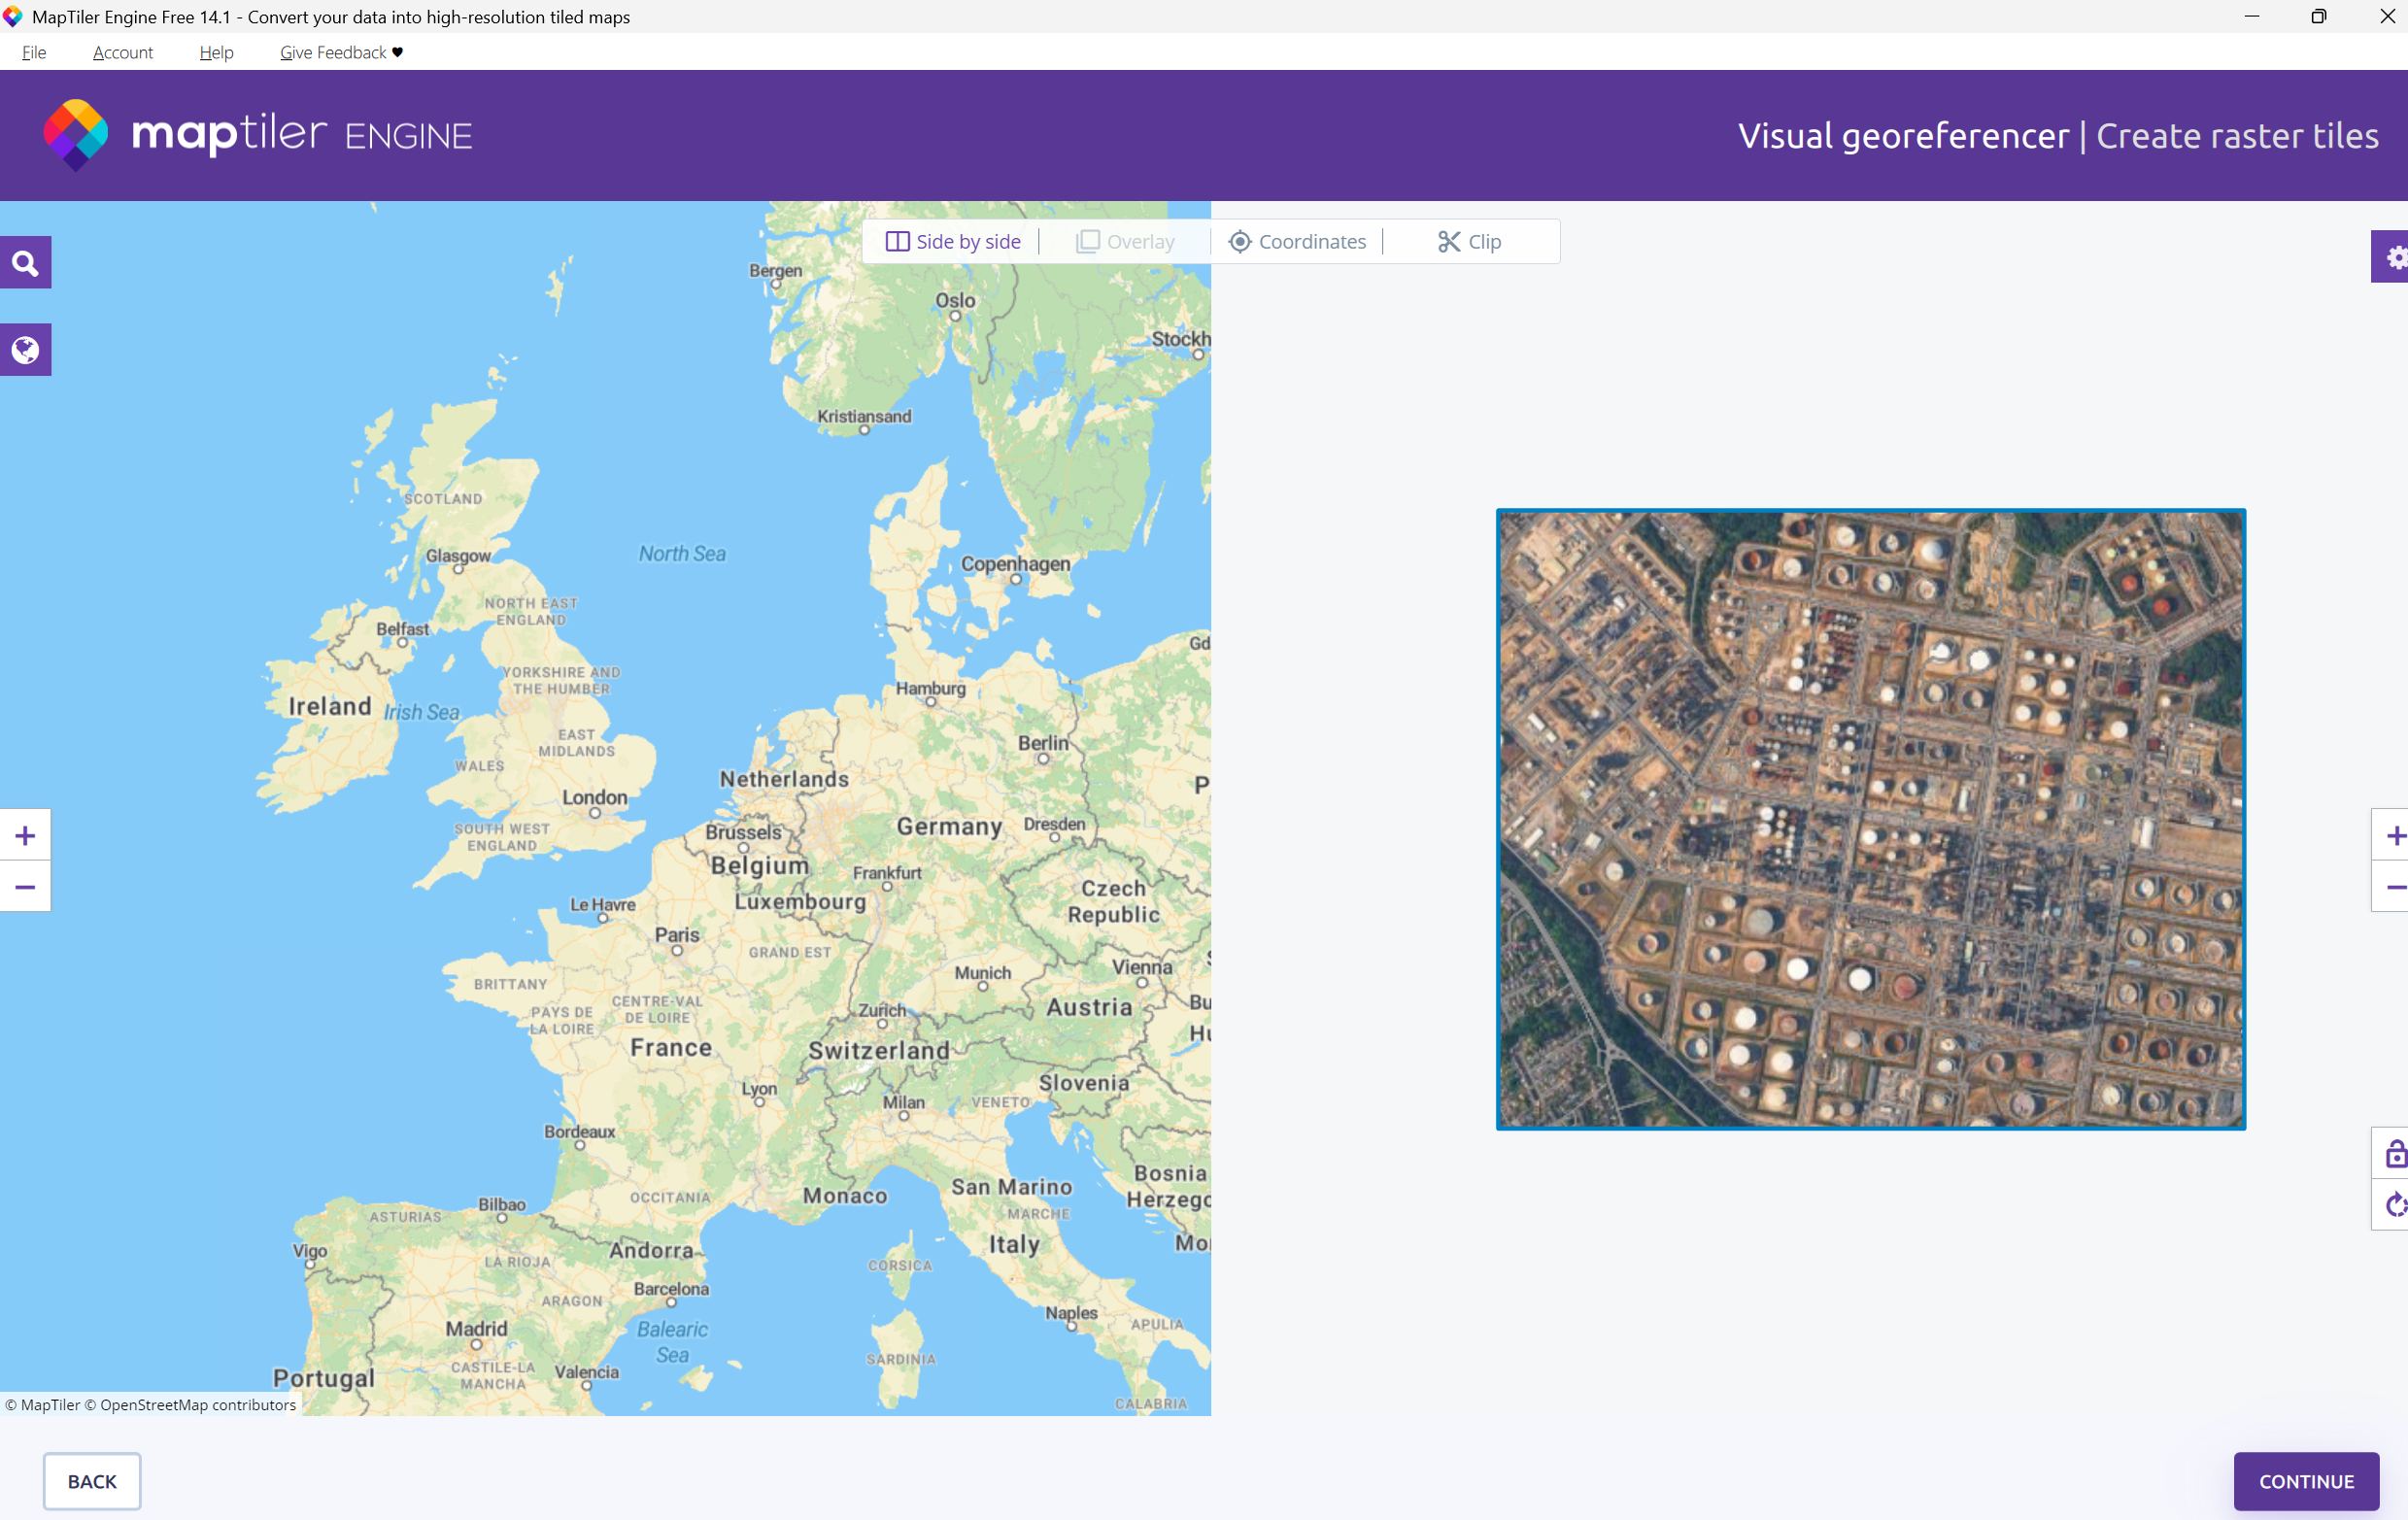
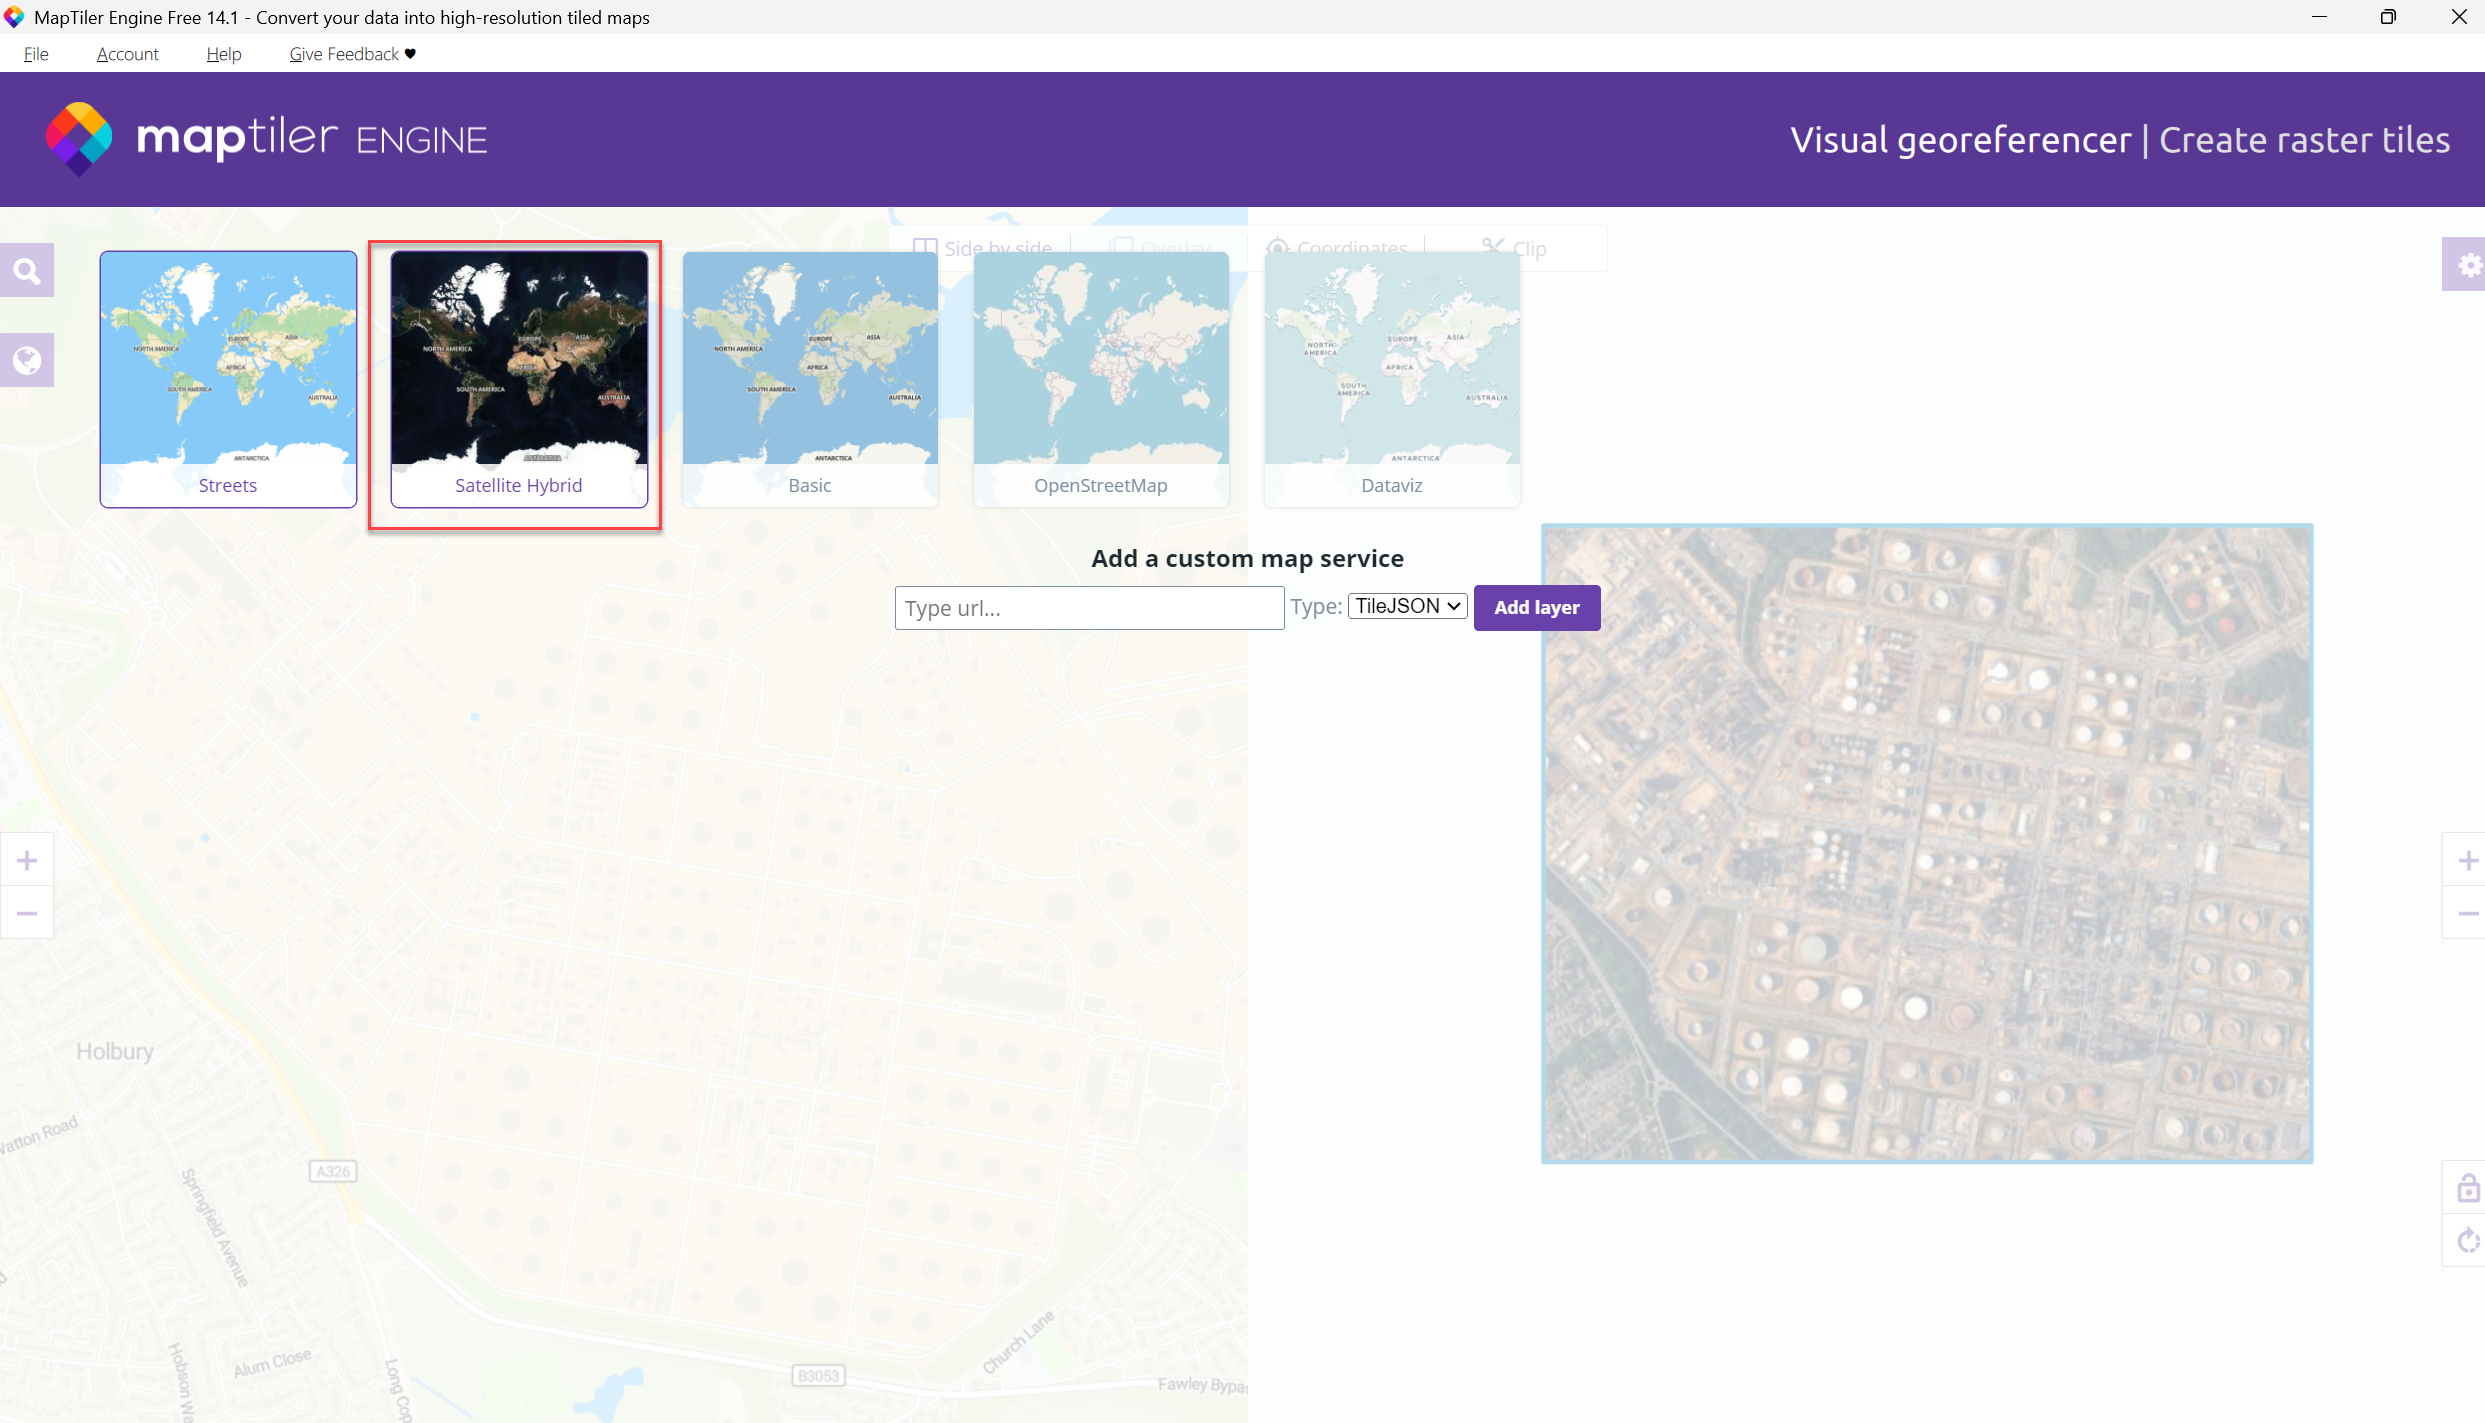
Once found, you can change to satellite view to match the two maps up. This will make it easier to match your location.
Select Satellite Hybrid
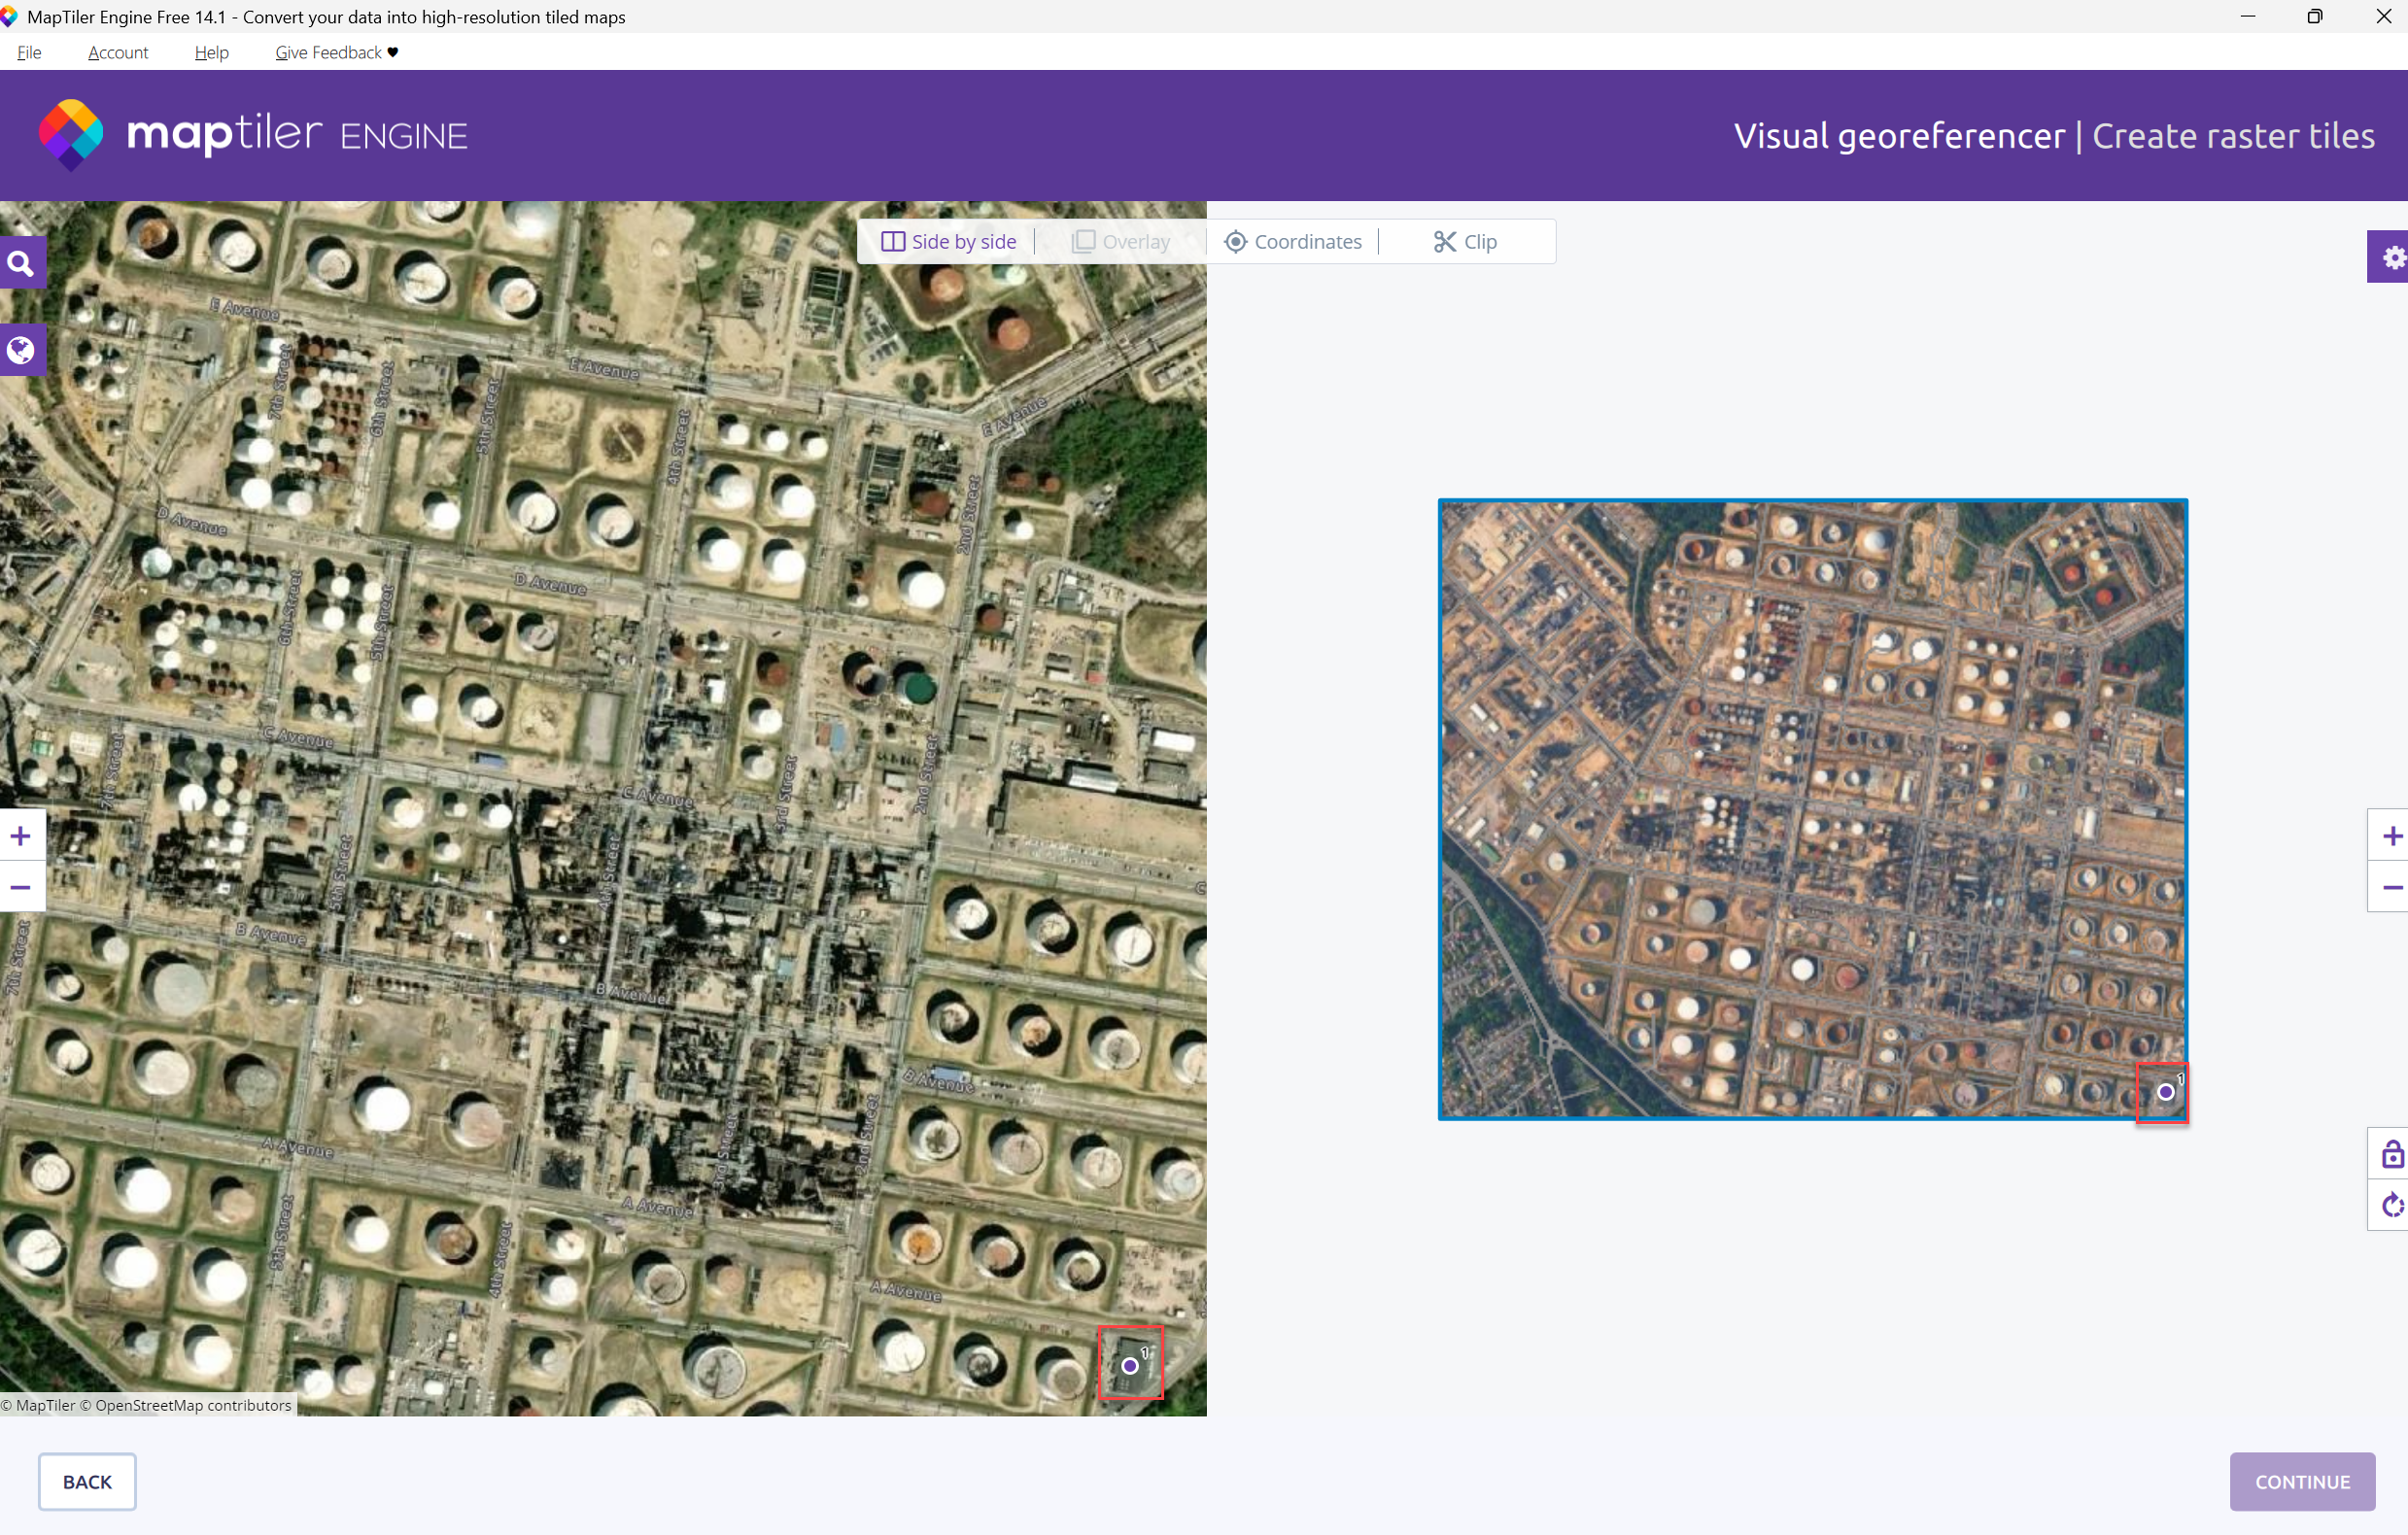
Click on a point on each map to create the first pair of the pairs of location points.
Note: I will select three pairs of location points, however, you can select more than three location points.
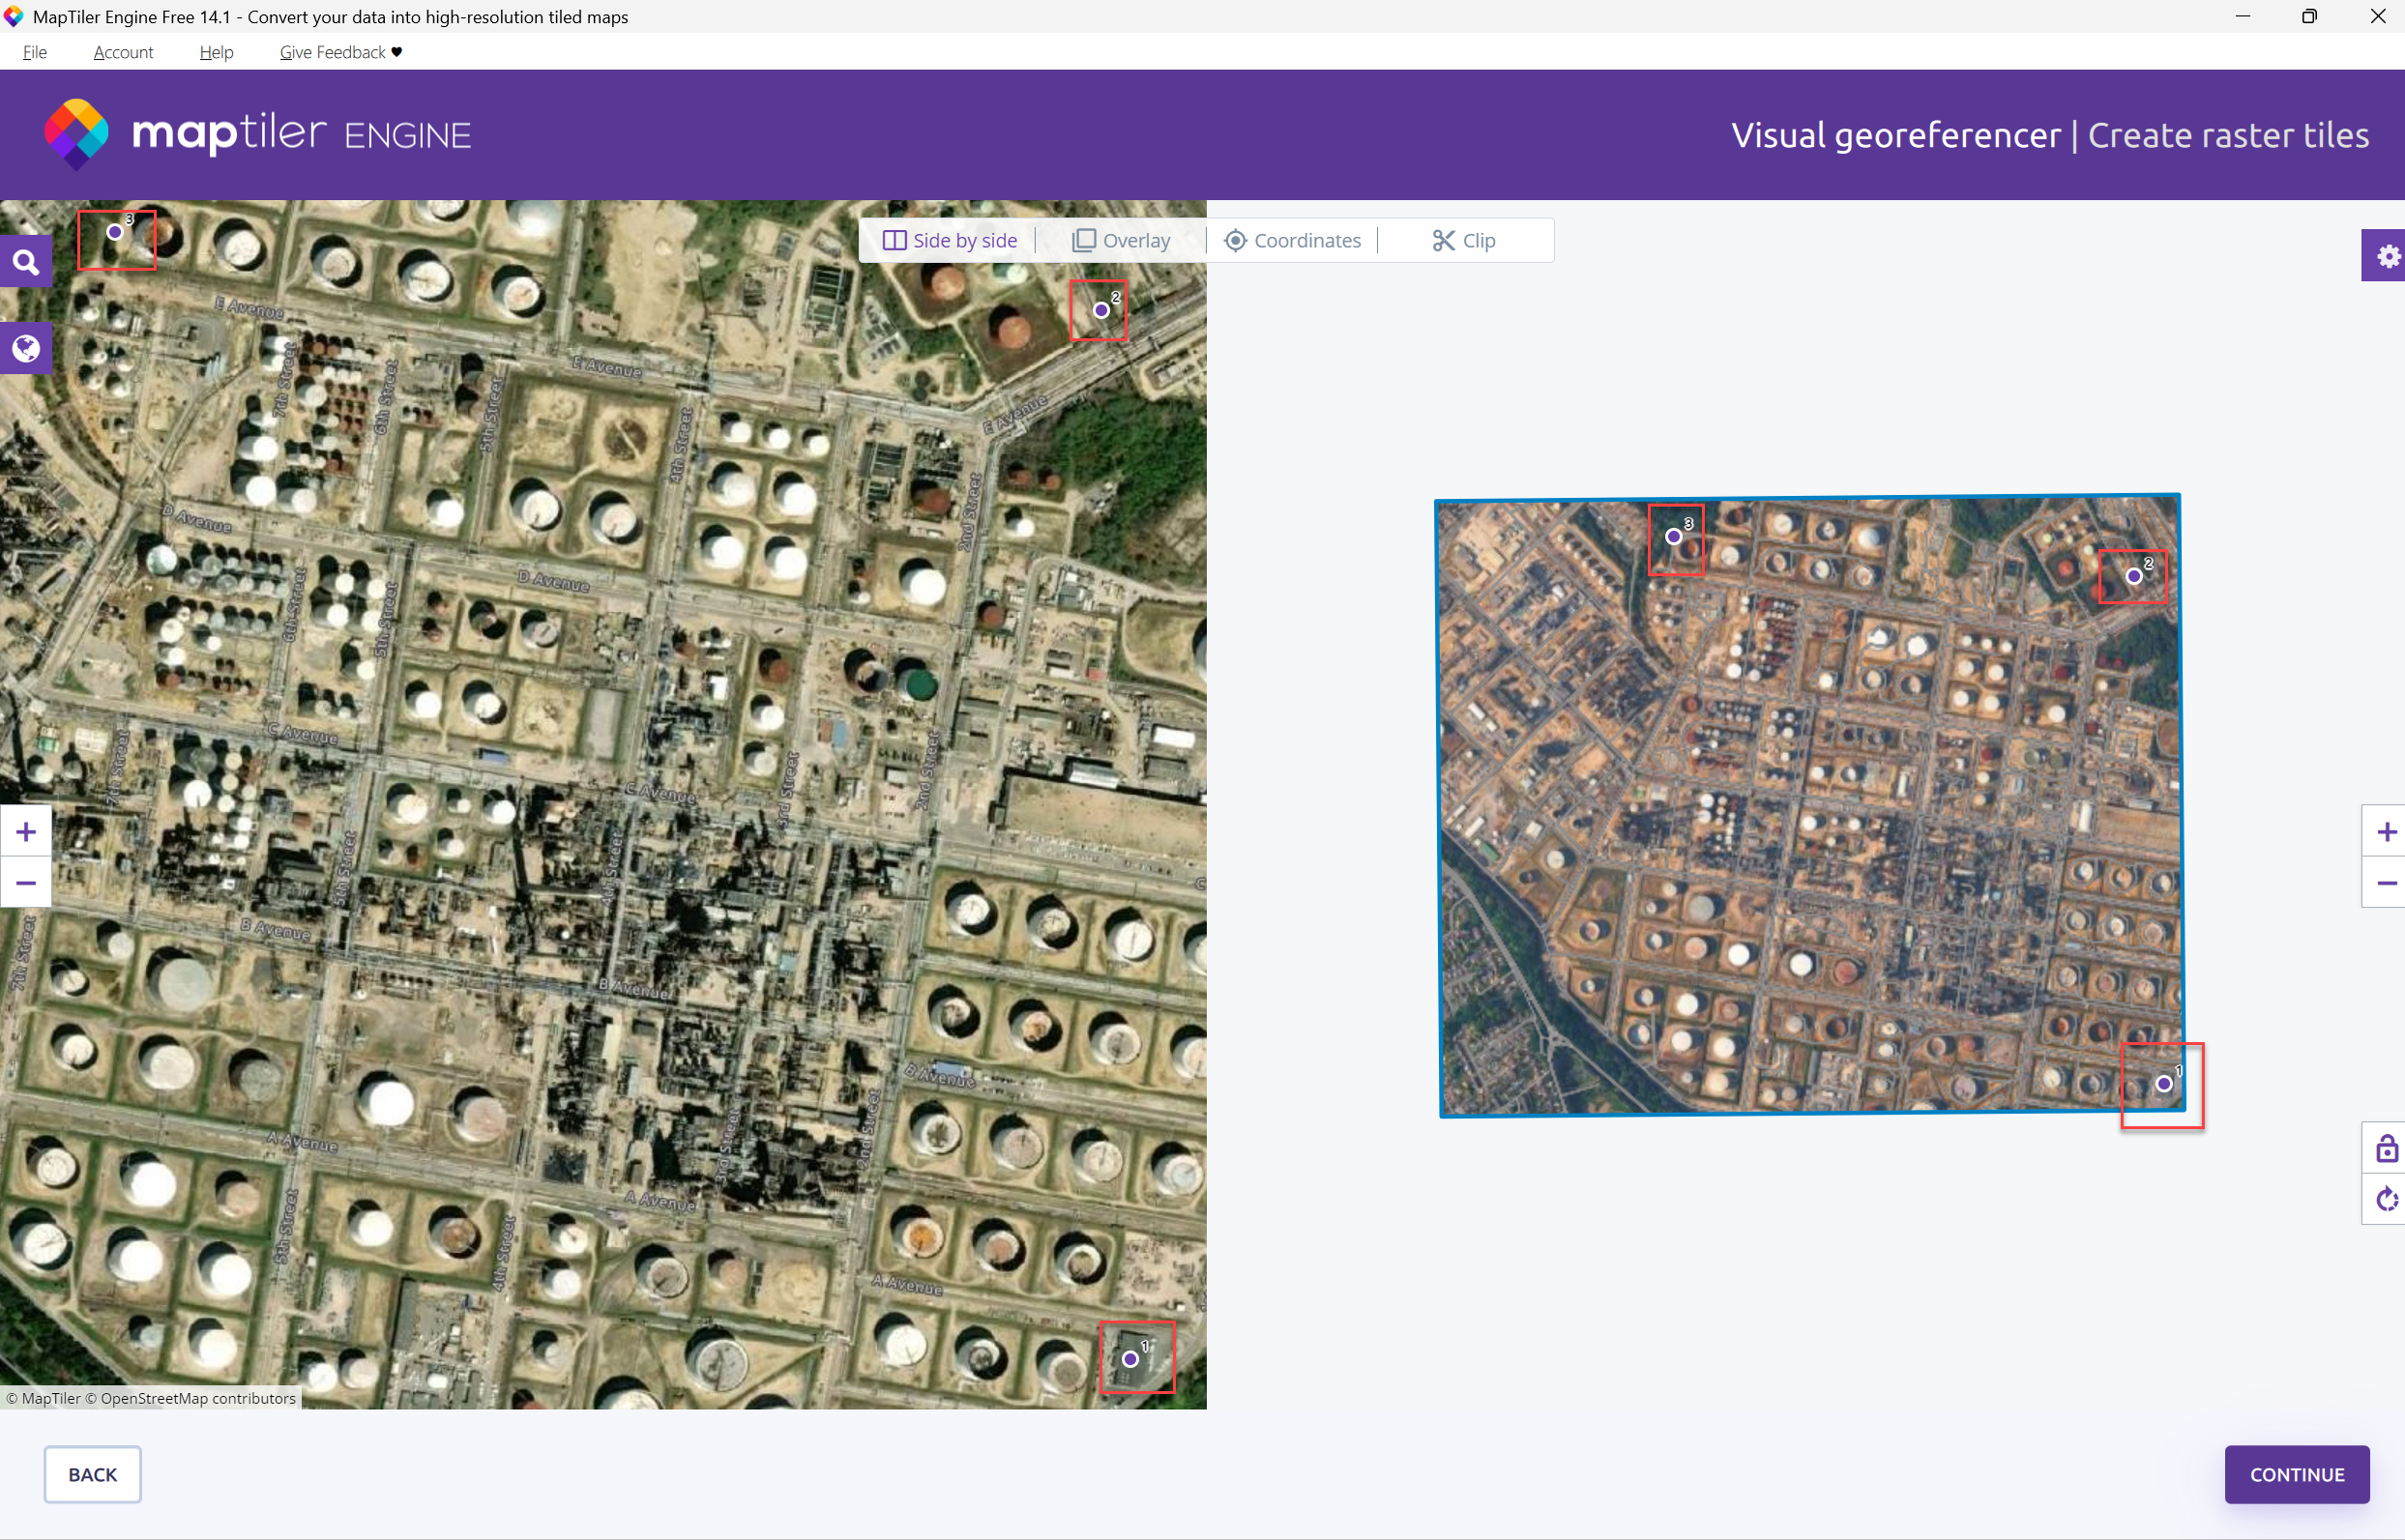
Select the remaining location points.
Select Overlay to place the two maps on top of each other.

Once happy, click Continue
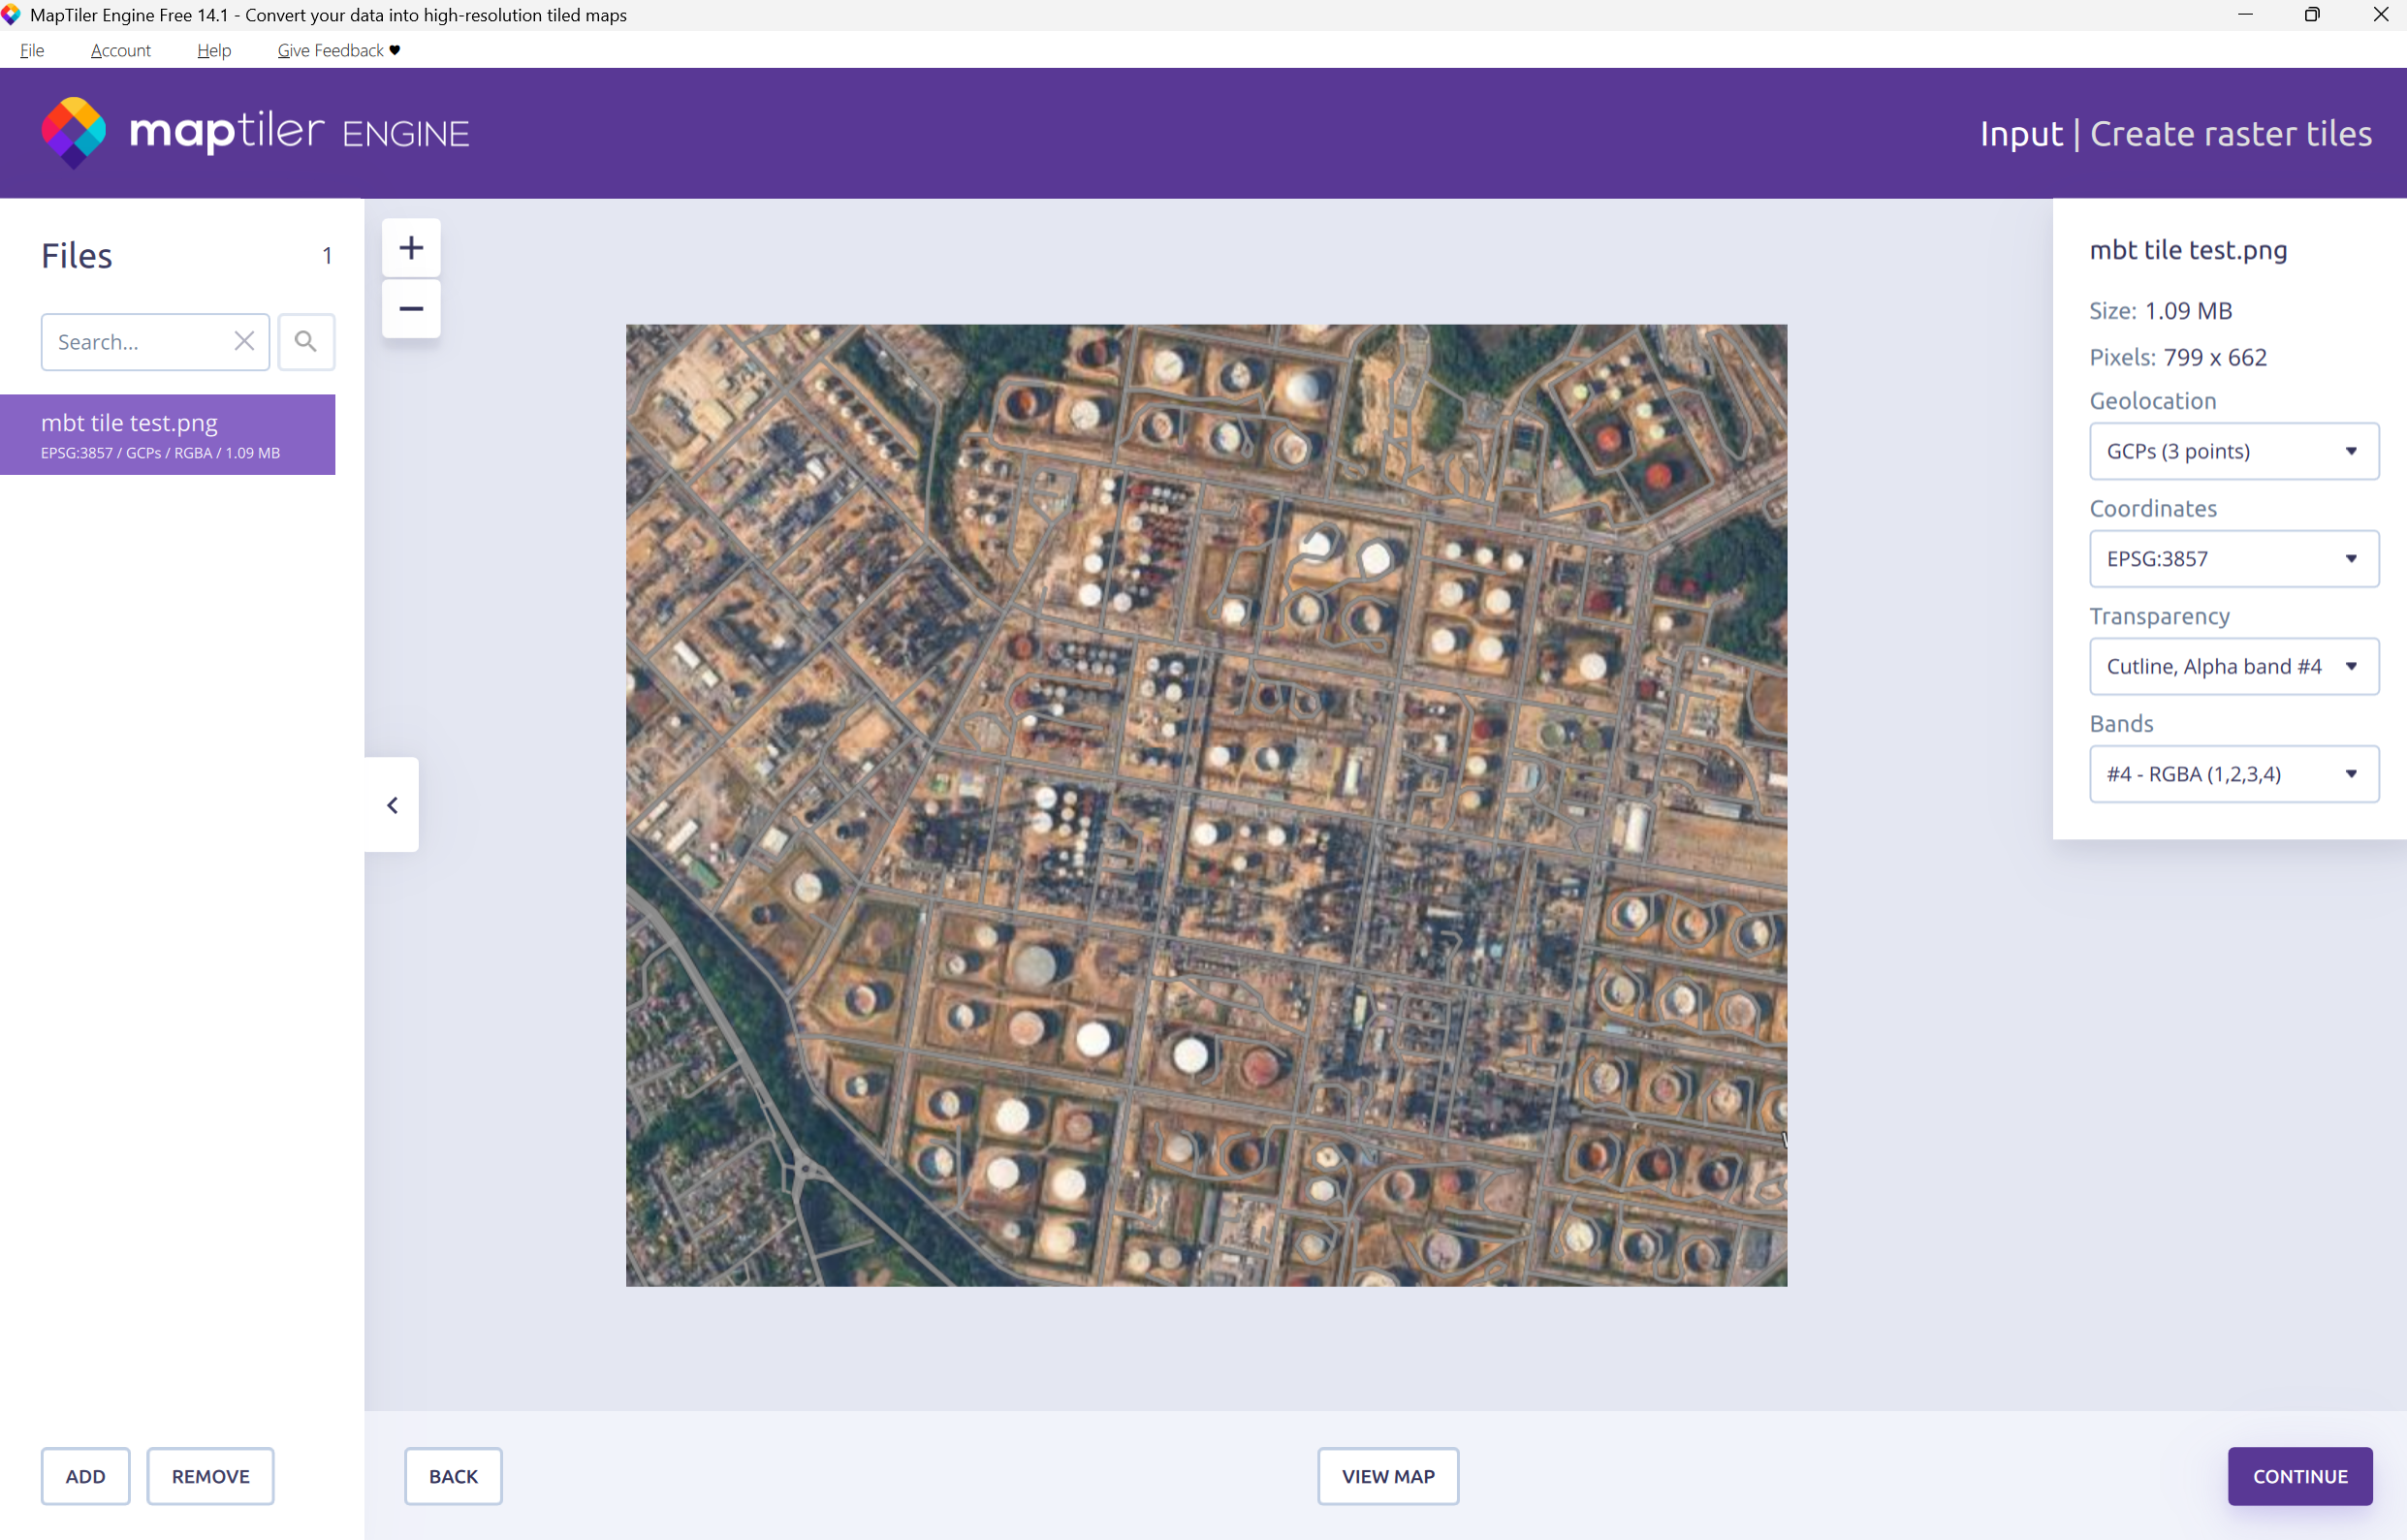
Click Continue.
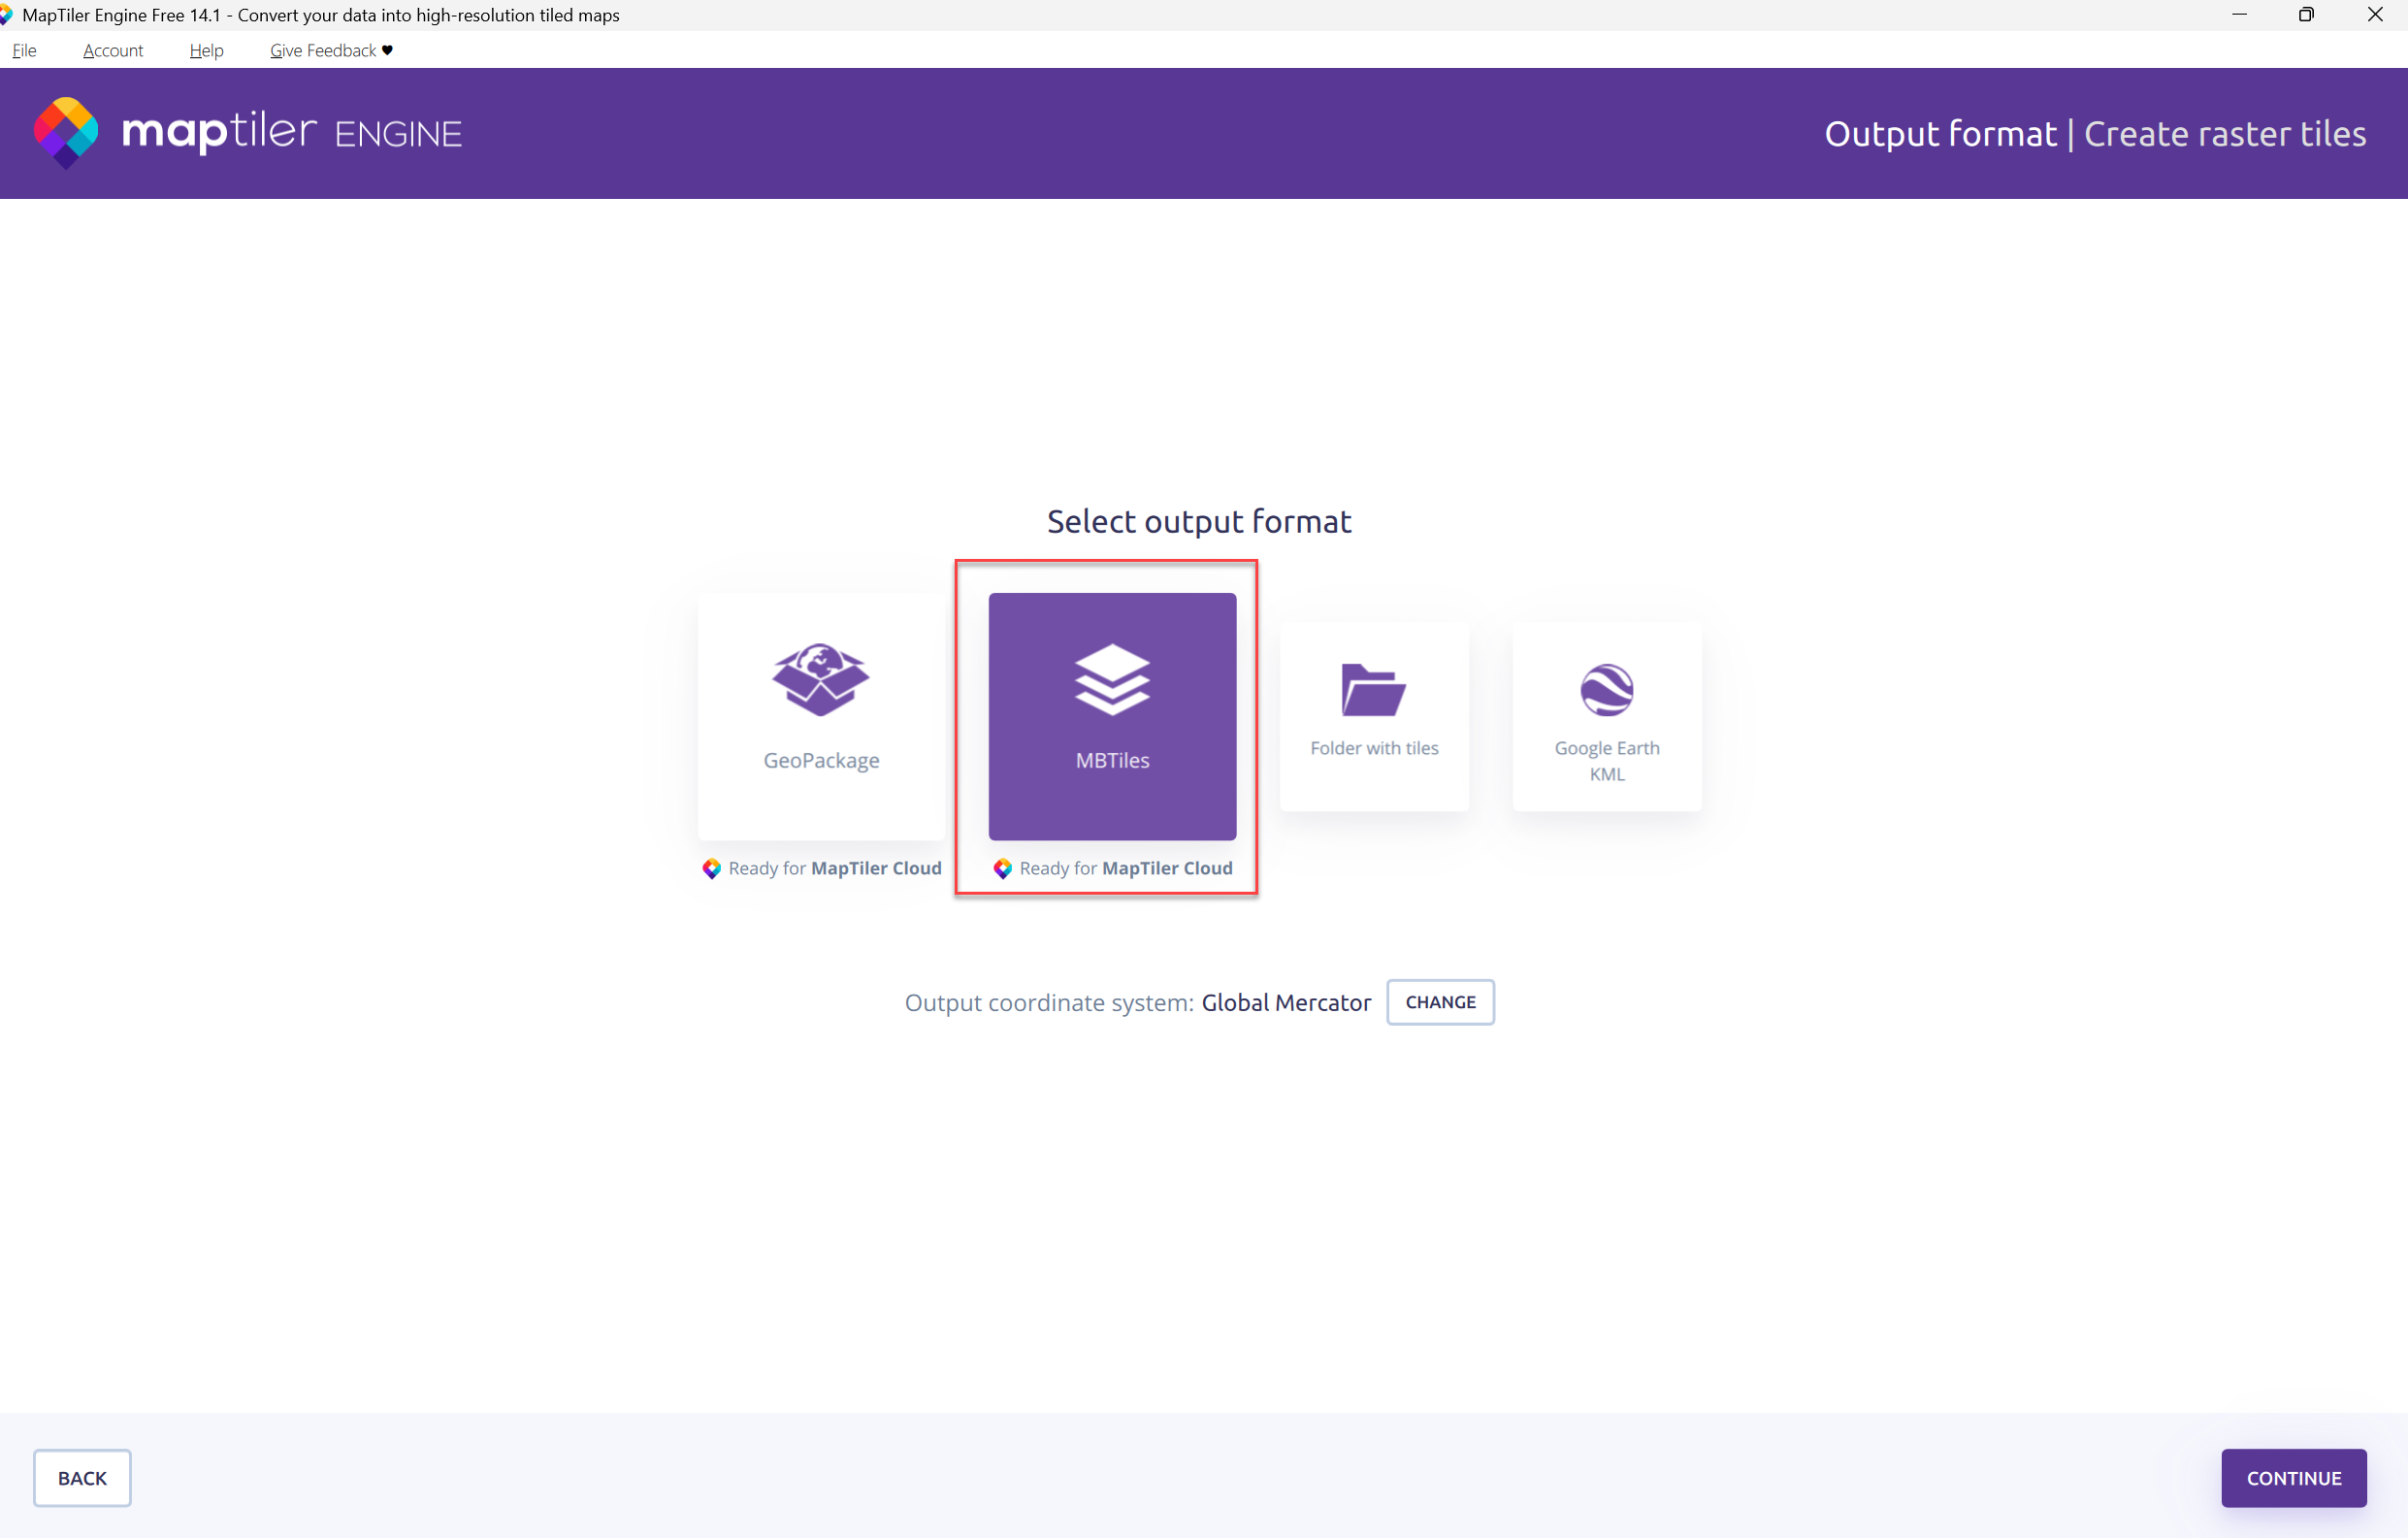
Click MBTiles and then select Continue
Modify the Output tile format and Zoom levels.
Select Continue.
Note: Free users will also need to enable the Non-commerical Use checkbox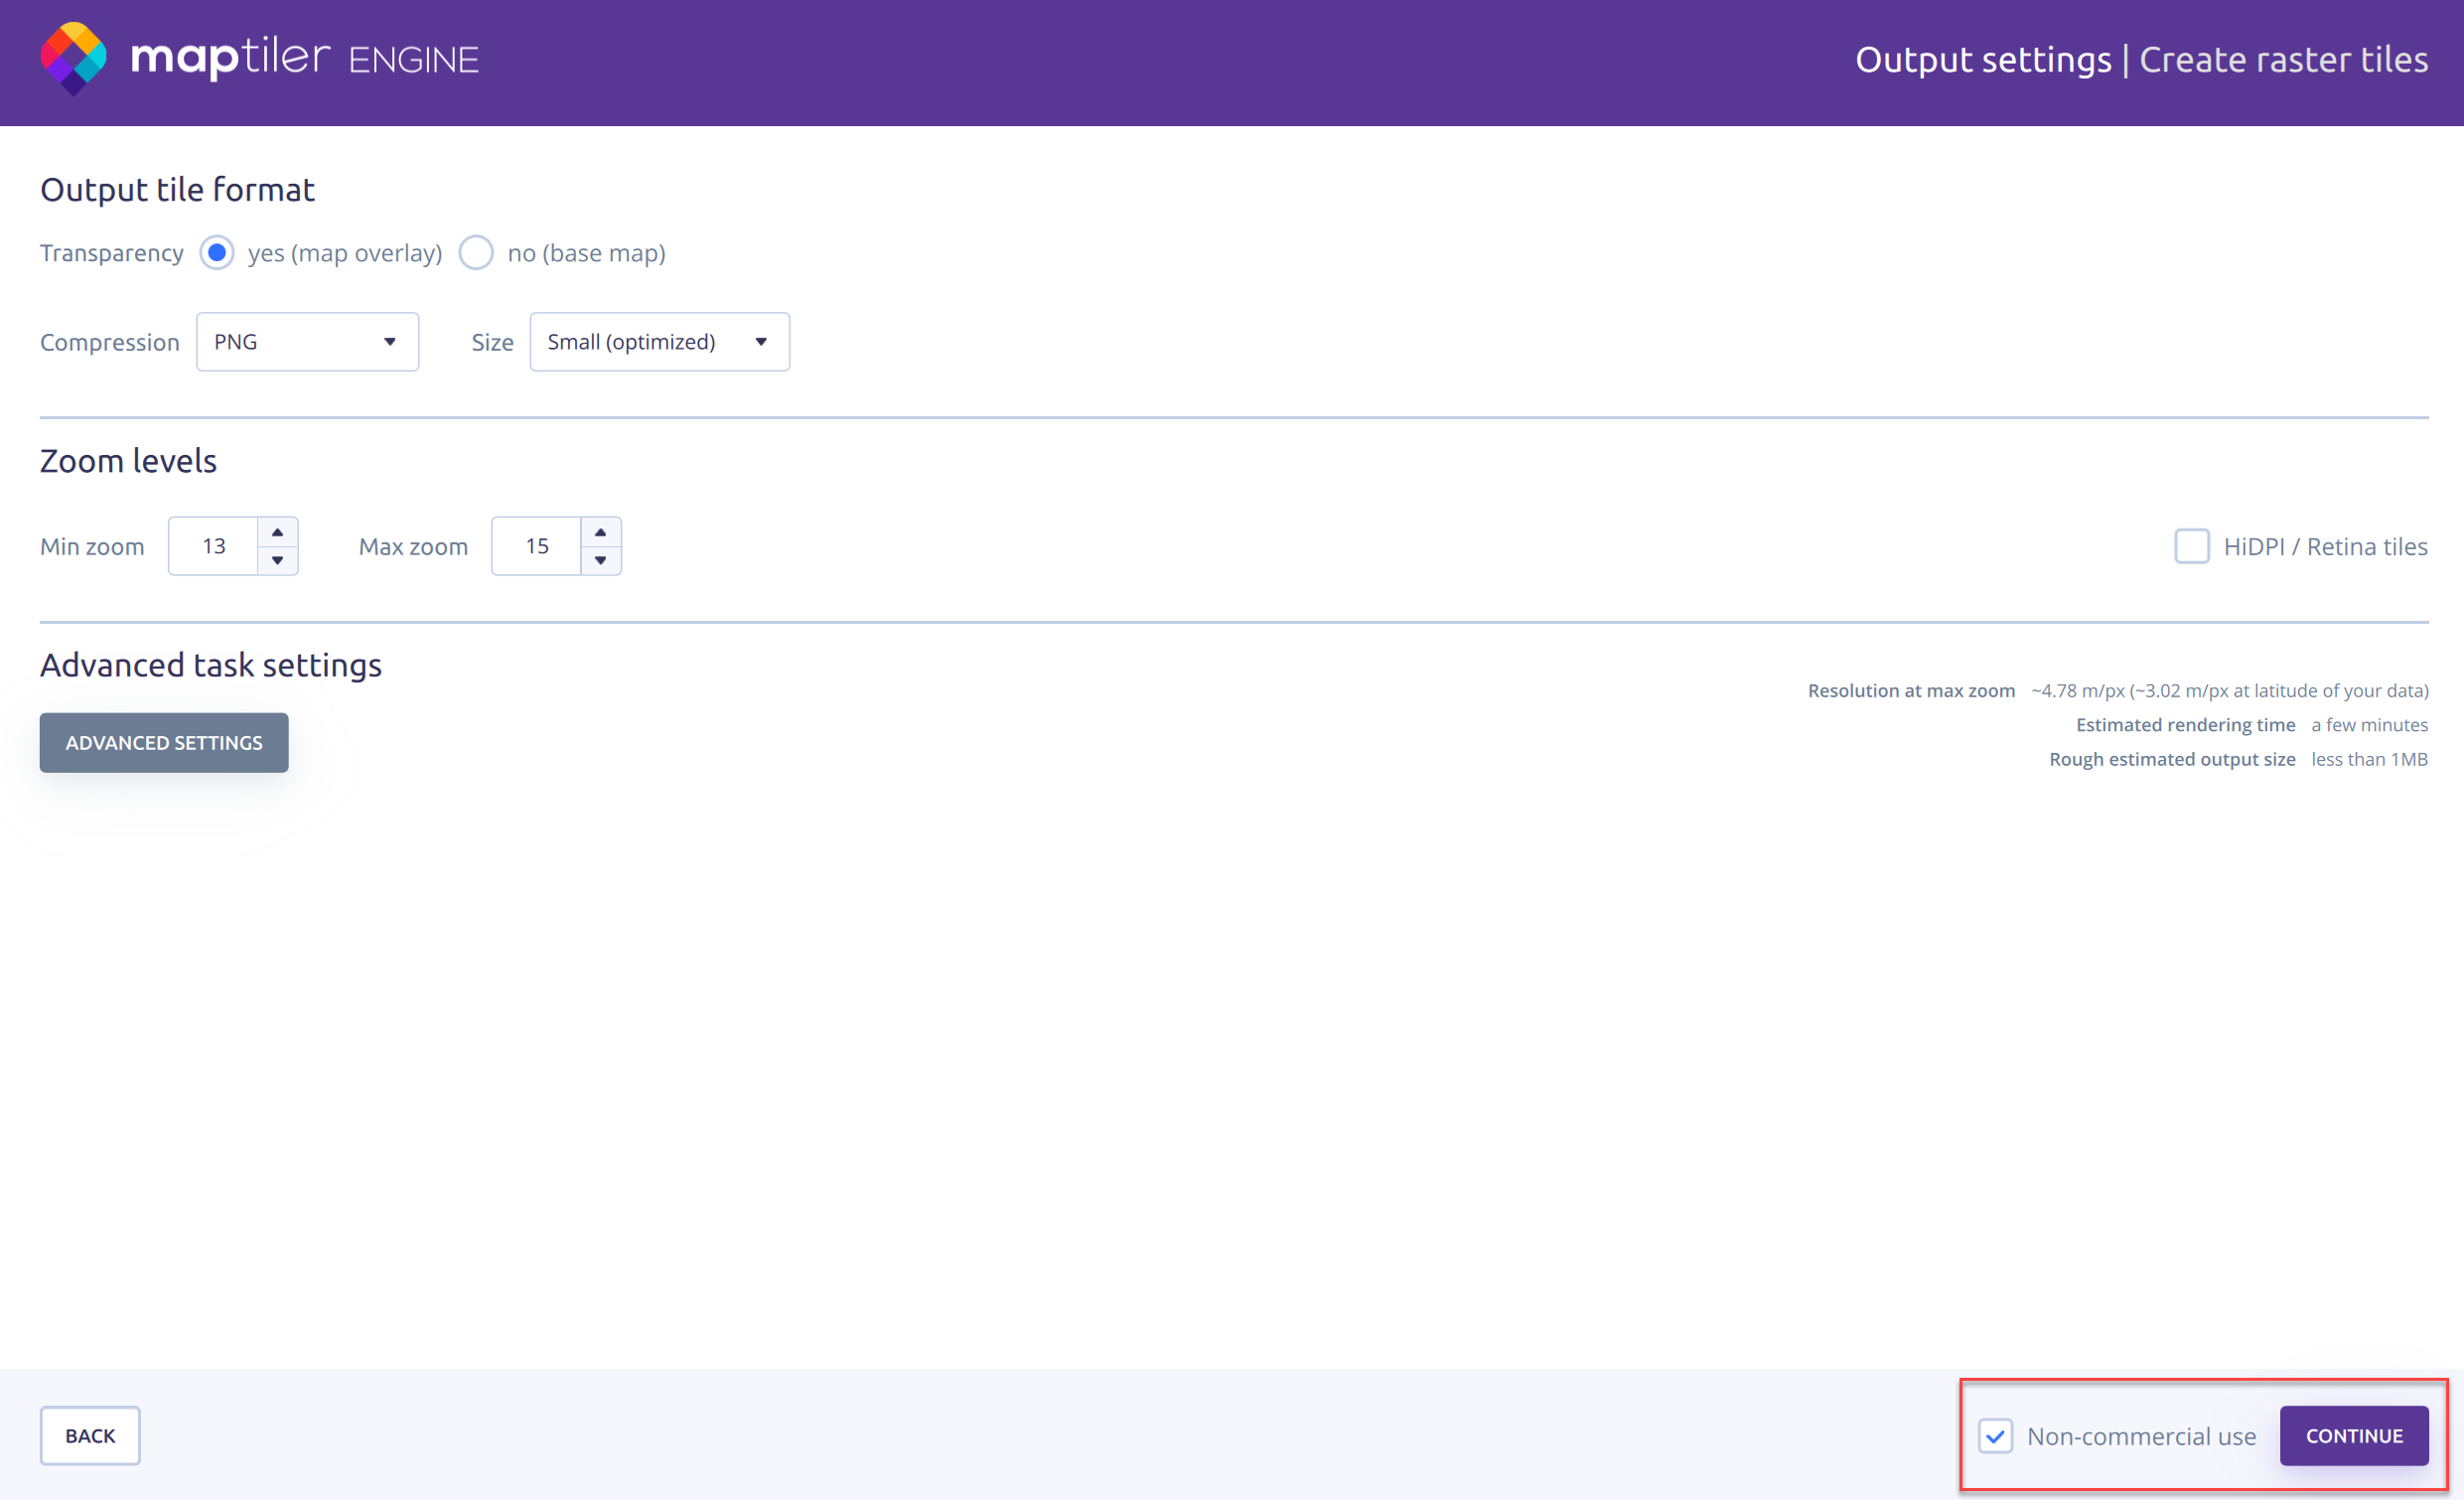
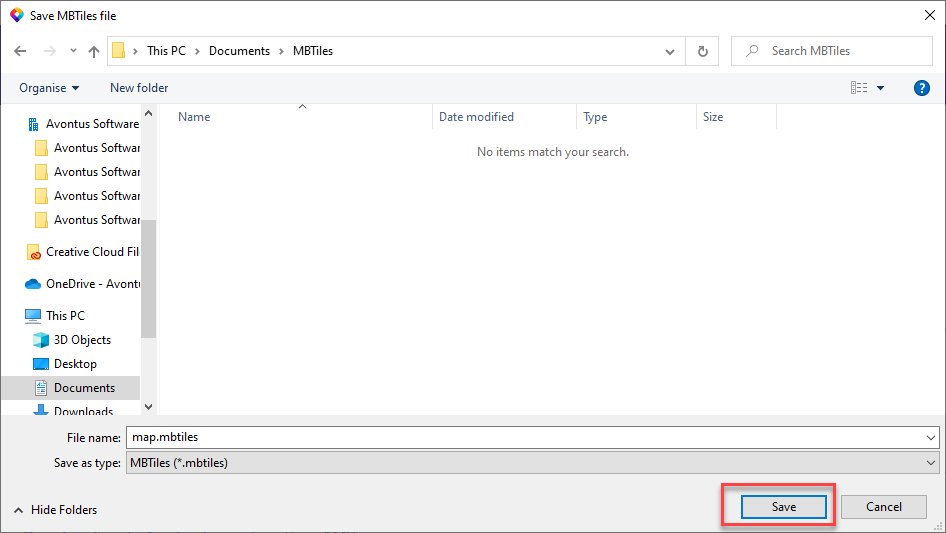
Navigate to the correct folder and save the MBTile file in that folder.
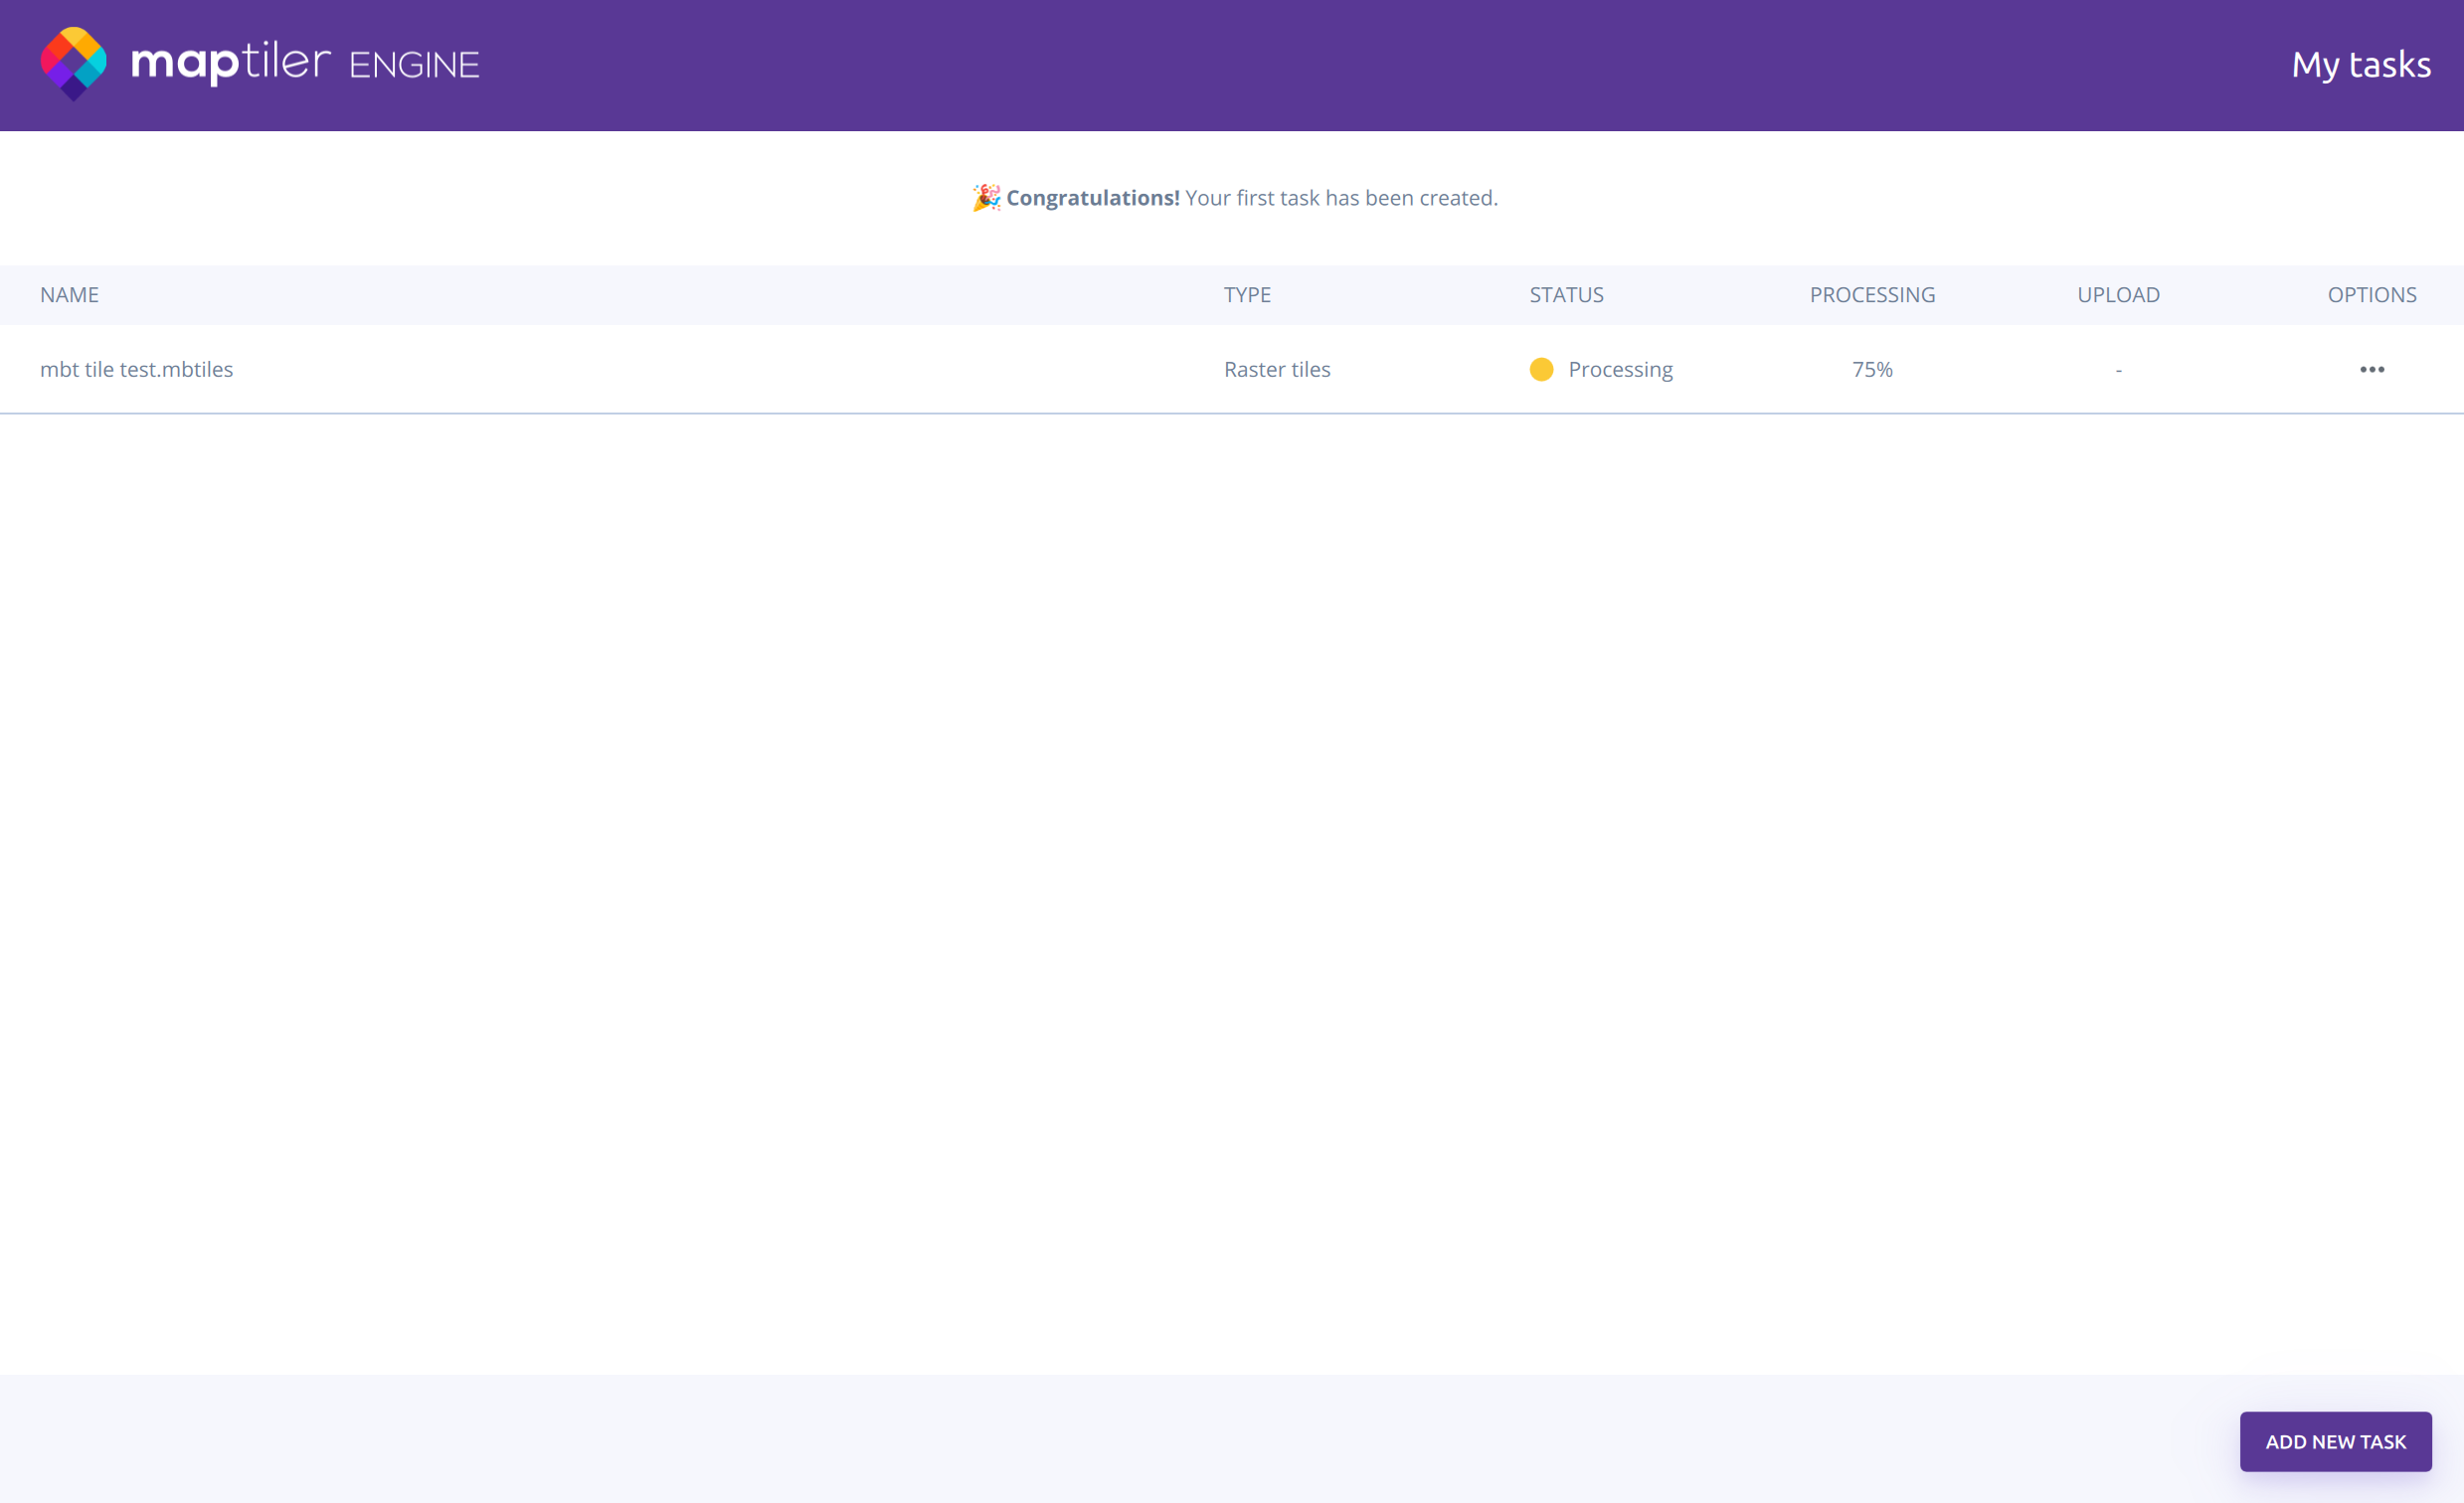
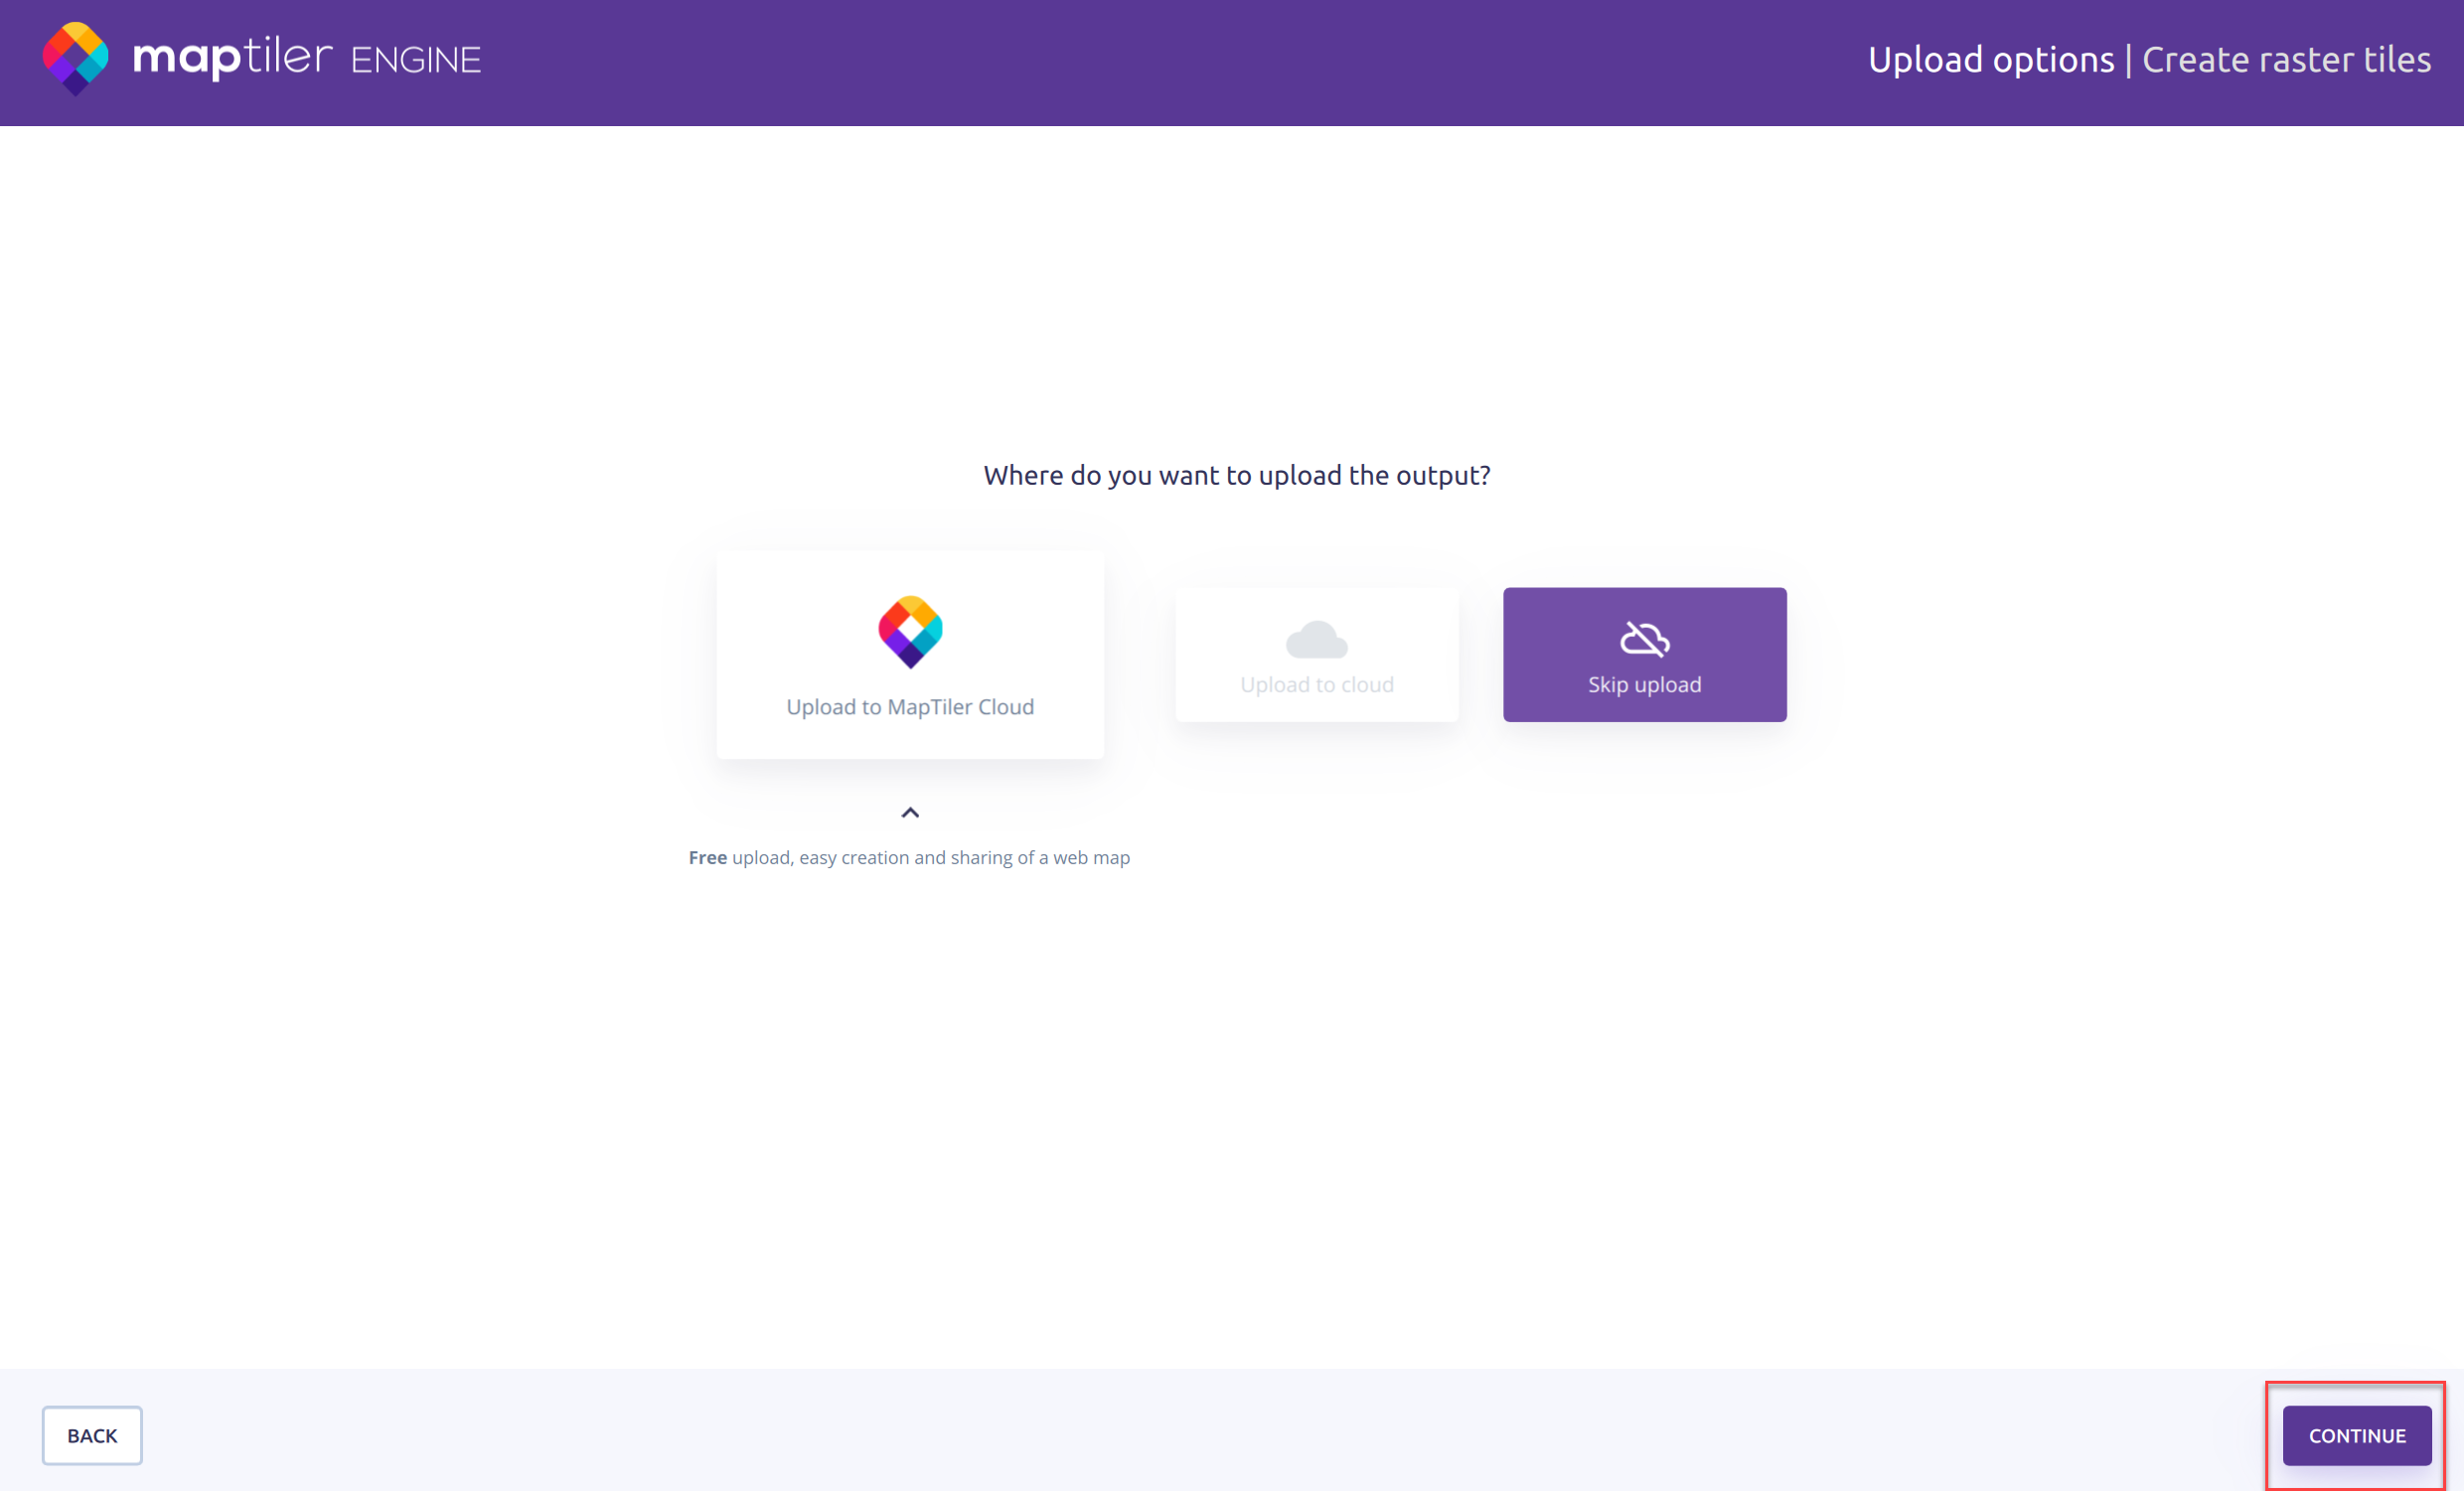
Select whether to upload the output to Cloud, and Continue
The process will begin. When it is complete it can then be added to ScaffoldIQ.
,