Once Quantify is set up properly with all of the needed codes (refer to Quantify Data Changes and the Oracle Export File), you can begin exporting from the Invoices tab. You will notice an Export Status column, as well as a filter that enables you to only show exported or non-exported invoices.

To create the export file:
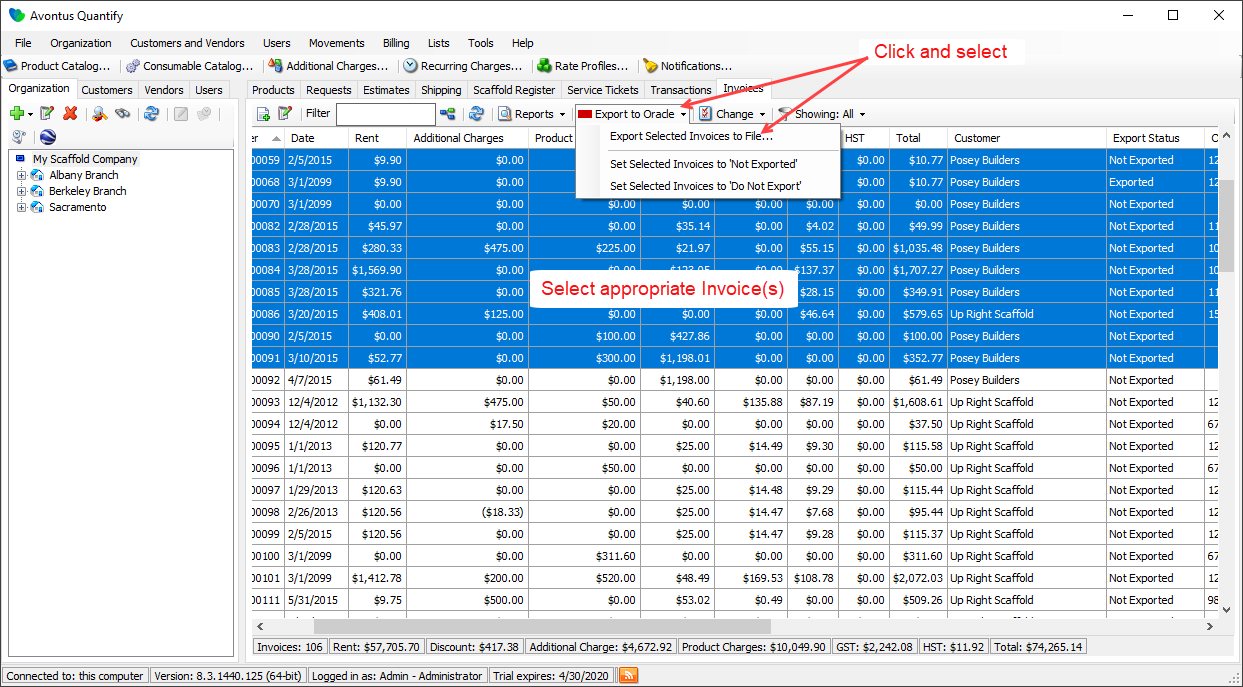
- Select the Invoices to export.
You can highlight multiple invoices (Ctrl-A to select all of them if your filter is set to Not Exported). - Click the Export to Oracle dropdown and select the Export Selected Invoices to File.
The Export to File dialog appears.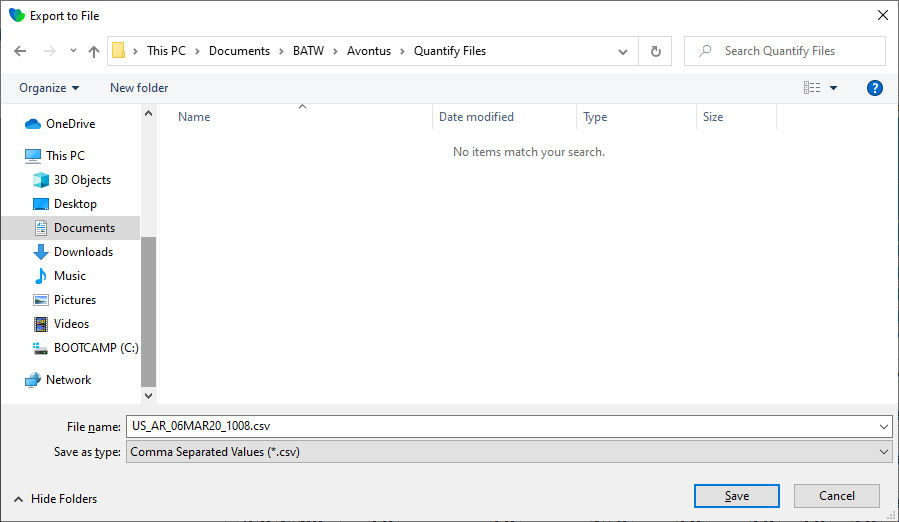
- As necessary, highlight the name in the File Name text field and enter a new name.
- Navigate to the location in which you want to save the export file and click Save.
Quantify creates the export file and makes it available to be imported into Oracle.
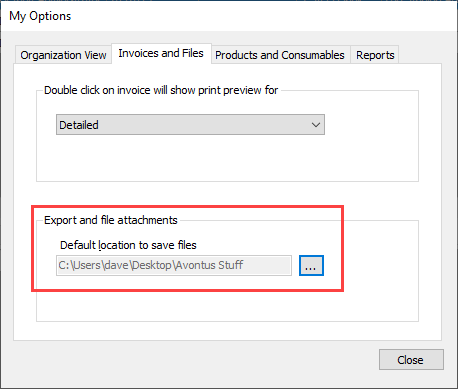
Note: You can set the default file save location in the My Options dialog (click the Tools menu and select My Options). Quantify prompts to select this folder if it has not already been selected. This is useful when saving to a network location.
Once an Invoice has been exported, Quantify changes its status to Exported. If necessary, you can reset this by clicking the Export to Oracle menu and selecting Set Selected Invoices to Not Exported.