After adding brackets to the sides of a Bay, Avontus Designer enables you to use a Connector Bay as a corner bracket between between them and convert the Bay to a corner deck.
Create a Scaffold Bay with Side Brackets
Use Avontus Designer's Cantilever/Brackets function to add side brackets onto a Standard Bay.
To create a Bay with side brackets:
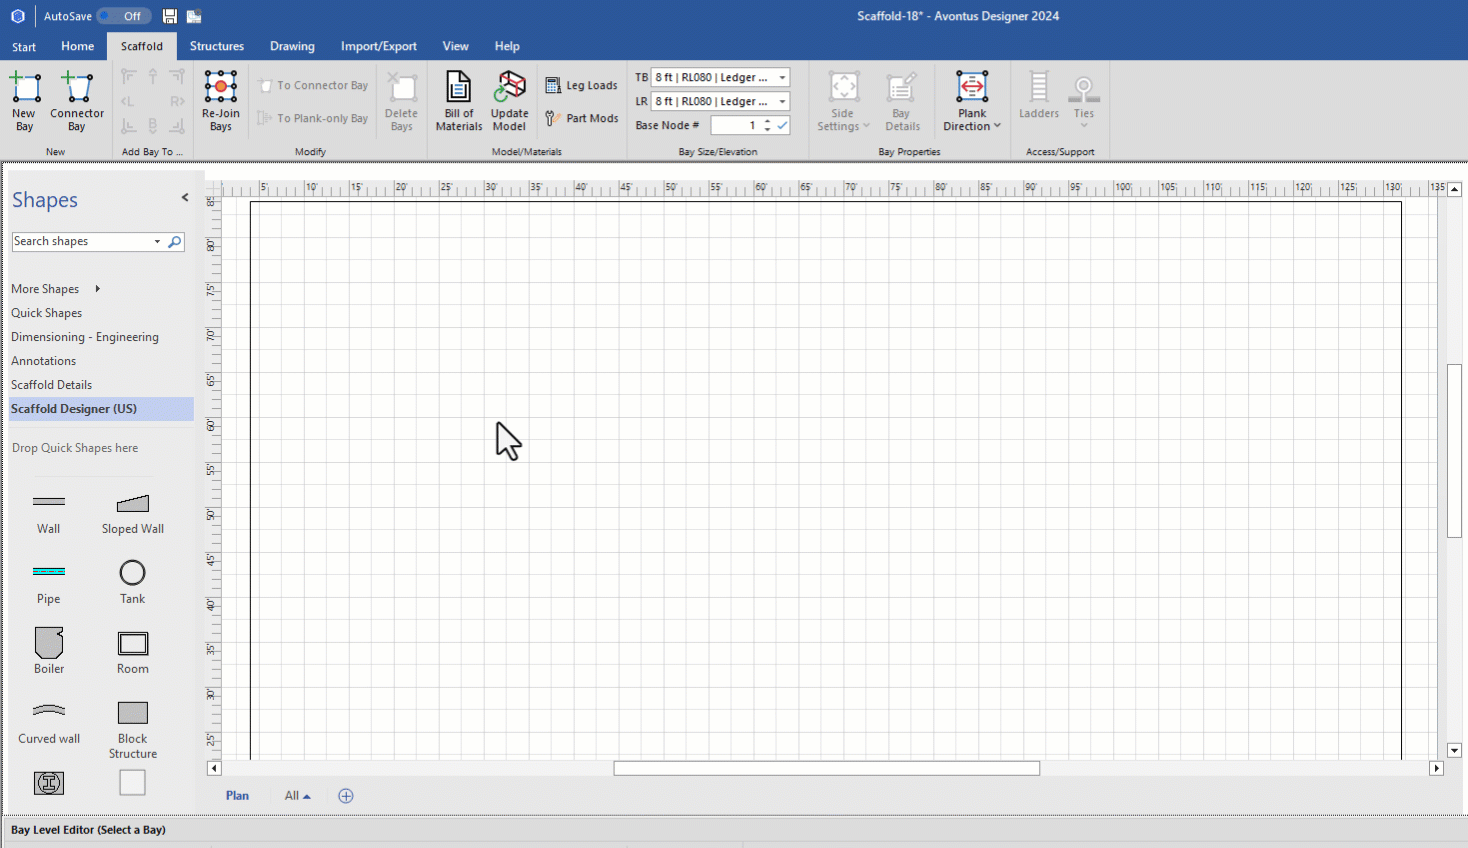
In a drawing, click and drag a bay to the drawing page
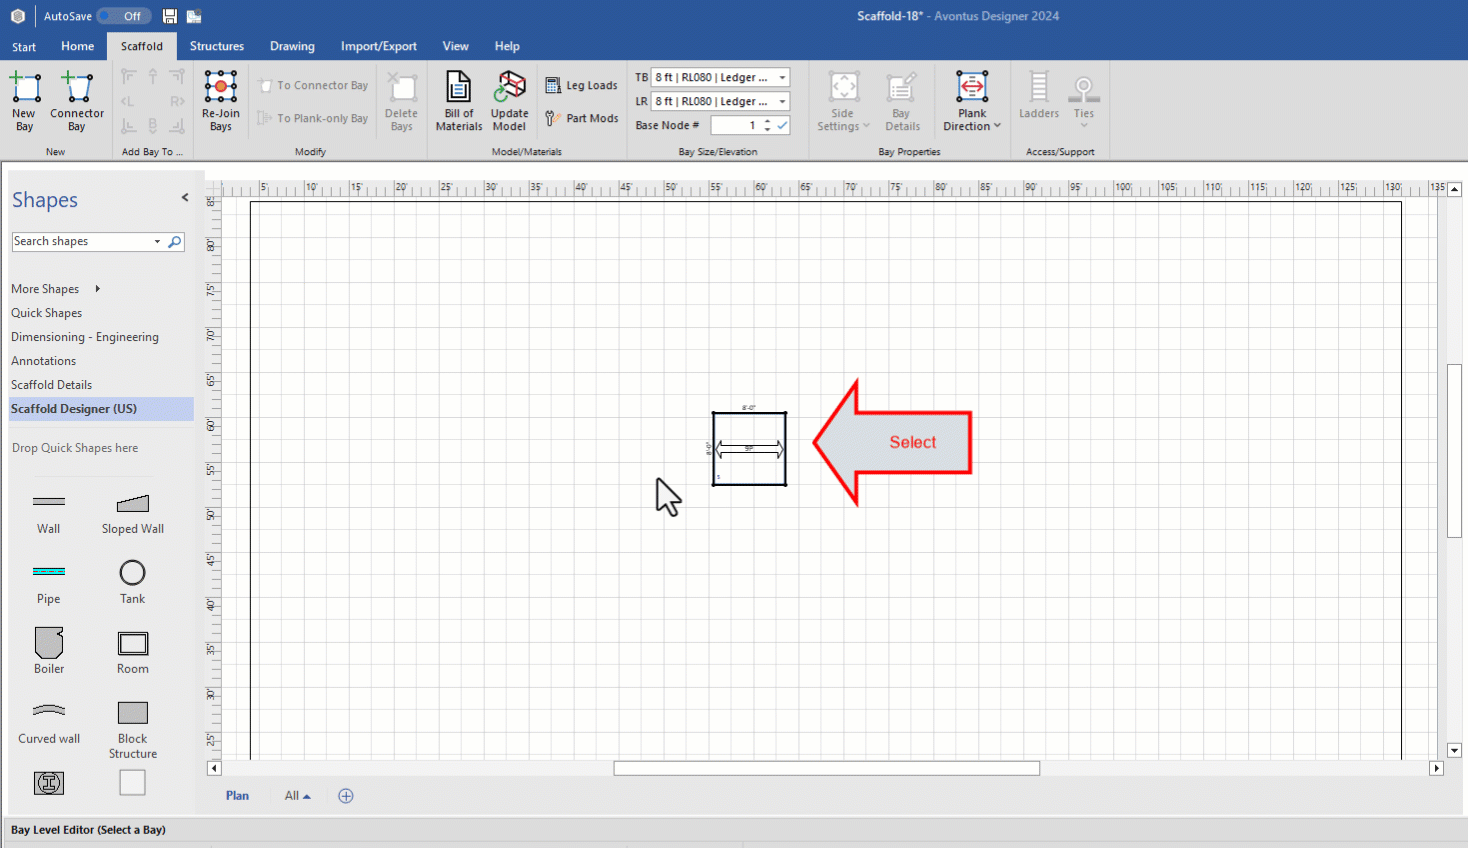
Click the Bay, to highlight it.
Click the Scaffold tab and click the Side Settings dropdown
Click the R and B in the Cantilevers/Brackets group and click OK.
Avontus Designer adds the side brackets.
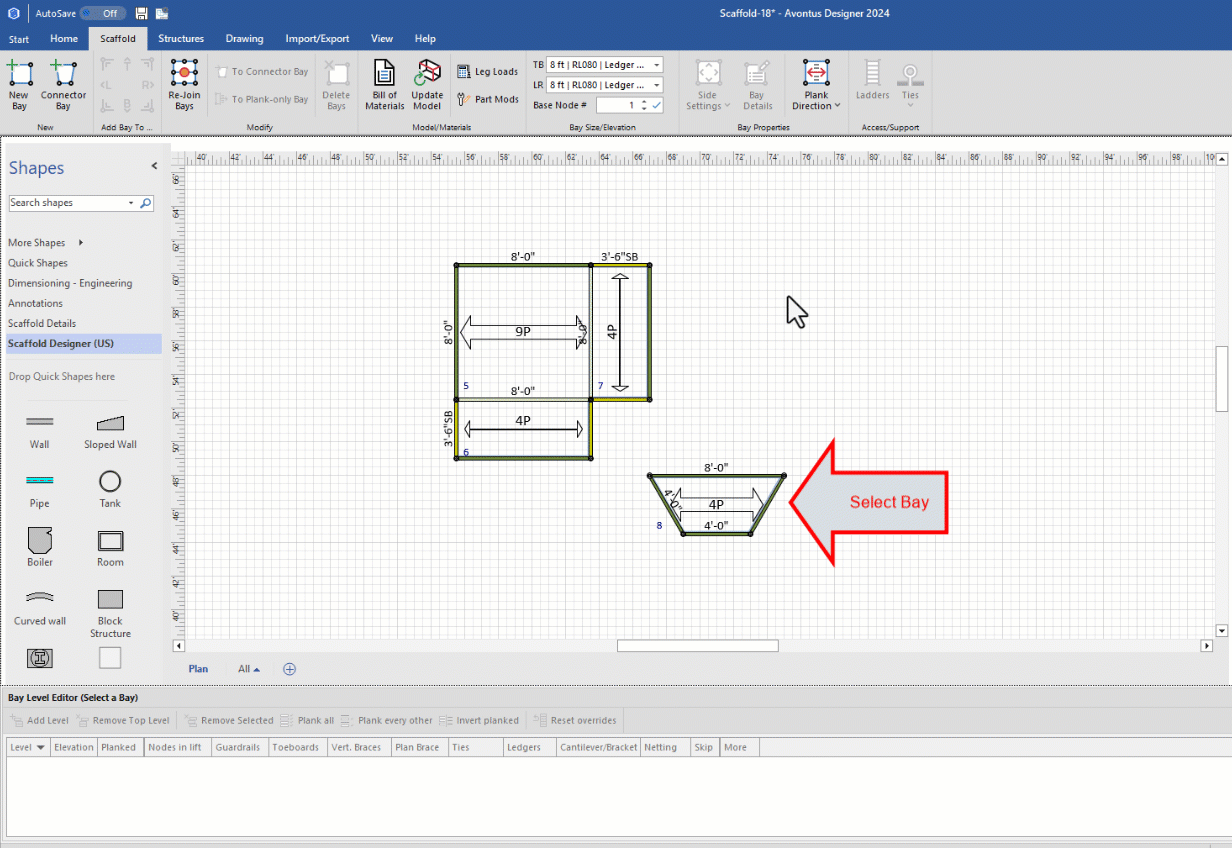
Add a Connector Bay
Adding a Connector Bay is a simple drag and drop procedure.
To add a Connector Bay:
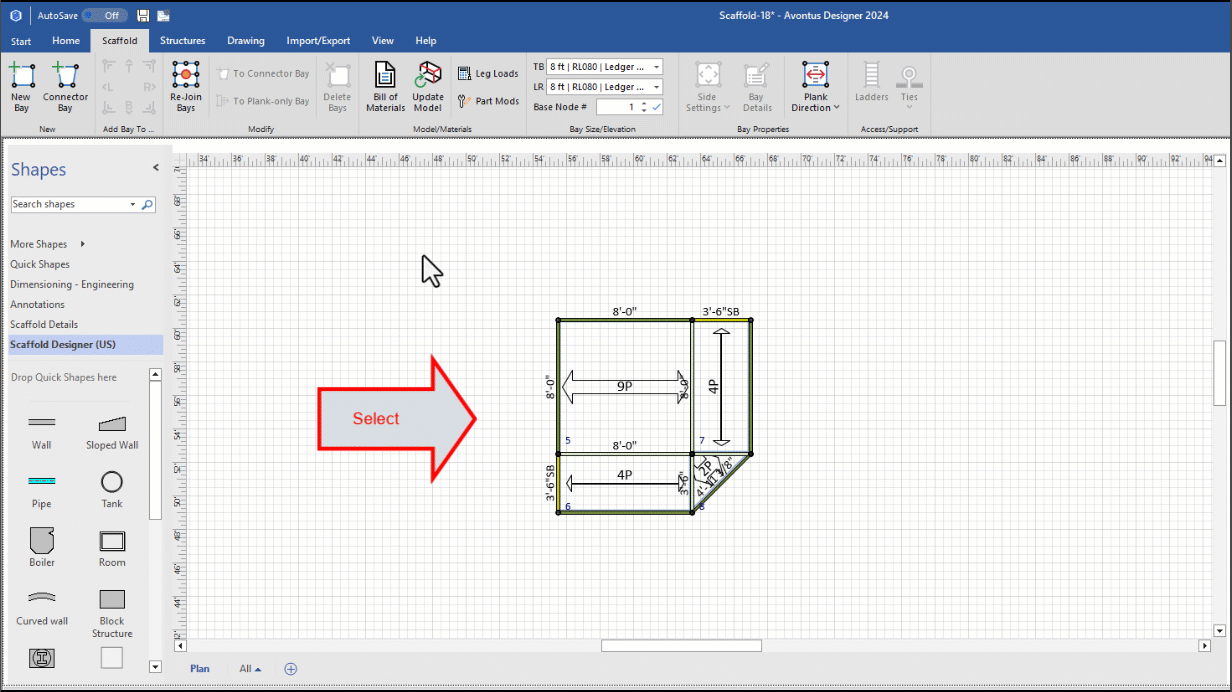
Drag and drop a connector Bay near the existing Bays .
.gif)
Select the Connector Bay.
Add an extra level
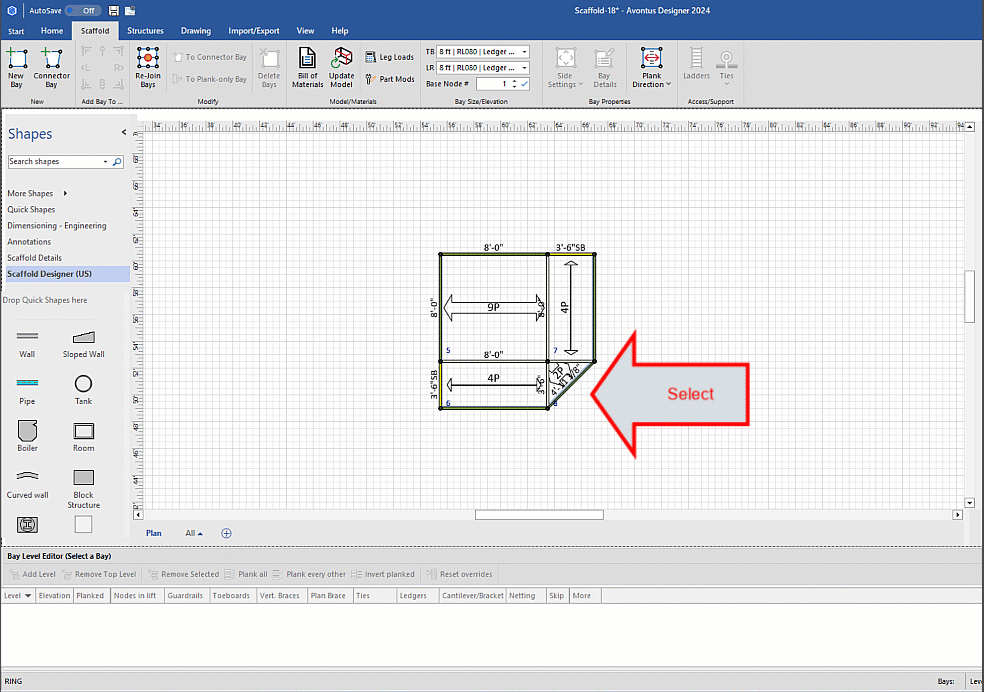
Click and drag the first Connector Bay T side corner to where the two side brackets end.
Note: When hovering over the Standard Bay node, it will turn green, indicating it is ready to glue.
Note: The placement of the corners is very important! Be sure you drag both of the T side corners to the corner touching the Bay and both brackets.
Drag each of the B end corners to the exposed corner of the respective side bracket.
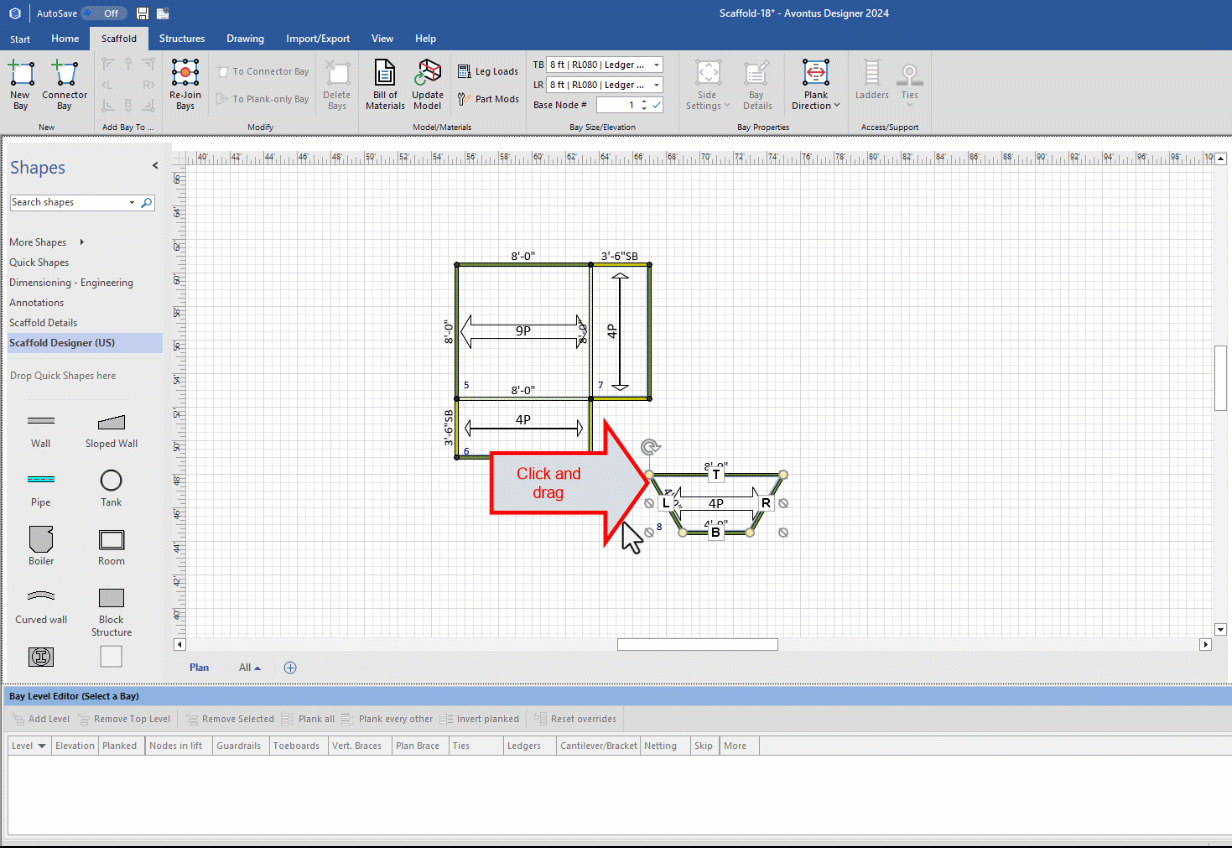
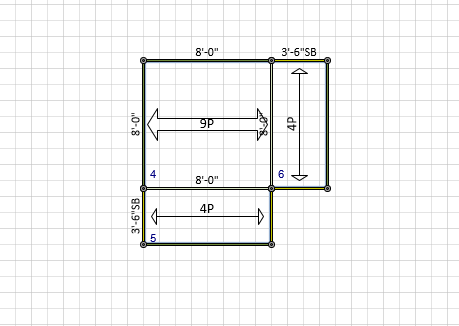
The Connector Bay lines up with and connects the two side brackets.
The result looks like this:
Configure the Connector Bay
Finally, configure the Connector Bay by skipping all the verticals and converting the corner bracket to a corner deck.
To configure the Connector Bay:
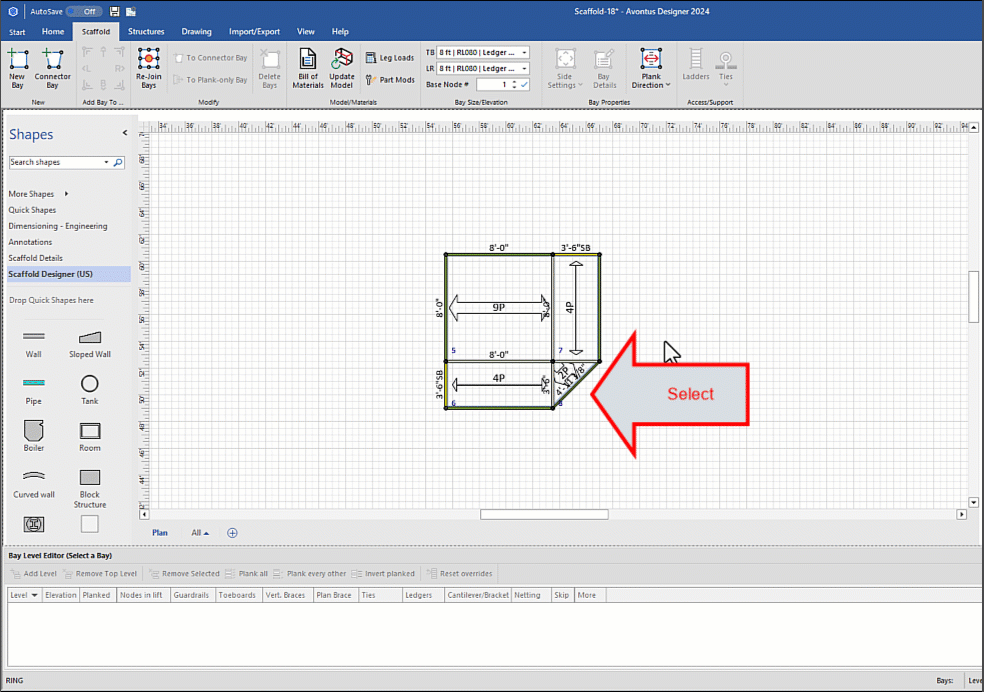
Select all the Bays and click Rejoin Bays.
Click the Connector Bay and, in the Bay Level Editor, select the bottom level row and click Remove Selected.
Click the Connector Bay, then click Bay Details
Click the Verticals tab.
Click the All checkbox in the Skip Vertical row and click Apply.
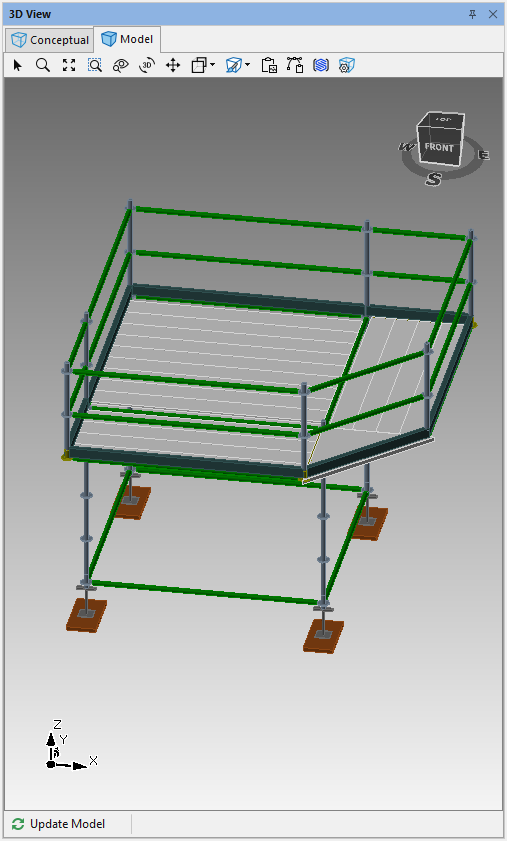
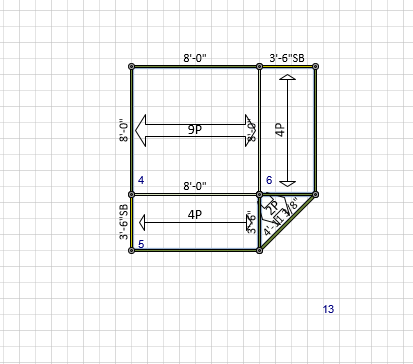
The result looks like this: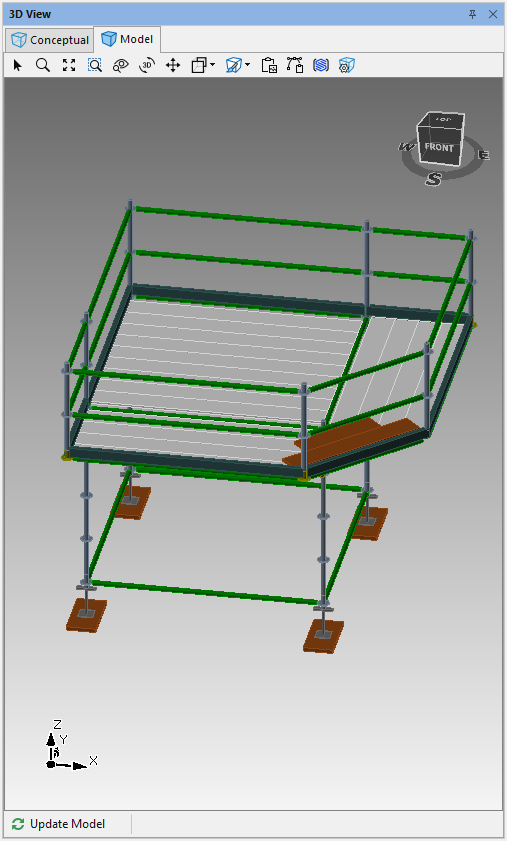
With the Corner Bay still selected, click Bay Details
Click the Bay - General tab.
Click the Corner Deck checkbox to enable it
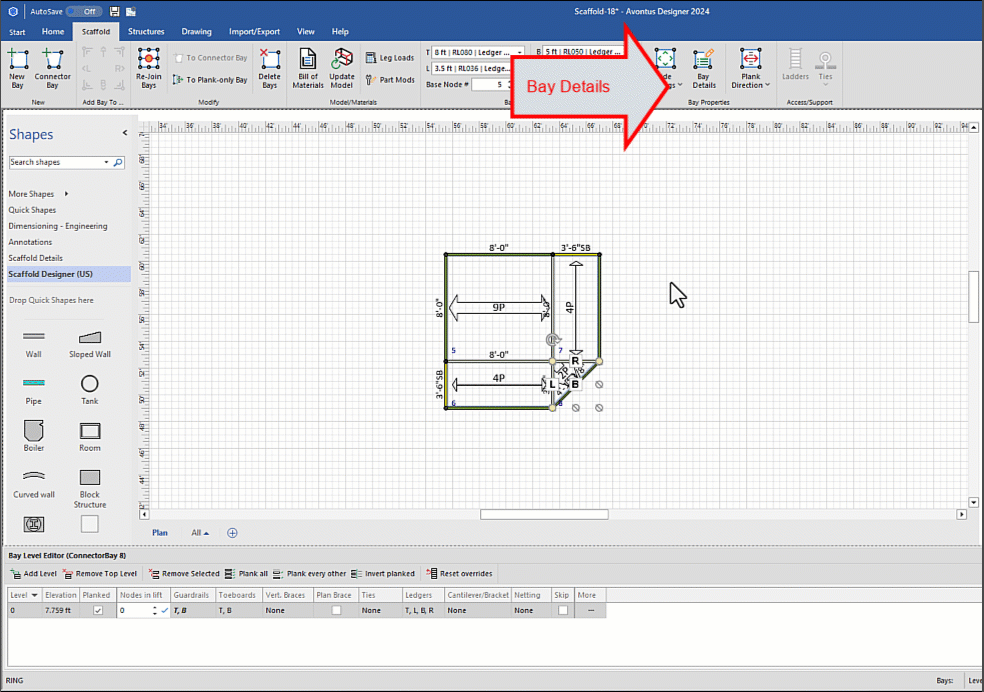
If required, click the Shape Type dropdown, select Triangle and click Apply.
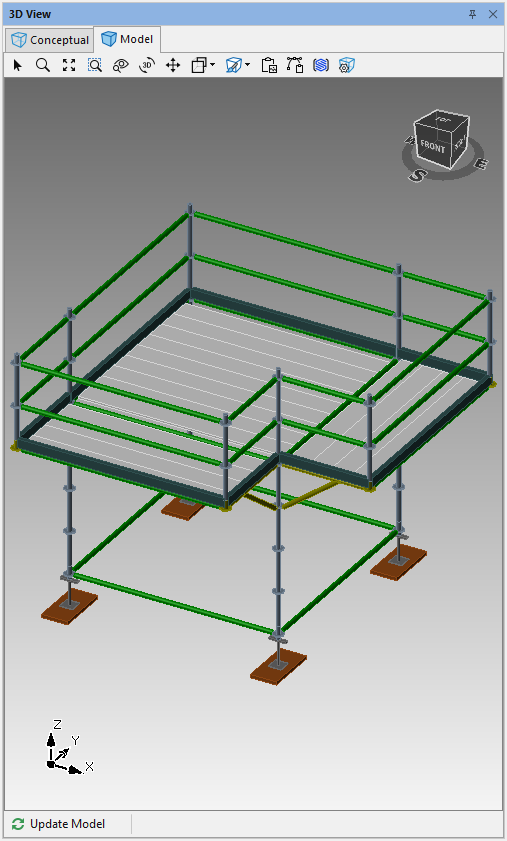
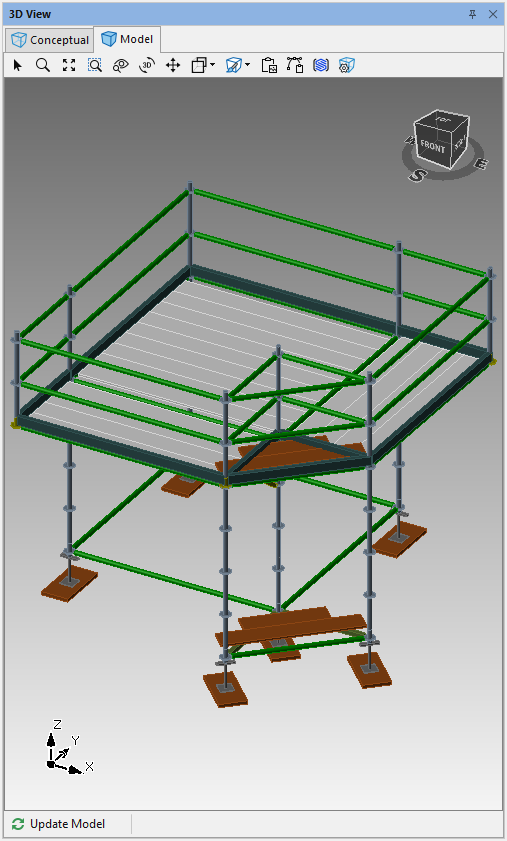
The result looks like this: