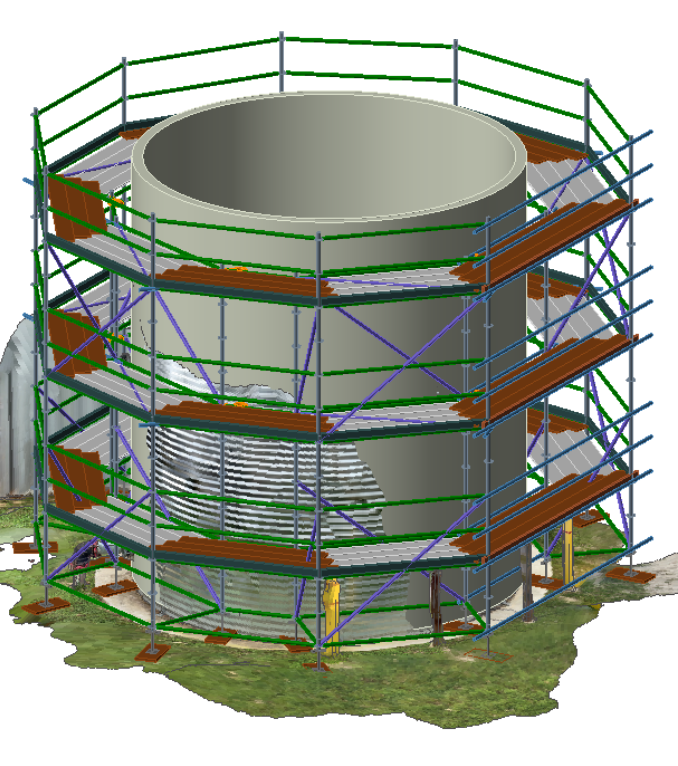
Finally, you can skip manual measuring and drawing in the field – and you don’t need an expensive laser or LiDAR scanner. These instructions explain how to use your iPhone, iPad, Android phone or tablet, or drone to scan a structure, edit the scan, and import the scan into Avontus Designer® where you can quickly create a scaffolding drawing.
What you will need:
A cell phone or table that can create 3D models
A scanning Application, such as Scaniverse
An editing program, such as the free triangular mesh editor Meshlab
SCANIVERSE
Scaniverse 3D Scanner is a scanning application that works with newer iPhones, iPads, and Android devices. Download it from Apple’s App Store or Google Play and watch a 3-minute video to learn how to use the app: scaniverse.com/support. See the same page for the type of devices that work with the app.
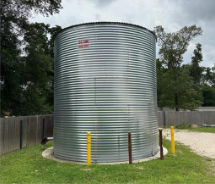
To the right is the image you will learn how to:
|
|
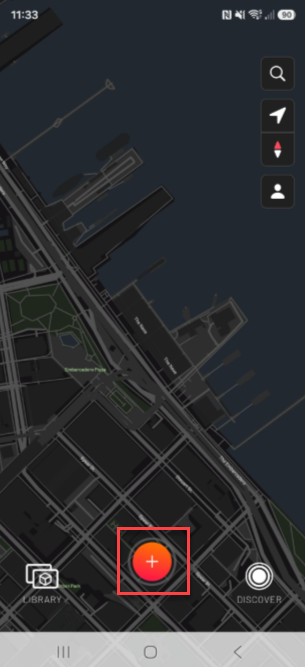
After downloading the app, tap the + icon
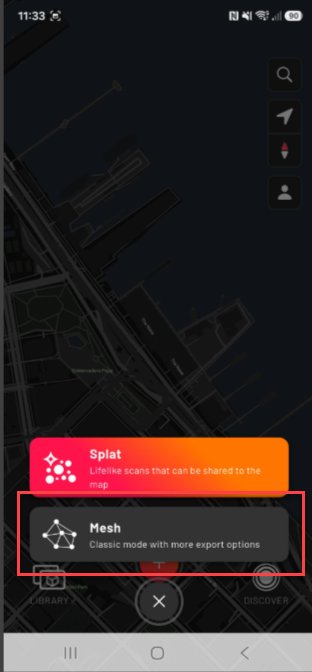
Tap Mesh
Select Small, Medium, or Large
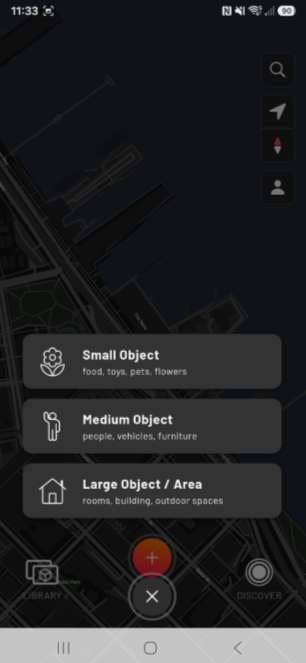
Set the range, press the record button, and move around the structure, keeping it in the camera’s view.
During scanning, areas not yet captured will appear in red, and white stripes show the parts that have been added to the draft model. Continue to move around and scan in all details that you would like captured. Make sure to look out for obstructed areas. Get in and behind any parts that you need to be captured.
When you have finished scanning, press the Stop button, then select a processing mode.
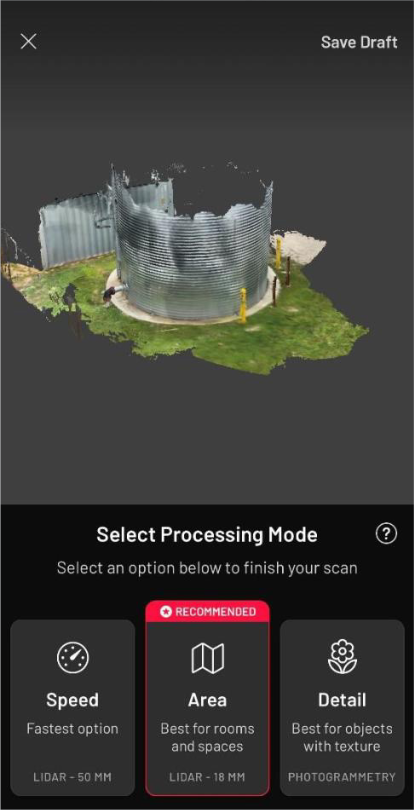
Note: It is recommended to select the Area processing mode, as this will process more quickly and lead to a smaller file size. If more detail is required for the mode, you can select Detail mode.
You can then preview the model on your device to ensure you have captured all the detail you need.
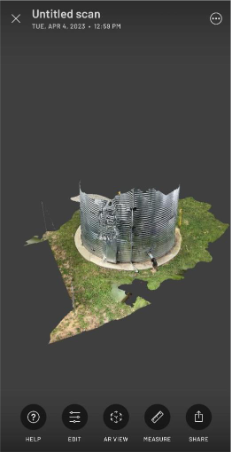
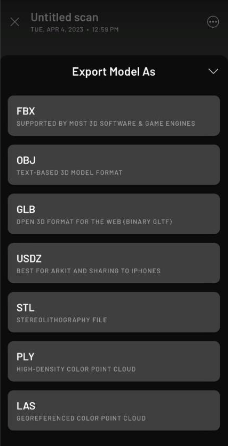
After you’ve verified that you have captured everything that you need, select Share, and Export Model
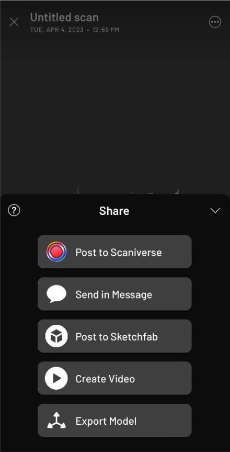
Under Export Model As select OBJ
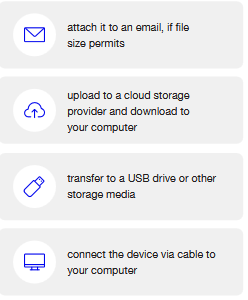
Move the file from your device to your computer. A few options are:
If the file size is less than 20 MB, go to the Avontus Designer 3D Model Import section. If the file is larger than 20 MB, go to the MeshLab section
Meshlab
MeshLab is an open-source tool for editing 3D meshes on your computer. You can use this application to reduce the file size.
Download - https://www.meshlab.net/#download
Turotiral - https://www.meshlab.net/#support
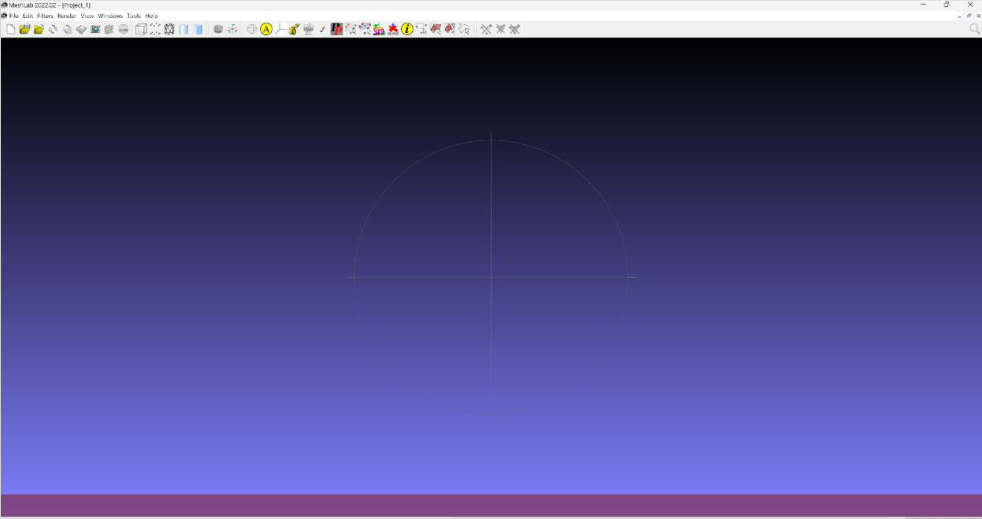
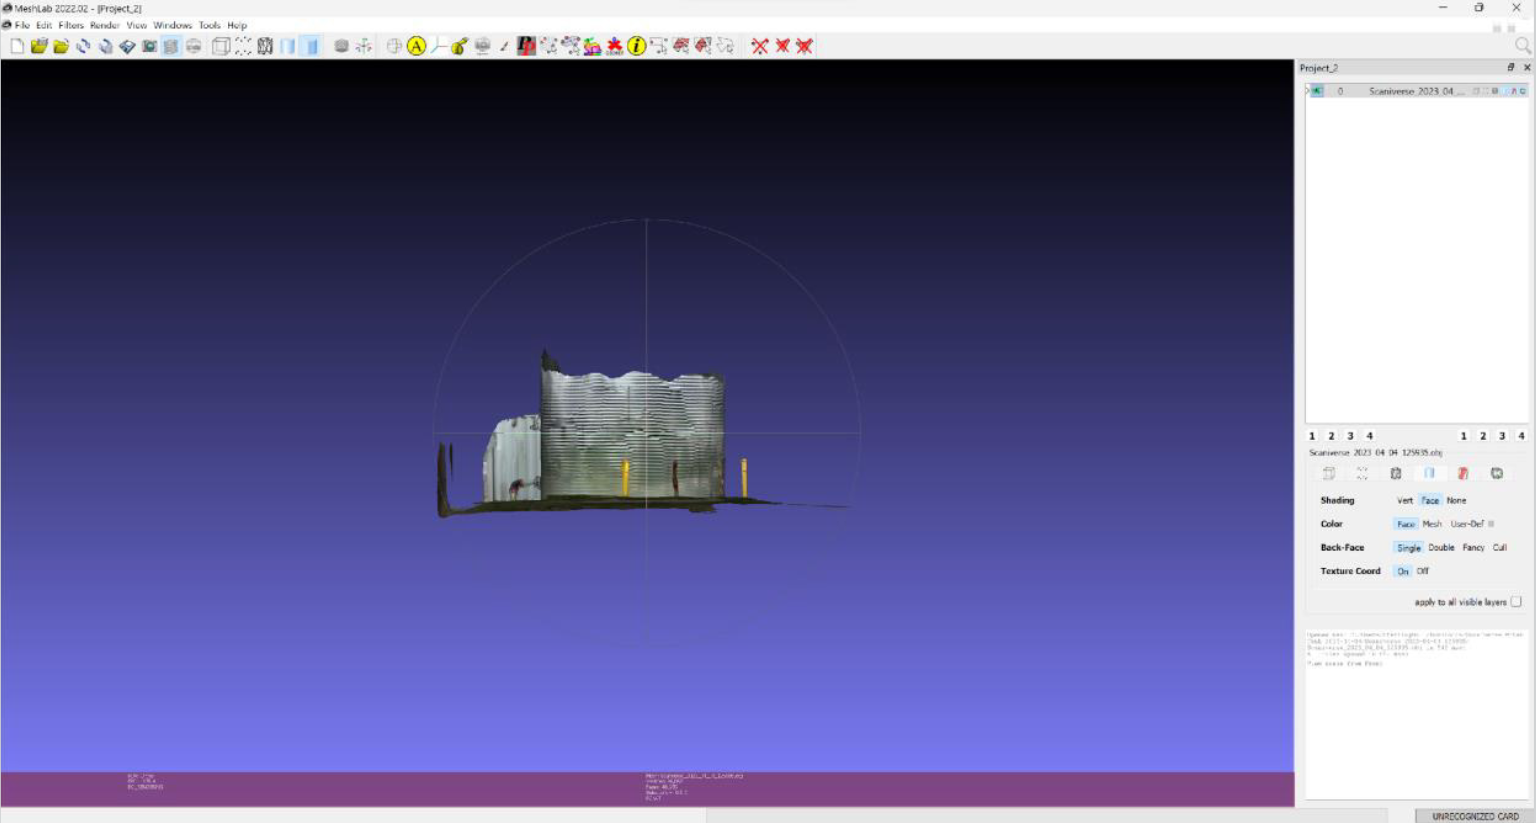
Open Meshlab and you will see this screen
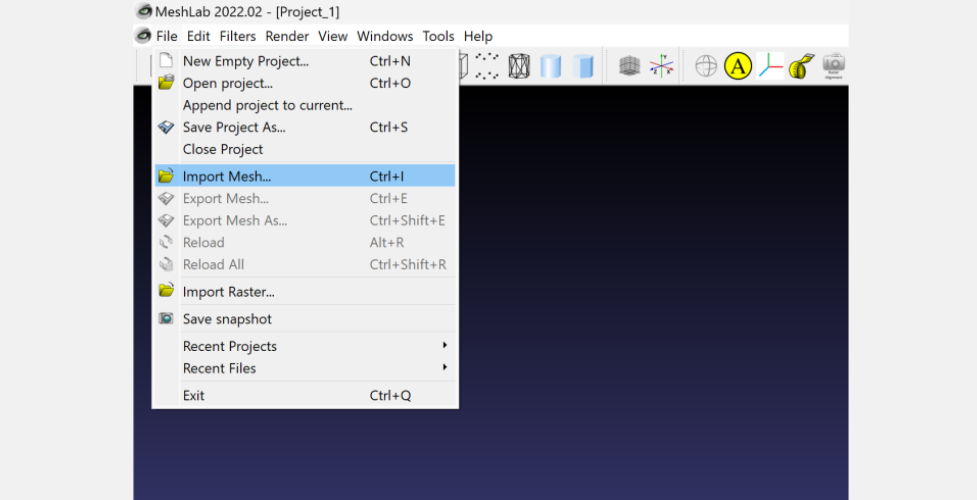
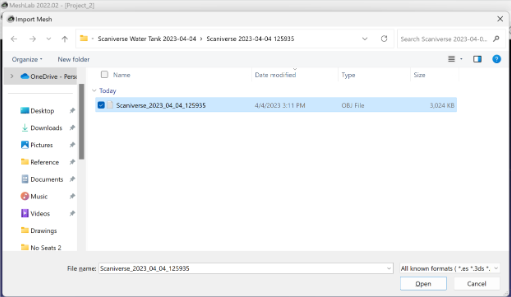
From the file menu, select Import Mesh…
Navigate to your saved .OBJ file, and select open.
Interact with the scanned structure via mouse and keyboard controls. You can then left-mouse click and drag along each exist to rotate the model and CTRL+ left-mouse click, and drag to pan the model. Under Help, select On screen quick help to see the navigation options.
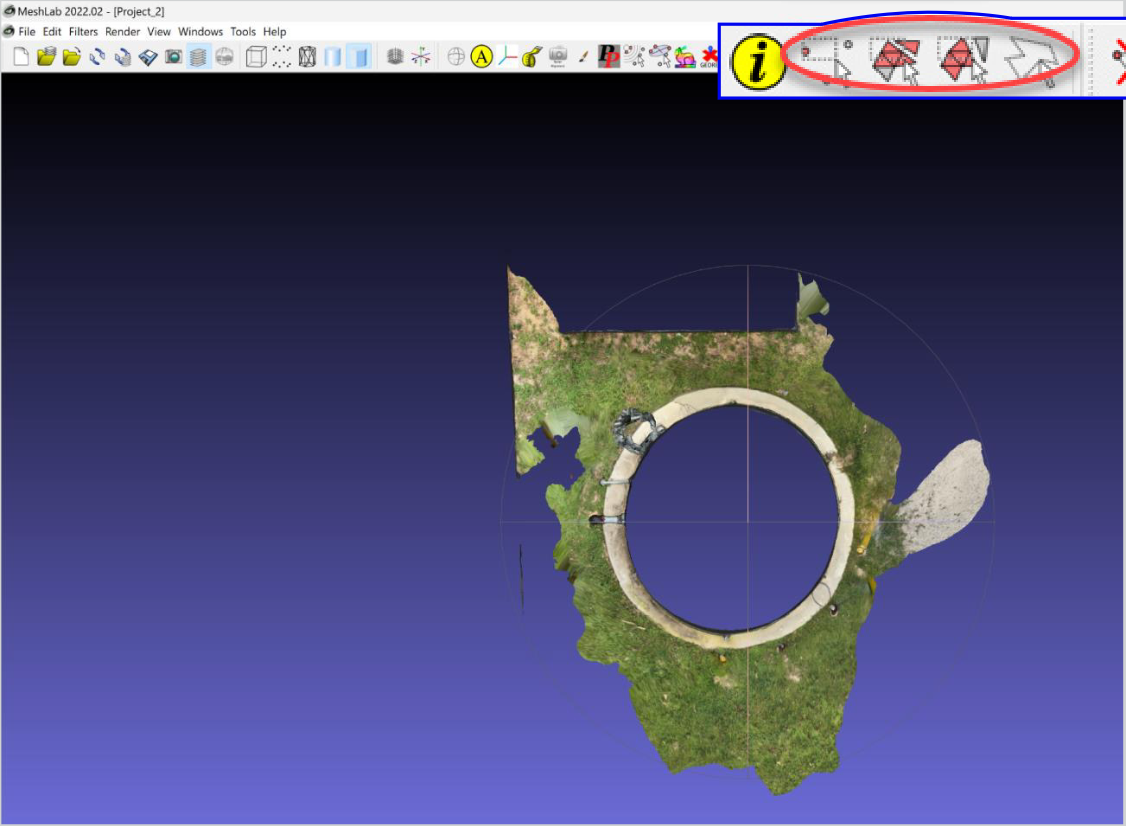
Generally, it is best practice to move to the plan view and cut out unnecessary details to reduce the file size and clean up the model. You can achieve this by choosing one of the selection tools at the top and one of the removal tools next to them after selecting the areas you wish to remove
The area in the rectangle has been selected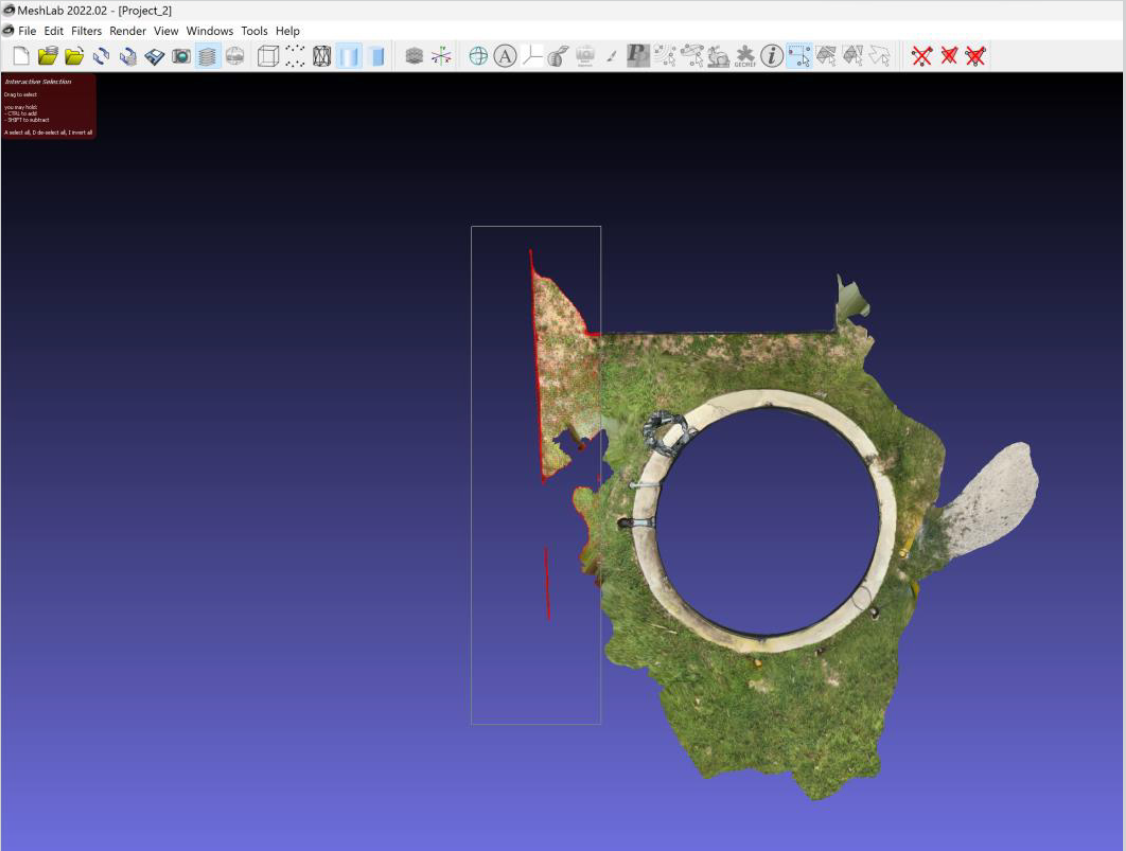
Face and Vertices removal tools
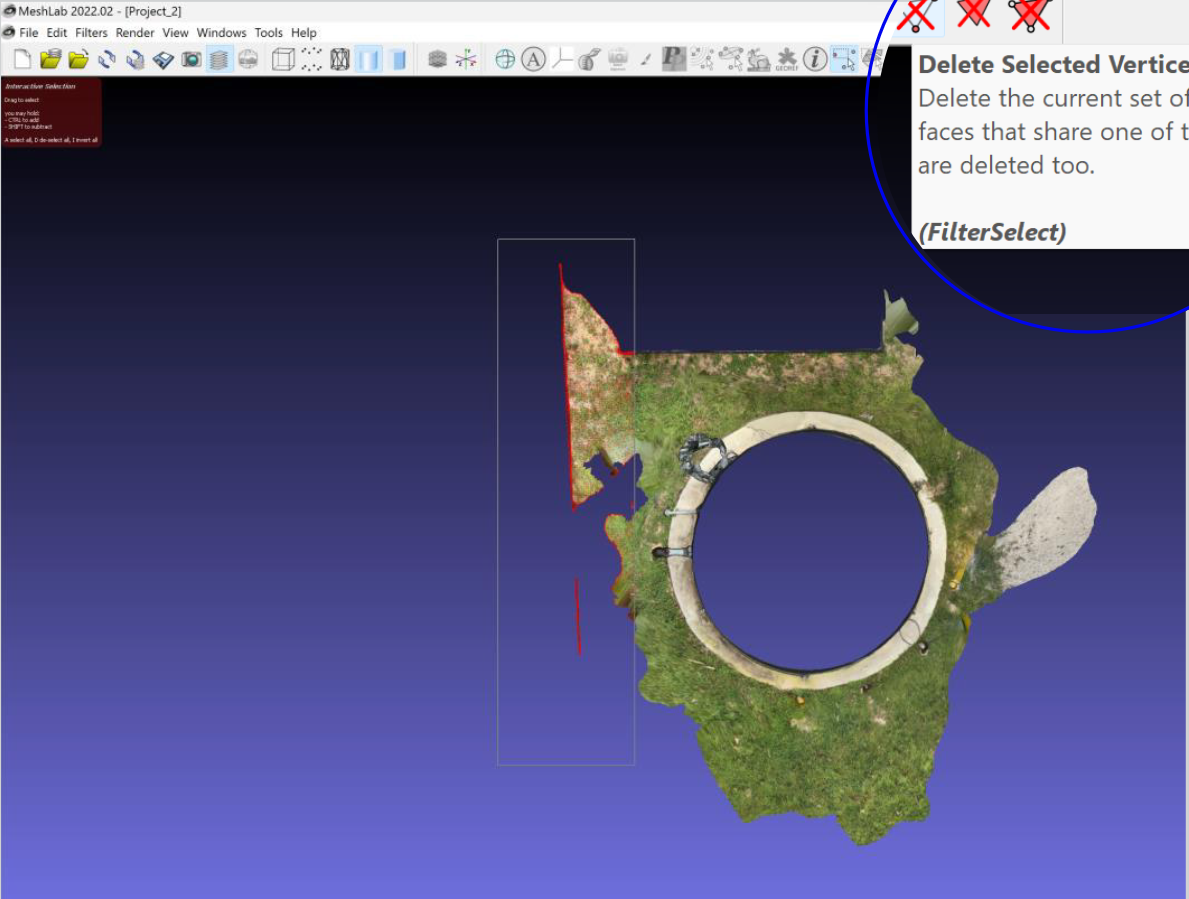
The clean up image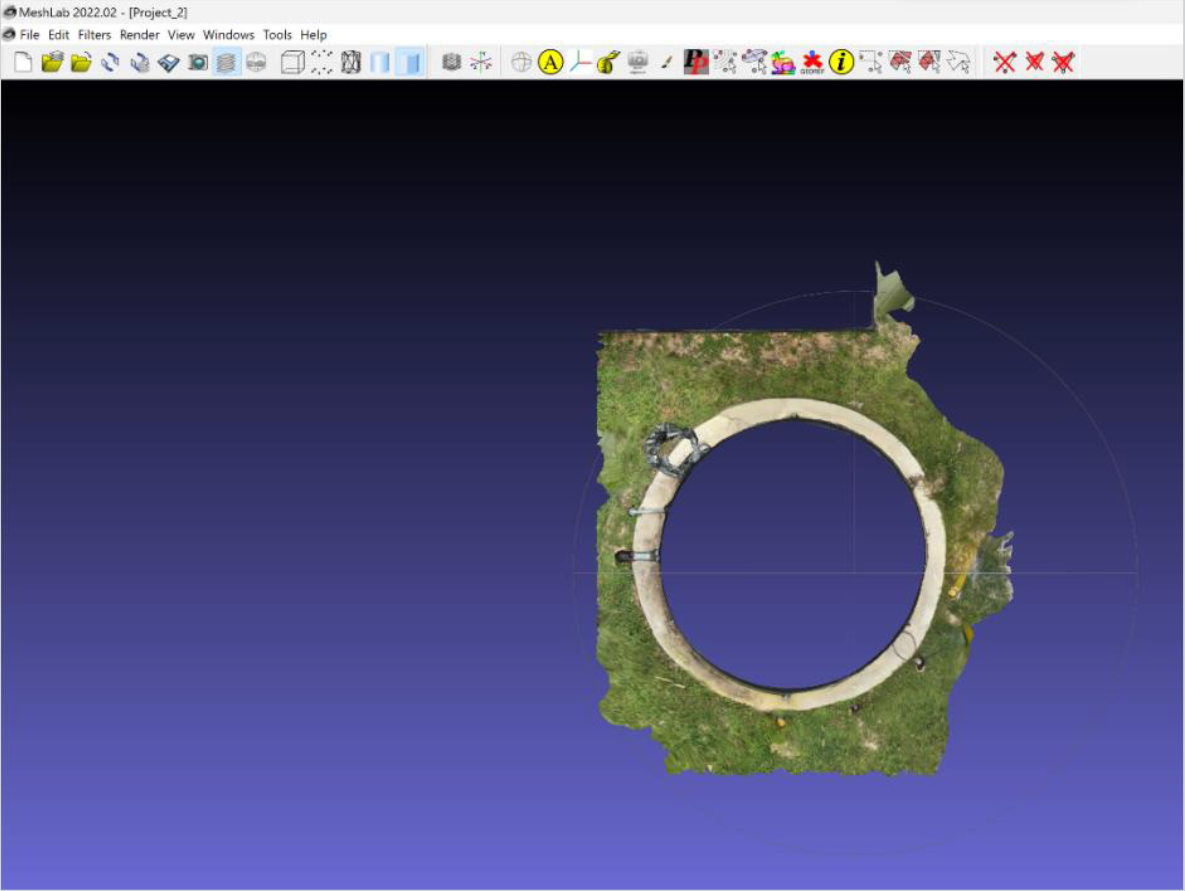
Once you have removed unneeded elements from the model, you can reduce the complexity of the model by decreasing the number of faces and vertices that compose the model.
To do this, first select Filters from the menu bar, then Remeshing, Simplification and Reconstruction, and then Simplification: Quadric Edge Collapse Decimation (with texture)
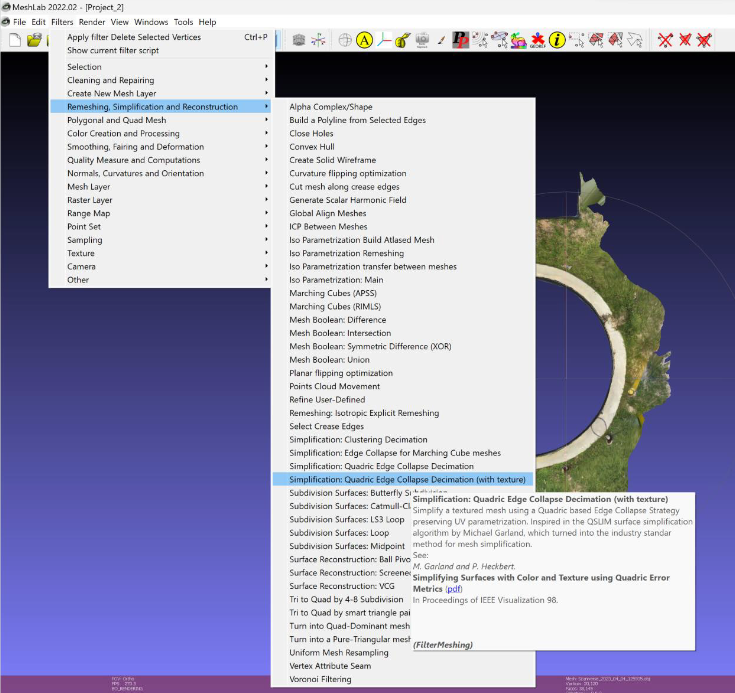
In this window, target 50,000 faces or fewer. Experiment with these values to retain the required detail in the model but ensure the final model output is less than 20 MB
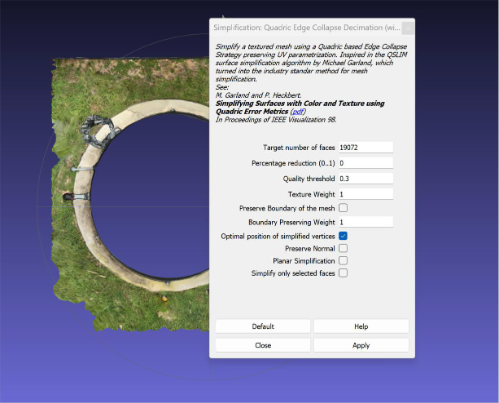
Once you have performed this operation, you can export the revised model.
Select File, then Export Mesh As...
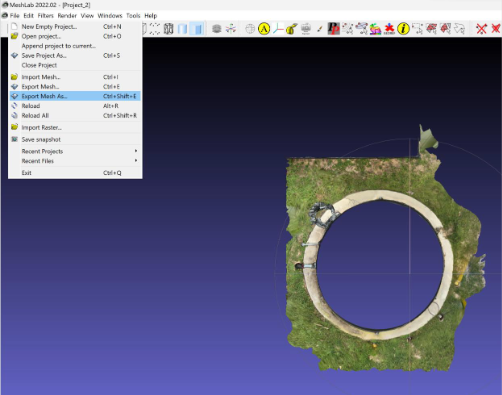
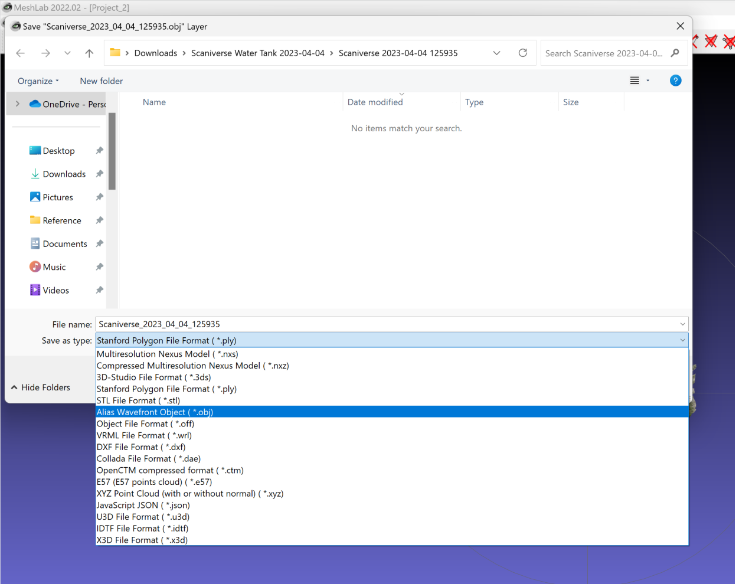
Then change the file type in the Save as type dropdown to Alias Wavefront Object (*.obj), name the file, and Save.
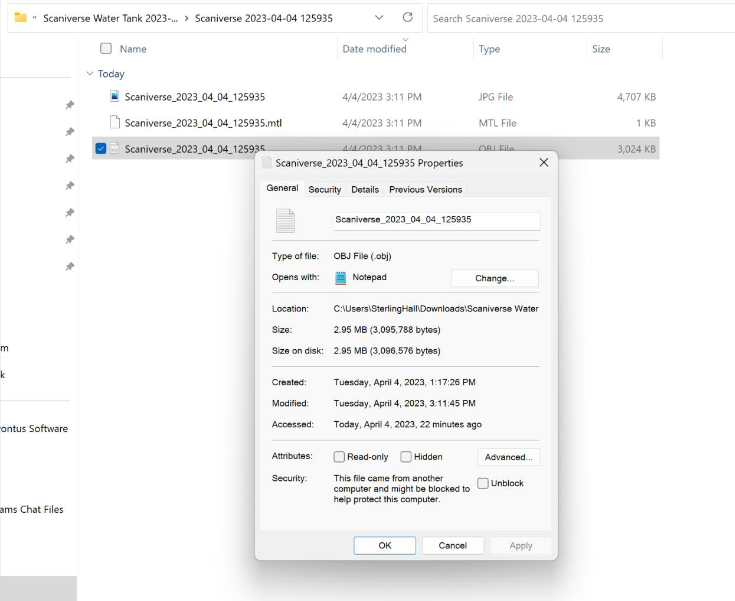
Navigate to where you saved your file and verify that the file size is 20 MB or less; you can see the file size in your Windows browser or in the file properties. Then see Avontus Designer 3D Model import.
Avontus Designer - 3D Model Import
Next you will import your model, which is a digital twin of your structure, into Avontus Designer.
In Avontus Designer, select the Import/Export menu. Then, under Import 3D, select CAD Model Import.
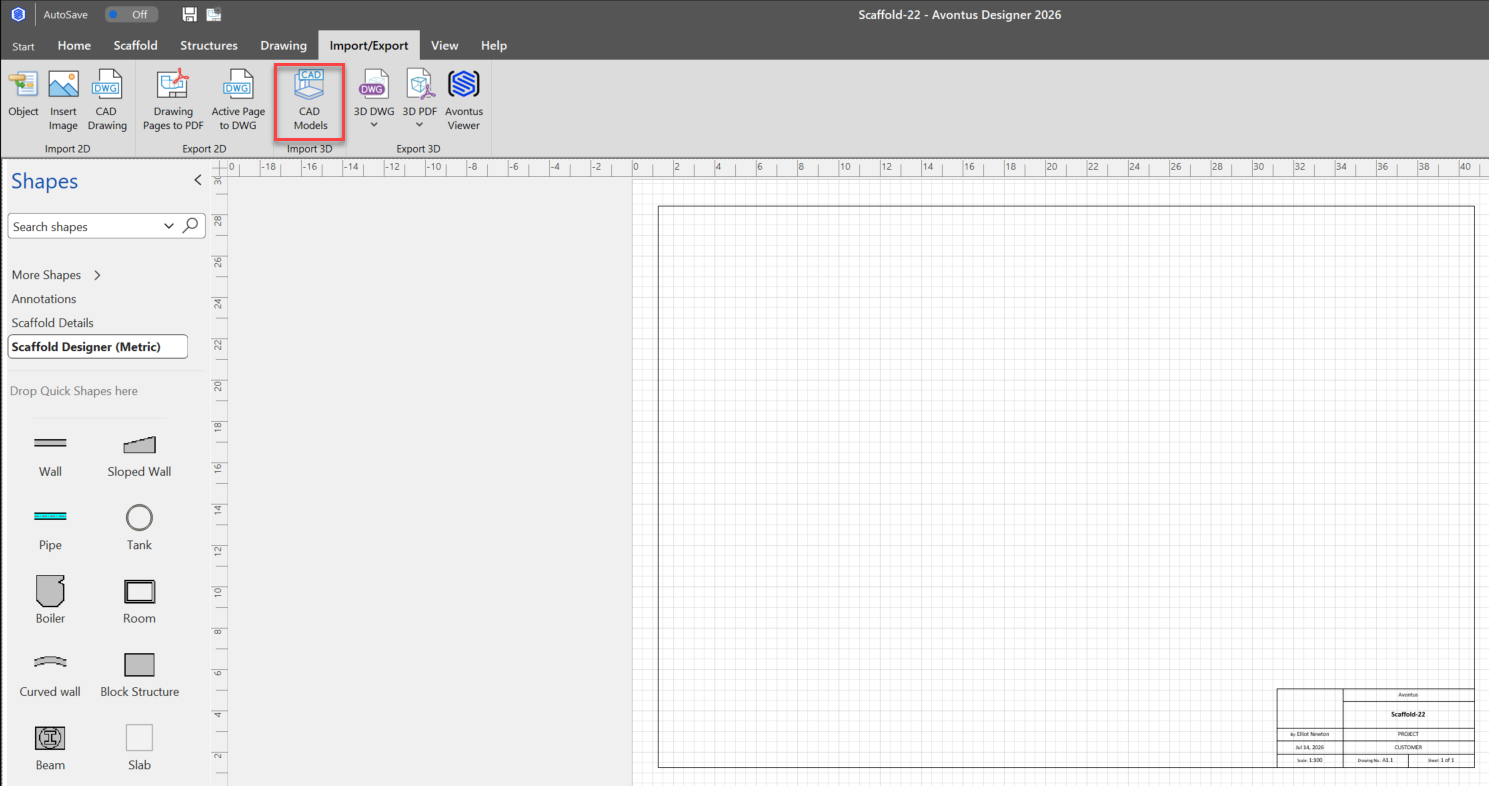
The CAD model Import dialog will appear.
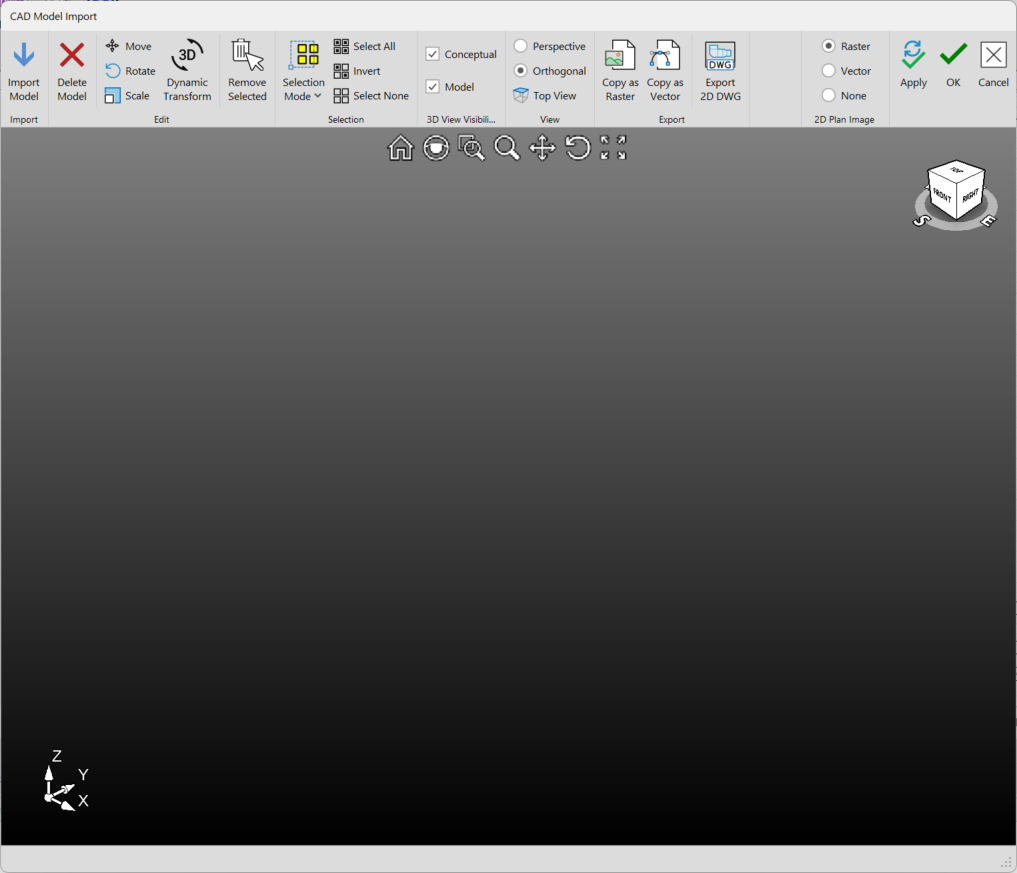
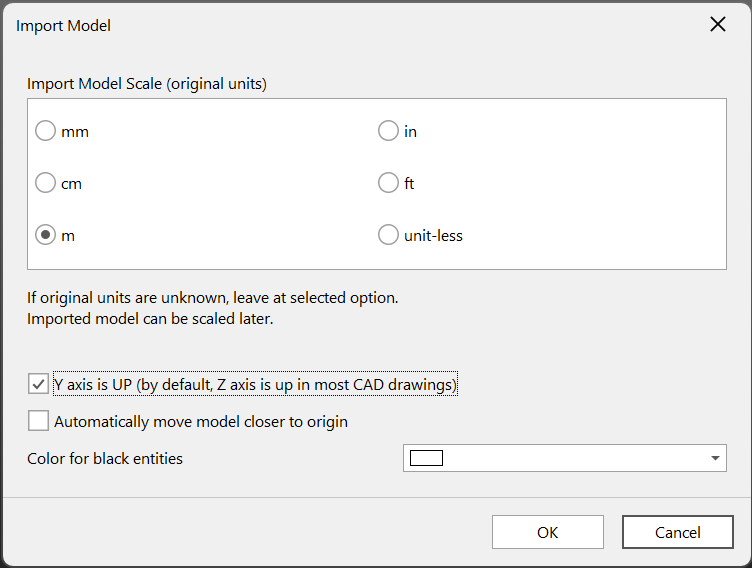
Select Import Model and navigate to where you saved your .obj file. When prompted, select m(meters), check the Y axis is UP box, and check the Automatically move model closer to origin box.
Click OK
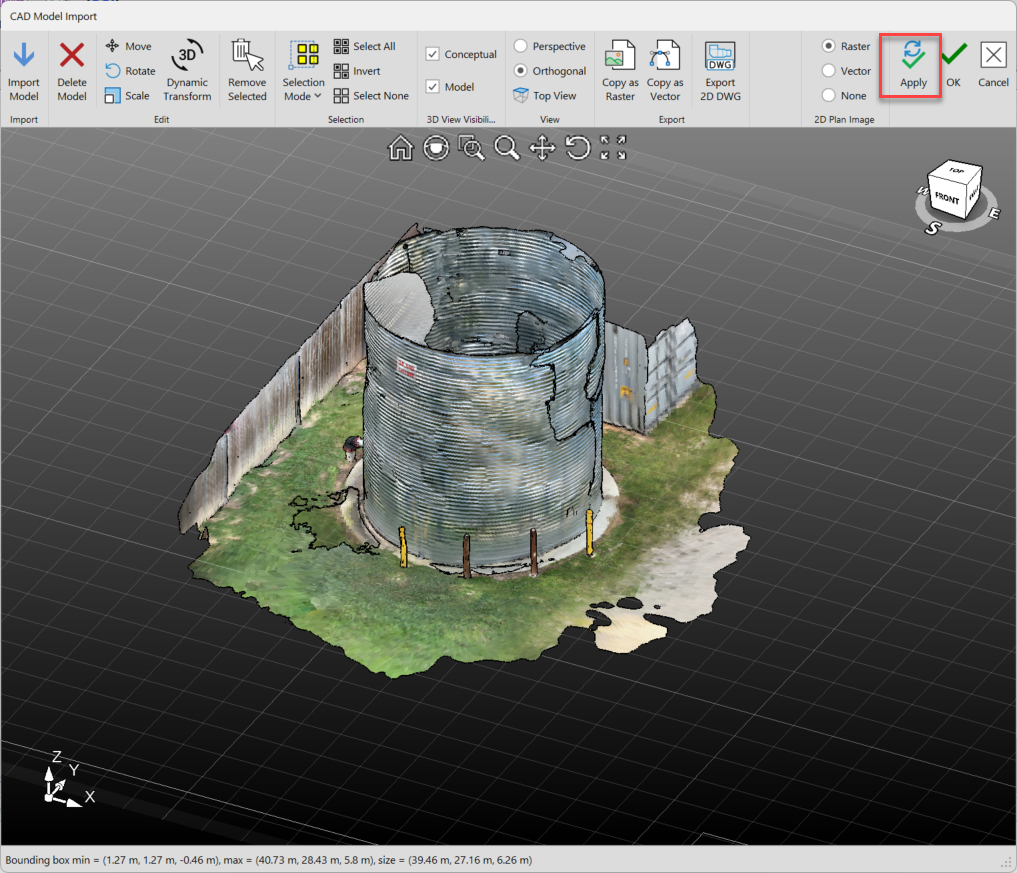
Click Apply at the top right to place the model at the origin of your 3D view without closing your CAD Model Import Box.
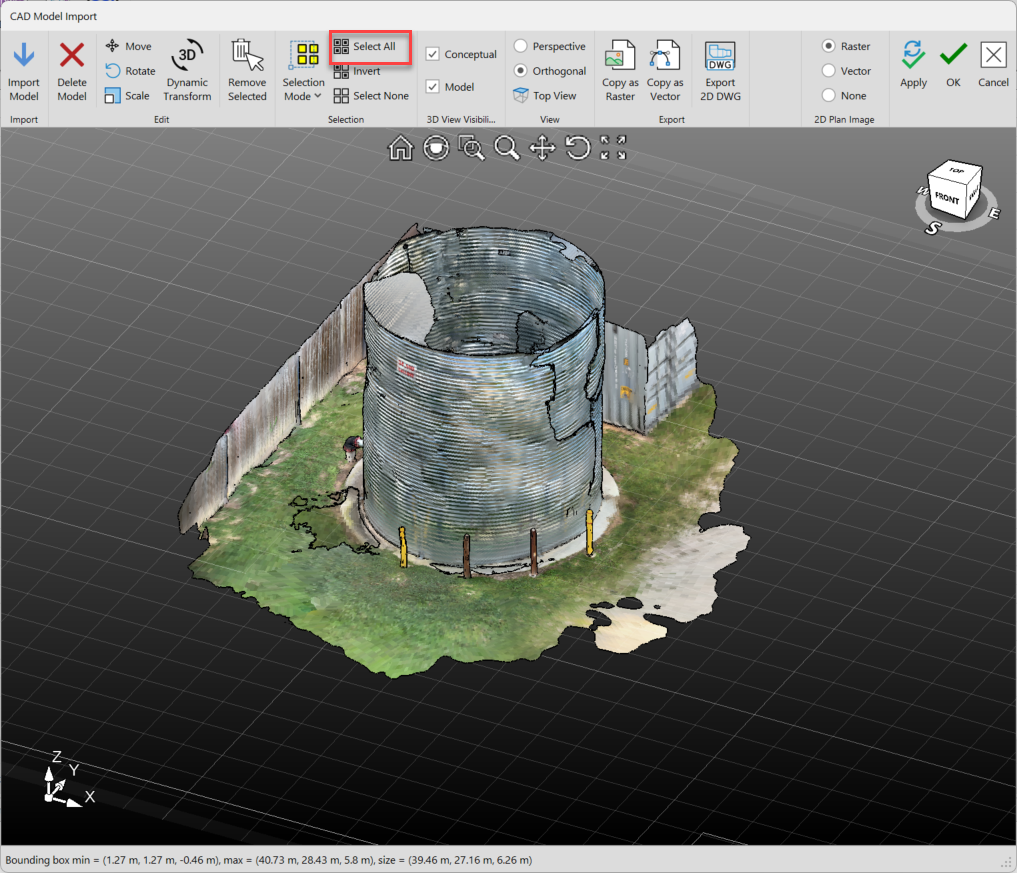
Use the Select All button to select the entire imported model.
Next, use the Dynamic Transform option.
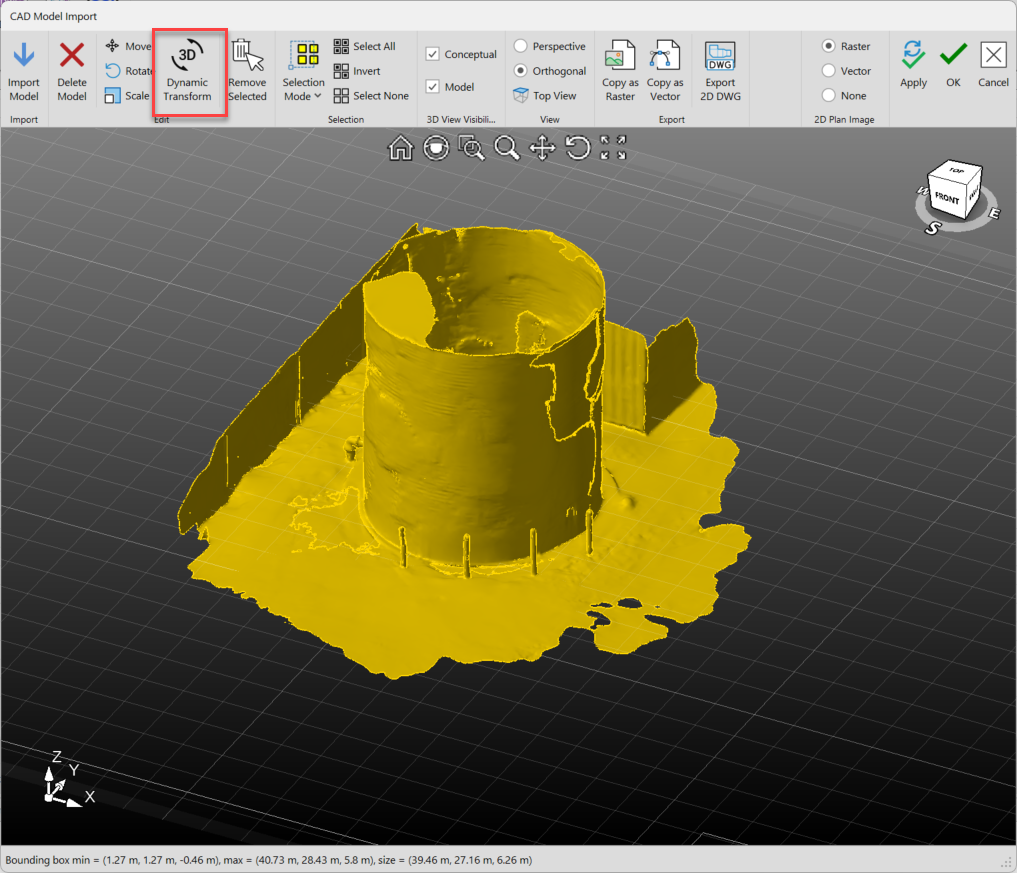
This will bring up a 3D cursor with arrows that corresponds to each axis. Click and drag each of these arrows to move your model to your desired location on the drawing page. (You can also use the Move box to transform the model by fixed distances and the Rotate box to rotate the model on any axis.)
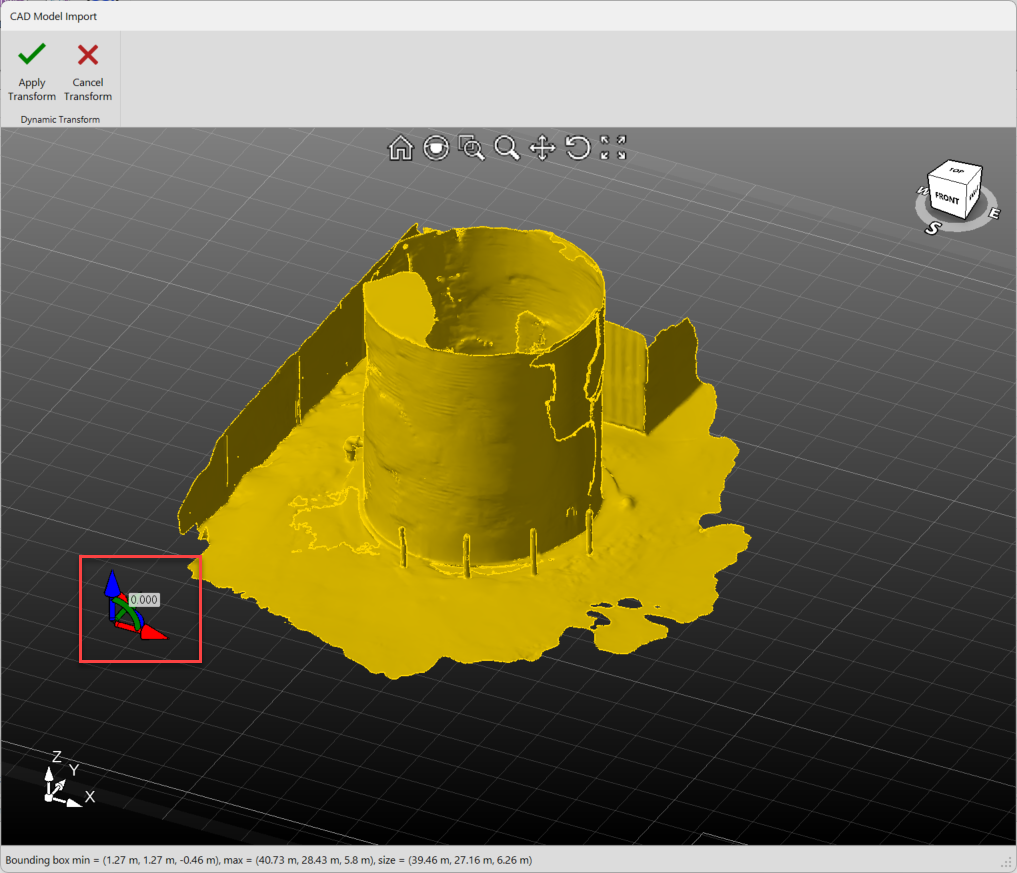
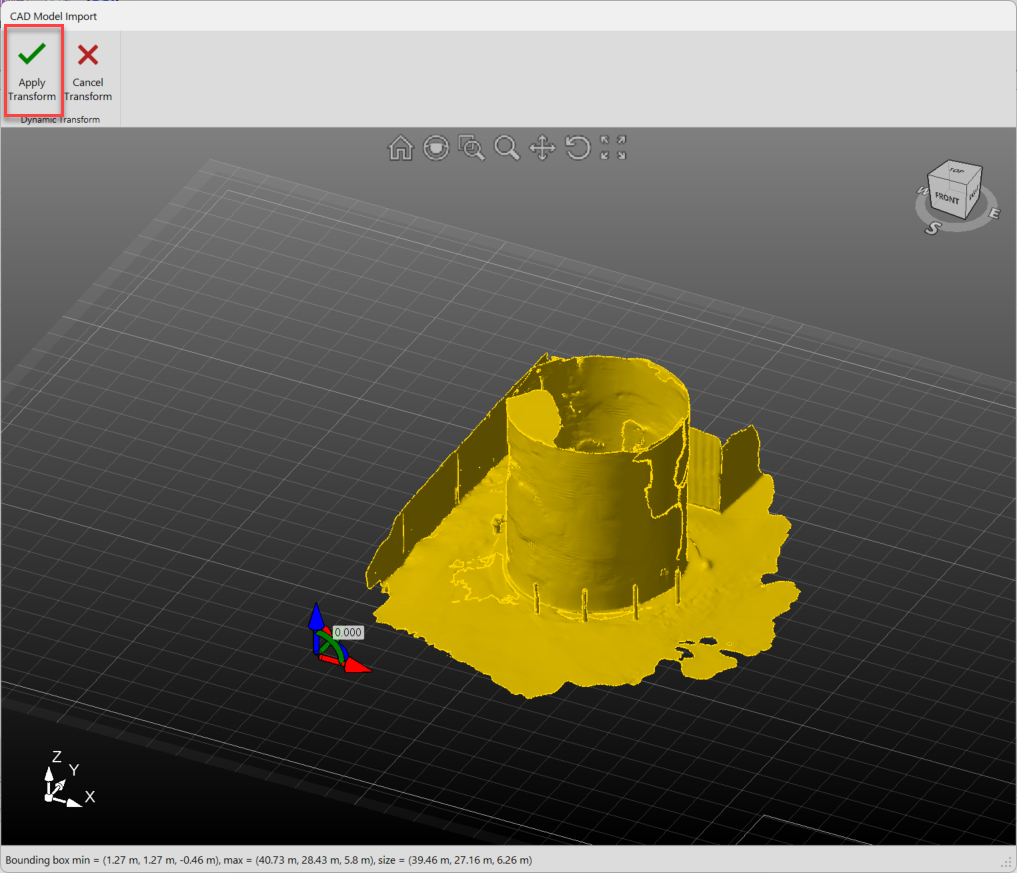
Once aligned, select Apply Transform, then close the 3D import dialog box.
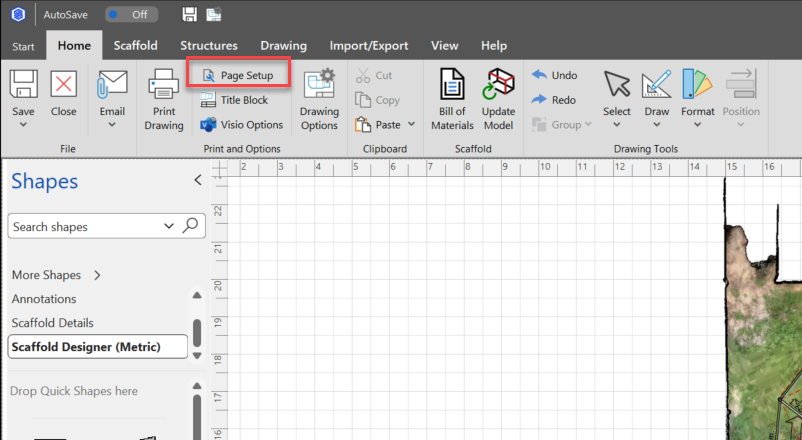
If needed, go to the Home tab and select Page Setup to change your drawing page size and scale so your model fits the page.
This is a scaffold around the Scaniverse model.
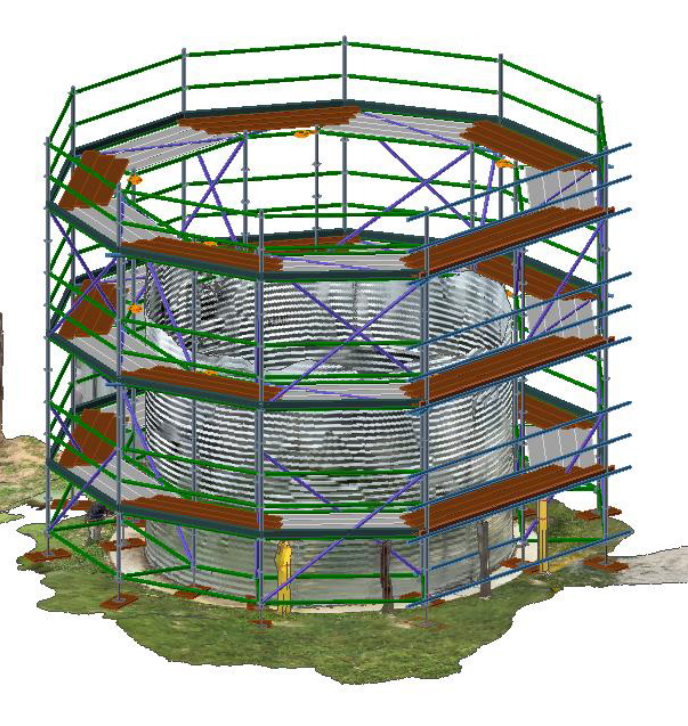
If you prefer, you can add a tank shape to the model to fill in the gaps.