The grids in the Quantify interface are highly malleable. You can move the columns in the grids to best suit your work and put them back into their default position with the click of a button.
Showing, Hiding and Reordering the Columns in a Tab
You can control which columns the Quantify interface contains and how the grids are ordered. When you do, Quantify saves these settings in your user account (they do not affect other users) and applies them to all grids (except Product grids). Even after you reorder columns, Quantify enables you to undo any changes you previously made to the grid and return to the default layout.
Note: Each tab has its own set of columns that you can configure. However, Quantify does not allow you to configure the columns in the Products tab.
To configure Quantify's columns:
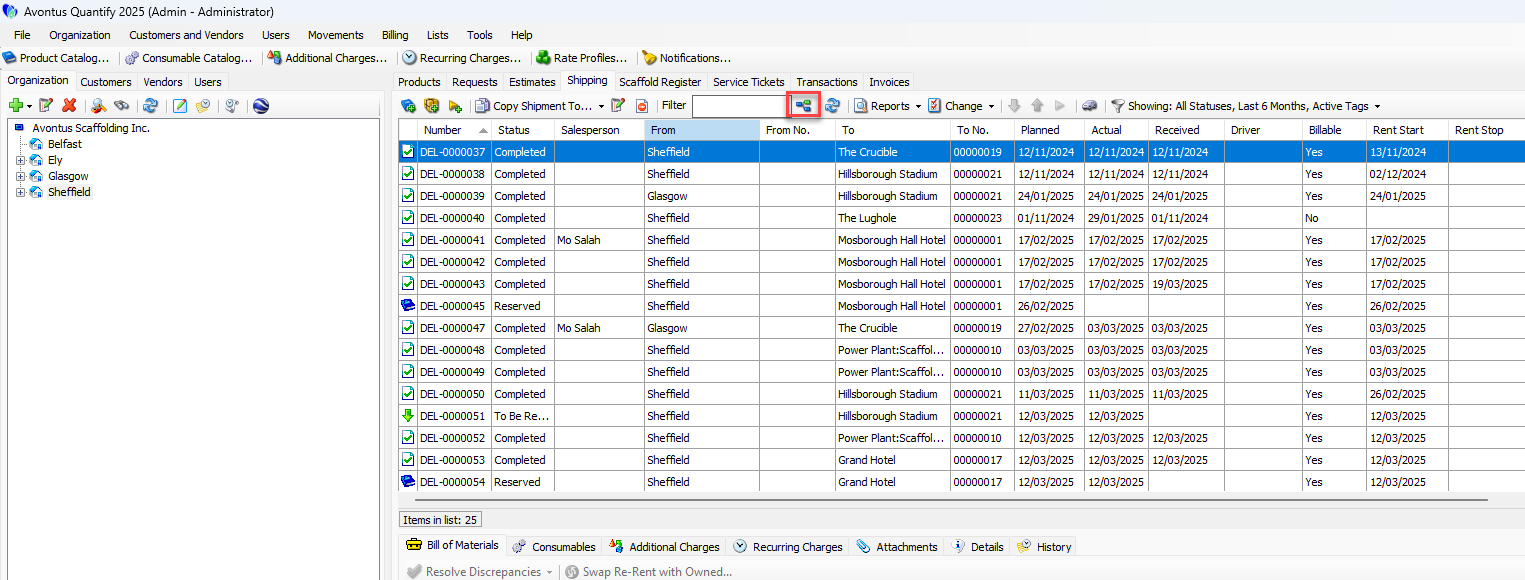
Click the tab that has the columns you want to configure.
Click the Column Order and Visibility button (
 ).
).
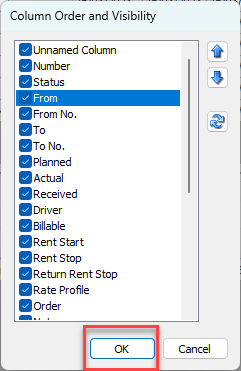
The Column Order and Visibility dialog appears.To show or hide a column, click the checkbox to the left of the column name, to put a check in it.

To reorder a column, click the column name and then click the Up arrow (
 ) or the Down arrow (
  ) until the column is in the appropriate location.

Repeat the above steps for each column you want to move.
Click the OK.
Returning a Tab's Column Layout to Default
If you change the layout of the columns in a tab, Quantify enables you to easily return that layout to is default.
To return a tab's column layout to default:
1. Click the tab that has the columns you want to configure.
2. Click the Column Order and Visibility button (![]() ).
).

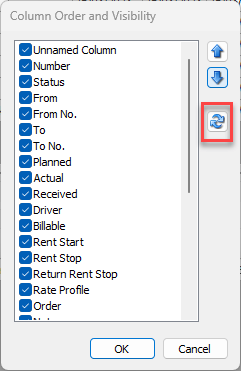
The Column Order and Visibility dialog appears.
3. Click the Delete Customizations for this Grid button (![]() ).
).
4. Click OK.
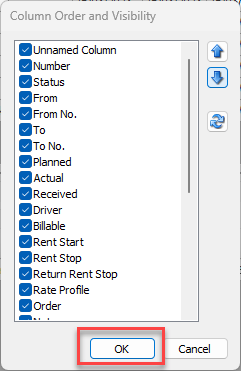
Quantify returns the tab's grid to its original, default layout.