Once Invoices have been created in Quantify, they can be synchronized with QuickBooks. Invoices with a QuickBooks status of Not Synchronized or Not Paid can be synchronized. Invoices with Do not Sync and Paid will be ignored by synchronization, even if selected to be synchronized.
To sync selected Invoices:
Click the Invoices tab and click the Invoices to be synchronized.
Click the Quickbooks menu and select Synchronize Selected Invoices.
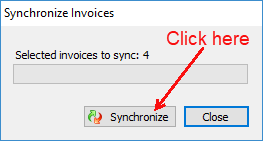
The Synchronize Invoices dialog appears.
The Selected invoices to sync section displays the number of Invoices to be synced. This will be the count of selected Invoices in an eligible status.Click Synchronize.
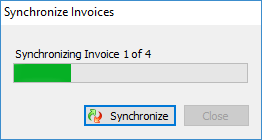
The dialog displays the progress of the sync request.
When completed, the Invoice Synchronization information message appears. This information will either notify of errors to be corrected, or, in the sample below, a successful synchronization. In this example, four invoices were synced to QuickBooks without errors.

The Quantify Invoices are now linked to the new QuickBooks Invoices. The original Quantify Invoice number has been replaced with the new QuickBooks Invoice number. The QuickBooks sync status will be updated with the appropriate status from QuickBooks in the QuickBooks Status column in the Invoices tab.
After synchronizing invoices, QuickBooks Invoice information is available in the Quantify Invoices tab, including: QuickBooks No., QuickBooks Total, QuickBooks Due Date, QuickBooks Status, and Last Sync.