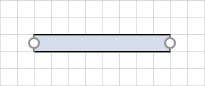
Pipes are drawing elements that help you more exactly replicate a structure and show how your design work with and around its attributes. When you first click and drag a Pipe onto a drawing, it is sold and looks more like a rod than a Pipe.
Use the Shape Data dialog to enter the Pipe's inside diameter and outside diameter, which will produce the empty Pipe and the Pipe's thickness. You can also configure any Pipe's length, start elevation, end elevation, and segment.
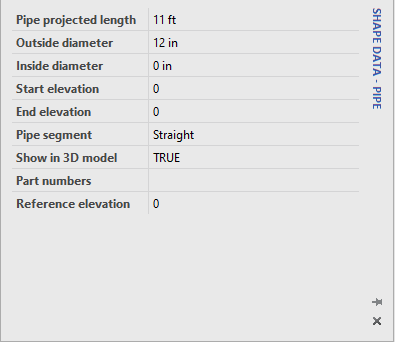
You can also use this dialog to create elbows and perfectly vertical Pipes.

Creating a Vertical Pipe
Avontus Designer makes it easy to create a vertical Pipe for use in any drawing.
To create a vertical Pipe:
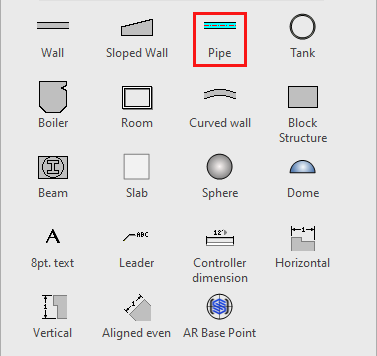
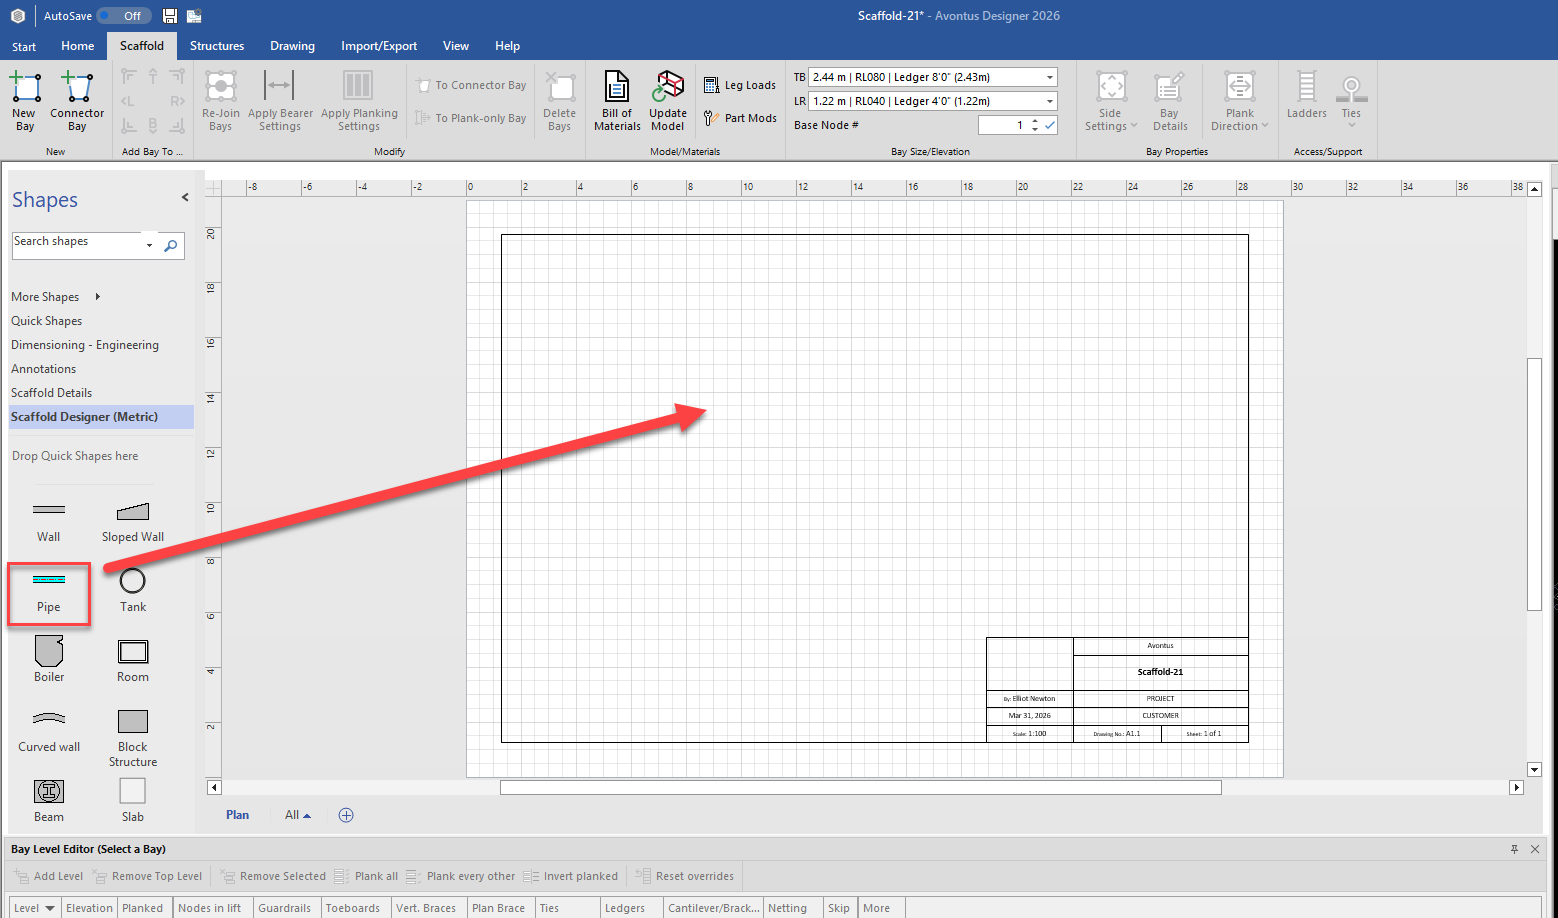
Click the Pipe object in the Shape palette and drag it onto the Drawing Page.
If you already have a Pipe that you want to make vertical, go to step 3.
Select the Pipe and select the Shape Data dialog
Note: You may need to enable the Shape dialog in the View tab
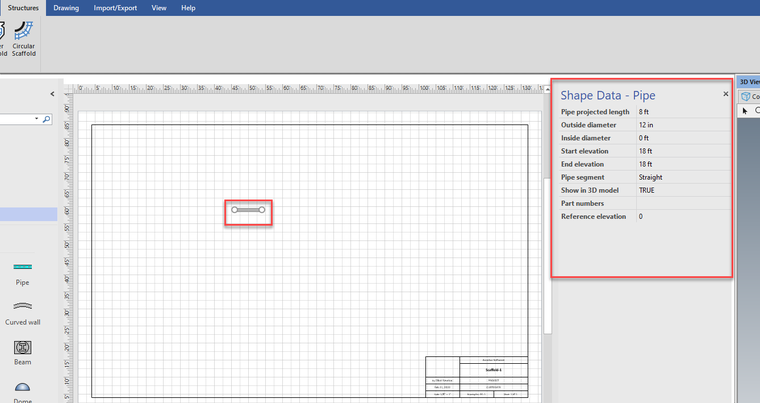
Click in the Pipe projected length text field and enter zero (0).
Click in the Start elevation text field and enter the elevation at which you want the Pipe to start.
Click in the End elevation text field and enter the elevation at which you want the Pipe to end.
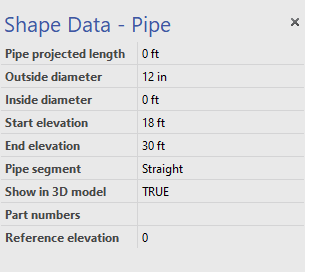
Avontus Designer refreshes, showing the Pipe as a line as long as the Pipe's diameter, which represents a Pipe of 0 length.
This is how the Pipe appears while selected in ScaffoldIQ
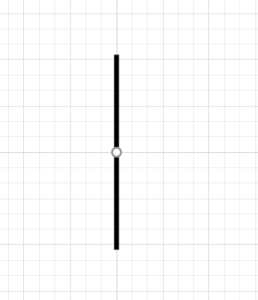
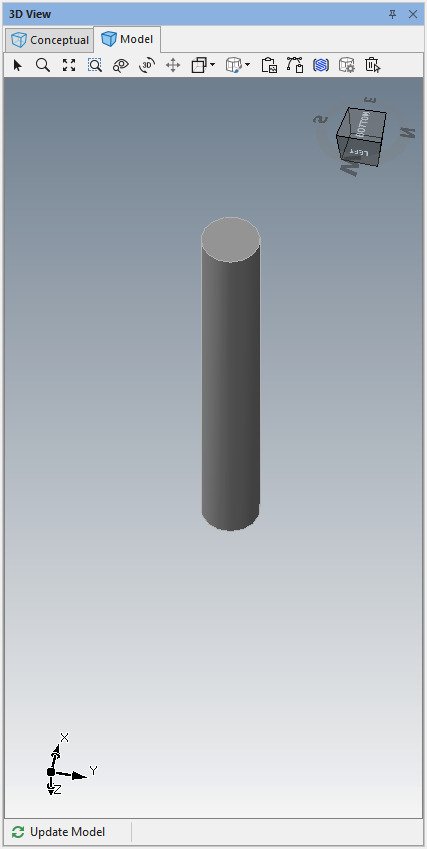
The 3D view shows the vertical Pipe.
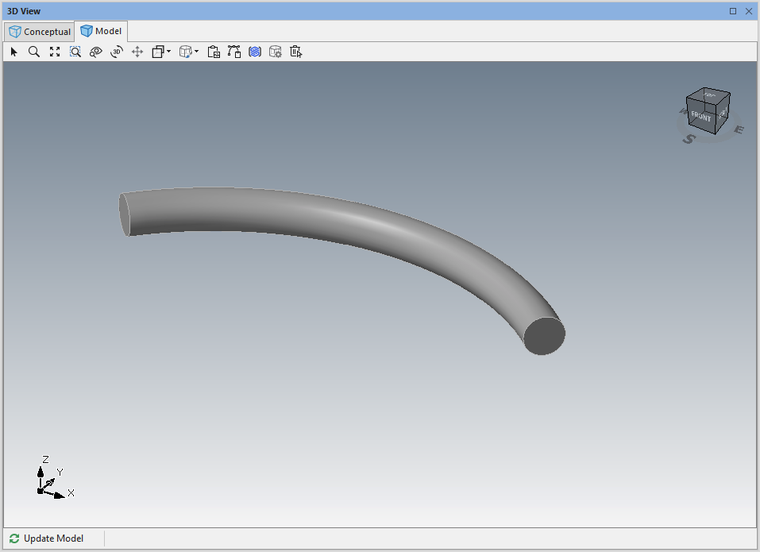
Creating and Configuring an Elbow Pipe
When you need an elbow Pipe, Avontus Designer makes it easy to add one to a drawing, with the appropriate angle.
To enable the elbow angle:
Right-click the Pipe and select Properties from the menu that appears.
Enable the Elbow segment checkbox

Click the Elbow Angledropdown and select the appropriate angle. Your options are:
15 degrees
30 degrees
45 degrees
60 degrees
75 degrees
90 degrees

Note: You can also set the Elbow Angle on the Shape data dialog
Click OK.
The result should look something like this in 3D View.